Behavioral Cloning Project P4 Save
Behavioral Cloning Project for Self-Driving Car Nano Degree Term 1. The project includes designing a neural network and then training the car on the road in unity simulator. The CNN learns and clones the driving behavior.
Behavioral Cloning Project P4


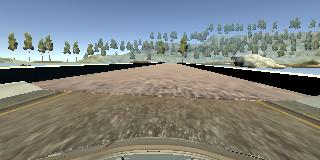
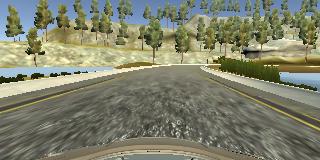
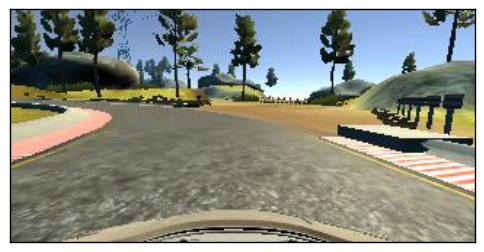
Track 1

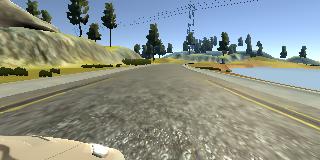
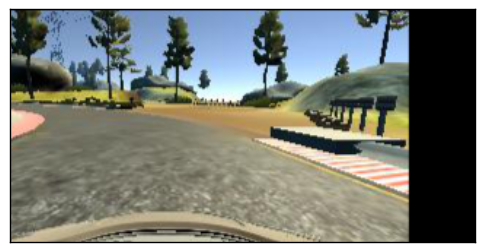
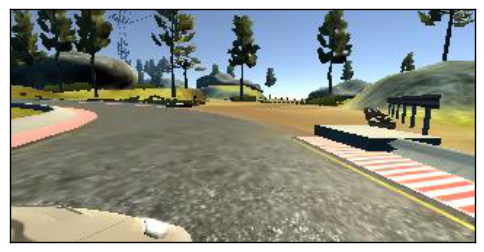
Track 2
Behavioral Cloning
The goals / steps of this project are the following:
* Use the simulator to collect data of good driving behavior
* Build, a convolution neural network in Keras that predicts steering angles from images
* Train and validate the model with a training and validation set
* Test that the model successfully drives around track one without leaving the road
* Summarize the results with a written report
Rubric Points
Here I will consider the rubric points individually and describe how I addressed each point in my implementation.
Files Submitted & Code Quality
1. Submission includes all required files and can be used to run the simulator in autonomous mode
My project includes the following files:
* model.py containing the script to create and train the model. It contains the main code necessary for the project to train.
* drive.py for driving the car in autonomous mode. It is used along with model.h5 to drive the car in the simulator autonomously.
* model.h5 containing a trained convolution neural network.
* writeup_report.md or writeup_report.pdf summarizing the results as Behavioral-Cloning-Writeup.md.
* an output video - 'run_video.mp4' of the car driving successfully in the simulator.
2. Submission includes functional code
First of all, the model is trained to generate the model.h5 file with the help of following command. model.py file contains the code to train the model.
python model.py
Using the Udacity provided simulator and my drive.py file, the car can be driven autonomously around the track by executing:
python drive.py model.h5
After the car successfully steers through the track, the video of the driving behavior can be formed by producing various frames and saving that frames in the output-video folder, by executing the following command. The fourth argument, output-video, is the directory in which to save the images seen by the agent. If the directory already exists, it'll be overwritten.
python drive.py model.h5 output-video
After all the frames of the car driving in the simulator are saved in the output-video folder, the video can be made by combining all the frames with the use of following command. It creates a video based on images found in the output-video directory. The name of the video will be the name of the directory followed by '.mp4'.
python video.py output-video
Optionally, we can specify the FPS (frames per second) of the video. The default is 60 fps.
python video.py output-video --fps 48
Implementation -
Youtube - https://www.youtube.com/watch?v=2_6eNQr4yAc&feature=youtu.be

3. Submission code is usable and readable
The model.py file contains the code for training and saving the convolution neural network. The file shows the pipeline I used for training and validating the model, and it contains comments to explain how the code works. Further, I have also included the code to plot the mean squared error loss for the training set and the validation set per epoch. It helps us to get a better idea of the scenario and gives us a lot of information on the various parameters to tune to get a much better result.
Model Architecture and Training Strategy
1. An appropriate model architecture has been employed
My model consists of a convolution neural network which is implemented with the help of keras in a much easier way. The model is like the NVIDIA model, and contains five Convolutional layers and four Dense layers. The model also contains a Dropout layer, a Flatten layer and one Cropping2D layer. The data is normalized in the model using a Keras lambda layer. The total number of parameters in the proposed model is 348, 219.
2. Attempts to reduce overfitting in the model
The model contains dropout layer in order to reduce overfitting. There is a Dropout layer after the five Convolutional Layers to reduce overfitting. The Dropout Layer has a probability of 0.5 to dropout the weights. The model was trained and validated on different data sets to ensure that the model was not overfitting. The model was tested by running it through the simulator and ensuring that the vehicle could stay on the track.
3. Model parameter tuning
The model uses an Adam optimizer, so the learning rate is tuned manually. "optimizer=Adam(lr=1.0e-4)" depicts the usage of Adam optimizer with a learning rate of "1.0e-4". The number of epochs is set to 10 and batch_size is set to 32.
4. Appropriate training data
Training data was chosen to keep the vehicle driving on the road. I used training data by driving for around three tracks on the road. Nearly 13,000 images including the center, left and right camera images were used to train the model. Various training Data Augmentation techniques were used to augment the training data like random flip, random translate, random brightness and RGB to YUV image conversion just as NVIDIA uses in its model.
Center Camera Images -


Right Camera Images -


Left Camera Images -


Architecture and Training Documentation
1. Solution Design Approach
In order to gauge how well the model was working, I split my image and steering angle data into a training and validation set with train_test_split() function with a relative test size of 0.2. I used generator so that a part of training data images is operated upon at a given time. I used NVIDIA like model with five convolutional layers and four dense layers alongwith flatten, dropout layers. Used training data of size approx. 29, 000 images to train the model. Also, augmented all of the images in the training data. In the end, after training, when the model is saved, a plot is also depicted to show the training and validation losses. Steering corrections are also introduced alongwith appropriate camera images i.e. left, right and center camera images. At the end of the process, the vehicle is able to drive autonomously around the track without leaving the road.
Random Flipping

Random Translation
Center Camera Image
Left Camera Image

Right Camera Image
2. Final Model Architecture
The model architecture is depicted below with the help of table:
| Layer | Output Shape | Param |
|---|---|---|
| Cropping2D Layer | (None, 65, 320, 3) | 0 |
| Lambda Layer | (None, 65, 320, 3 ) | 0 |
| Convolution Layer 1 | (None, 31, 158, 24) | 1824 |
| Convolution Layer 2 | (None, 14, 77, 36) | 21636 |
| Convolution Layer 3 | (None, 5, 37, 48) | 43248 |
| Convolution Layer 4 | (None, 3, 35, 64) | 27712 |
| Convolution Layer 5 | (None, 1, 33, 64) | 36928 |
| Dropout Layer 1 | (None, 1, 33, 64) | 0 |
| Flatten Layer 1 | (None, 2112) | 0 |
| Dense Layer 1 | (None, 100) | 211300 |
| Dense Layer 2 | (None, 50) | 5050 |
| Dense Layer 3 | (None, 10) | 510 |
| Dense Layer 4 | (None, 1) | 11 |
3. Creation of the Training Set & Training Process
To capture good driving behavior, I recorded three laps on track two using center lane driving and one for recovery lane driving. I then recorded the vehicle recovering from the left side and right sides of the road back to center so that the vehicle would learn to take decisions when the road is not visible to the camera. I also augment the dataset by flipping the images and the angles. Also, introduced random brightness and random translation.
Simulation
1. Car able to navigate correctly on test data
The car is able to steer correctly through the roads in the simulator for track 1.
Youtube - https://www.youtube.com/watch?v=2_6eNQr4yAc&feature=youtu.be
