Webgpu Raytracer Save
Realtime path tracing via WebGPU compute shaders
WebGPU Raytracer
Requirements
The app currently works only on Chrome as it supports WebGPU without a flag and fully follows the WebGPU specification. Firefox and Safari have experimental support for it but this demo does not currently run on them.
Warning! The app requires a reasonably powerful GPU. Your phone or tablet is probably not going to cut it. Old Intel-based Macs should be OK. I developed it on a M1 Max Mac Studio.
Summary
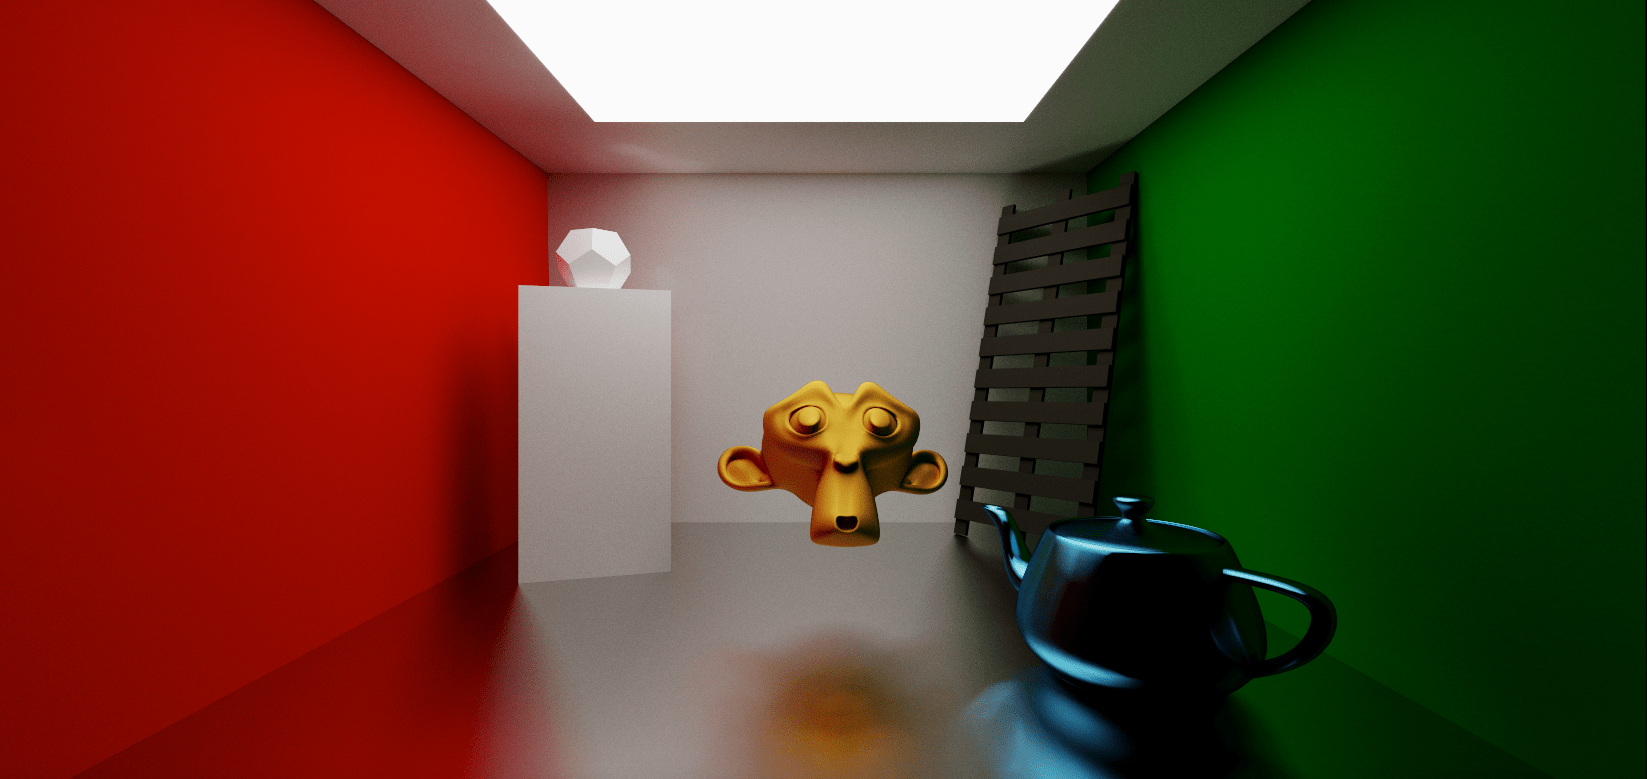
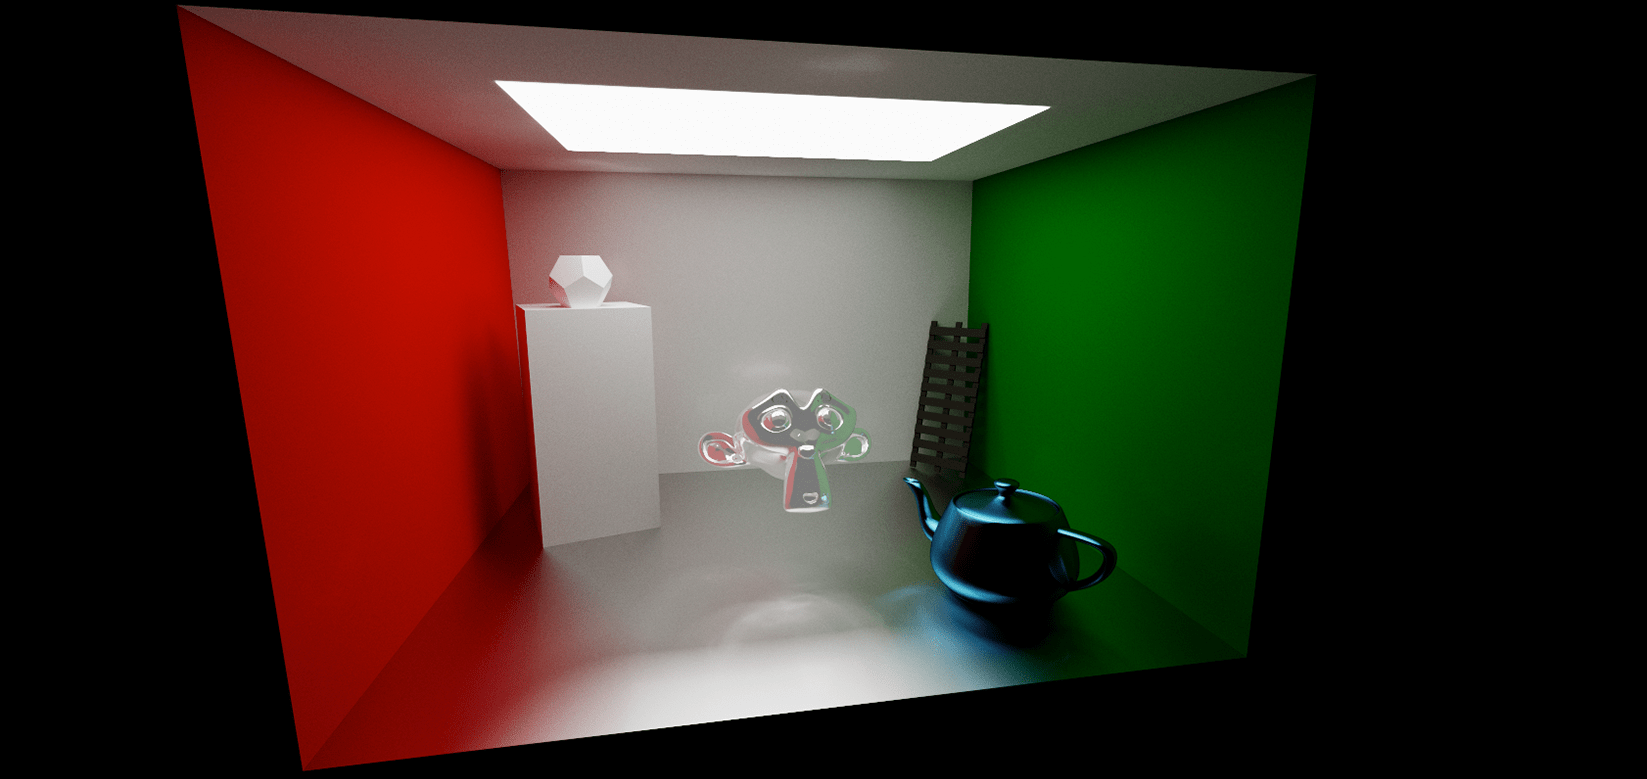
After doing rasterization for years, I was very intrigued by raytracing. After all, it is the holy grail of computer graphics, producing incredible photorealistic imagery with soft shadows, ambient occlusion and blurred reflections. These effects are difficult to achieve using a real-time 3D rasterizer but here you essentially get them for free with little to no rendering tricks involved.
At the end of the day I ended up with what's called a path tracer. It requires a large quantity of rays to be fired through each pixel in a stochastic manner for convergence thus removing noise from the rendered image.
App Architecture
Typescript
This portion of the code runs on the CPU. It reads the triangles information from the Wavefront OBJ and MTL files, create Bounding Volume Hierarchy trees and pushes all data to the GPU. It then handles submitting work to the GPU on each frame, handles user input and interaction with the camera.
Compute Shader
This is the heart of the raytracer and runs in parallel on the GPU. It bounces rays around the scene and gathers the accumulated color that it finally writes to the pixel in a image buffer. The image buffer is then blitted to the device screen.
There already exist WebGPU raytracers that do all the path tracing in a fragment shader. Why did I opt for a compute shader instead? Learning practice, that's all. I was curious to explore WebGPU compute shaders more in-depth. That being said, this raytracer can easily be ported to run in a fragment shader instead.
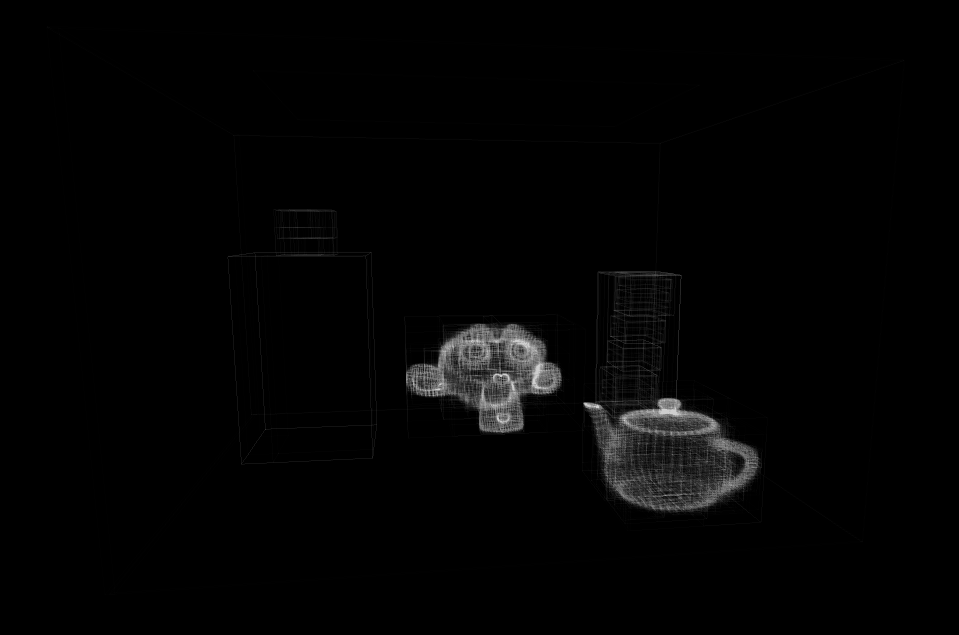
Bounding Volume Hierarchy
Testing each ray against each triangle compromising the scene is naive and slow. That's where accelerated structures such as BVH come into play. You wrap each object in a box and then recursively add more boxes for different parts of the object. Think about a person: you add a box surrounding them, then one box for each limb and one box for each finger. If the ray does not intersect the person you don't check any triangles in the libmbs or fingers. If it hits the right arm, you don't check the triangles in the left foot and so on. This significantly sped up the render times in this app.
No textures, storage buffers instead
In order to store all the state that the raytracer needs, such as random number generation and image state, it's easier to use WebGPU storage buffers than textures, as you can place arbitrary data in a storage buffer.
For instance, I want to accumulate pixel samples over multiple frames. A buffer is required to hold the accumulated samples. It may seem natural to use a storage texture to store pixel values, but storage textures do not currently allow being read from from a compute shader. texture_storage_2d<rgba8unorm, write> is supported, but texture_storage_2d<rgba8unorm, read> is hidden behind a flag.
So instead I use storage buffers:
// read_write is important, we want to read the old frame and write the new frame
@group(0) @binding(0) var<storage, read_write> raytraceImageBuffer: array<vec3f>;

@compute @workgroup_size(16, 16)
fn main(@builtin(global_invocation_id) globalInvocationId : vec3<u32>) {
  let pos = globalInvocationId.xy;
  let idx = pos.x + pos.y * cameraUniforms.viewportSize.x;

  let oldFrameContents = raytraceImageBuffer[idx];
  let color: vec3f = /* calculate new color value somehow */

  // accumulate the new frame contents with the old frame content value
  raytraceImageBuffer[idx] += color;
}
Recursion via looping
Raytracing on the CPU is easily done via recursion. Something like:
color ray_color(const ray& r, const hittable& world) const {
    hit_record rec;
    if (world.hit(r, interval(0, infinity), rec)) {
        vec3 direction = random_on_hemisphere(rec.normal);
        return 0.5 * ray_color(ray(rec.p, direction), world);
    }
    return color(0, 0, 0);
}
Recursion is not allowed on the GPU however. Therefore the app uses loops to achieve recursion in the compute shader.
Blit-to-Screen Fragment Shader
After the raytracing compute shader is finished on each frame, it's results are blitted to the device screen using a fragment shader ran on a fullscreen quad. At this point tonemapping is applied too.
Libraries used
-
gl-matrixfor common matrix / vector operations -
mtl-file-parserfor Wavefront MTL file parsing -
obj-file-parserfor Wavefront OBJ file parsing -
webgpu-utilsfor simplifying passing values to WebGPU buffers -
WebGPU Offset Computer- invaluable tool to visualise std140 struct layouts
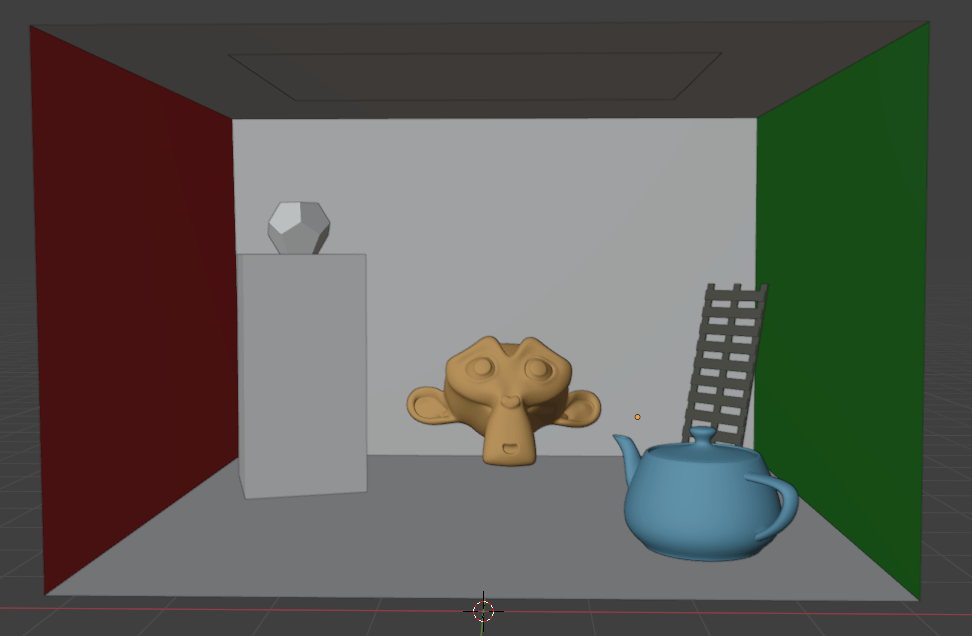
Scene model
The scene was modeled in Blender and compromises of remodeled Cornell Box. Teapot, Suzanne, ladder and a dodecahedron are added to showcase different materials.
References and Readings
- Raytracing in a Weekend - this is where everybody starts with raytracing it seems. I followed Book 1 and 2 and implemented them in C++ before switching to a compute shader approach.
- Intel Path-Tracing Workshop - Raytracing in a Weekend runs on the CPU and does not really explain how to port it to the GPU (where recursion is not allowed). This 2 videos show very well how to do the same task via loops in GLSL. The theory and math presented are also really good.
- Weekend Raytracing with wgpu - Porting "Raytracing in a Weekend" Book 1 to WebGPU. I got the idea to use storage buffers for the frame pixel contents here.
- WebGL Ray Tracer - Path tracer written in WebGL. I studied the code and implemented my model parsing and BVH generation based on it.
- WebGPU Spec
- WGSL Spec
MIT License
Copyright (c) 2024 Georgi Nikolov
Permission is hereby granted, free of charge, to any person obtaining a copy of this software and associated documentation files (the "Software"), to deal in the Software without restriction, including without limitation the rights to use, copy, modify, merge, publish, distribute, sublicense, and/or sell copies of the Software, and to permit persons to whom the Software is furnished to do so, subject to the following conditions:
The above copyright notice and this permission notice shall be included in all copies or substantial portions of the Software.
THE SOFTWARE IS PROVIDED "AS IS", WITHOUT WARRANTY OF ANY KIND, EXPRESS OR IMPLIED, INCLUDING BUT NOT LIMITED TO THE WARRANTIES OF MERCHANTABILITY, FITNESS FOR A PARTICULAR PURPOSE AND NONINFRINGEMENT. IN NO EVENT SHALL THE AUTHORS OR COPYRIGHT HOLDERS BE LIABLE FOR ANY CLAIM, DAMAGES OR OTHER LIABILITY, WHETHER IN AN ACTION OF CONTRACT, TORT OR OTHERWISE, ARISING FROM, OUT OF OR IN CONNECTION WITH THE SOFTWARE OR THE USE OR OTHER DEALINGS IN THE SOFTWARE.
