ScribeAI Save
ChatGPT extension for VSCode.

Scribe AI
Features · Getting Started · Support and Gratitude


Scribe AI is a ChatGPT-like extension for VS Code. Now you can have an AI chatbot like ChatGPT right in VS Code! Use it as your AI programming assistant which you can talk with to understand complex code, modify and improve your code, or generate comments for your code. The possibilities are endless. To start, highlight a piece of code and click on the plus icon on the left to open up a chat and start talking with Scribe AI just like in ChatGPT! All your conversations are saved in your workspace so you can look back on them as notes.
🔗 VSCode Marketplace
📢 v1.2.1 Update
-
gpt-4model is now available to choose for those people that have access to it.
📢 v1.2.0 Update
-
code-davinci-002no longer supported. OpenAI recently announced the shutdown of Codex models by March 23. - Markdown support! Answers provided by AI are now formatted in markdown to enable better readability.
📢 v1.1.5 Update
- Official ChatGPT is finally available! OpenAI recently officially announced the release of their ChatGPT API.
- You can now select the ChatGPT model by going to User Settings via
Code->Preferences->Settingsand underExtensionsyou will findScribeAIsettings. Or you can just searchScribeAIin search box. And you will find a option to choose your model. Go ahead and chooseChatGPTand restart your extension by clicking onrestart your extensionin the API key settings. Now you are using ChatGPT! - Notice how answers provided by ChatGPT is much more detailed and informant, it's amazing!!
🌟 Preview

✨ Features
- 💬 Ask AI: Highlight a piece of code, click on the chat icon, and type in any questions you might have about the code such as
Explain the code. Then hitAsk AIbutton! The AI will respond back to you with the response. You can continue to reply to the AI’s response and hold a conversation with the AI just like in ChatGPT! The conversation context is maintained between queries. The conversation will be saved in your workspace and you can close it and open it anytime. You can also edit your comments and delete them.
Editing:

- 🧠 AI Edit: Highlight a piece of code and click on the chat icon, then enter the instruction on how you want the AI to modify the code such as
Refactor the code to include comments,Rewrite the code in Python, and much more! The possibilities are endless. Now finally hitAI Editbutton and you will see that your selected code has been modified. If you don’t like the result you can always Undo it by pressingMac:⌘ Command + Z,Windows:Ctrl + Z or go toEdit -> Undo. Sometimes the formatting of the result is not correct or your originally highlighted section gets messed up, in such cases you can rehighlight the code and ask AI toReformat the code so that it’s correctand press theAI Editbutton.
Refactoring:

Rewriting in another lanugage:

Adding docstring:

Fixing mistakes:

- 📝 Note Taking: You can also add notes inside your conversation by typing your note and pressing
Create Note. Your notes won’t get sent over to AI.

🚀 Getting Started
📦 Installation
- To use this extension, you can either install it from the VSCode marketplace or download and install
.vsixfile from Releases.
📑 Download extension from VSCode Marketplace
-
Click on the Extensions icon(Ctrl+Shift+X)
-
Search for
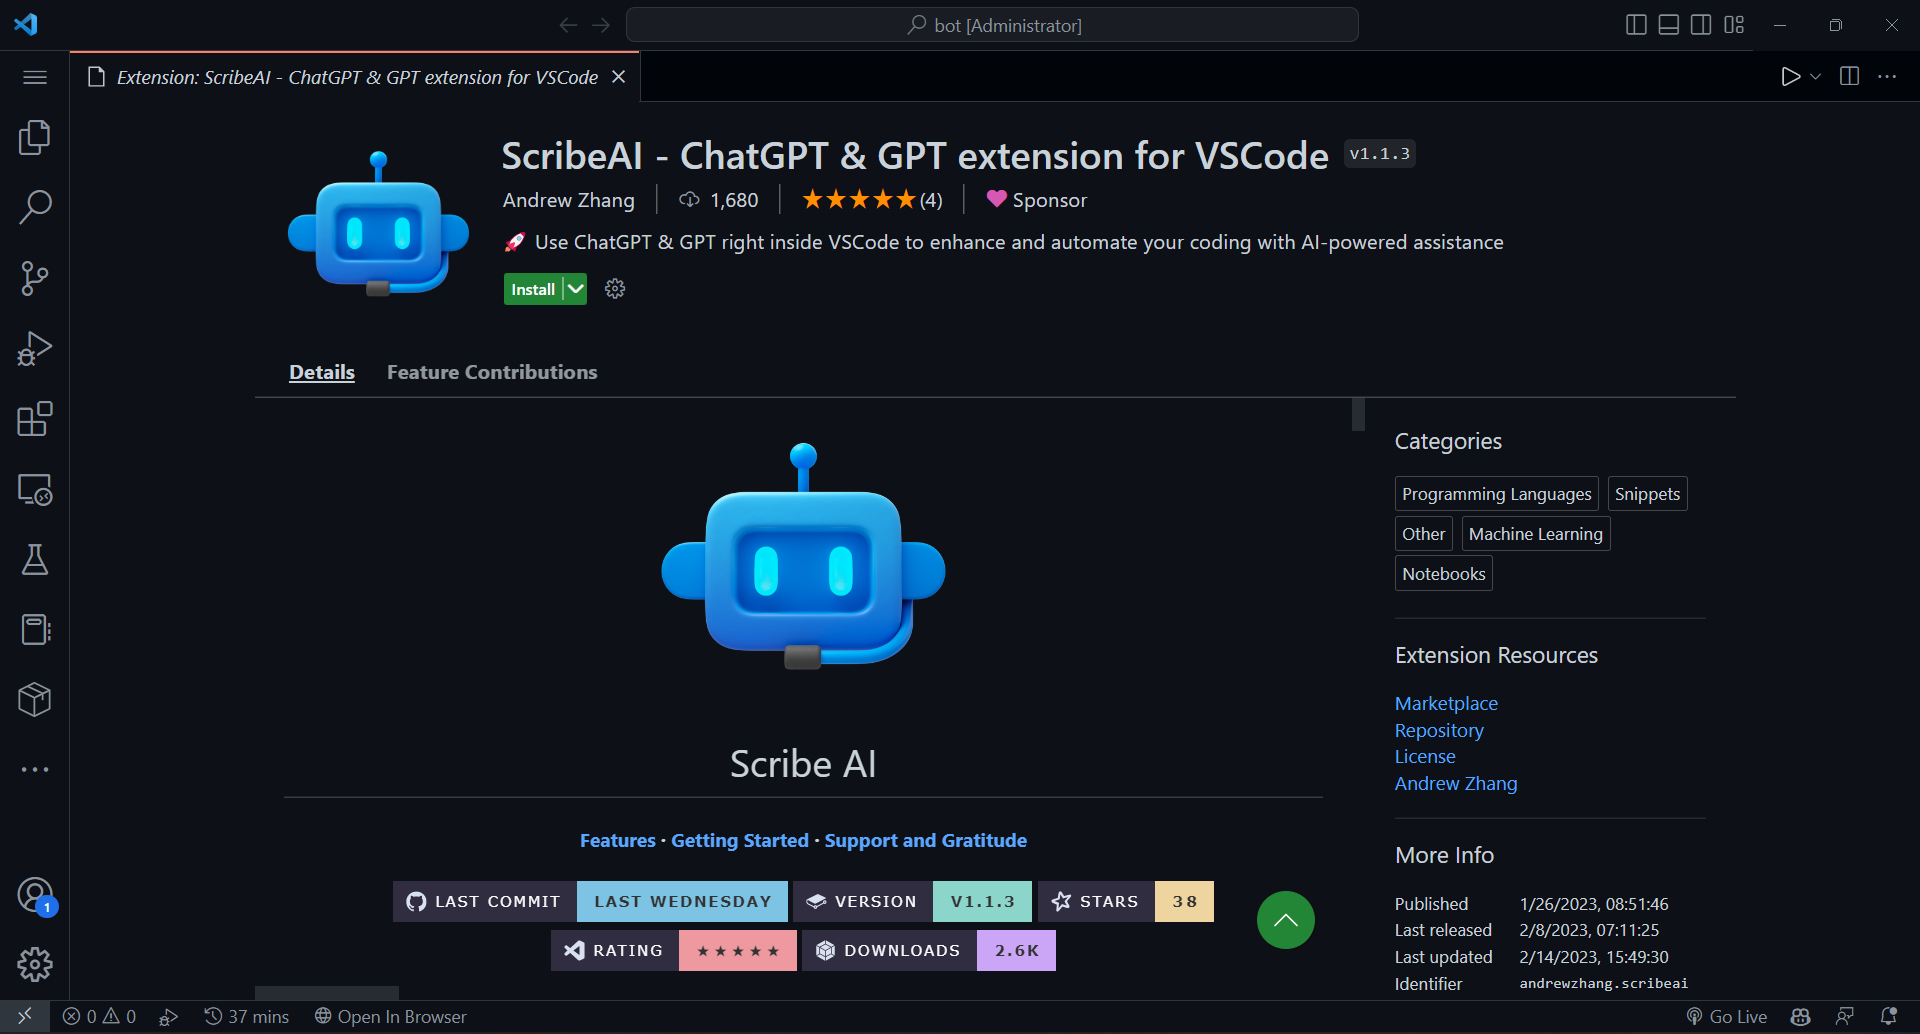
ScribeAI -
The extension on VSCode marketplace looks like this, click the install button.
-
Once installation is complete, go to settings and search for
ScribeAIto add your OpenAI API key, when you install and use ScribeAI for the first time, it will ask you for your OpenAI API key. This is used by the extension to access the API and is only sent to OpenAI.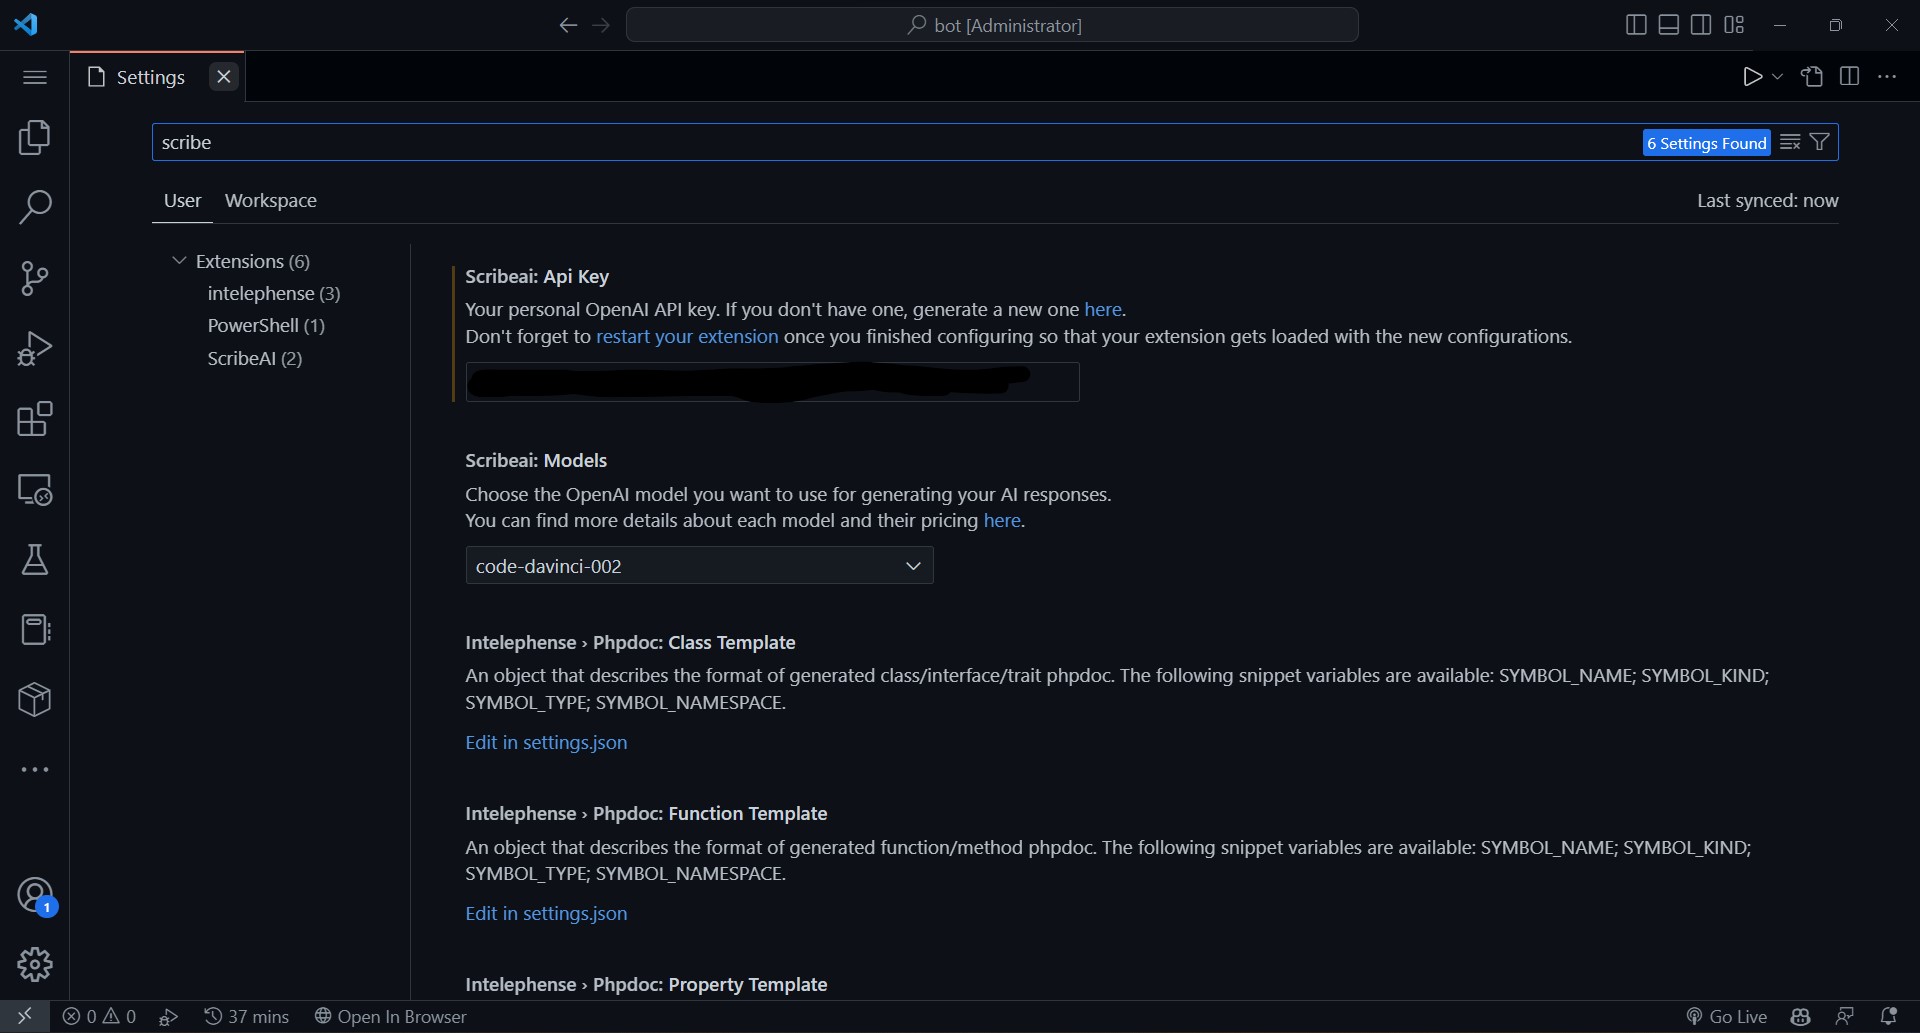
-
When you are done adding the API key; reload/restart the extension to apply the changes
-
Go to the explorer in VSCode and open any file that you want to work on or edit.
-
Inside the open or active editor click the
+icon that often appears on the left -
When you first use ScribeAI whether by
Ask AIorAI Edit, it will ask you for your OpenAI API key. This is used by the extension to access the API and is only sent to OpenAI.

📑 Download and install .vsix file from Releases.
-
Click on releases tab.
-
You are redirected to a page that looks like this; Click on the preferred zipped file format; and download
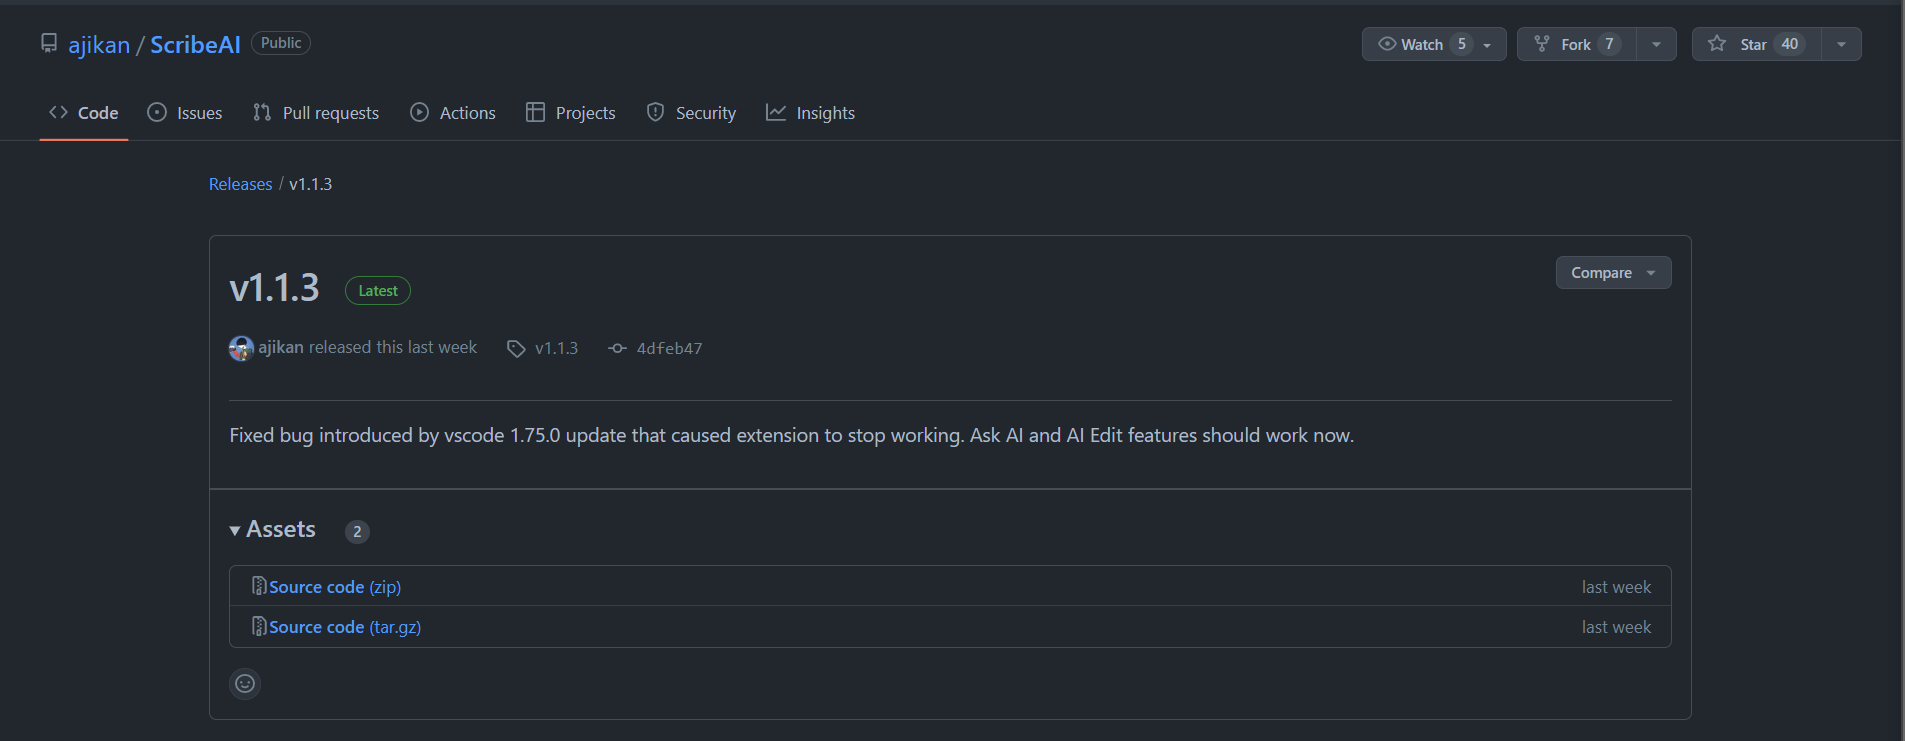
-
Unzip the downloaded file, and open the folder with VSCode
-
Go through the process elaborated above to add your OpenAI API key and setup ScribeAI for the first time
⚙️ Settings
- You can also change your API key in User Settings via
Code->Preferences->Settingsand underExtensionsyou will findScribeAIsettings. Or you can just searchScribeAIin search box.

🗝️ To find your OpenAI API key:
- Go to https://beta.openai.com/account/api-keys. You will need to log in (or sign up) to your OpenAI account.
- Click "Create new secret key", and copy it.
- You should then paste it into VS Code when prompted.
- If you wish to change the AI model you use which by default is
code-davinci-002(because it’s free currently), then you can change it in User Settings. - 💥 Remember to restart your extension and workspace when you change your settings. You can do that by clicking on
restart your extensionin the API key settings 💥
❤️ Support and Gratitude
- This wouldn't have been possible without OpenAI's API to access its AI services.
- I want to thank the wonderful VS Code community and all the developers that maintain VS Code.
- If you like this extension and found it useful, please consider donating me as I am only a new grad developer and any amount of donation will be of tremendous help and encourage me to keep going.
- Chatbot icon by Icons8
![]()
Copyright © 2022-present Scribe AI Team
