VultrDash Save
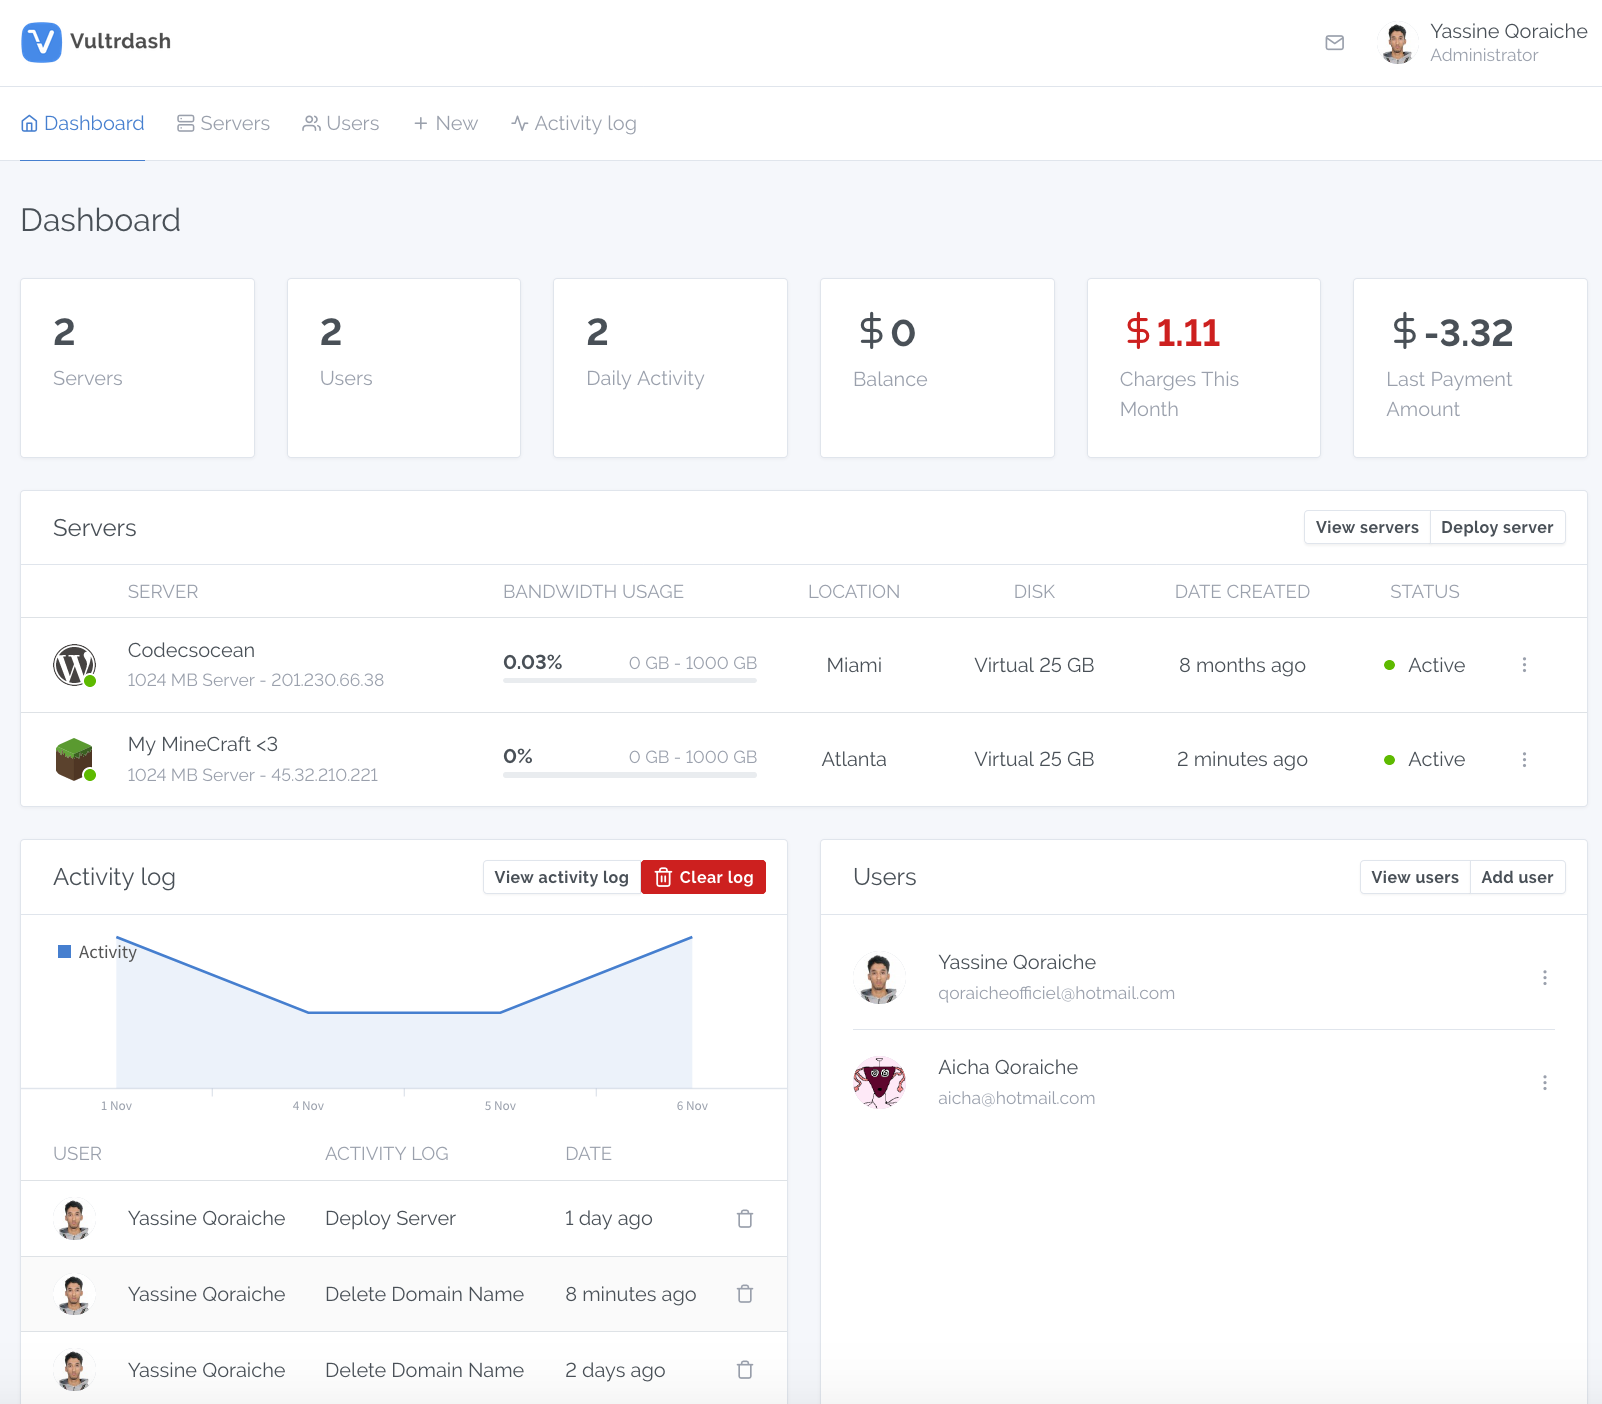
Vultr self-hosted dashboard.

- Author: Yassine qoraiche (@qoraiche)
- License: MIT
- Demo Screenshots: screenshots.md
- Get your Free Vultr 50$ Credit Now (Limited time)
Table of Contents
Features
- Multi-User support
- Limited users access to portions of dashboard
- Activity logger to monitor users
- Slack notifications
- Users conversations system (Group messaging / One to one messaging)
- Create and deploy snapshots
- Manage and deploy servers (vc2)
- Manage and create ISO
- Manage and create startup scripts
- Manage and create SSH keys
- Manage and create DNS
- Manage and create reserved IPs
- Manage backups
- Manage and create block storage
- Manage firewalls
- Manage networks
Installation
Links
Serve
Requirements
Make sure your server meets the following requirements:
- PHP >= 7.1.3
- OpenSSL PHP Extension
- PDO PHP Extension
- Mbstring PHP Extension
- Tokenizer PHP Extension
- XML PHP Extension
- Ctype PHP Extension
- JSON PHP Extension
Install
Clone the repository:
git clone https://github.com/Qoraiche/Vultrdash.git
Install application dependencies and optimize class autoloader map:
composer install --optimize-autoloader --no-dev
Create configuration file:
cp .env.example .env
Generate key:
php artisan key:generate
Install the Javascript dependencies using NPM:
npm install
Configuration
In your configuration file .env:
Database
Fill in your database details:
DB_CONNECTION=mysql
DB_HOST=127.0.0.1
DB_PORT=3306
DB_DATABASE=[YOUR_DB_NAME]
DB_USERNAME=[YOUR_DB_USERNAME]
DB_PASSWORD=[YOUR_DB_PASSWORD]
Vultr API (Required)
Add your Vultr API key (Available in Members Area -> settings -> settings api)
VULTR_AUTHKEY=[YOUR_API_KEY]
Slack Notifications (Optional)
Add your Slack webhook url to recieve notifications on your channel
NOTIFICATION_SLACK_WEBHOOK_URL=[YOUR_WEBHOOK_URL]
More info, How to create your slack app
Final configuration step
Optimize the configuration Loading
php artisan config:cache
Database Migrations/seeds
Run the database migrations
php artisan migrate
Seed database
php artisan db:seed
Serve
Once the database is setup and migrations are up, run
php artisan serve
Now you can visit http://localhost:8000/ to see the application in action.
Default login credentials:
email   :    [email protected]
password:    admin
Don't forget to change the default email and password when you logged in!
Note
Remember to add your server ip address to the access control whitelist
Todo
- Bare Metal servers (deploy, manage)
- Real-time messaging using laravel echo
- Firewall groups editing (IPv4, IPv6 rules)
- Manage Private Networks
Security
If you discover a security vulnerability within this application, please e-mail me at [email protected]. All security vulnerabilities will be promptly addressed.
License
Vultrdash is licensed under The MIT License (MIT).
