Vscode Audio Preview Save
VS Code extension that allows you to preview and play audio files.
audio-preview
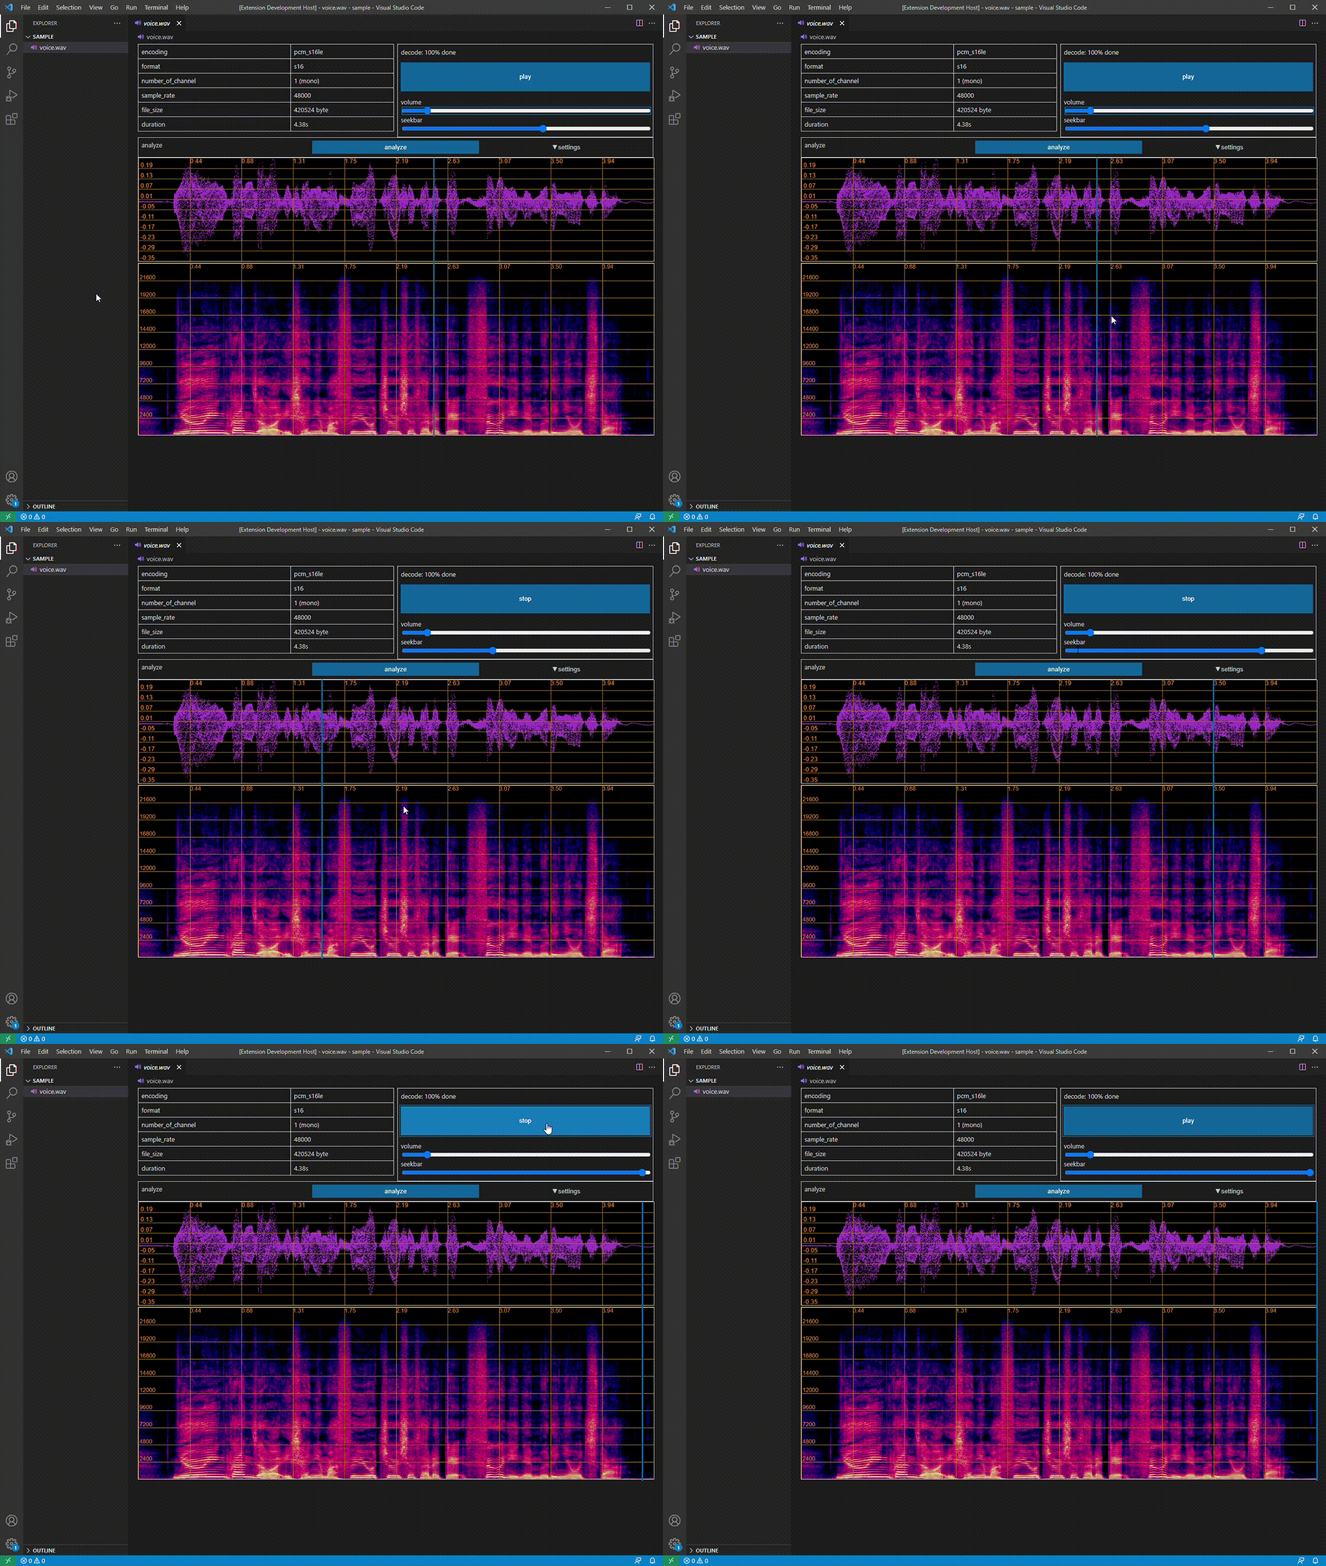
You can play your audio file and preview its info on VS Code.
You can also check waveform and spectrogram.
Supported Audio Files: wav, mp3, aac, ogg, flac, opus, m4a, sph ... etc.
Available on Marketplace: https://marketplace.visualstudio.com/items?itemName=sukumo28.wav-preview
Note
Please consider using the built-in audio playback feature as well. When we developed this VS Code extension, VS Code did not bundle ffmpeg and had no audio playback capabilities. However, with updates, a built-in audio playback feature has been added. While this extension has finish its purpose, we will continue to maintain it slowly.
Features
How to preview audio.

If this extension does not open by default, edit settings.json like below.
"workbench.editorAssociations": {
    "*.wav": "wavPreview.audioPreview",
    "*.mp3": "wavPreview.audioPreview",
    ...
},
Settings
You can configure these options in settings.json or VS Code's GUI.
Configuration is completely optional.
There is no need to configure anything if you are just using this extension.
You can analyze audio automatically when you open it.
"WavPreview.autoAnalyze": true
You can configure default value of player settings like example below.
"WavPreview.playerDefault": {
    /*
        Choose the scale of the volume bar
        true: dB scale, false: linear scale
        default: false
    */
    "volumeUnitDb": false,

    /*
        Initial player volume in dB scale. [-80.0, 0.0]
        This setting is valid when volumeUnitDb is true.
        default: 0.0
    */
    "initVolumeDb": 0.0,

    /*
        Initial player volume in linear scale. [0, 100]
        This setting is valid when volumeUnitDb is false.
        default: 100
    */
    "initVolumeDb": 100
}
You can configure default value of analyze settings like example below.
"WavPreview.analyzeDefault": {
        // Settings about WaveForm

        /*
         Range of amplitude displayed on the figure. [-100,100]
         Default value is automatically expanded to fit min and max value of audio data.
        */
        // default: min amplitude of audio data
        "minAmplitude": -1,
        // default: max amplitude of audio data
        "maxAmplitude": 1,

        // Settings about Spectrogram

        /*
         FFT window sizw. [0,7]
         You can choose from values below.
         0:256, 1:512, 2:1024, 3:2048, 4:4096, 5:8192, 6:16384, 7:32768
         default: 2
        */
        "windowSizeIndex": 5,

        // Range of frequency displayed on the figure. [0,sampleRate/2]
        // default: 0
        "minFrequency": 1000,
        // default: sampleRate/2
        "maxFrequency": 8000,

        /*
         Range of amplitude(dB) displayed on the spectrogram. [-1000, 0]
         Since the maximum value of Amplitude is adjusted to be 0dB, set a negative value.
         default: -90
        */
        "spectrogramAmplitudeRange": -100,

        /*
         Frequency Scale of spectrogram. [0,2]
         You can choose from values below.
         0:Linear, 1:Log, 2:Mel
         default: 0
        */
        "frequencyScale": 1,

        // Number of filter in melFilterBank. [20, 200]
        // default: 40
        "melFilterNum": 100
    }
}
Development
Contributions
Feel free to report Isuues and send Pull Requests on github.
If an error occurs and you create an issue, posting the log displayed in VSCode's DevTools to the issue may be useful for development and fix.
VSCode's DevTools can be opened in the following ways.
- Press f12
- Press shift + ctrl + I
- Select Help > Toggle Developer Tools from the menu at the top of the screen
Build
- Clone this repo
- Install Dependencies:
npm install - Build Container for decoder:
docker build -t audio-decoder ./src/decoder/ - Compile decoder.cpp to wasm:
docker run --rm -v ${pwd}/src/decoder:/build -it audio-decoder make - Run Extension: f5
Test
npm run test
This command compiles the code, outputs it to the ./out directory, and runs the tests there.
npm run jest
This command does not compile, but runs the tests located in ./out in verbose:false.
Use this when you want to rerun a test that you have already compiled.
However, please note that compilation is required both when changing the test code and when changing the test target.
References
Custom Editor: https://code.visualstudio.com/api/extension-guides/custom-editors
Custom Editor Example: https://github.com/microsoft/vscode-extension-samples/tree/main/custom-editor-sample
