Rnnoise Windows Save
This is a RNNoise windows demo. It was modified and restructured so that it can be compiled with MSVC, VS2017, VS2019.
rnnoise-windows
This is a RNNoise windows platform demo. It was modified and restructured so that it can be compiled with MSVC, VS2017, VS2019. Apart from this, this project also has the cmake support for other platforms.
What is the changes
Some codes in the files, ./src/celt_lpc.c , ./src/pitch.c , have been modified so that rnnoise can run at the windows platform. These code s had been written in C99 standard and MSVC can not support these language standard completely, e.g. VLA.
Some training python scripts have been changed for fixing the bugs and can easy to use.
Usage:
You can reference the rnnoise_demo() function in the vs project Rnnoise-windows for more details.
-
Initialize the rnnoise module.
DenoiseState* pRnnoise = rnnoise_create(NULL); -
rnnoise frame process and output
for (size_t n = 0; n < totalFrameCnt / 480; n++) {
    get_frame_f32(pWavIn, frameIn, 480); // get f32 pcm data

    rnnoise_process(pRnnoise, frameOut, frameIn); // rnnoise frame process
if (isOutput) {
        write_frames_f32(pWavOut, 480, frameOut); // output to wav file
    }
}
3. destroy rnnoise object

```c++
   rnnoise_destroy(pRnnoise);
Performance
Rnnoise has a excellent performance for the steady noise. Meanwhile, it can also work with the music noise situation. It depends on the model you train.
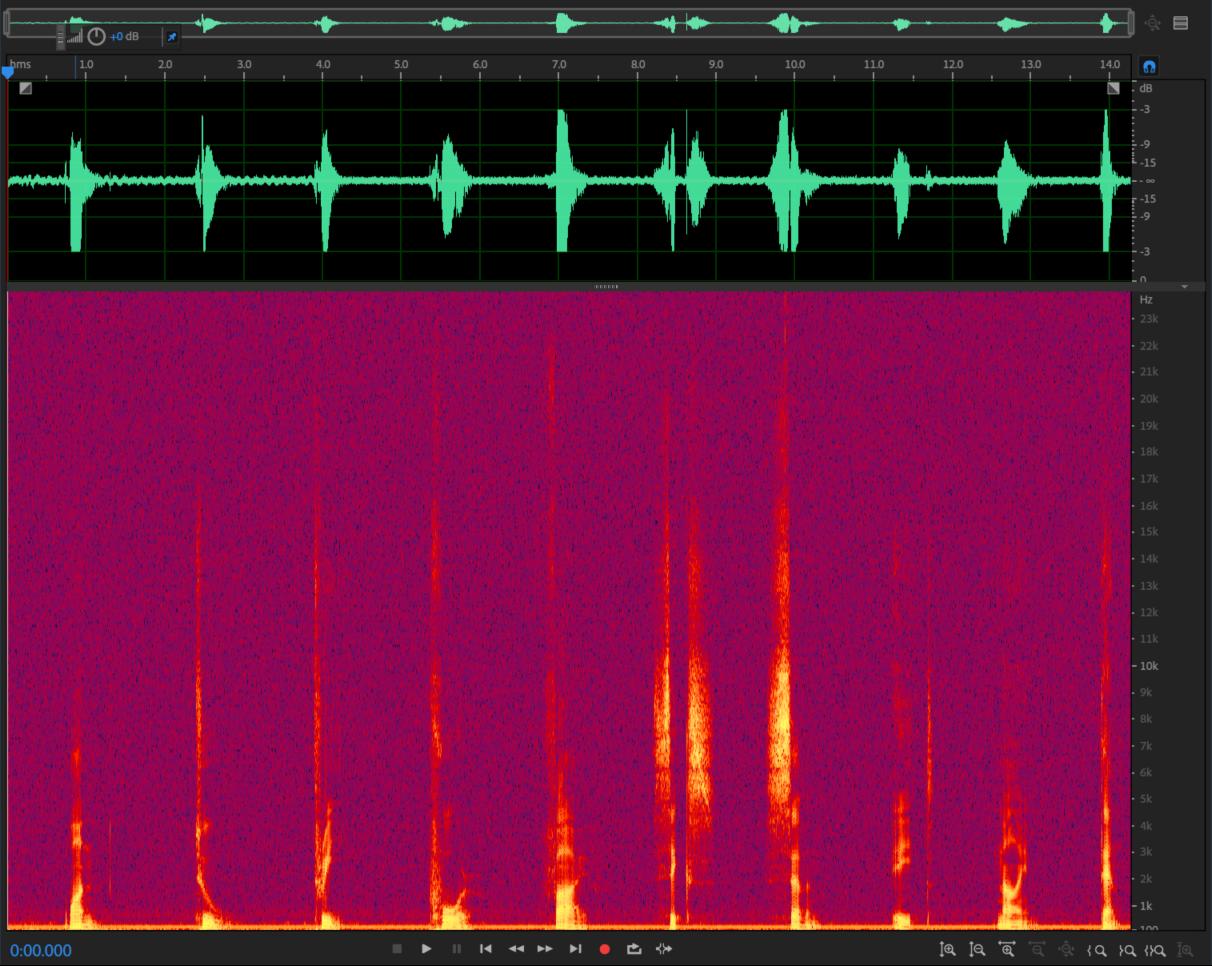
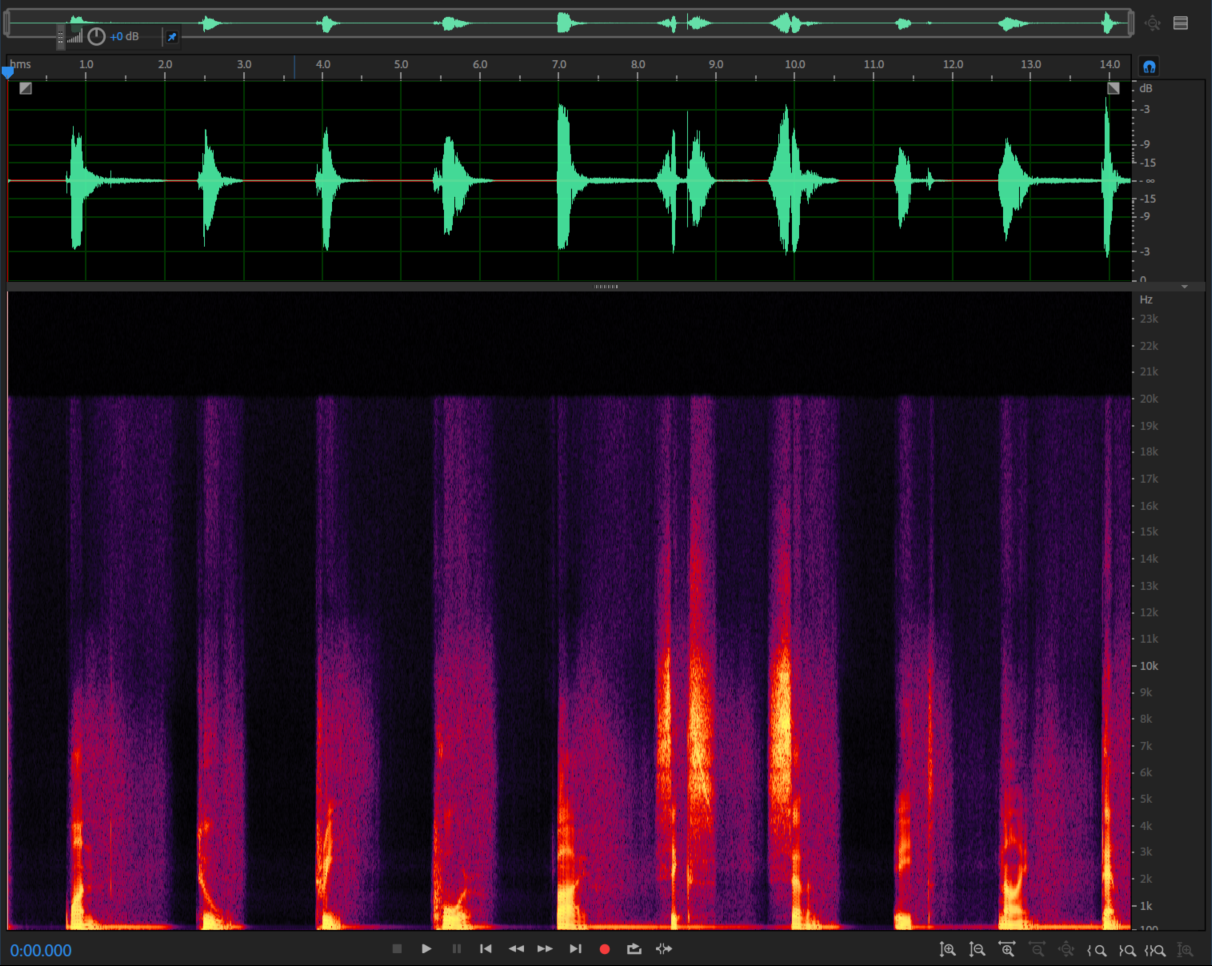
Test 1: speech with pink noise
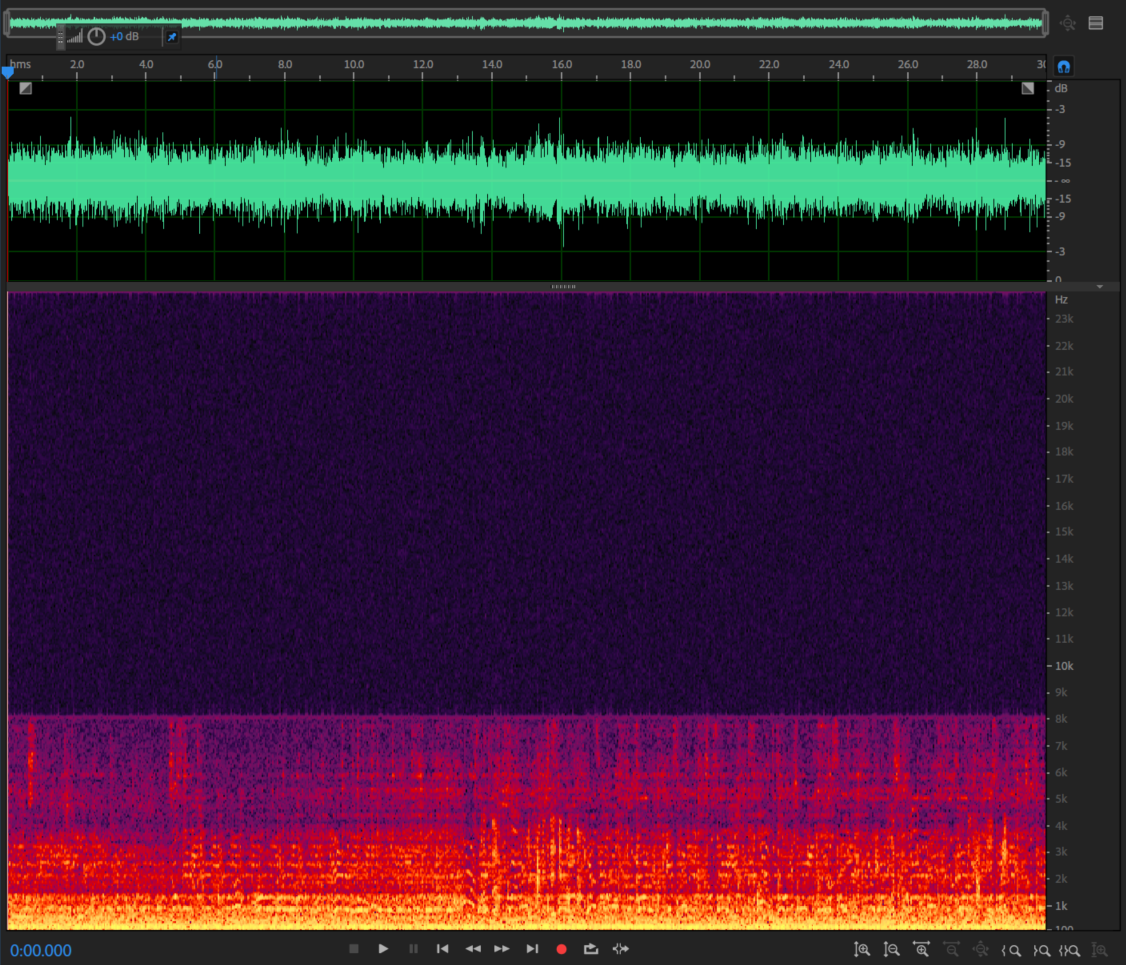
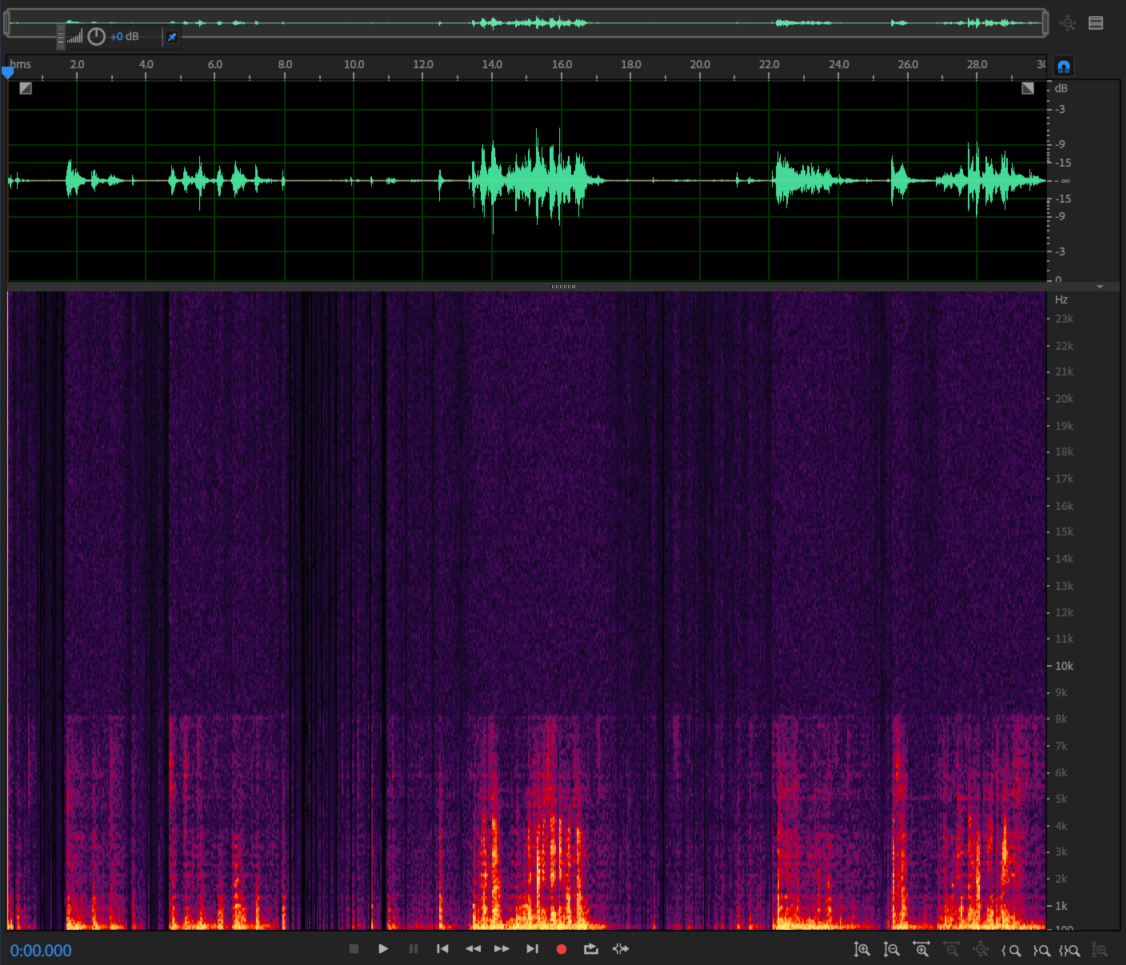
Test 2: car noise + music + speech
How to train your model
The model locates at the file ./src/rnn_data.c. If you want to use a new model, you can just replace the file with your trained model.
Training steps
You should install below tools before training:
Tensorflow, python, Keras
It is a good choice to use Anaconda to manage your training environment, especially for windows platform.
-
Install the training environment
-
download and install anaconda from the link.
-
create a virtual training environment
-
open your command line and create python 3.7 virtual environment name
tf.conda create -n tf python=3.7 -
activate the virtual environment
activate tf // for linux the command is source activate tf -
install tensorflow in the virtual environment
conda install tensorflow -
install keras in the virtual environment
conda install keras -
finally, start training( not yet right now)
python rnn_train.py ...
-
-
-
Prepare the feature set for training
Generate the feature set to train a new model needs two wav files, one is the clean speech and the other is the noise data.
-
Complier a tool to convert the two file into a feature set
- For WSL/Linux user:
cd src
./train_complie.sh
It will generate a tool which can help you convert the two file into a feature set. For example
# ./denoise_training
	usage: ./denoise_training <speech> <noise> <loop_count> <output feature>

# ./denoise_training clean_speech.wav noise.wav 50000 feature.dat
matrix size: 50000 x 87
The file
feature.datcontains the feature needed.- For windows user, you can use the vs project
rnnoise-trainingto generate a .exe executable program and run as above mention. The default .exe file located atrnnoise-windows\x64\Debug\directory.
-
Convert the feature into h5 format
First copy the file generated last step into the
my-trainingdirectory. Then run a python script convert the feature into h5 format. Open your command line reference as below commands.# cd training # mv ../src/feature.dat . # python bin2hdf5.py --bin_file feature.dat --matrix_shape 50000x87These commands will generate a .h5 file for the next step.
-
-
Training
python rnn_train.py xxx.h5 -
Capture the new model
# python dump_rnn.py
Finally, copy the file rnn_data.c into src directory and recompile the project . Then run and check the result of new model. Have fun.
PS:
The training script has a function called "resume from break point". While the rnn_train.py script is running, it will generate and scan a middle weight mid_weights.hdf5. If exits this file at the same directory when the scripts is started at the first time, it will continue the training process follow the last epoch. The script midWeight2Final.py will help you convert the midweight to the final weight which can be dumped to a new model.
Update log
| Version | log |
|---|---|
| 1.2.1 | fix cmake support for Linux/wsl platform; fix output stream missing bug in denoise.c when training |
| 1.2 | update training steps and merge the code from official branch, cmake support fails at this version |
| 1.1 | remove some extra files and test for vs2019 |
| 1.0 | add cmake support and test for vs2017 |
Reference:
- RNNoise-Project - https://github.com/xiph/rnnoise
