Python Aws S3 Save
Demo of AWS S3 Walkthrough using Python
python-aws-s3
About
This is a demo of setting up an Amazon Web Service (AWS) S3 bucket and uploading a file with Python.
Setting Up Bucket
Open AWS Console and log in.
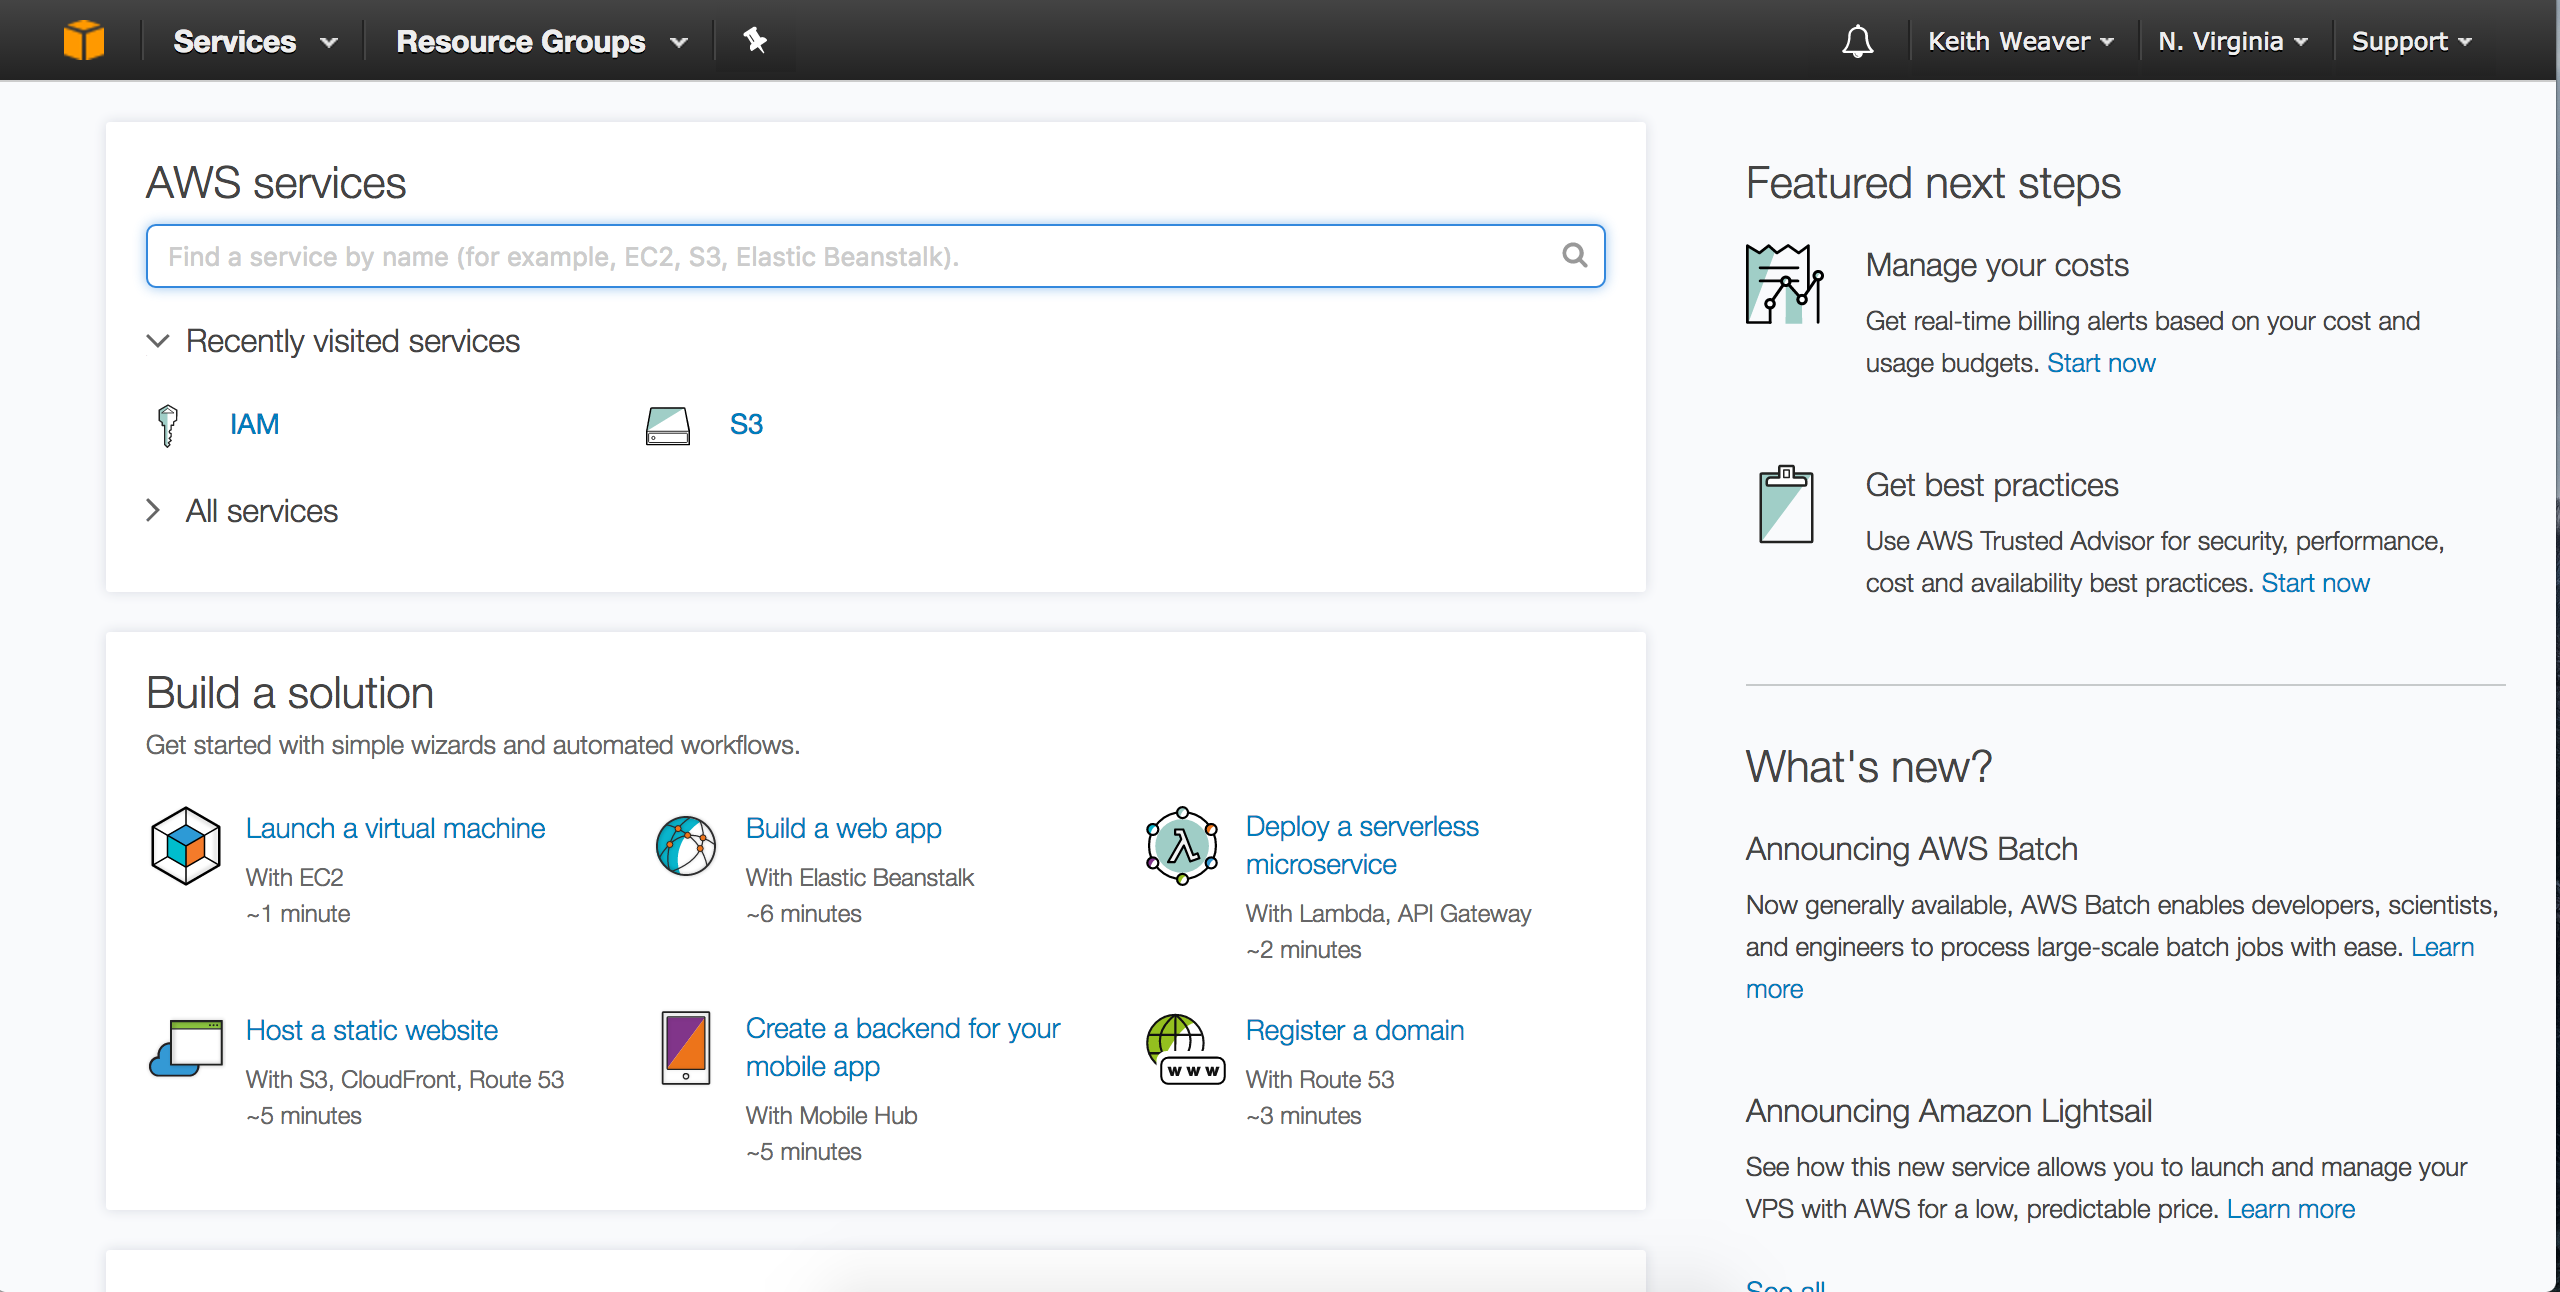
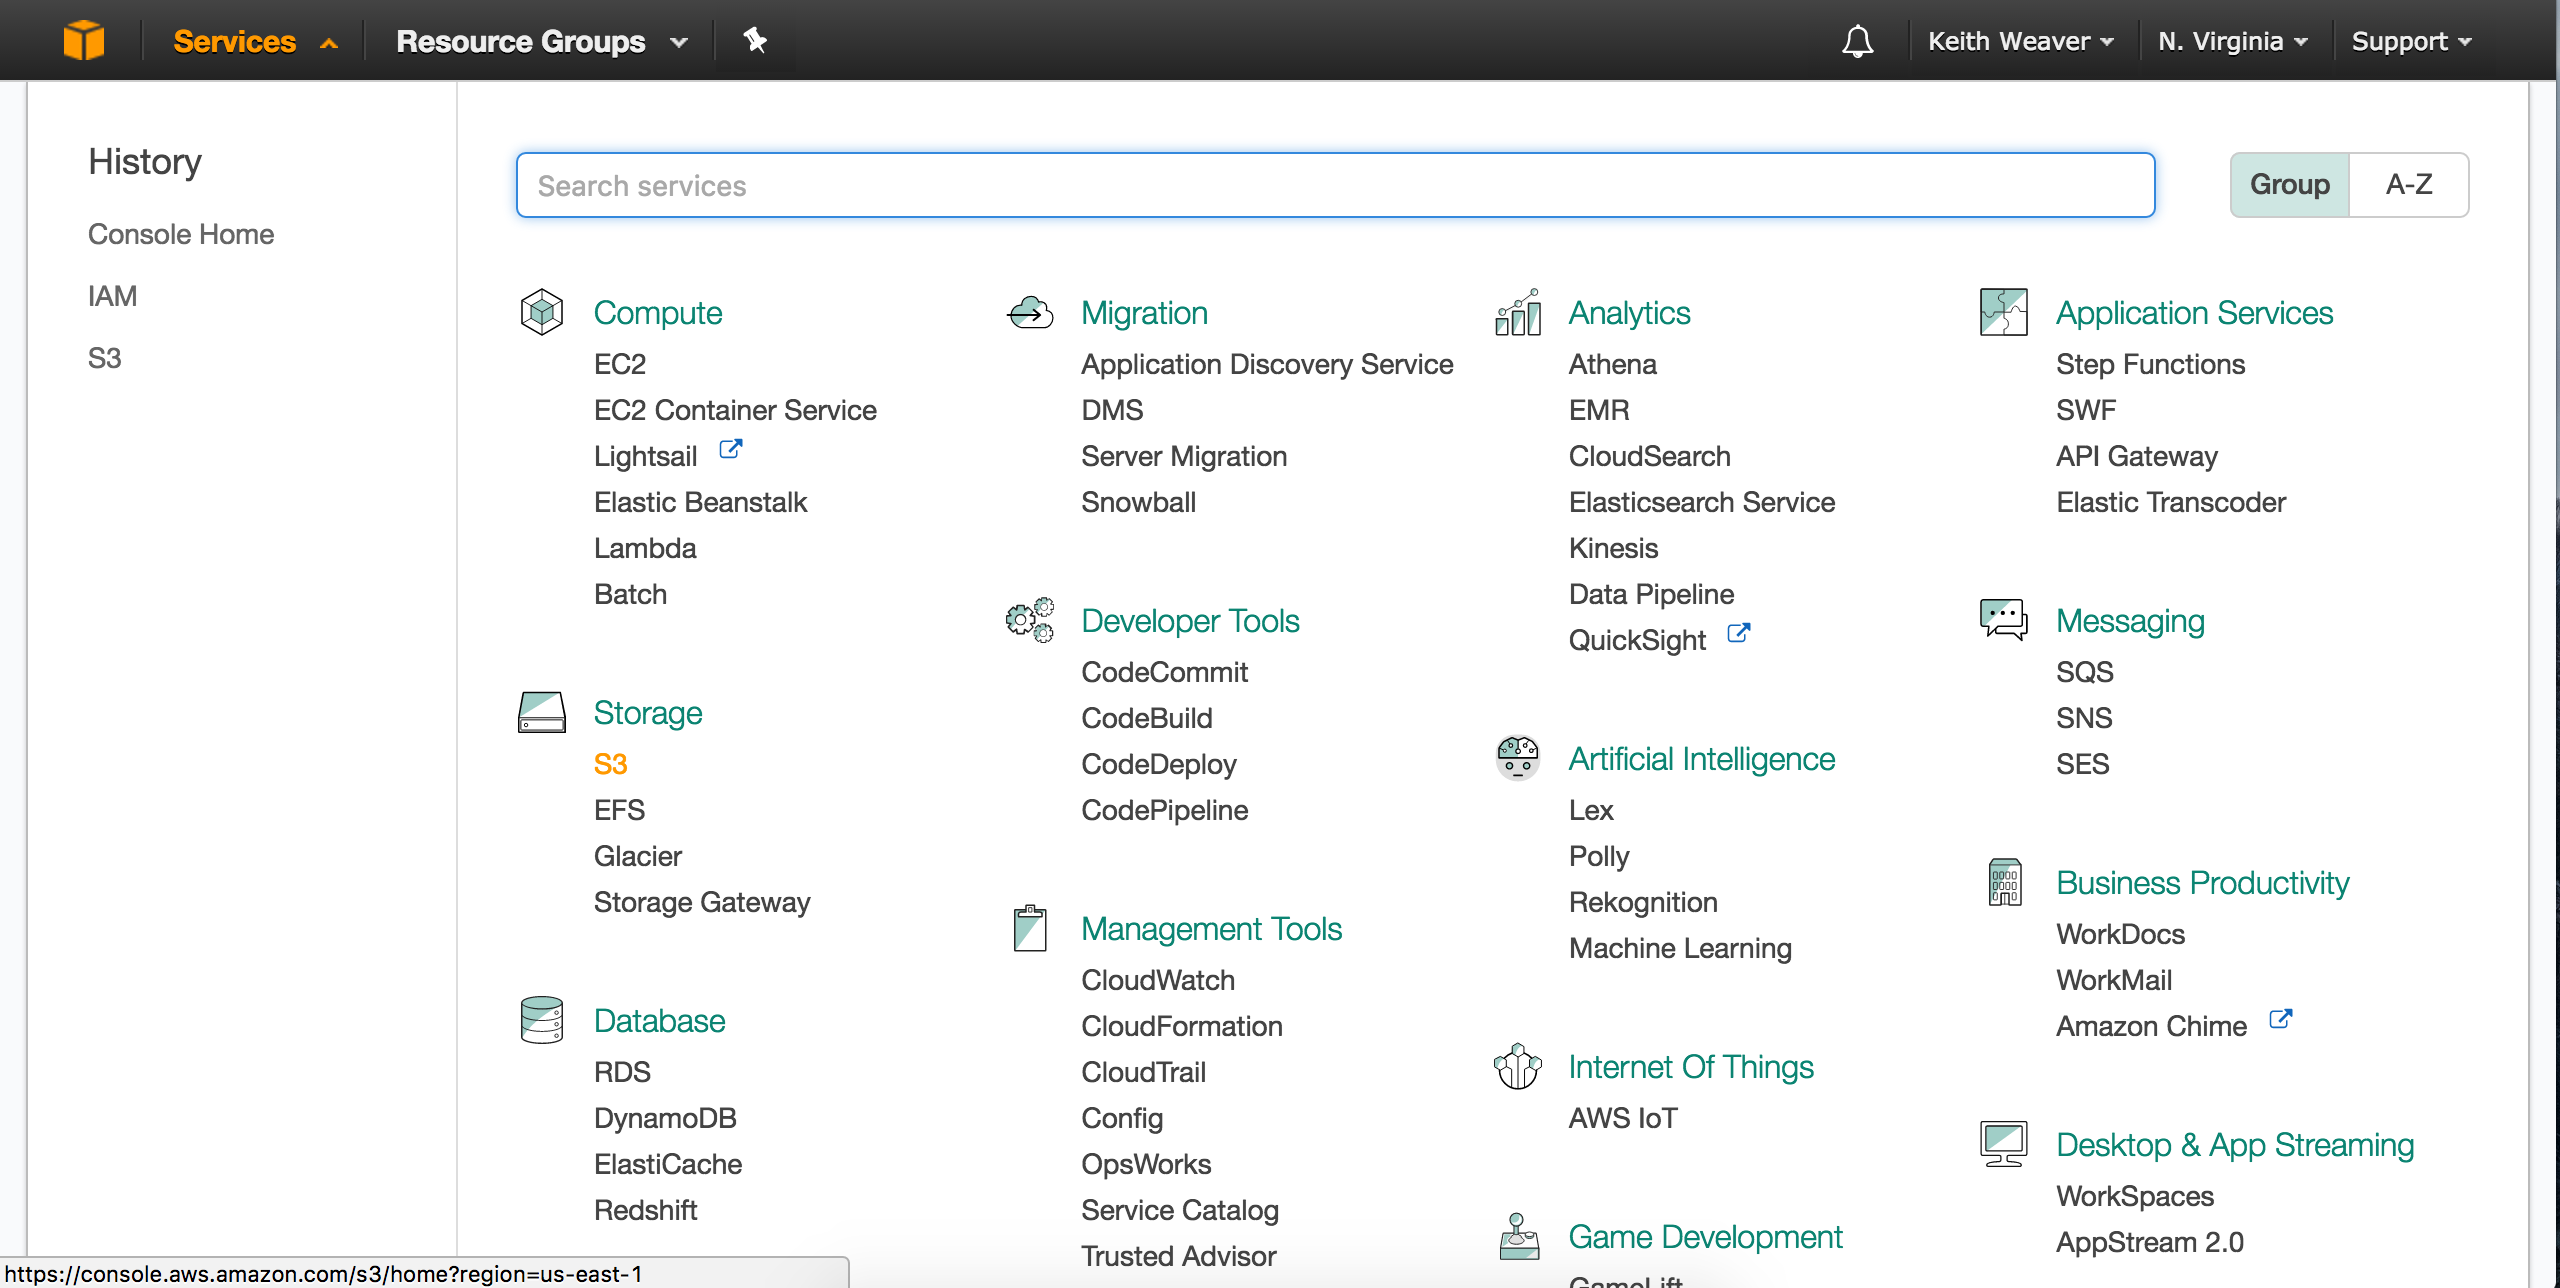
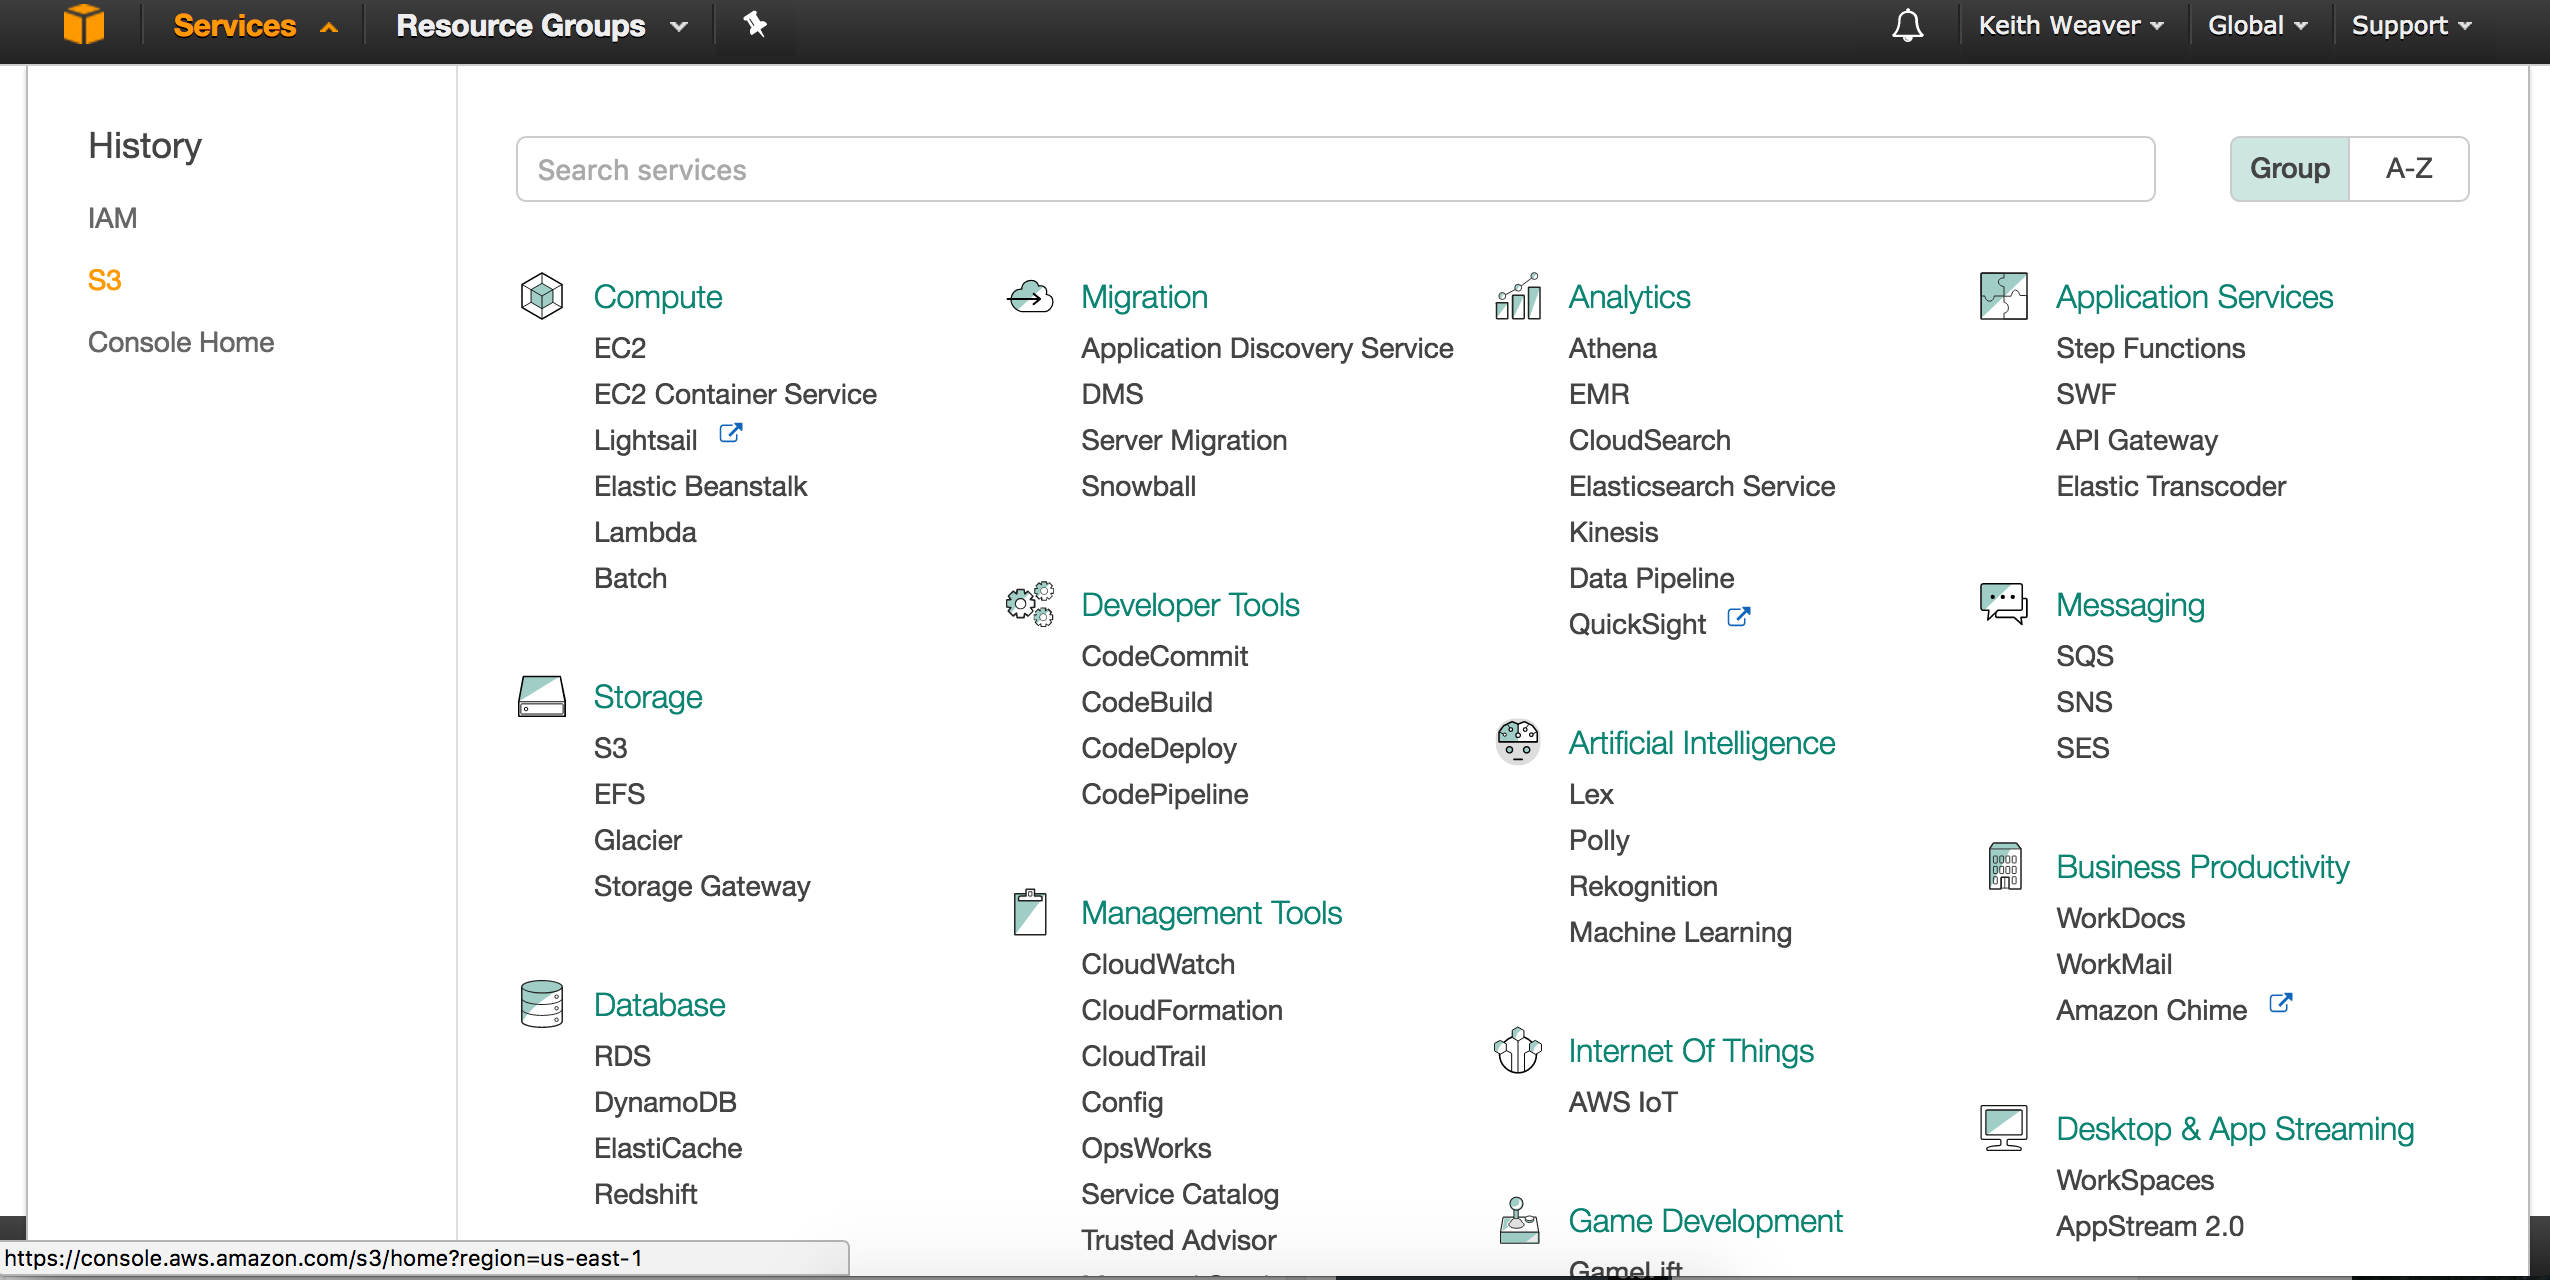
Click the Services dropdown and select the S3 service.
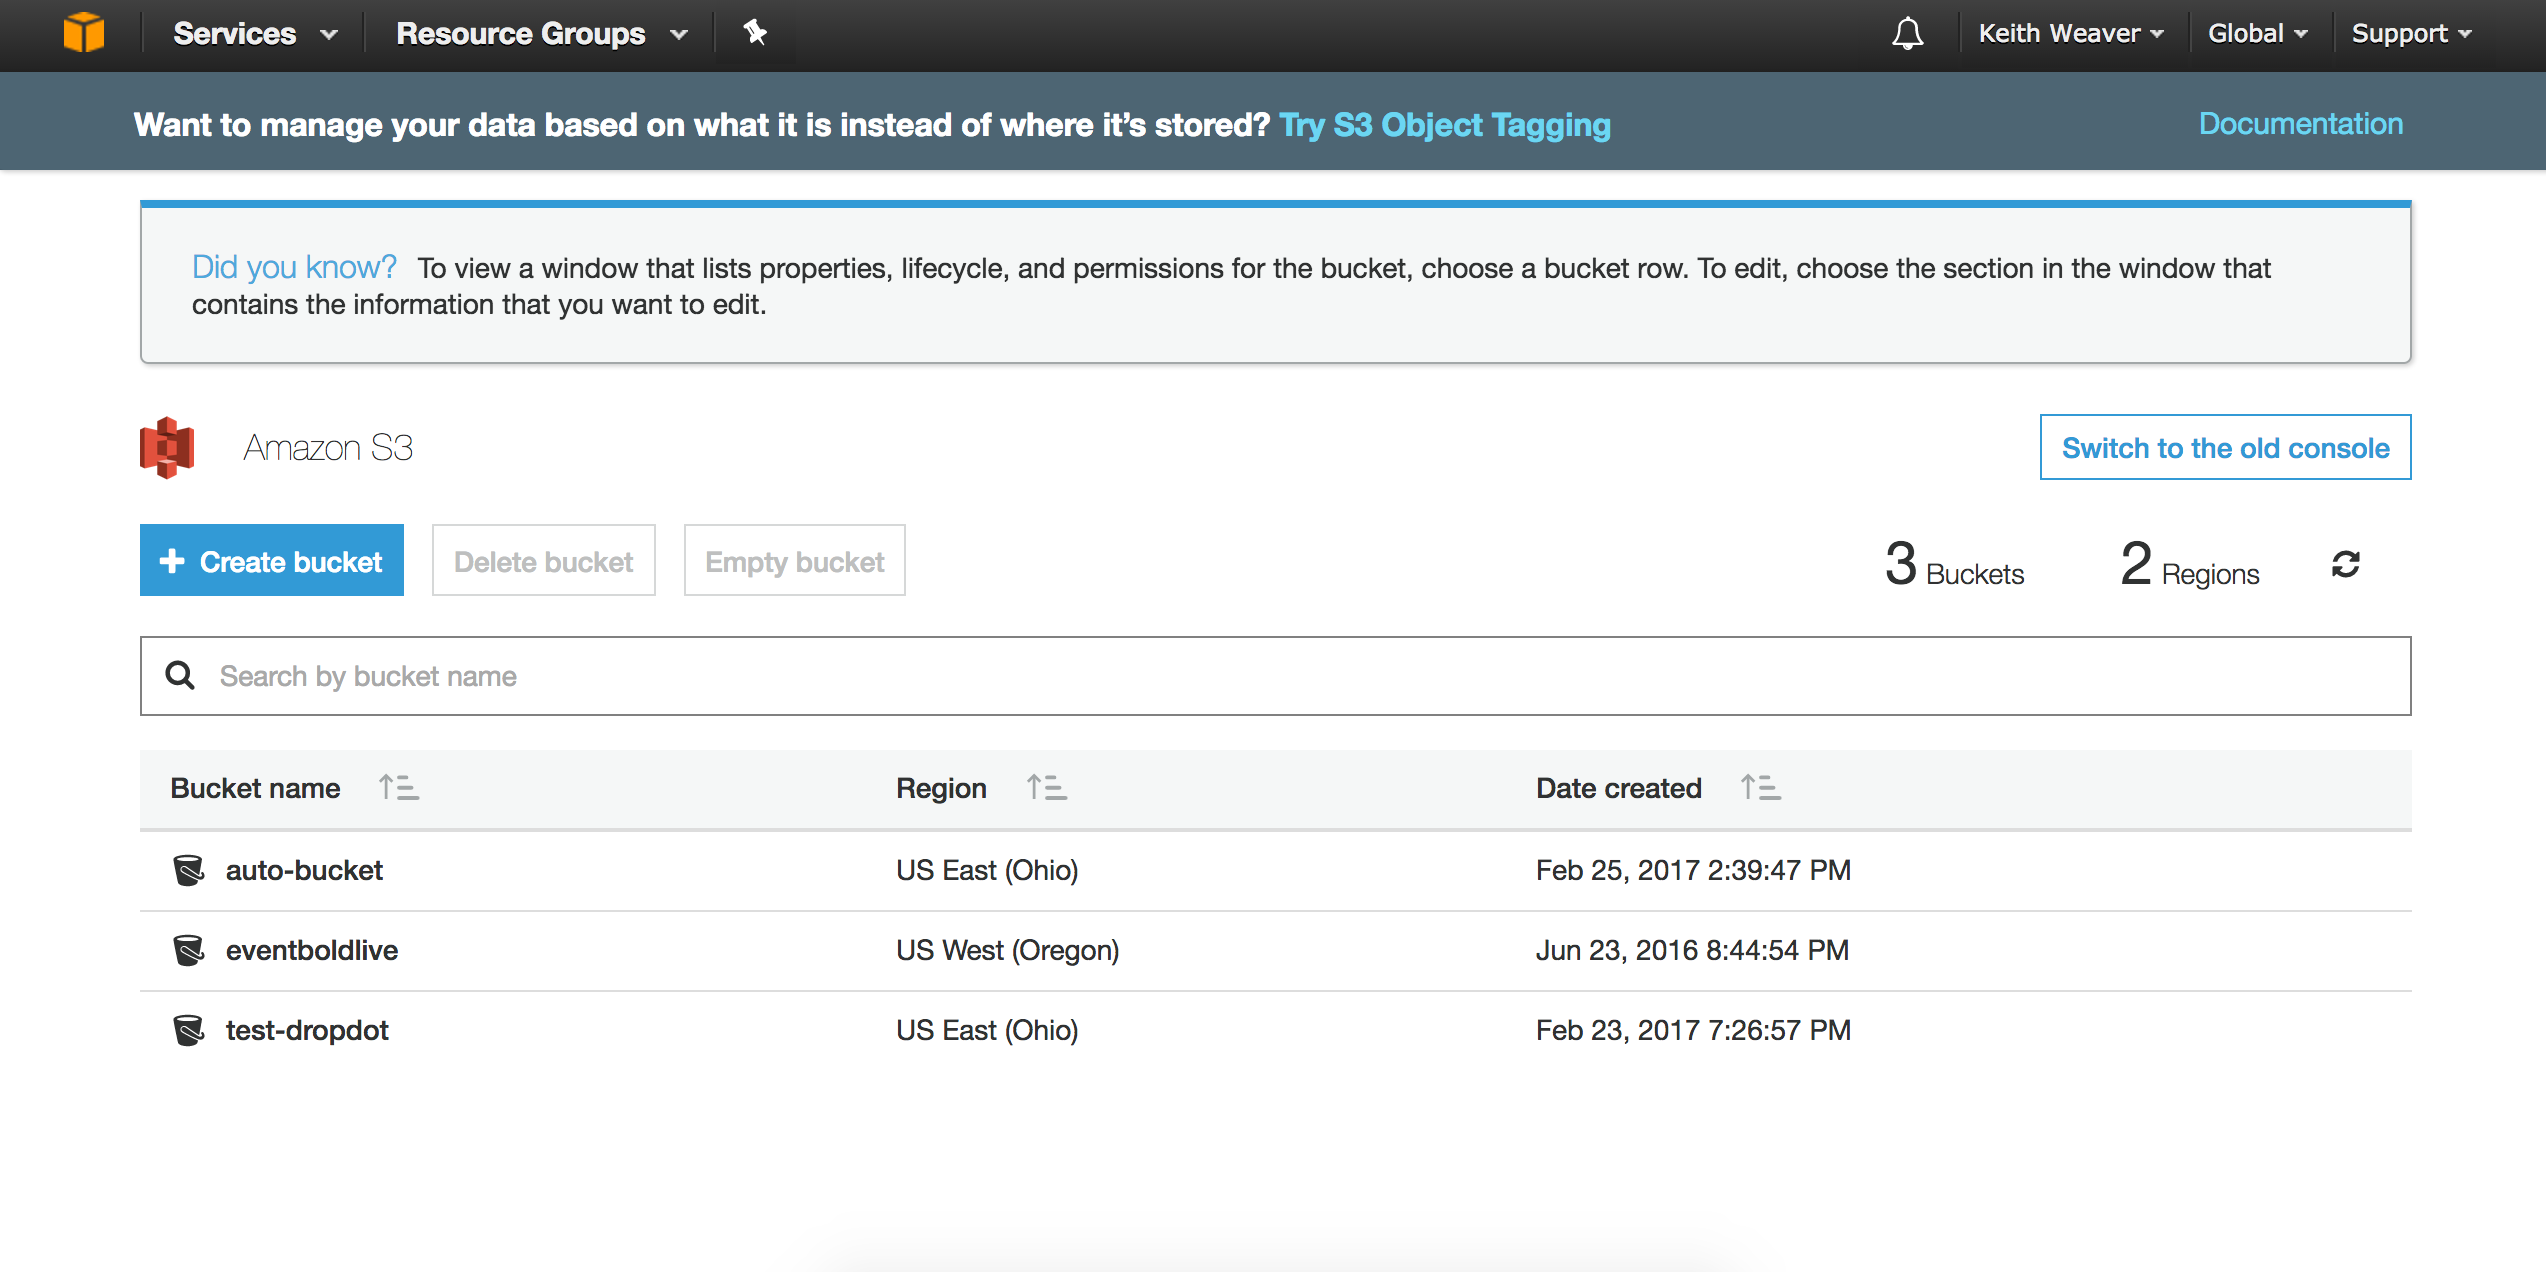
Click Create Bucket. Give it a name, region then hit next through each step.
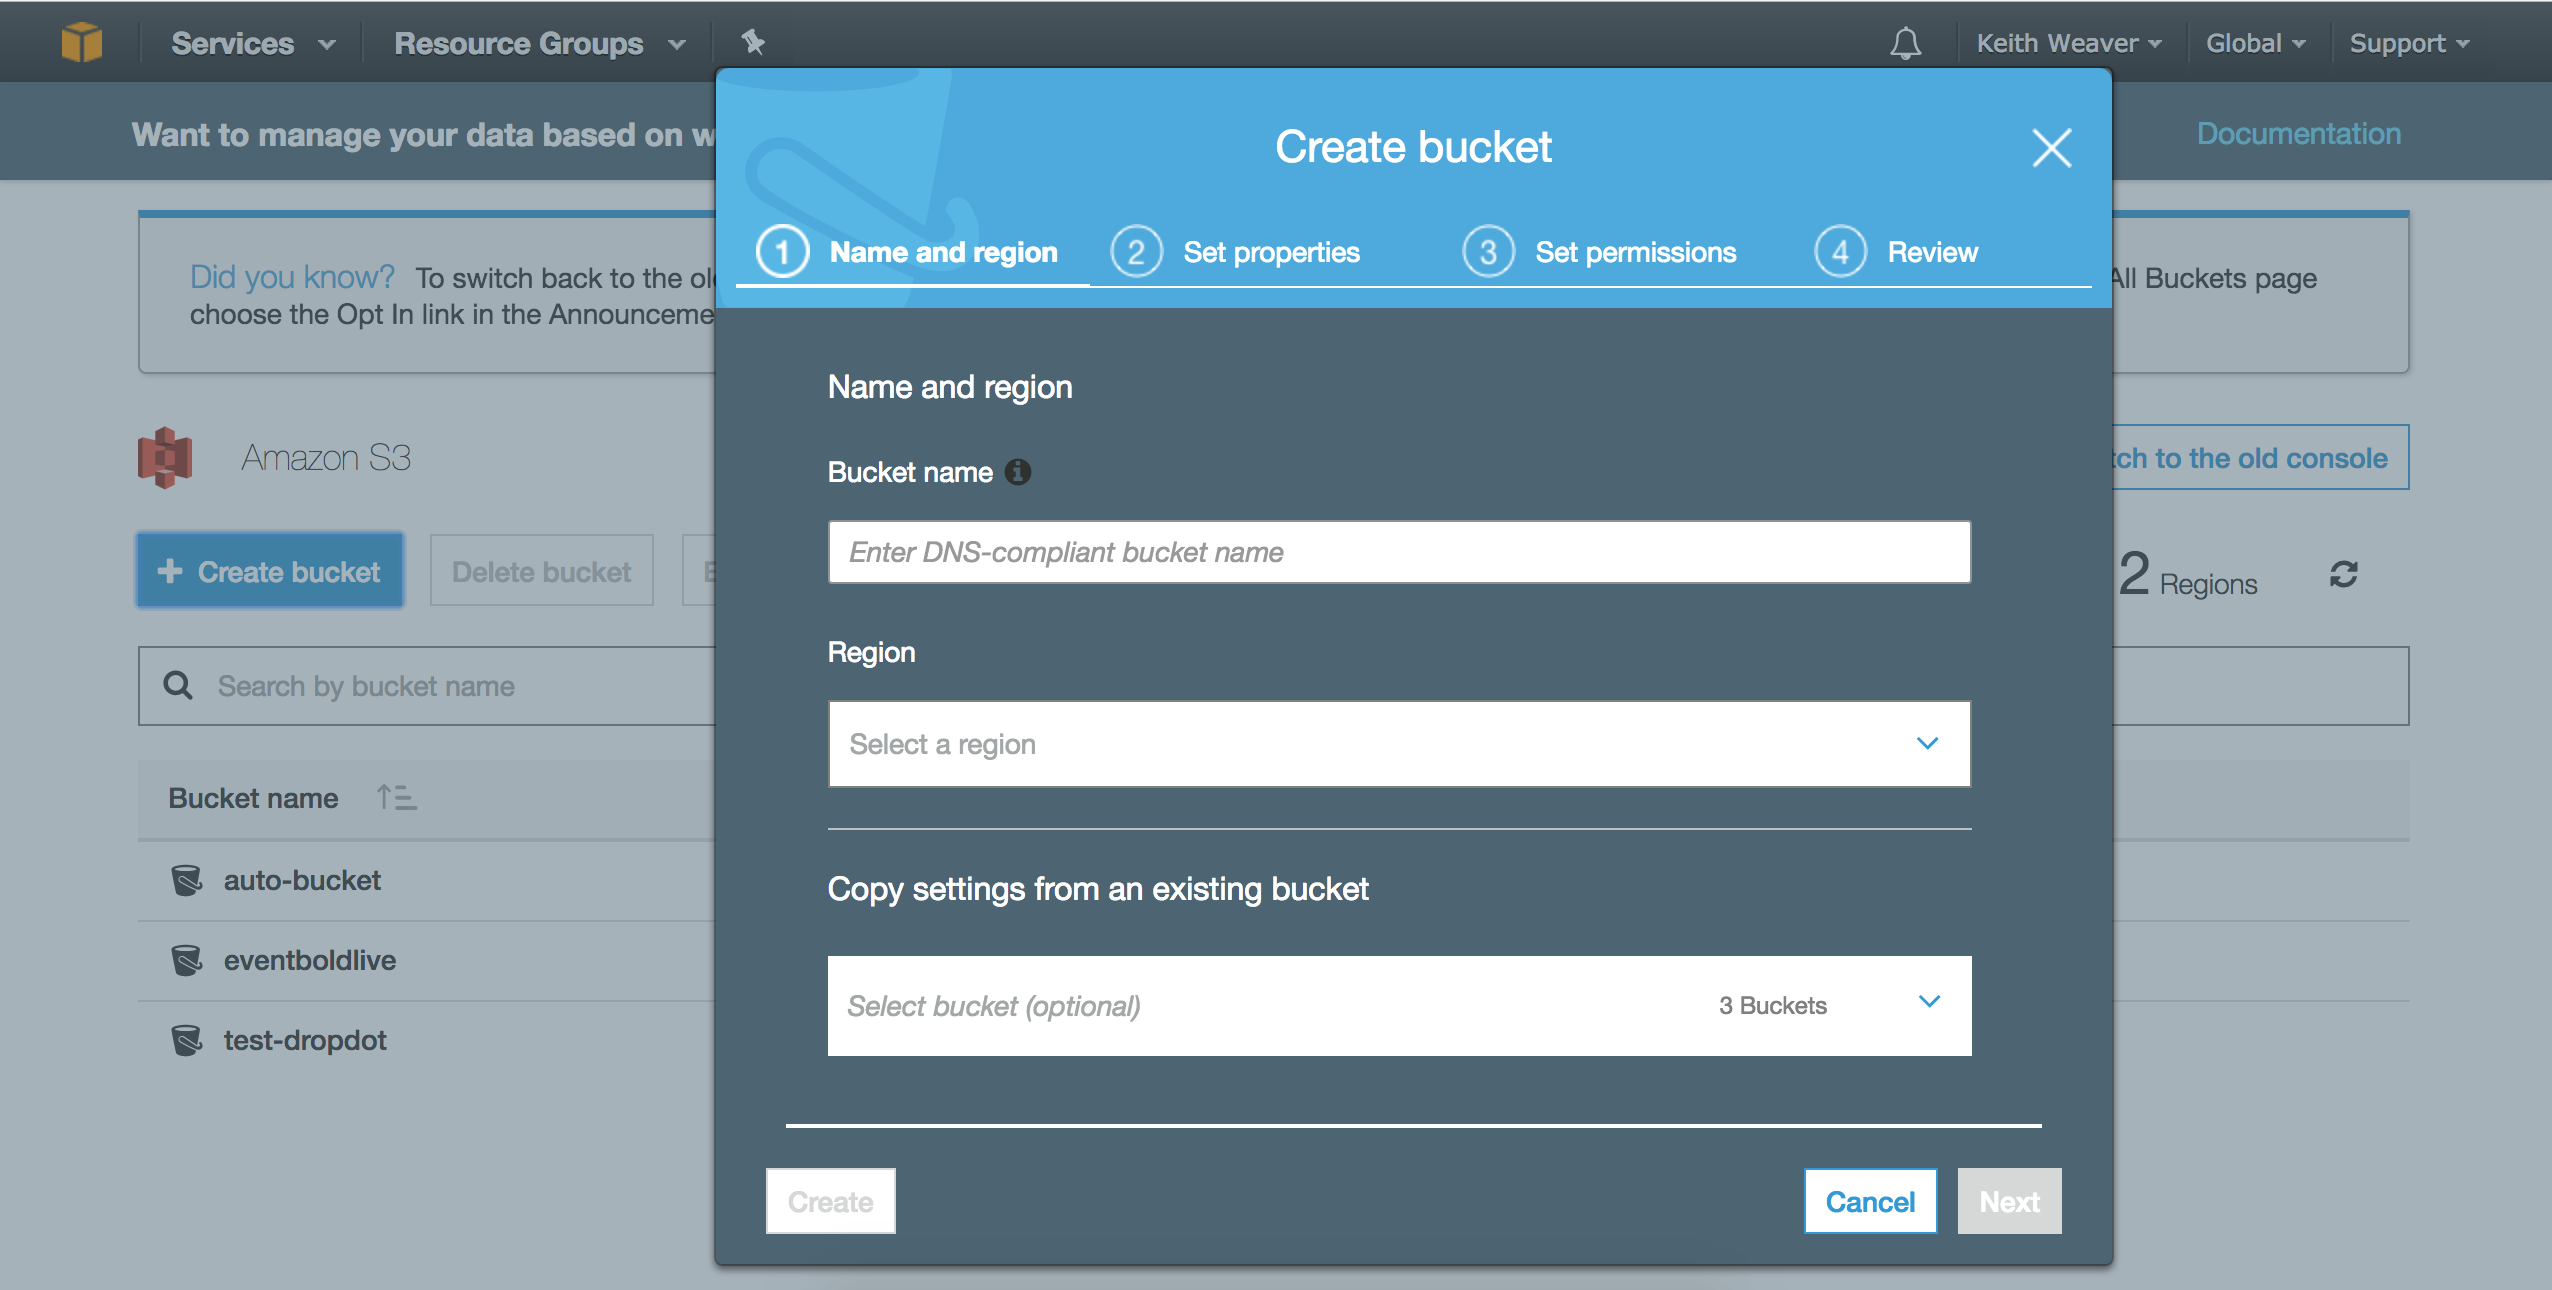
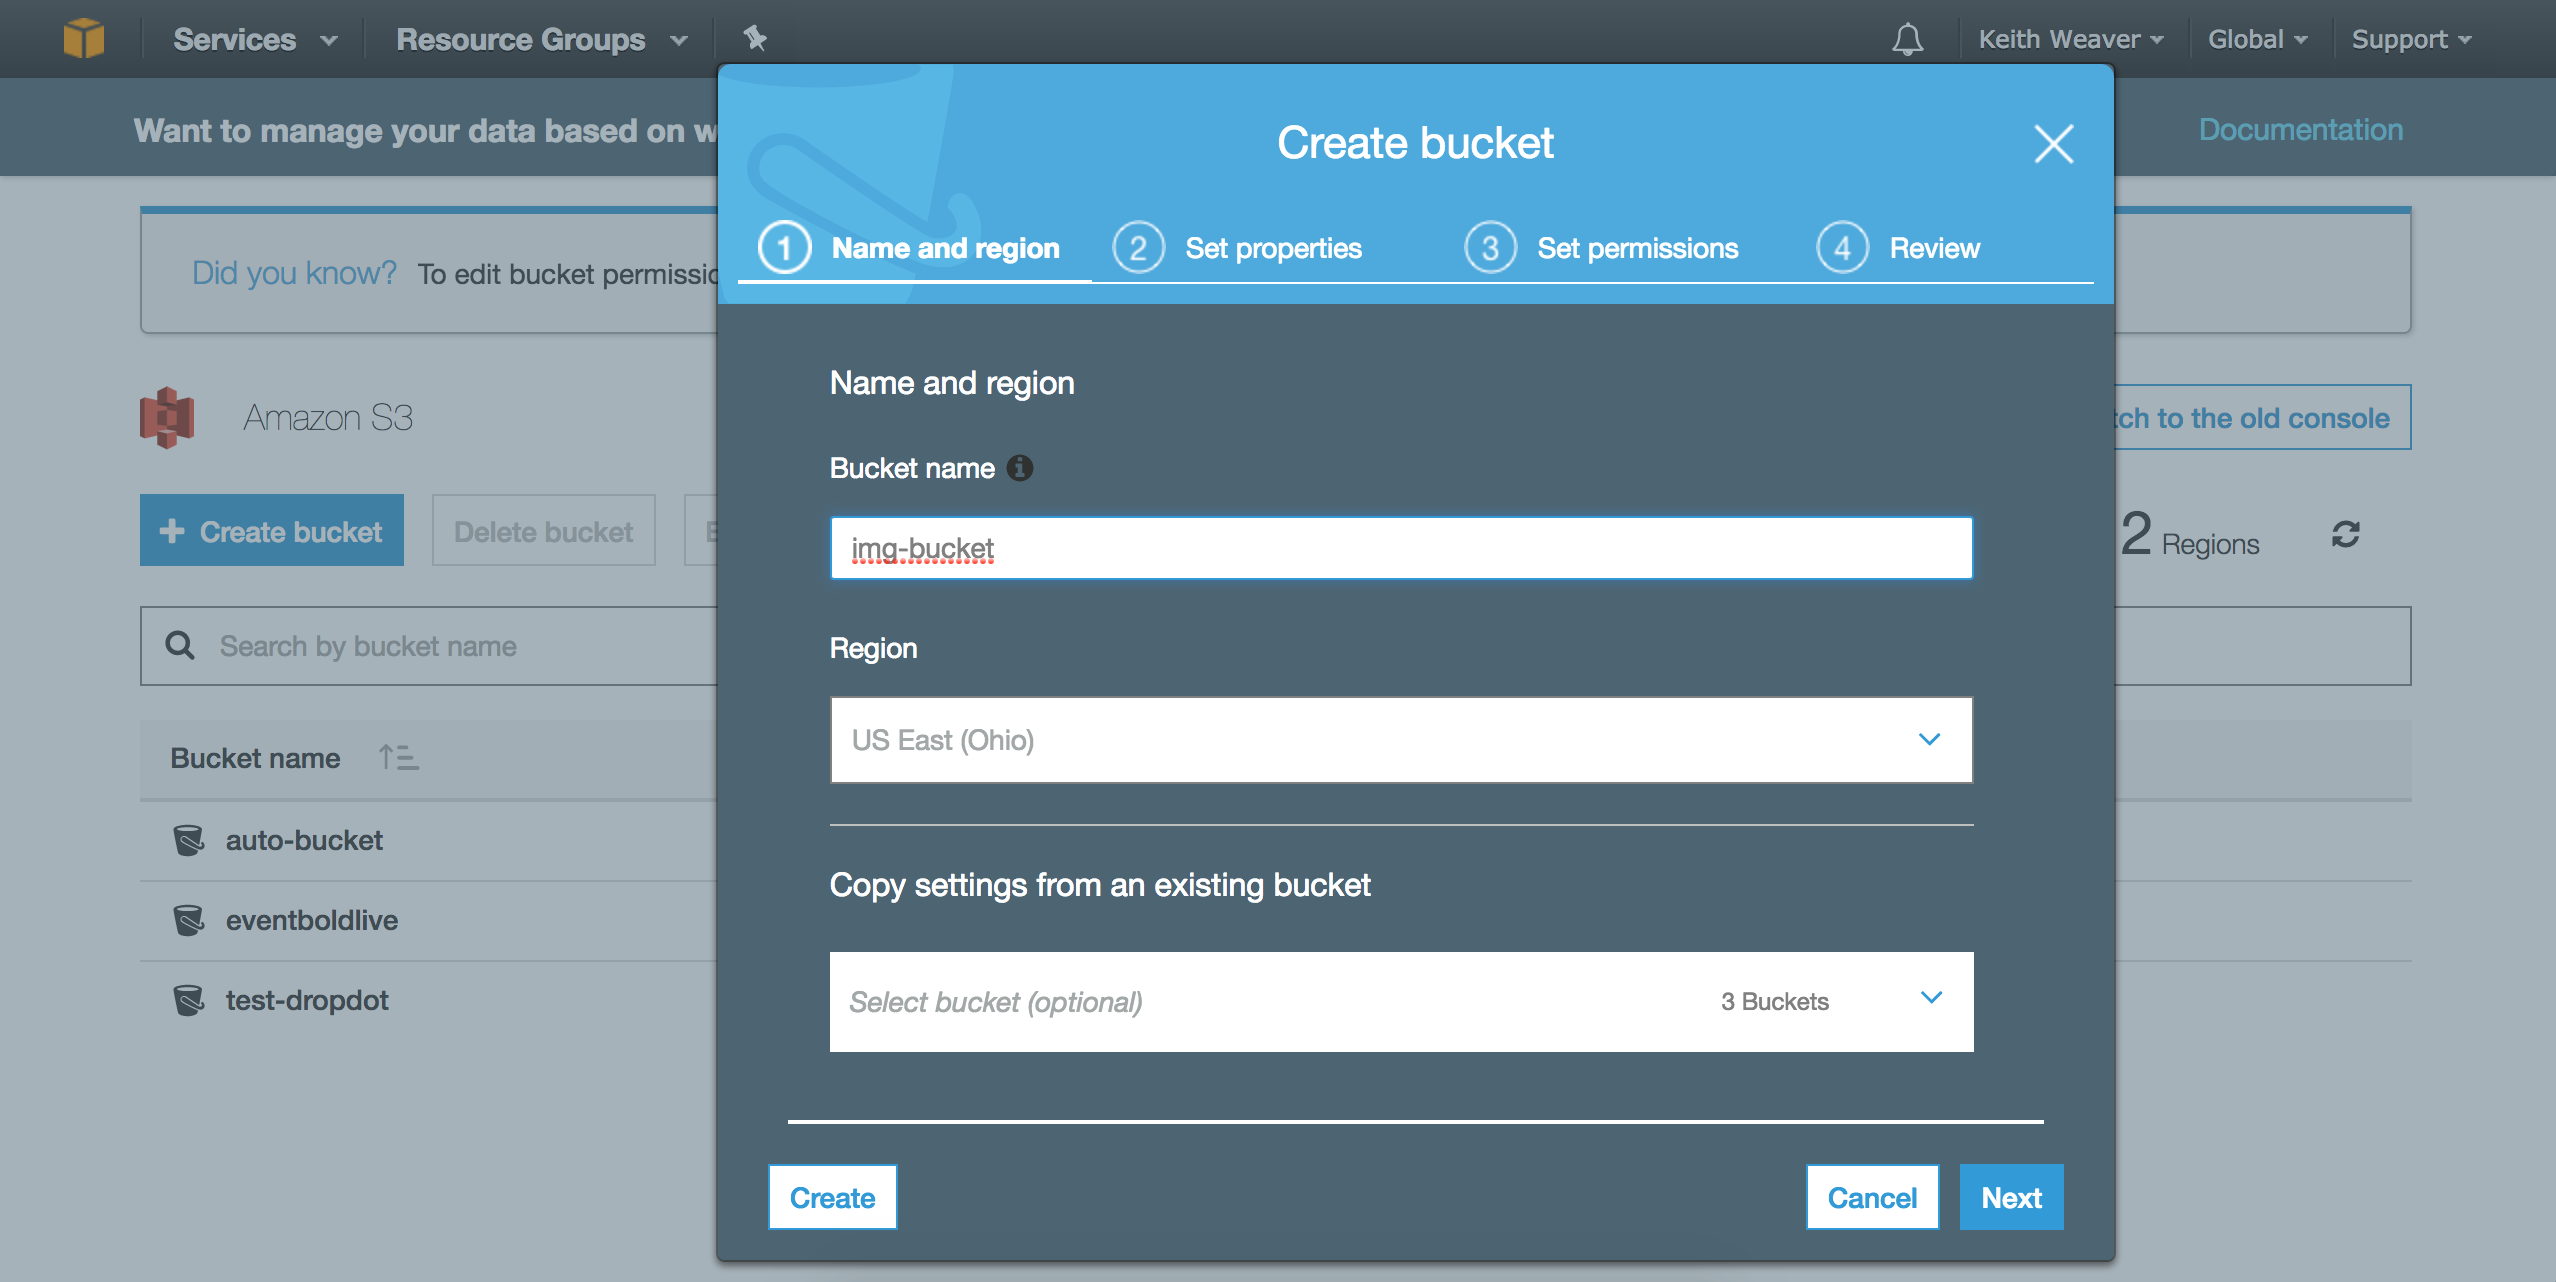
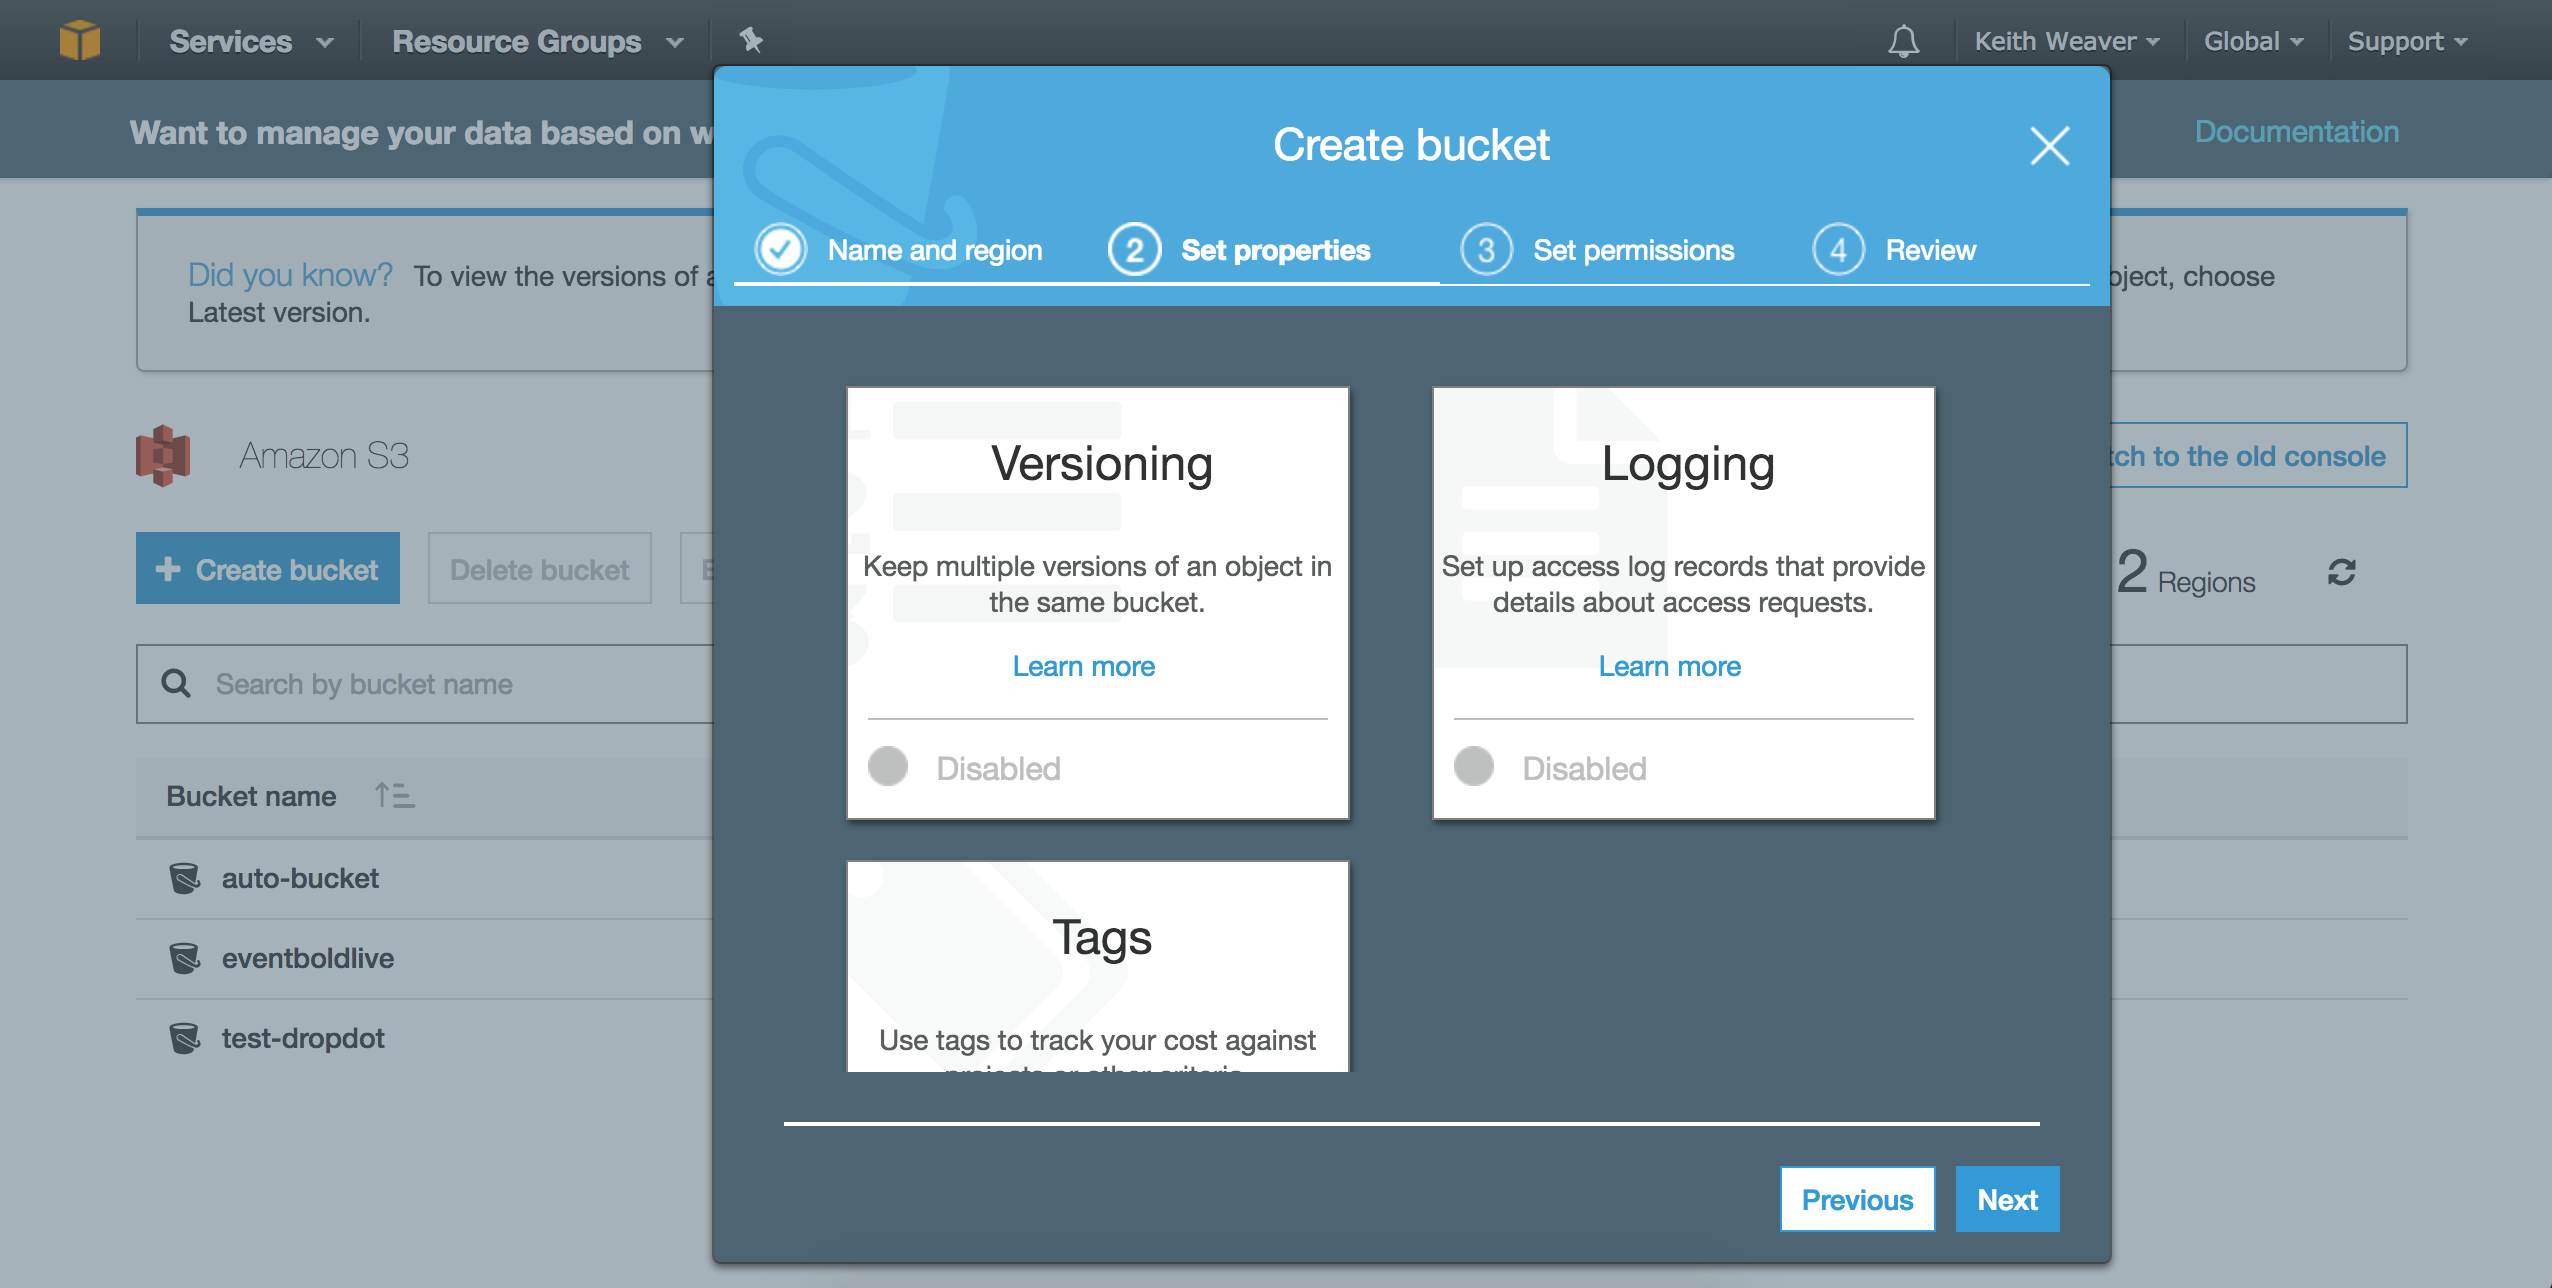
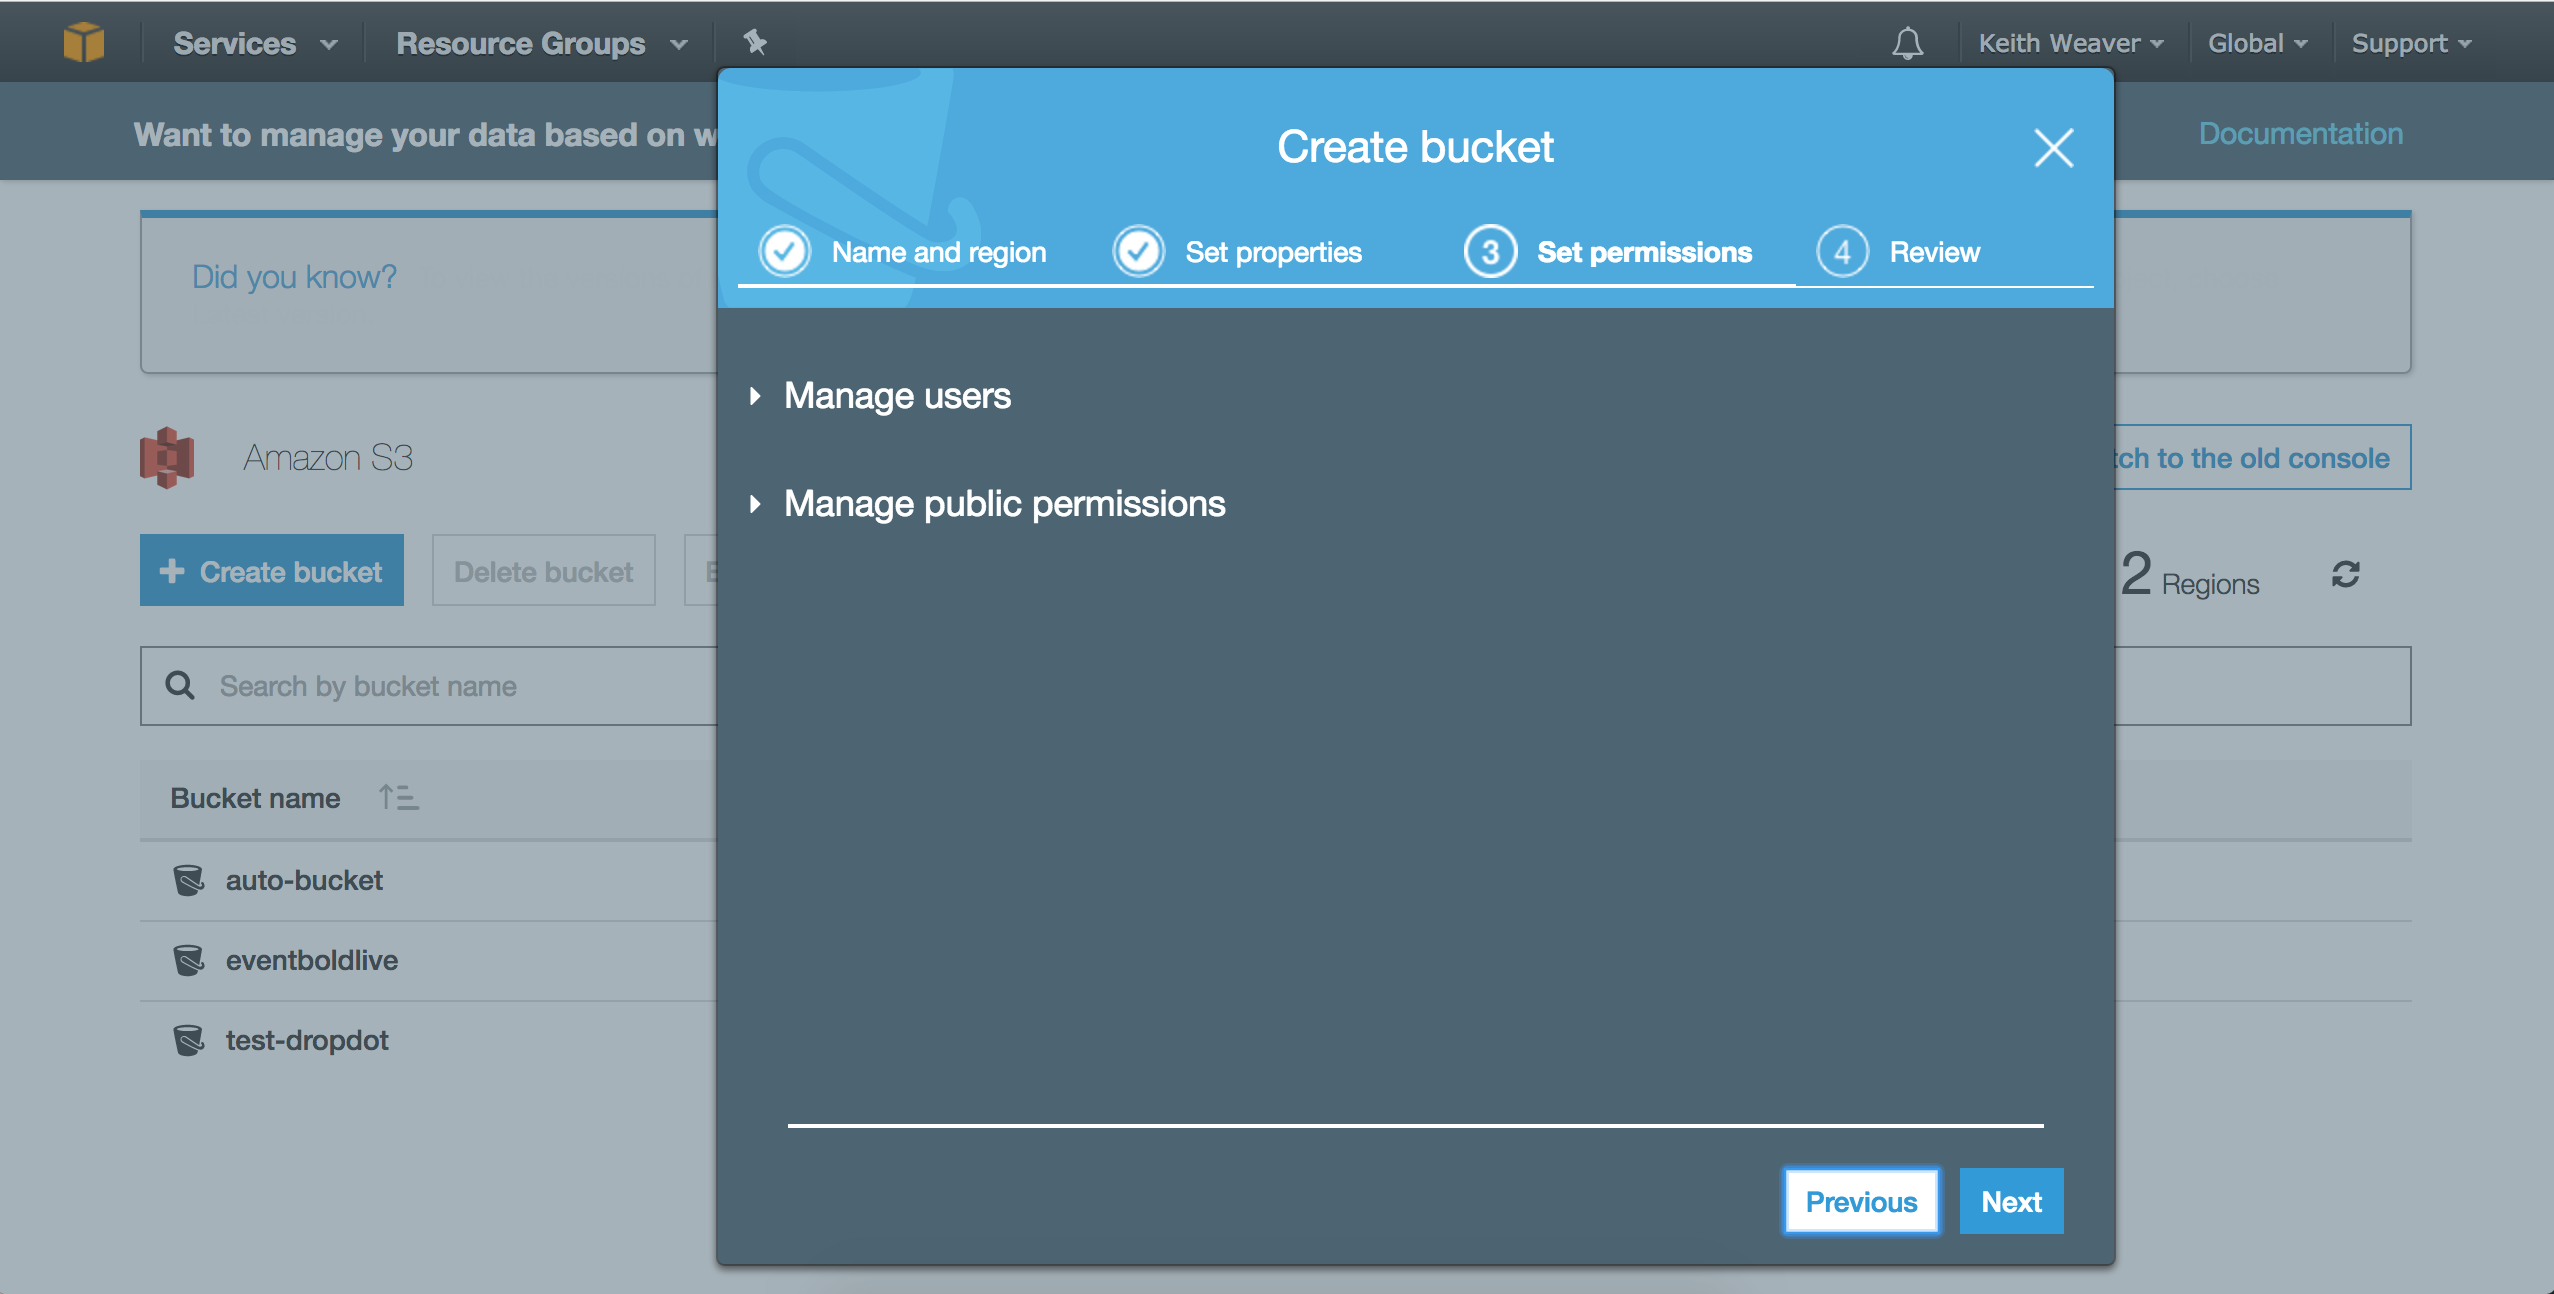
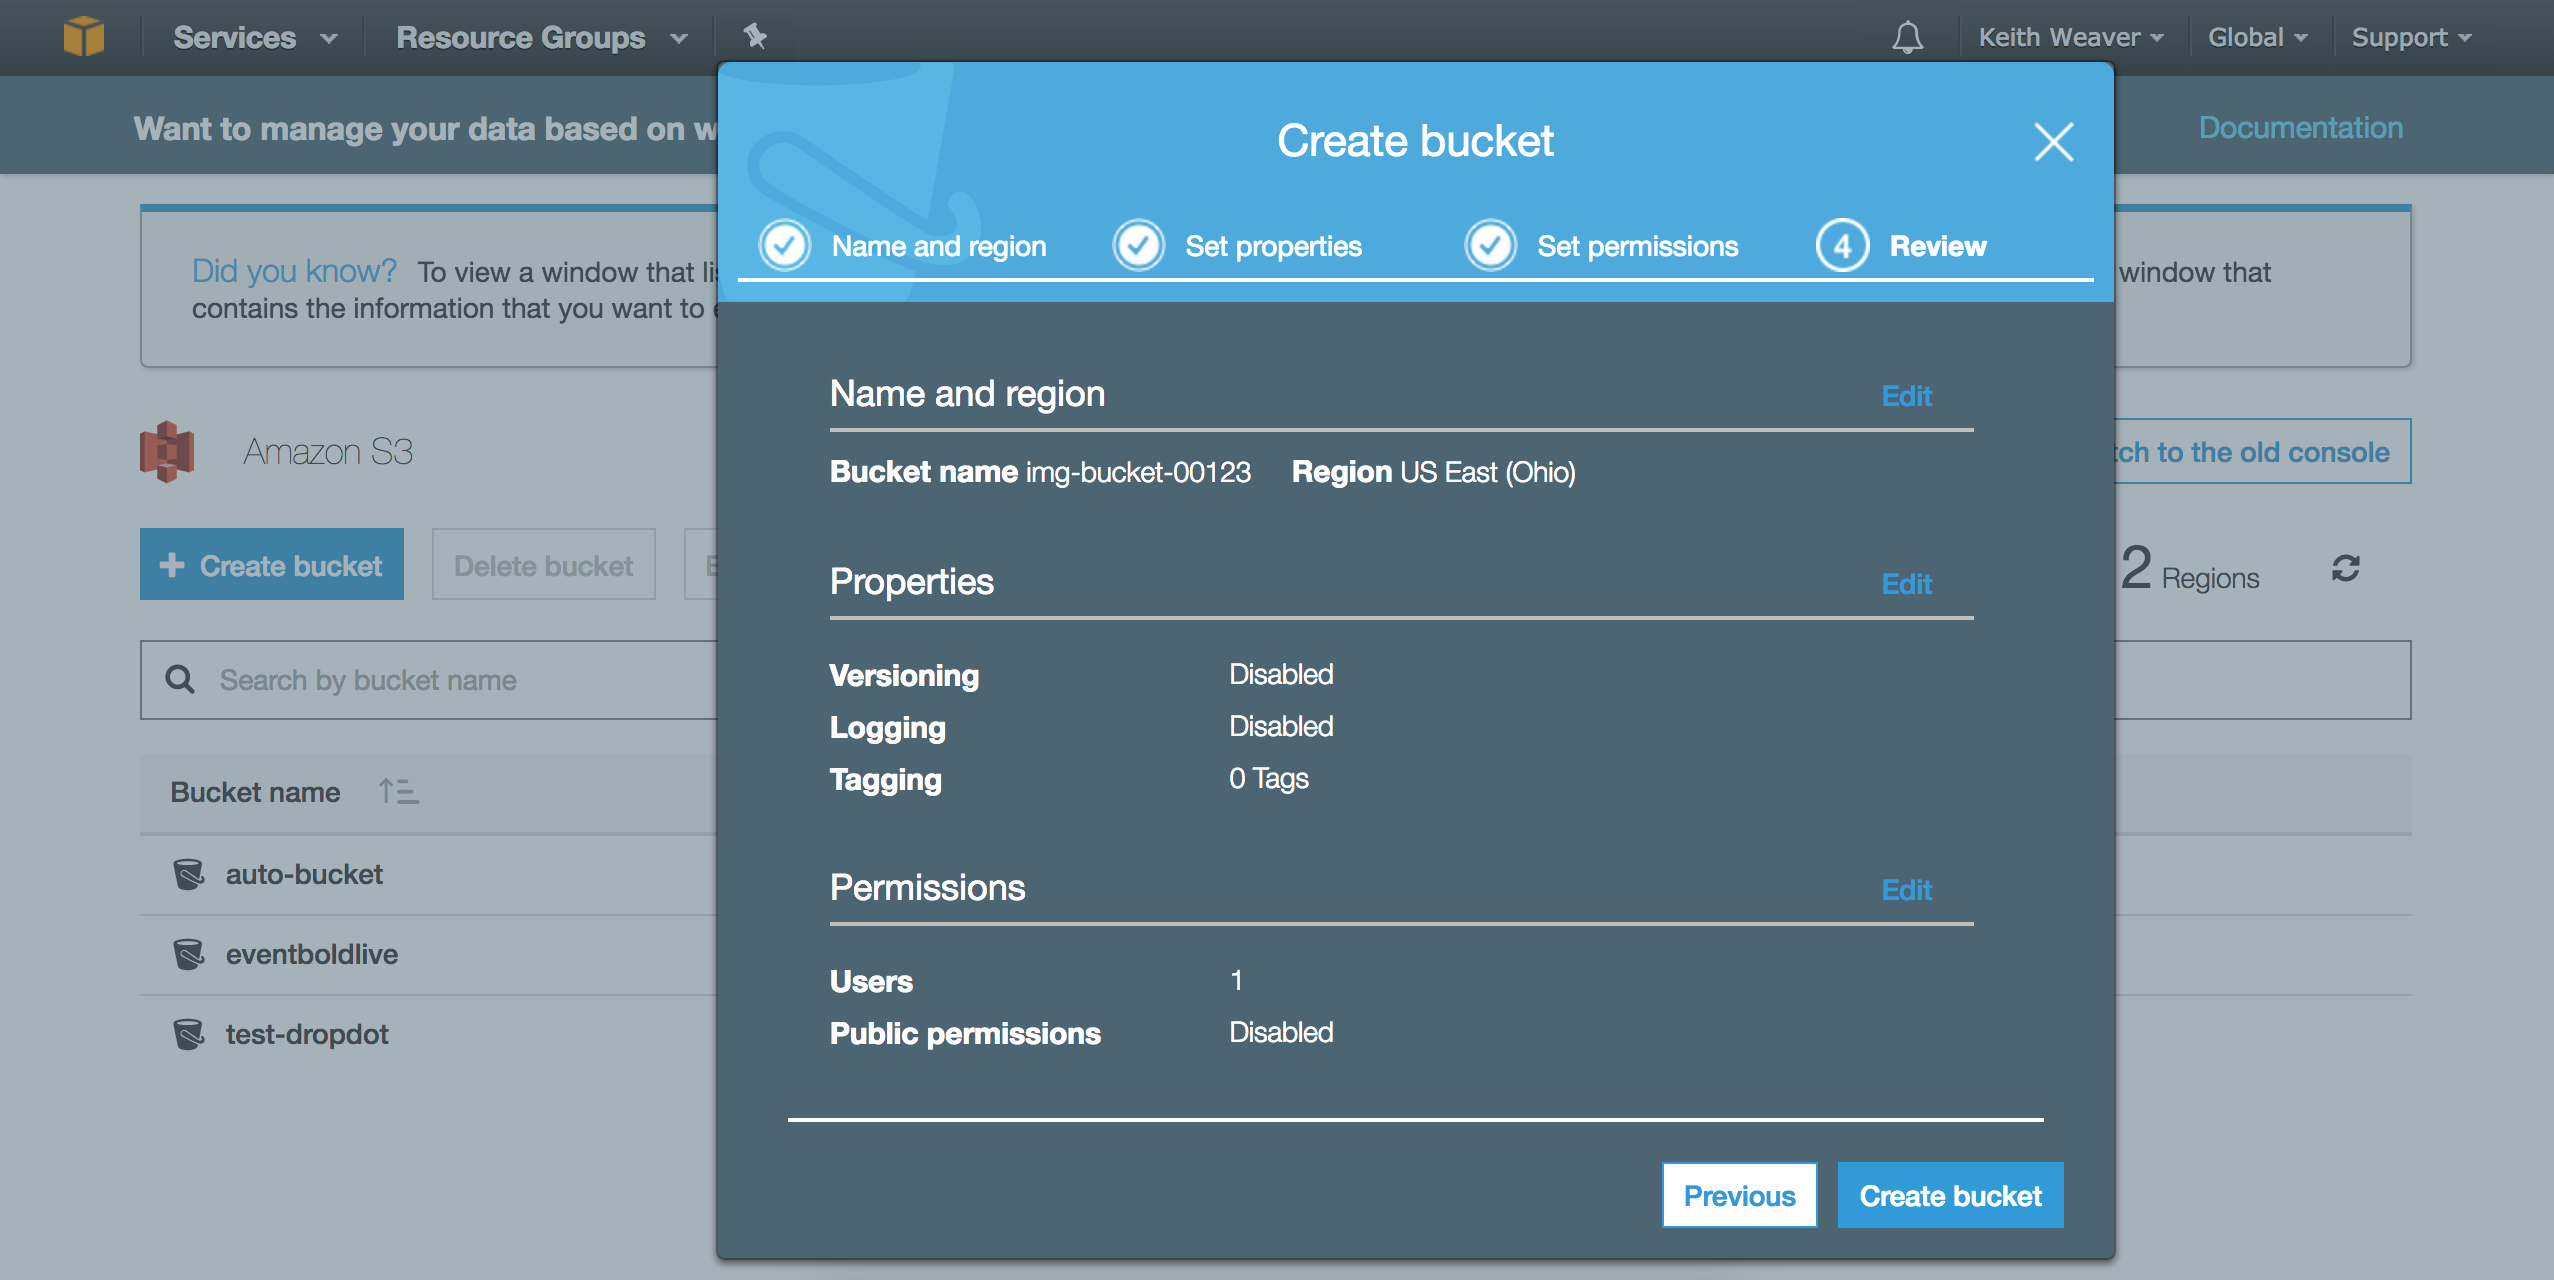
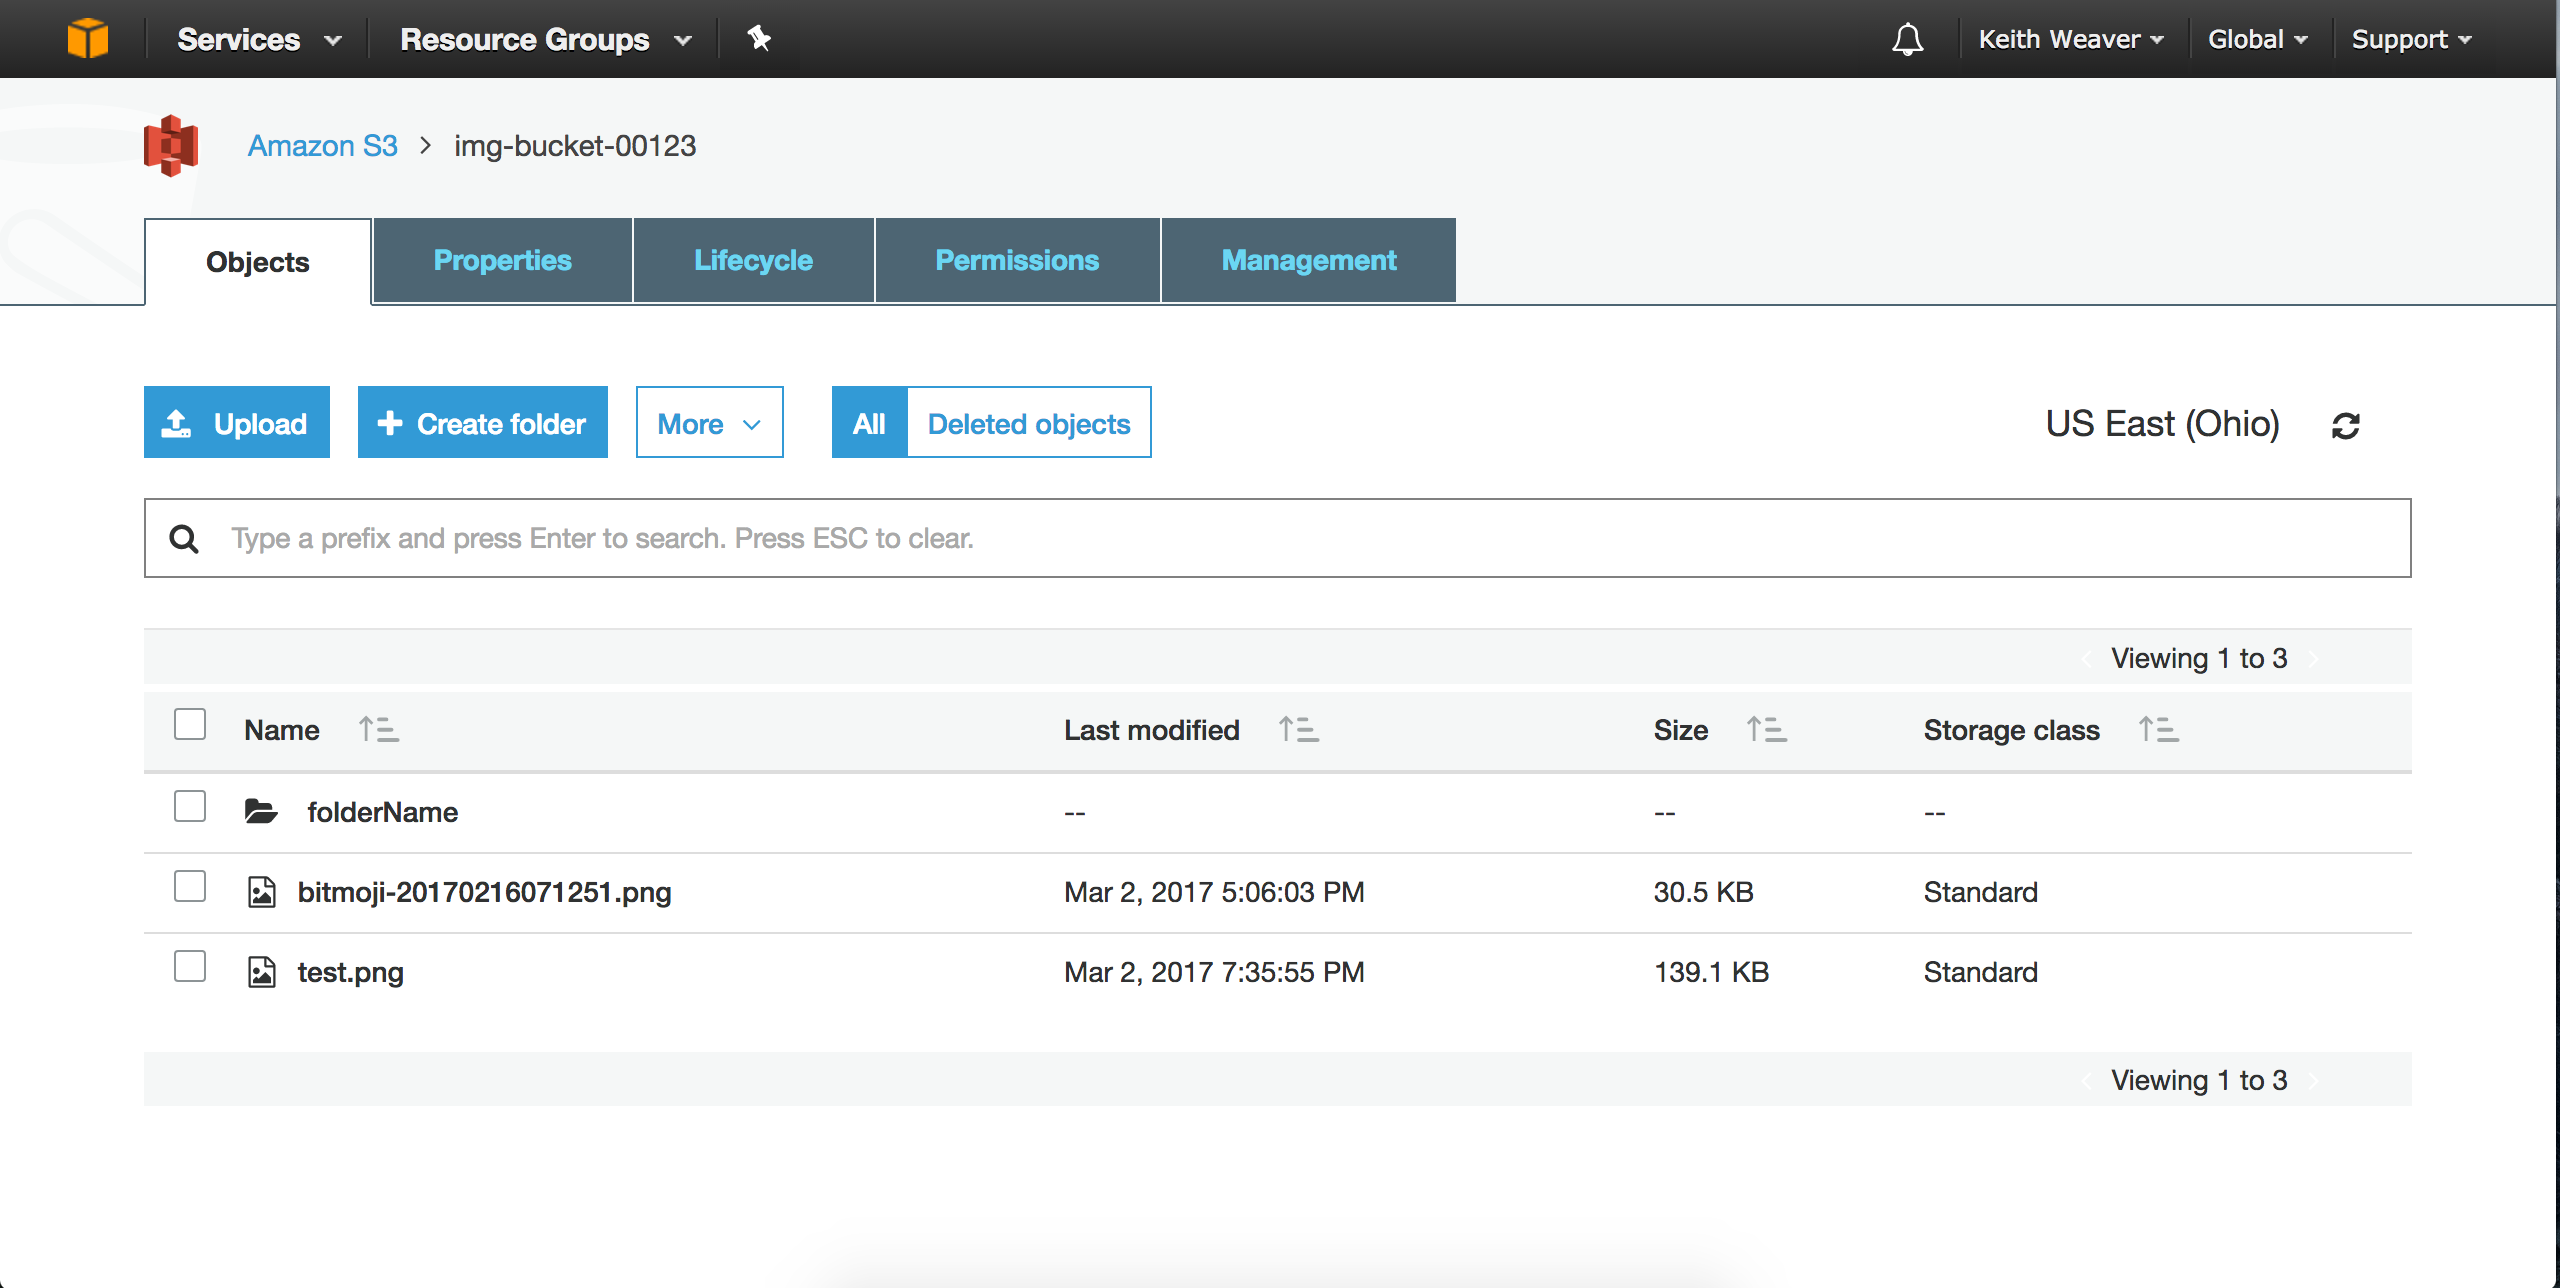
Now click your new bucket
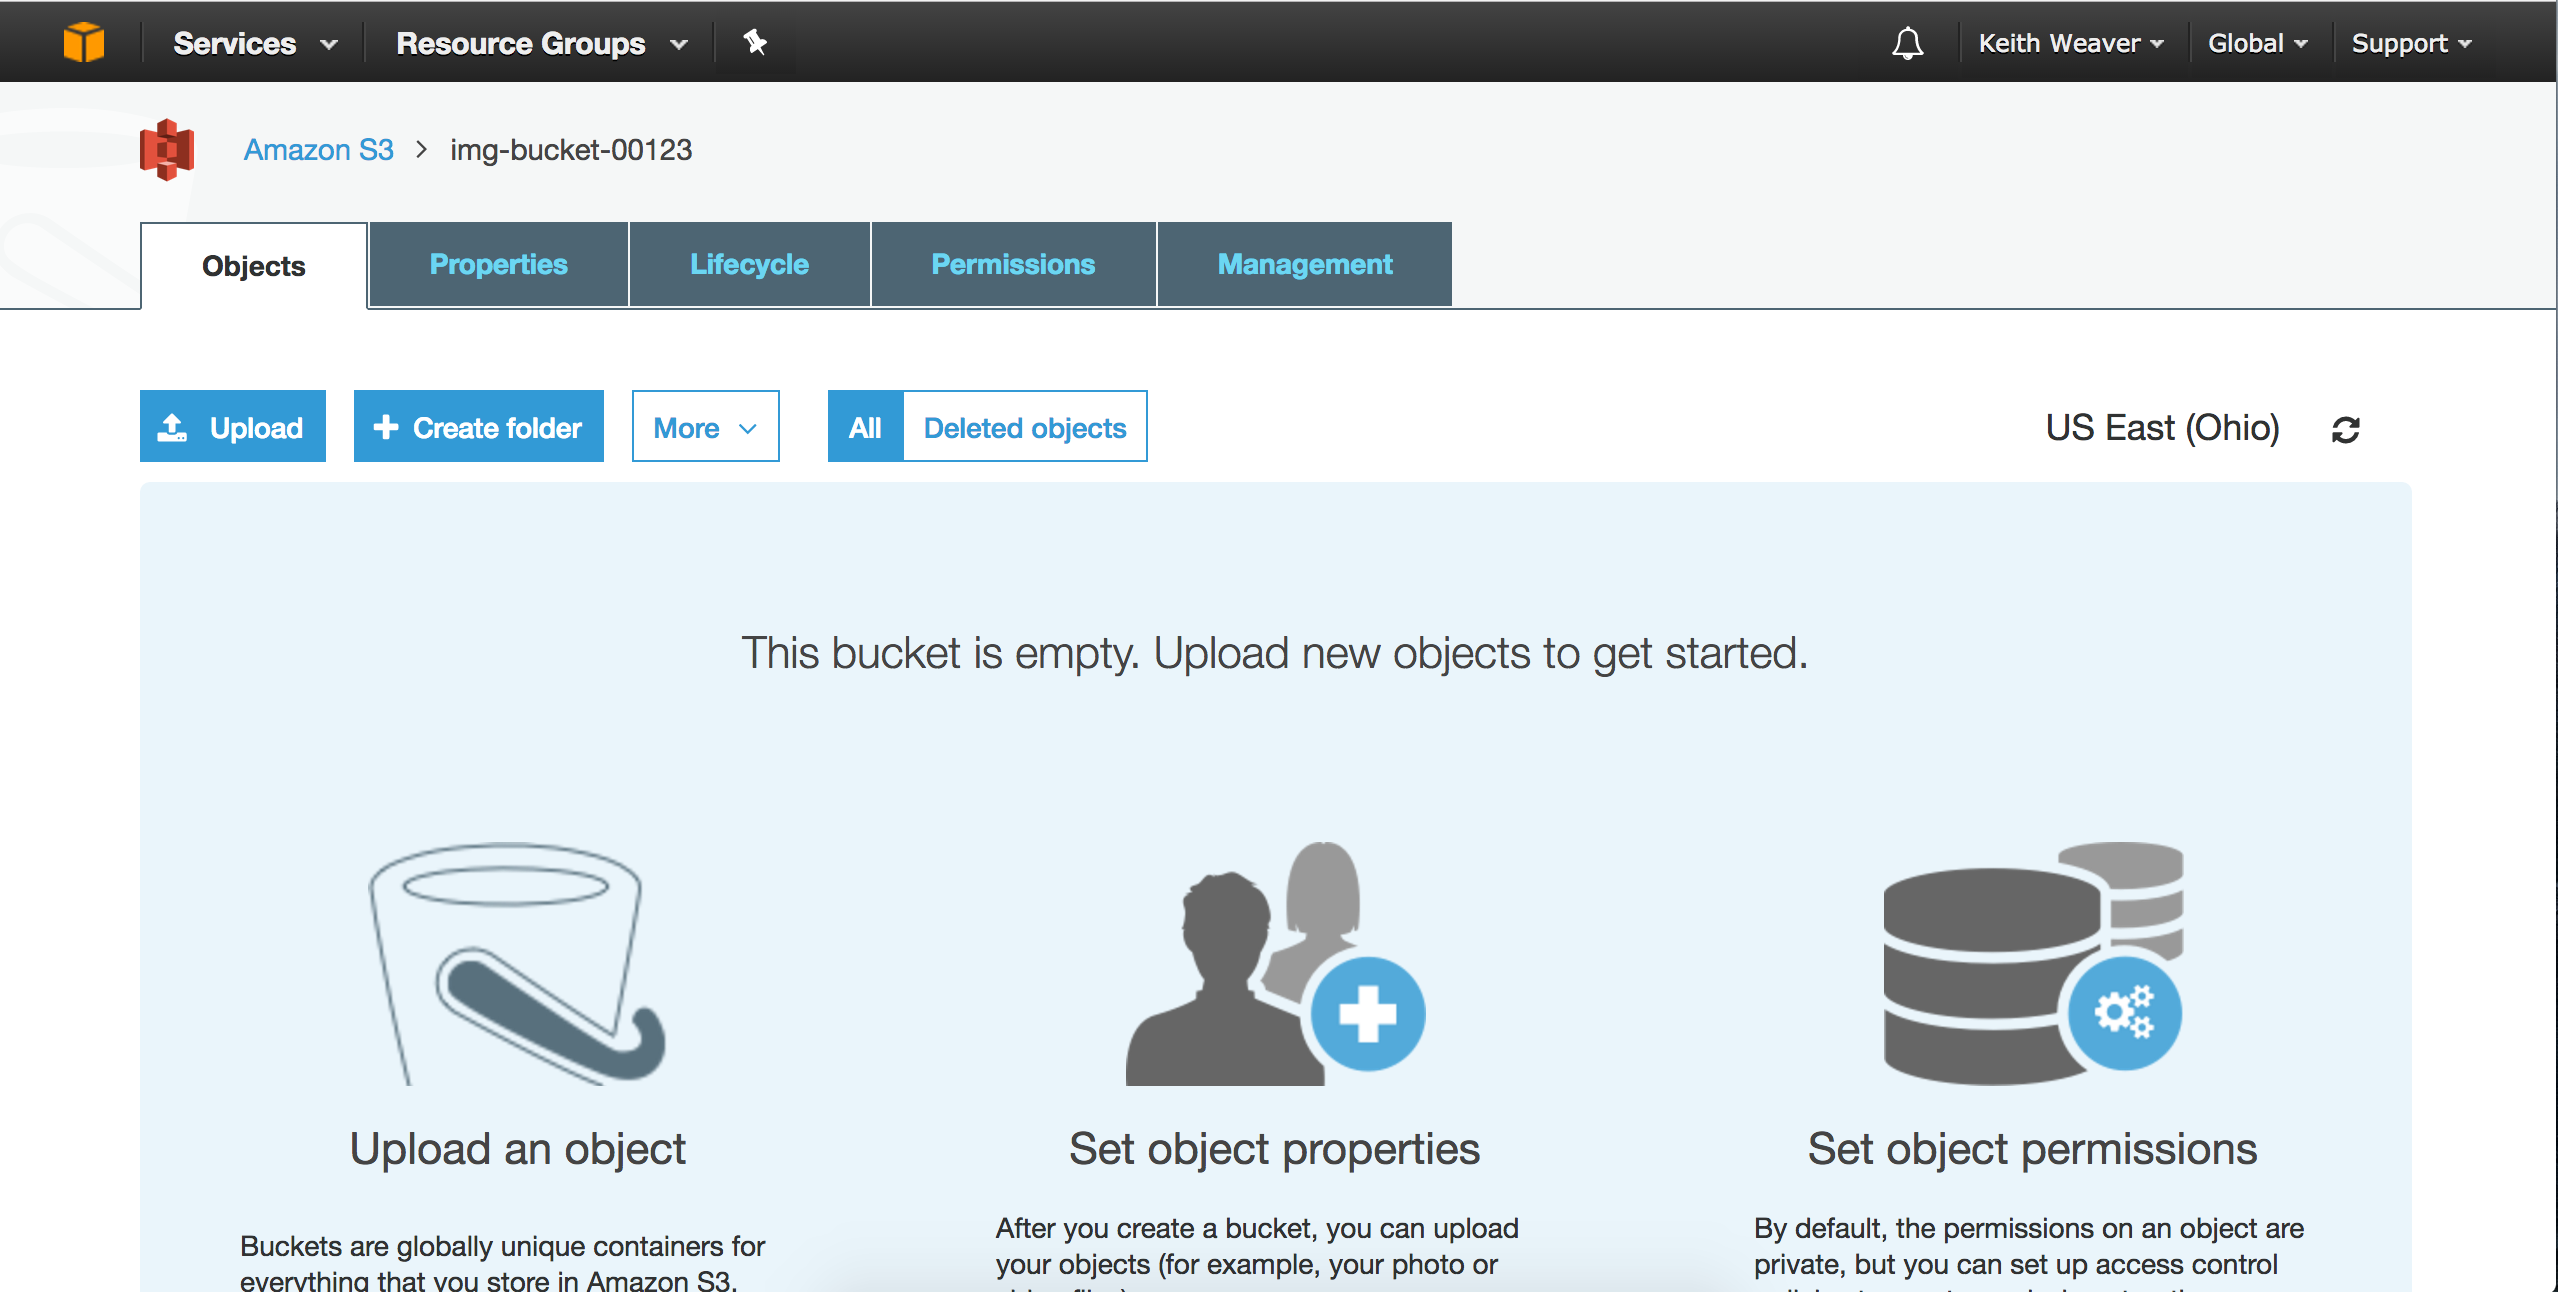
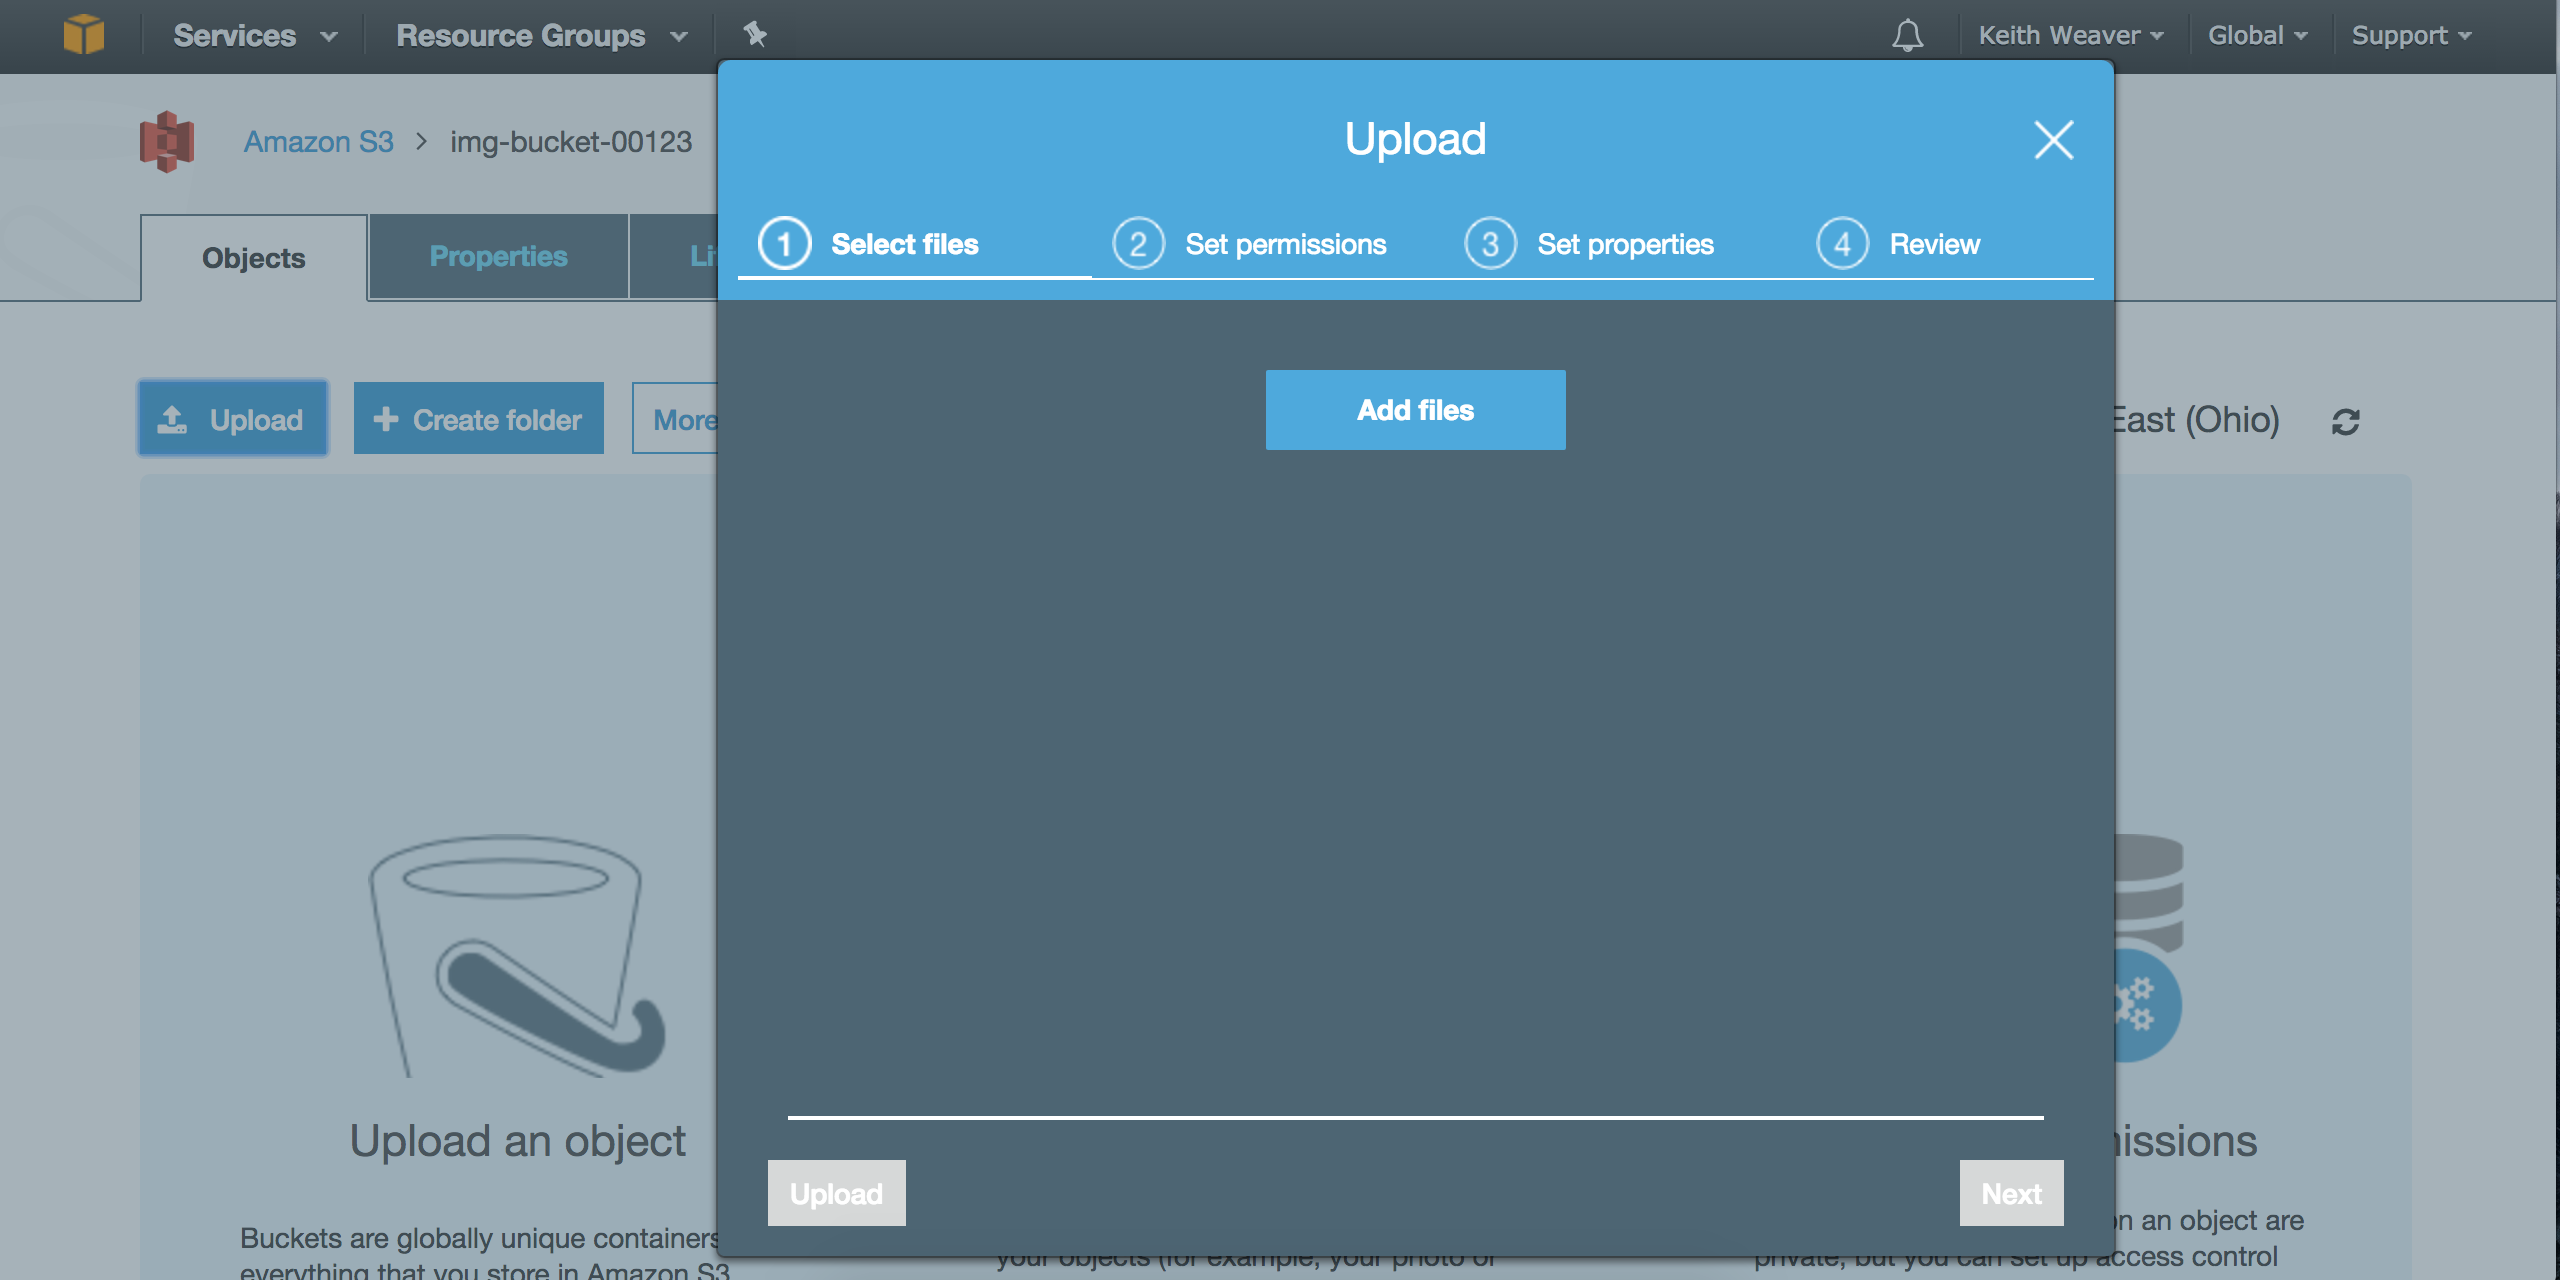
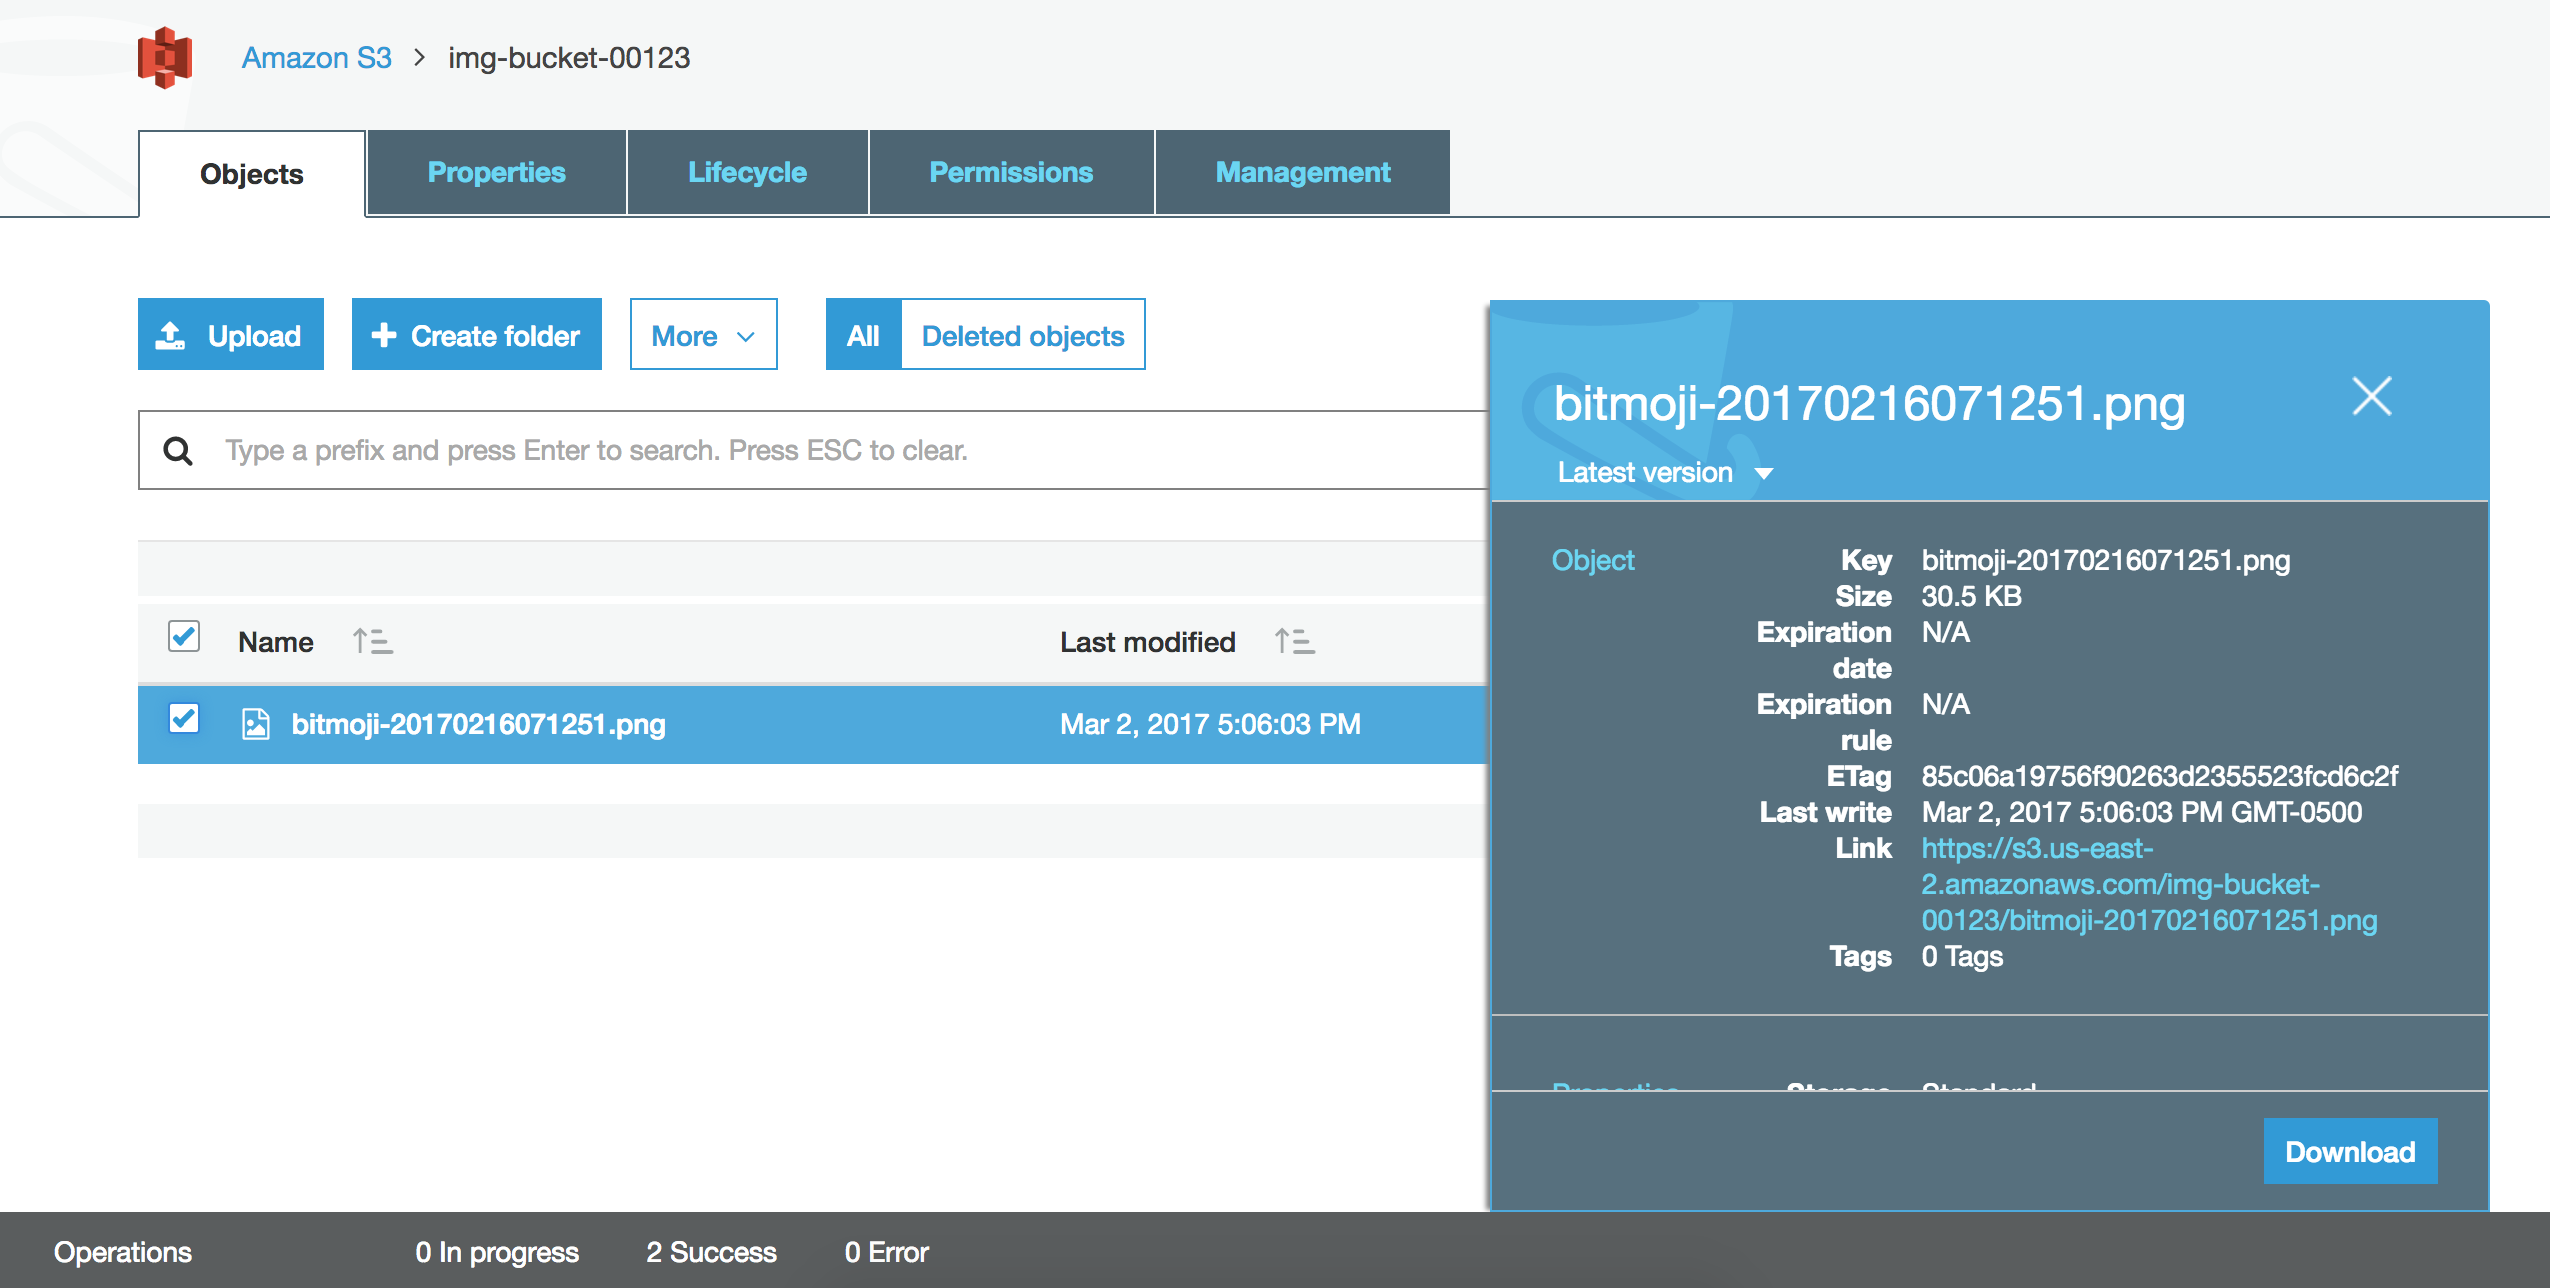
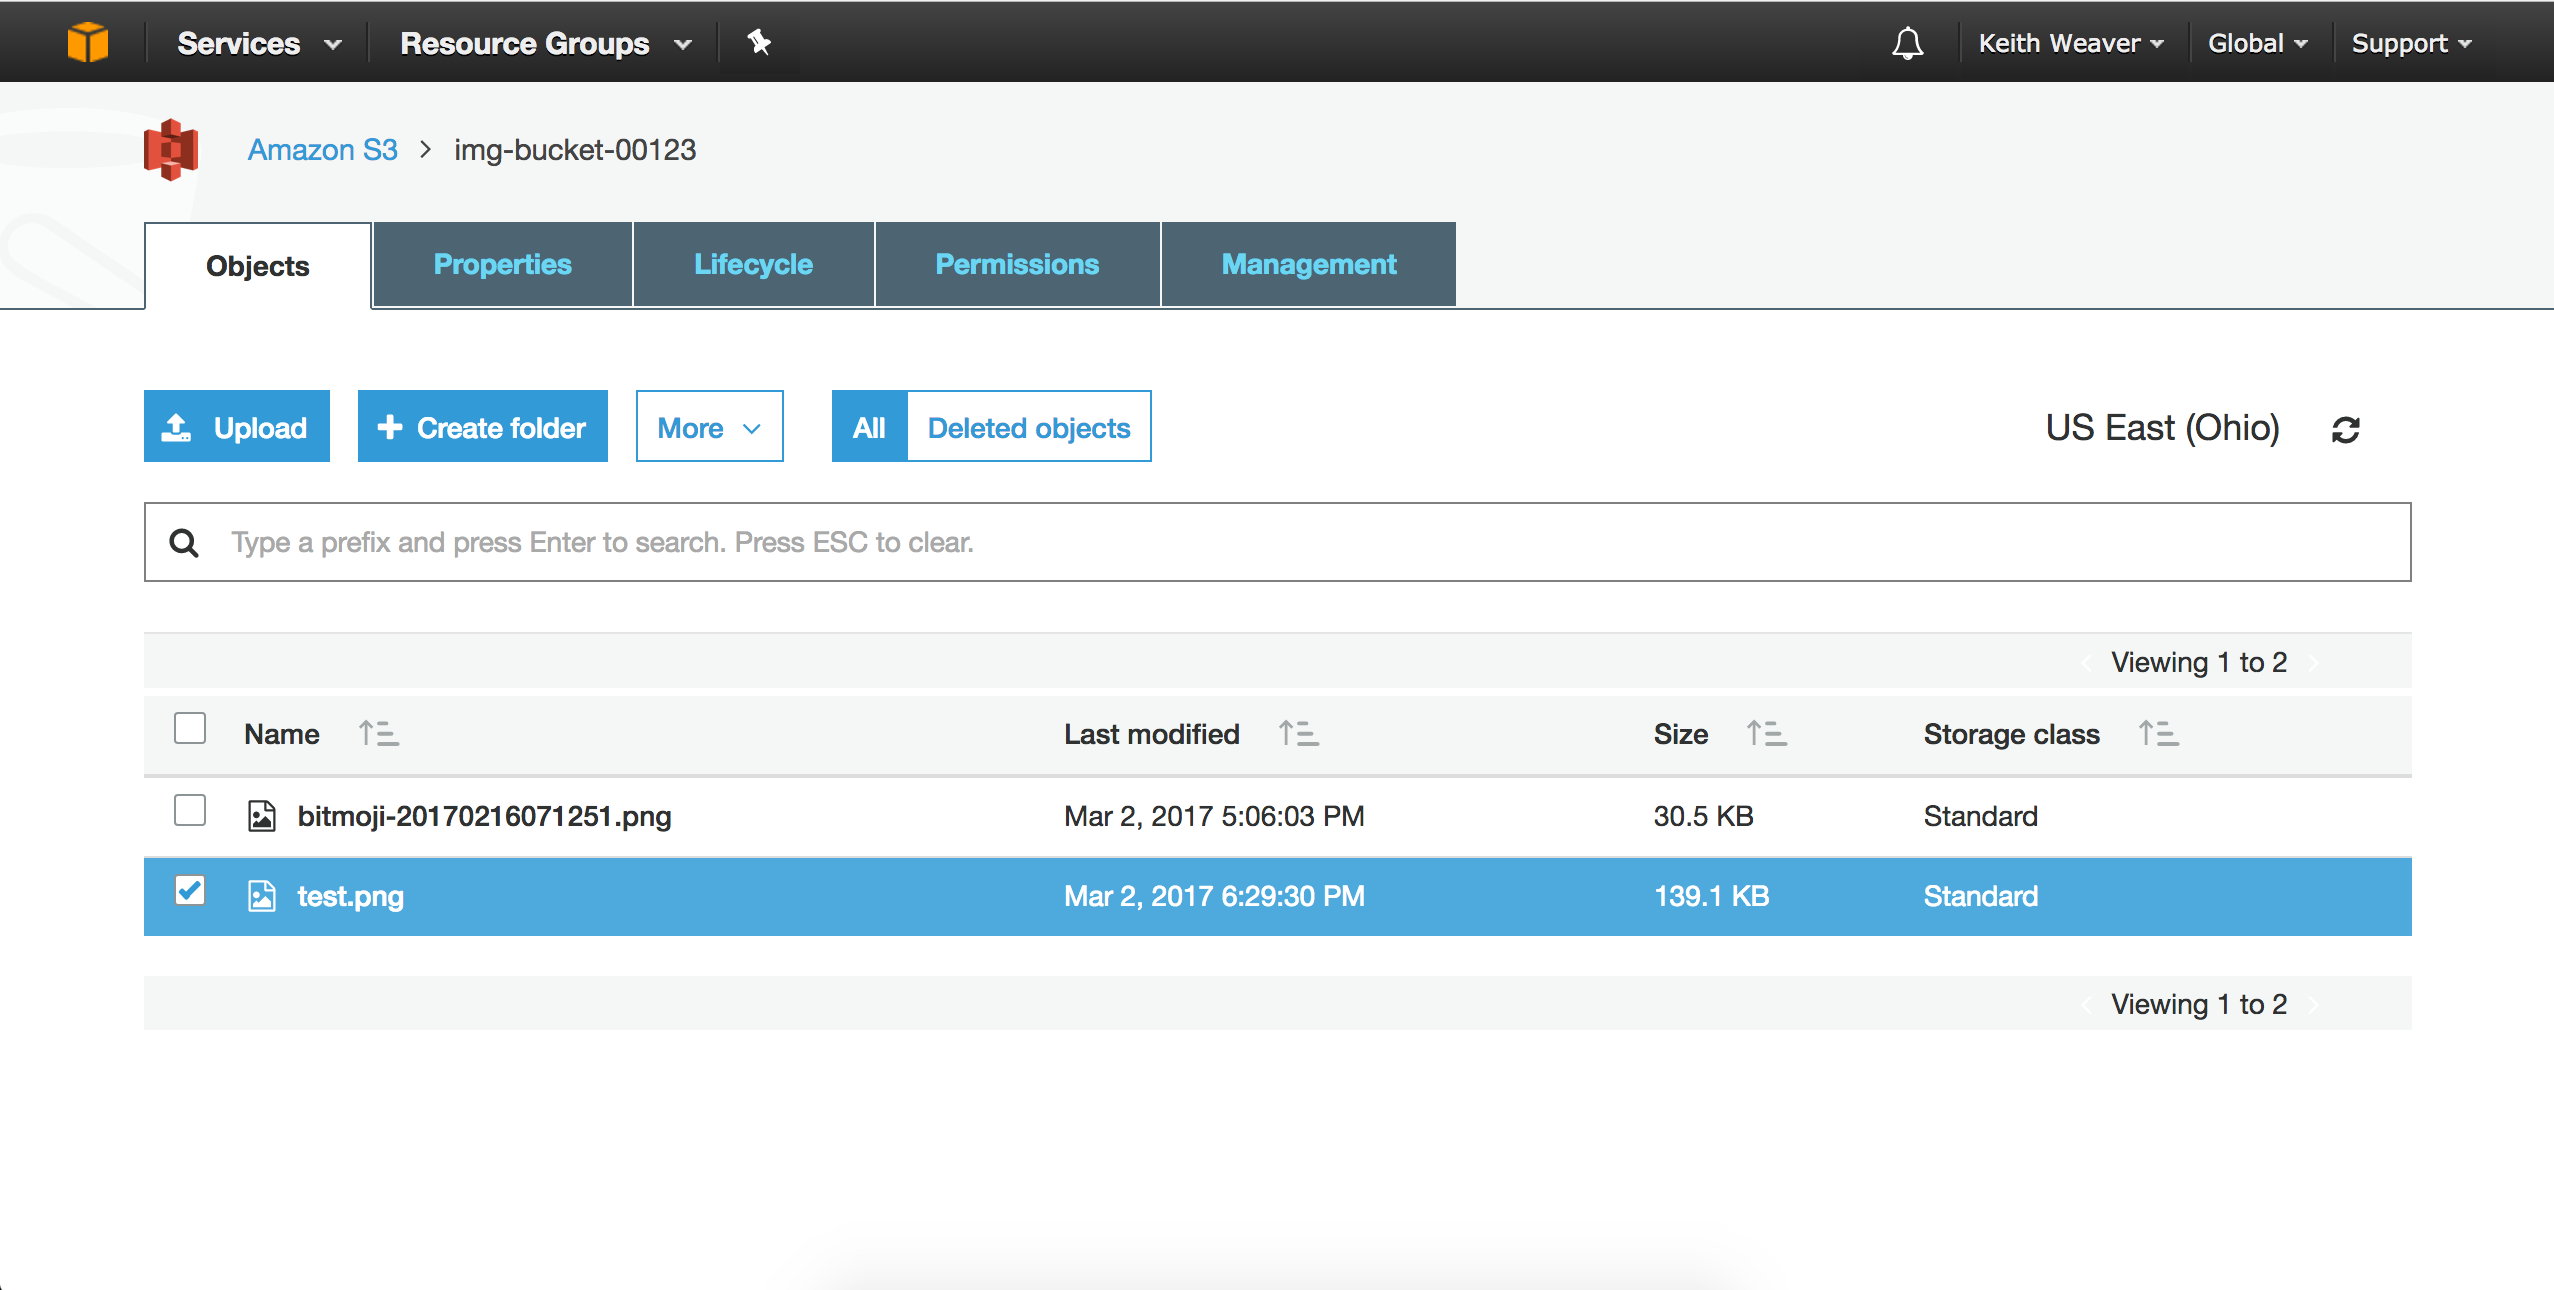
Upload a test image to your bucket
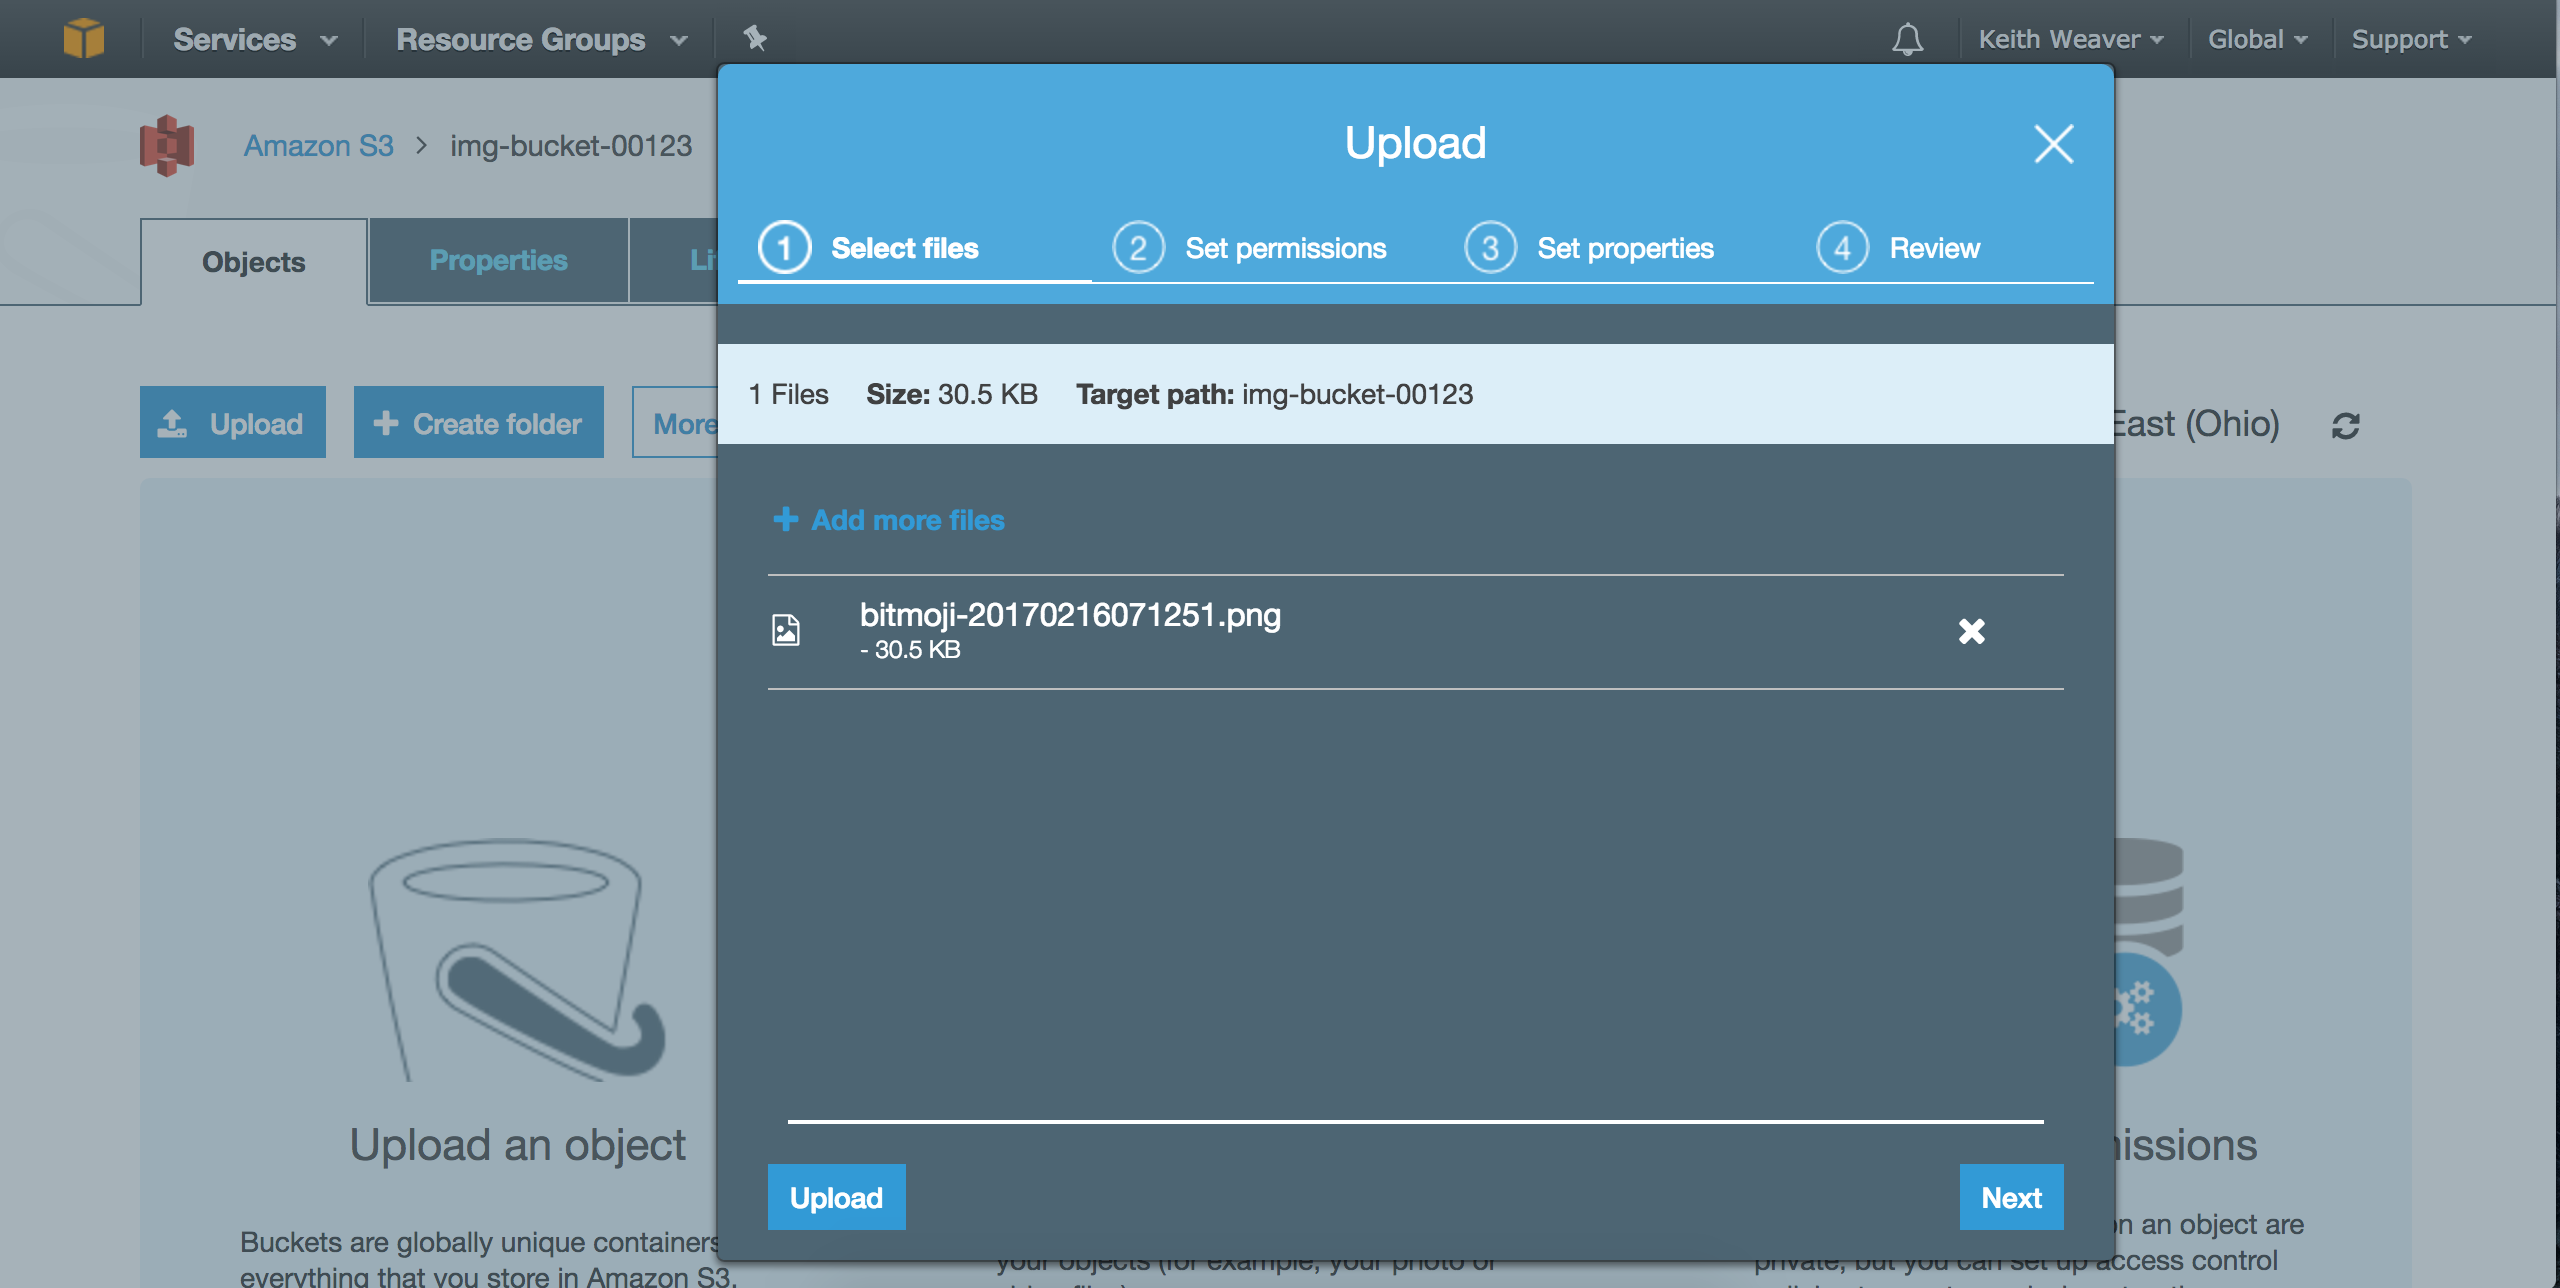
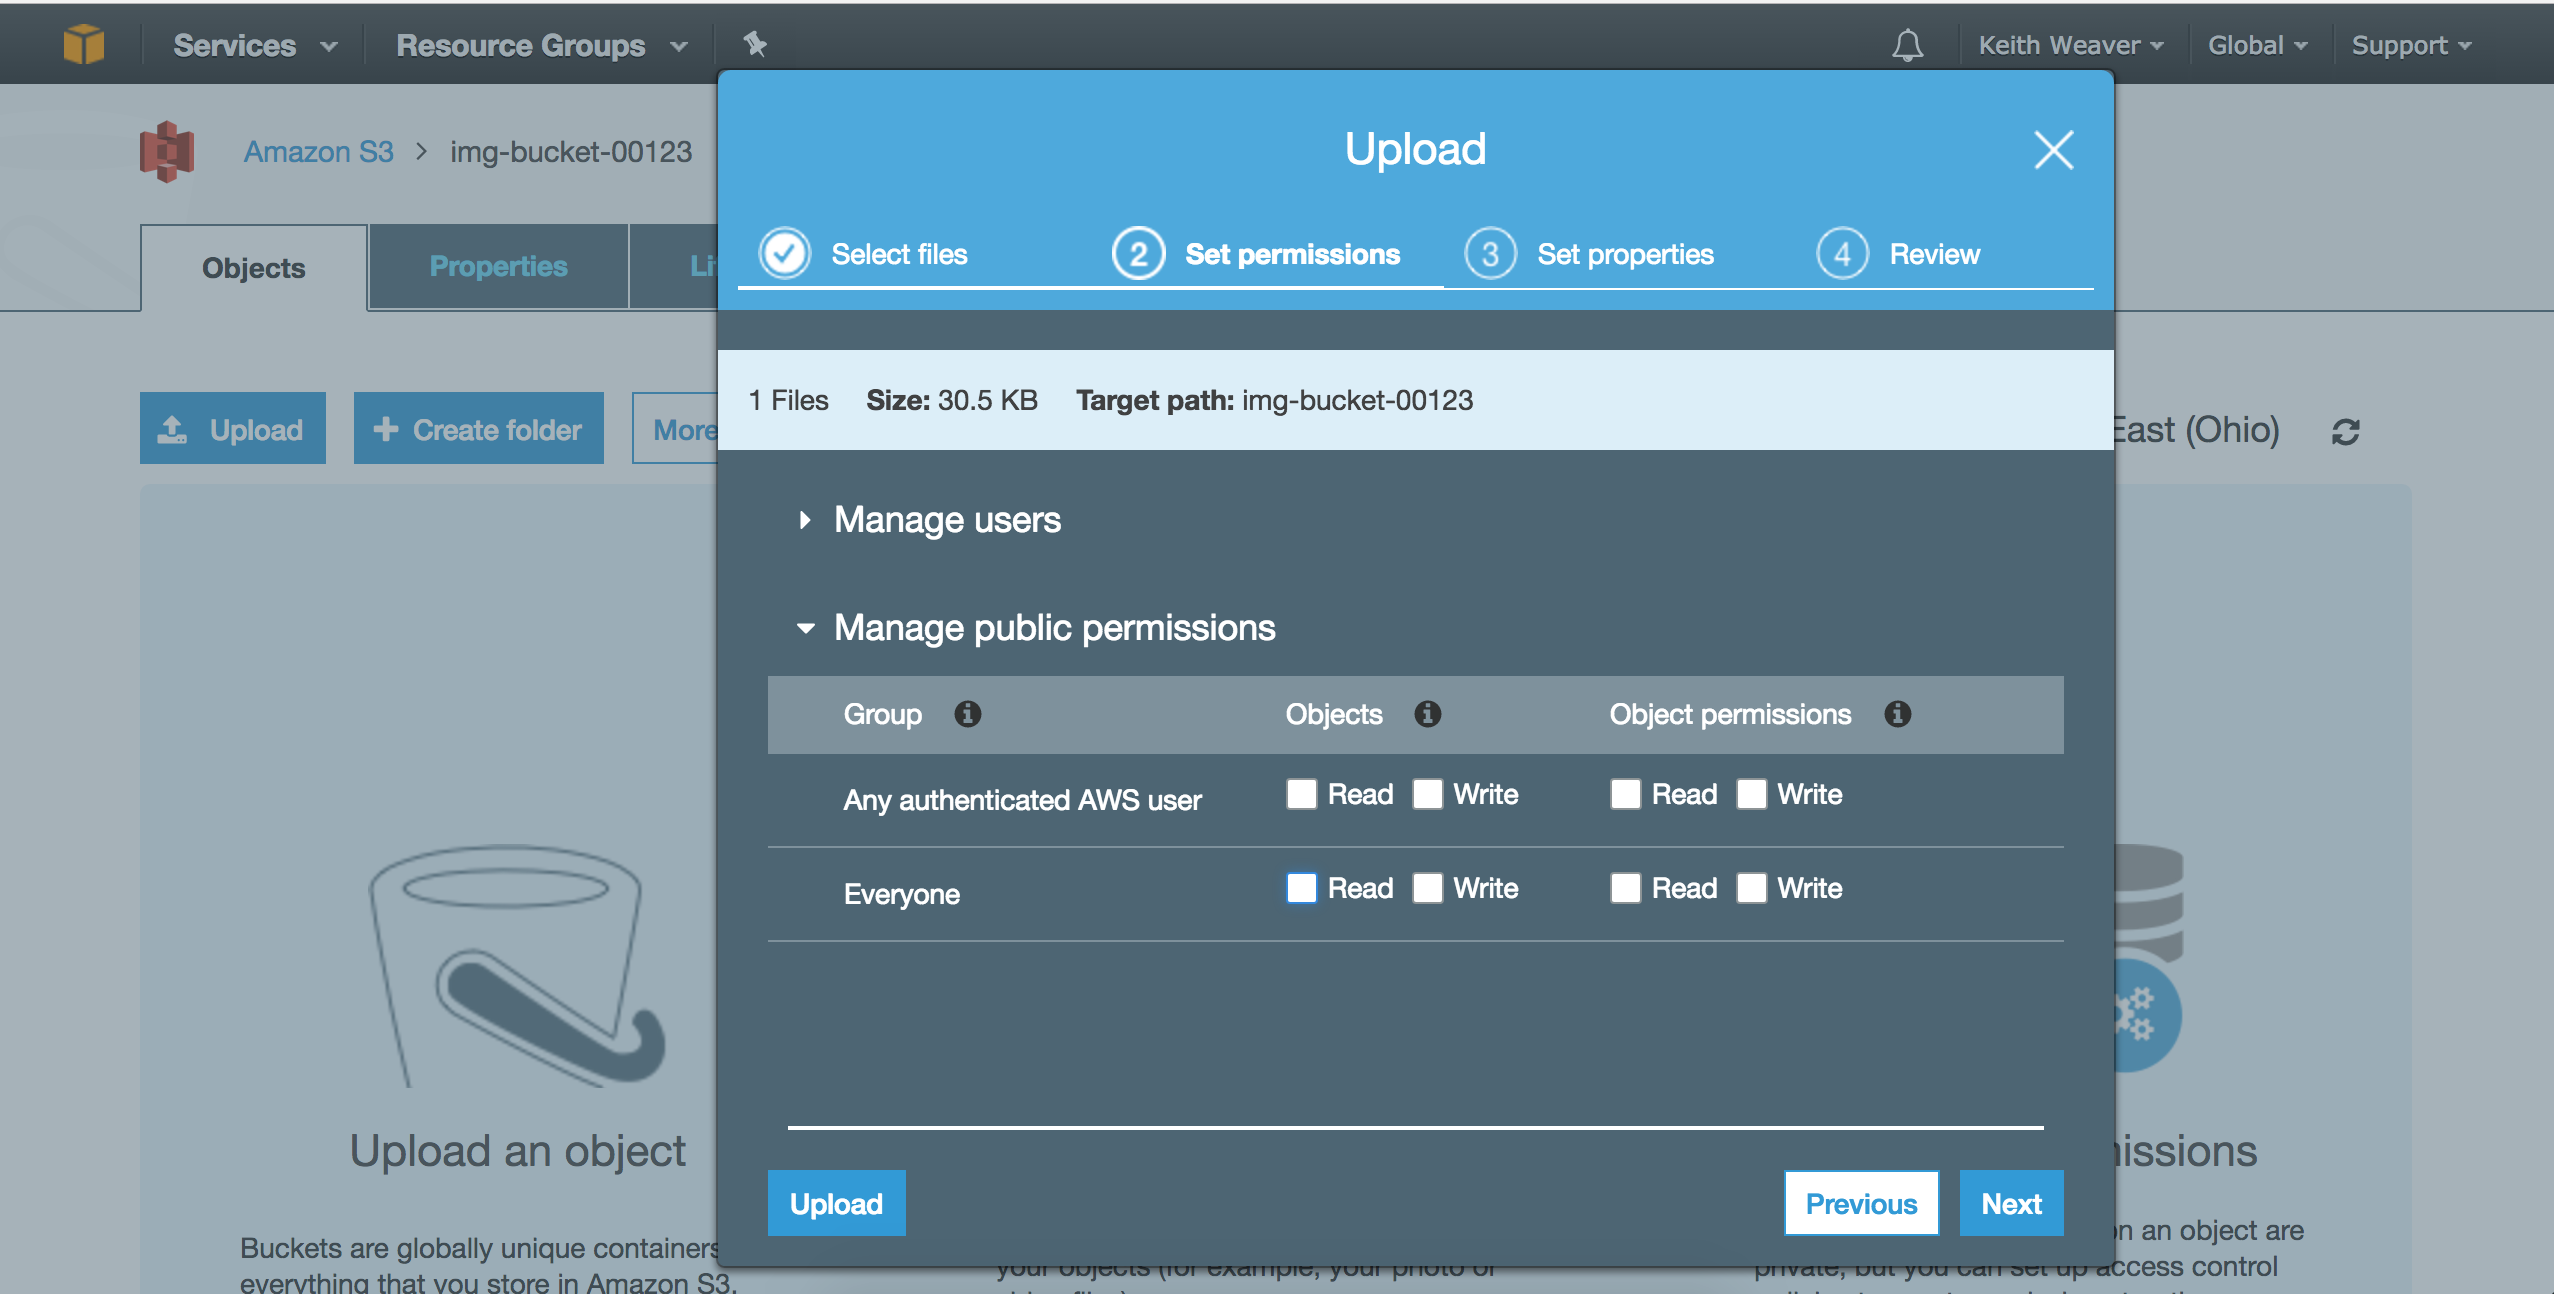
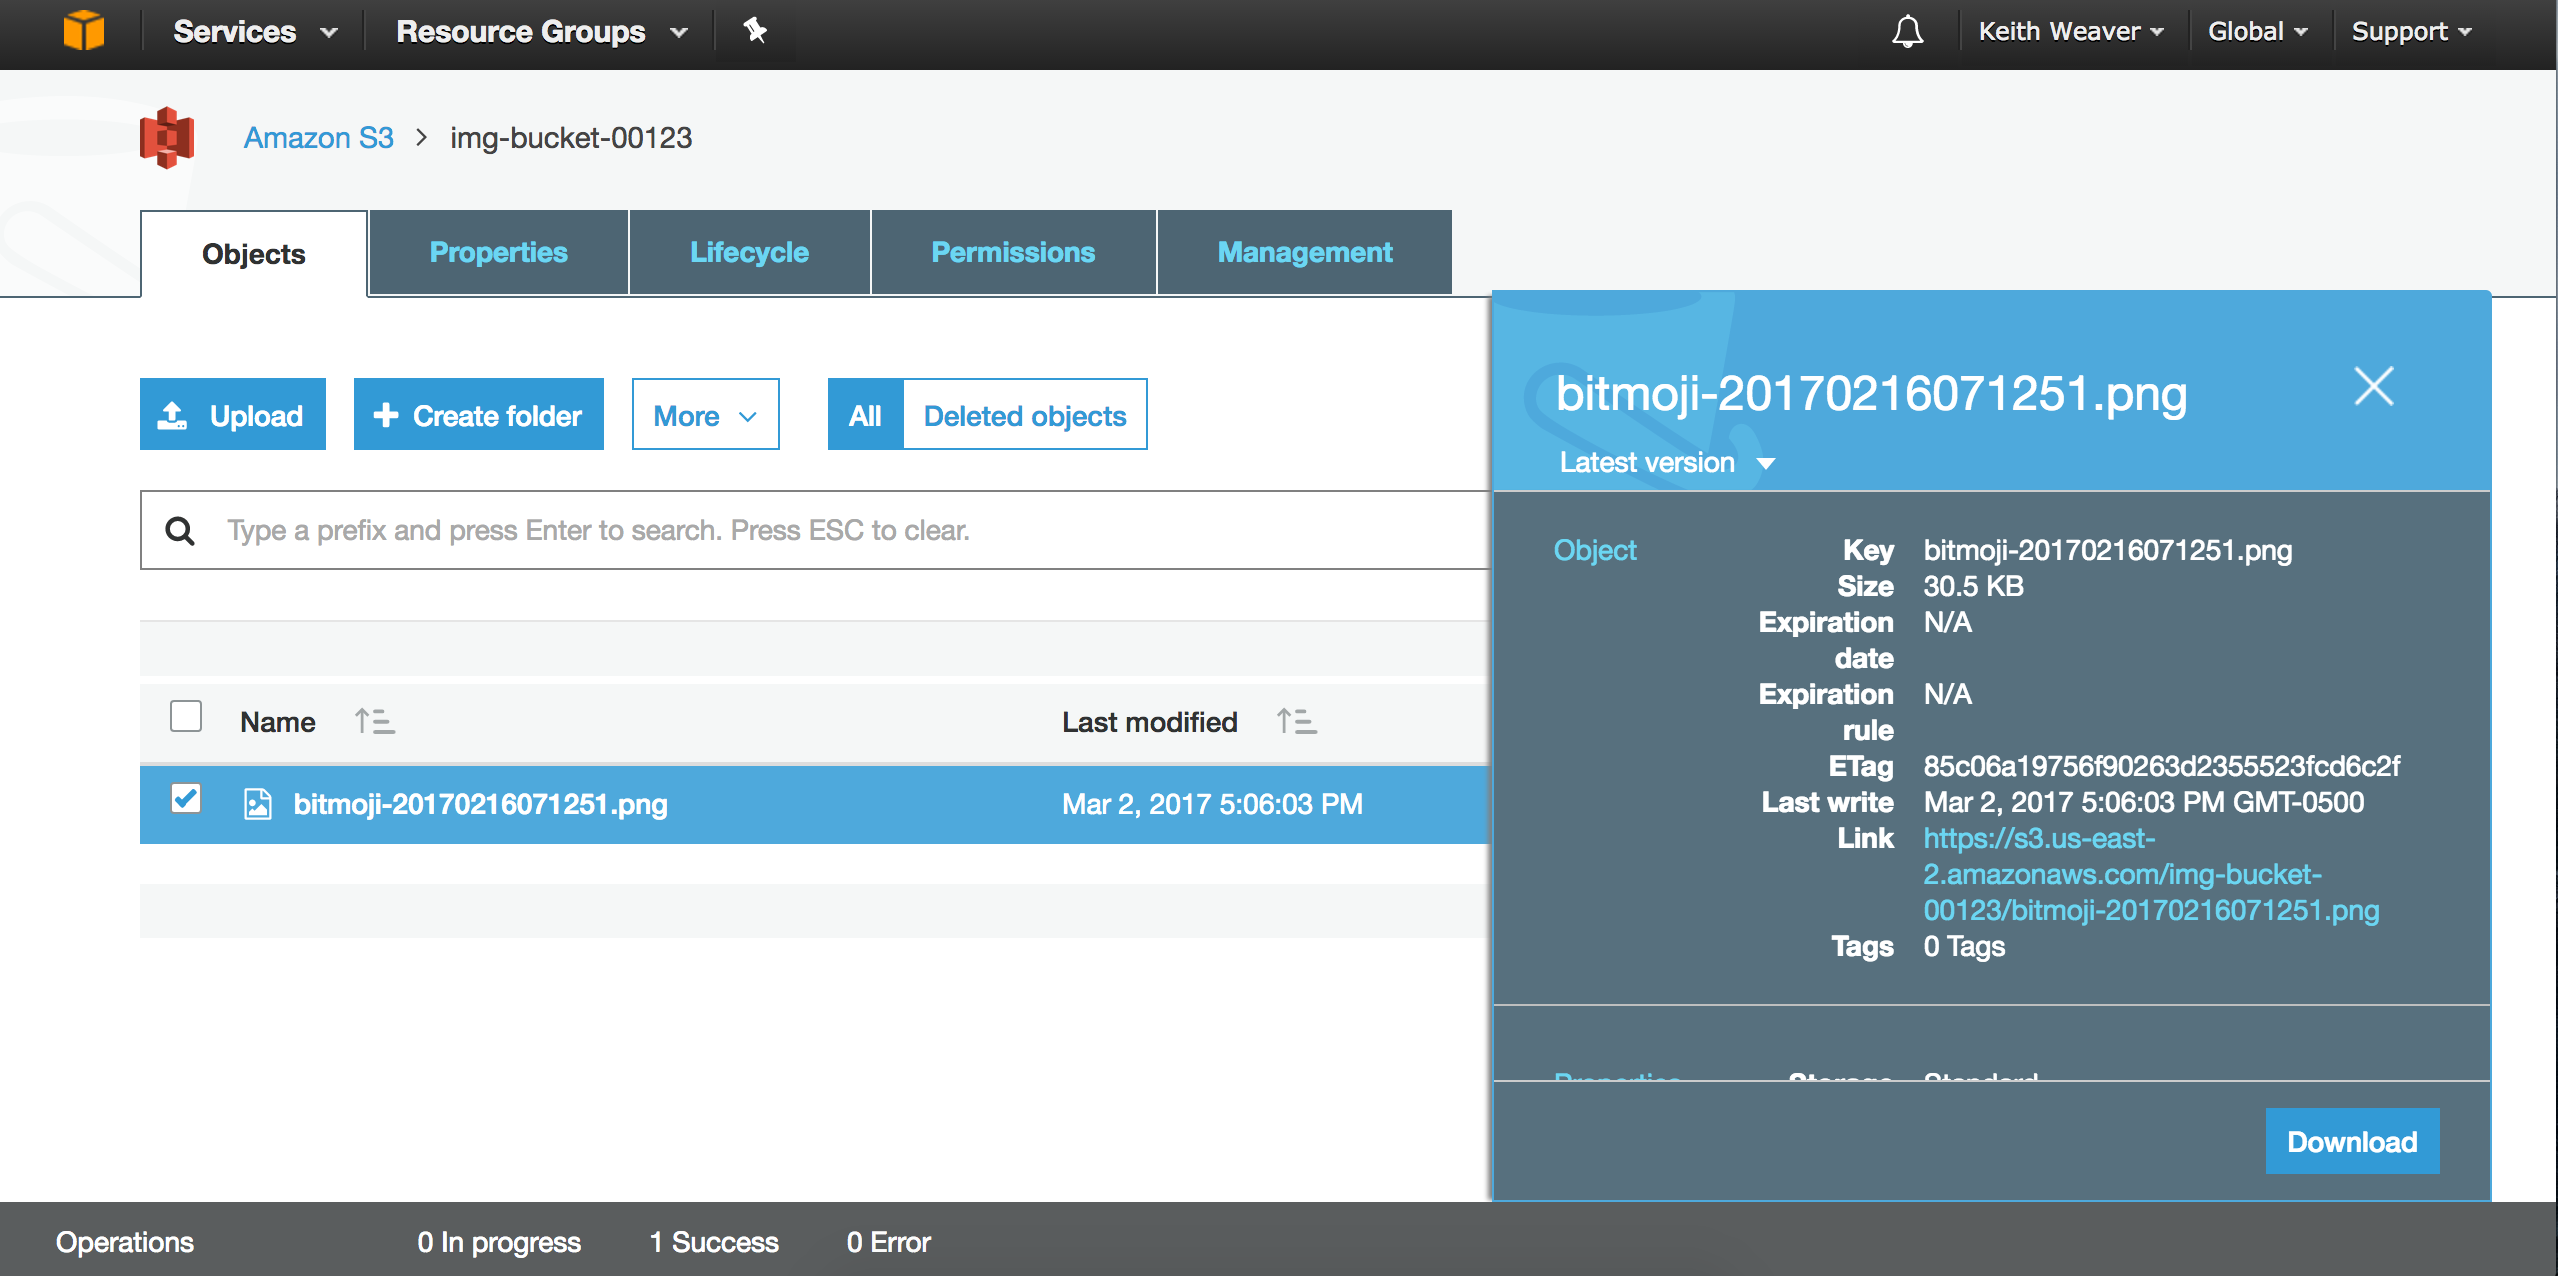
You can find your new file. If you click it, you should see a link. Open the link in a new tab.
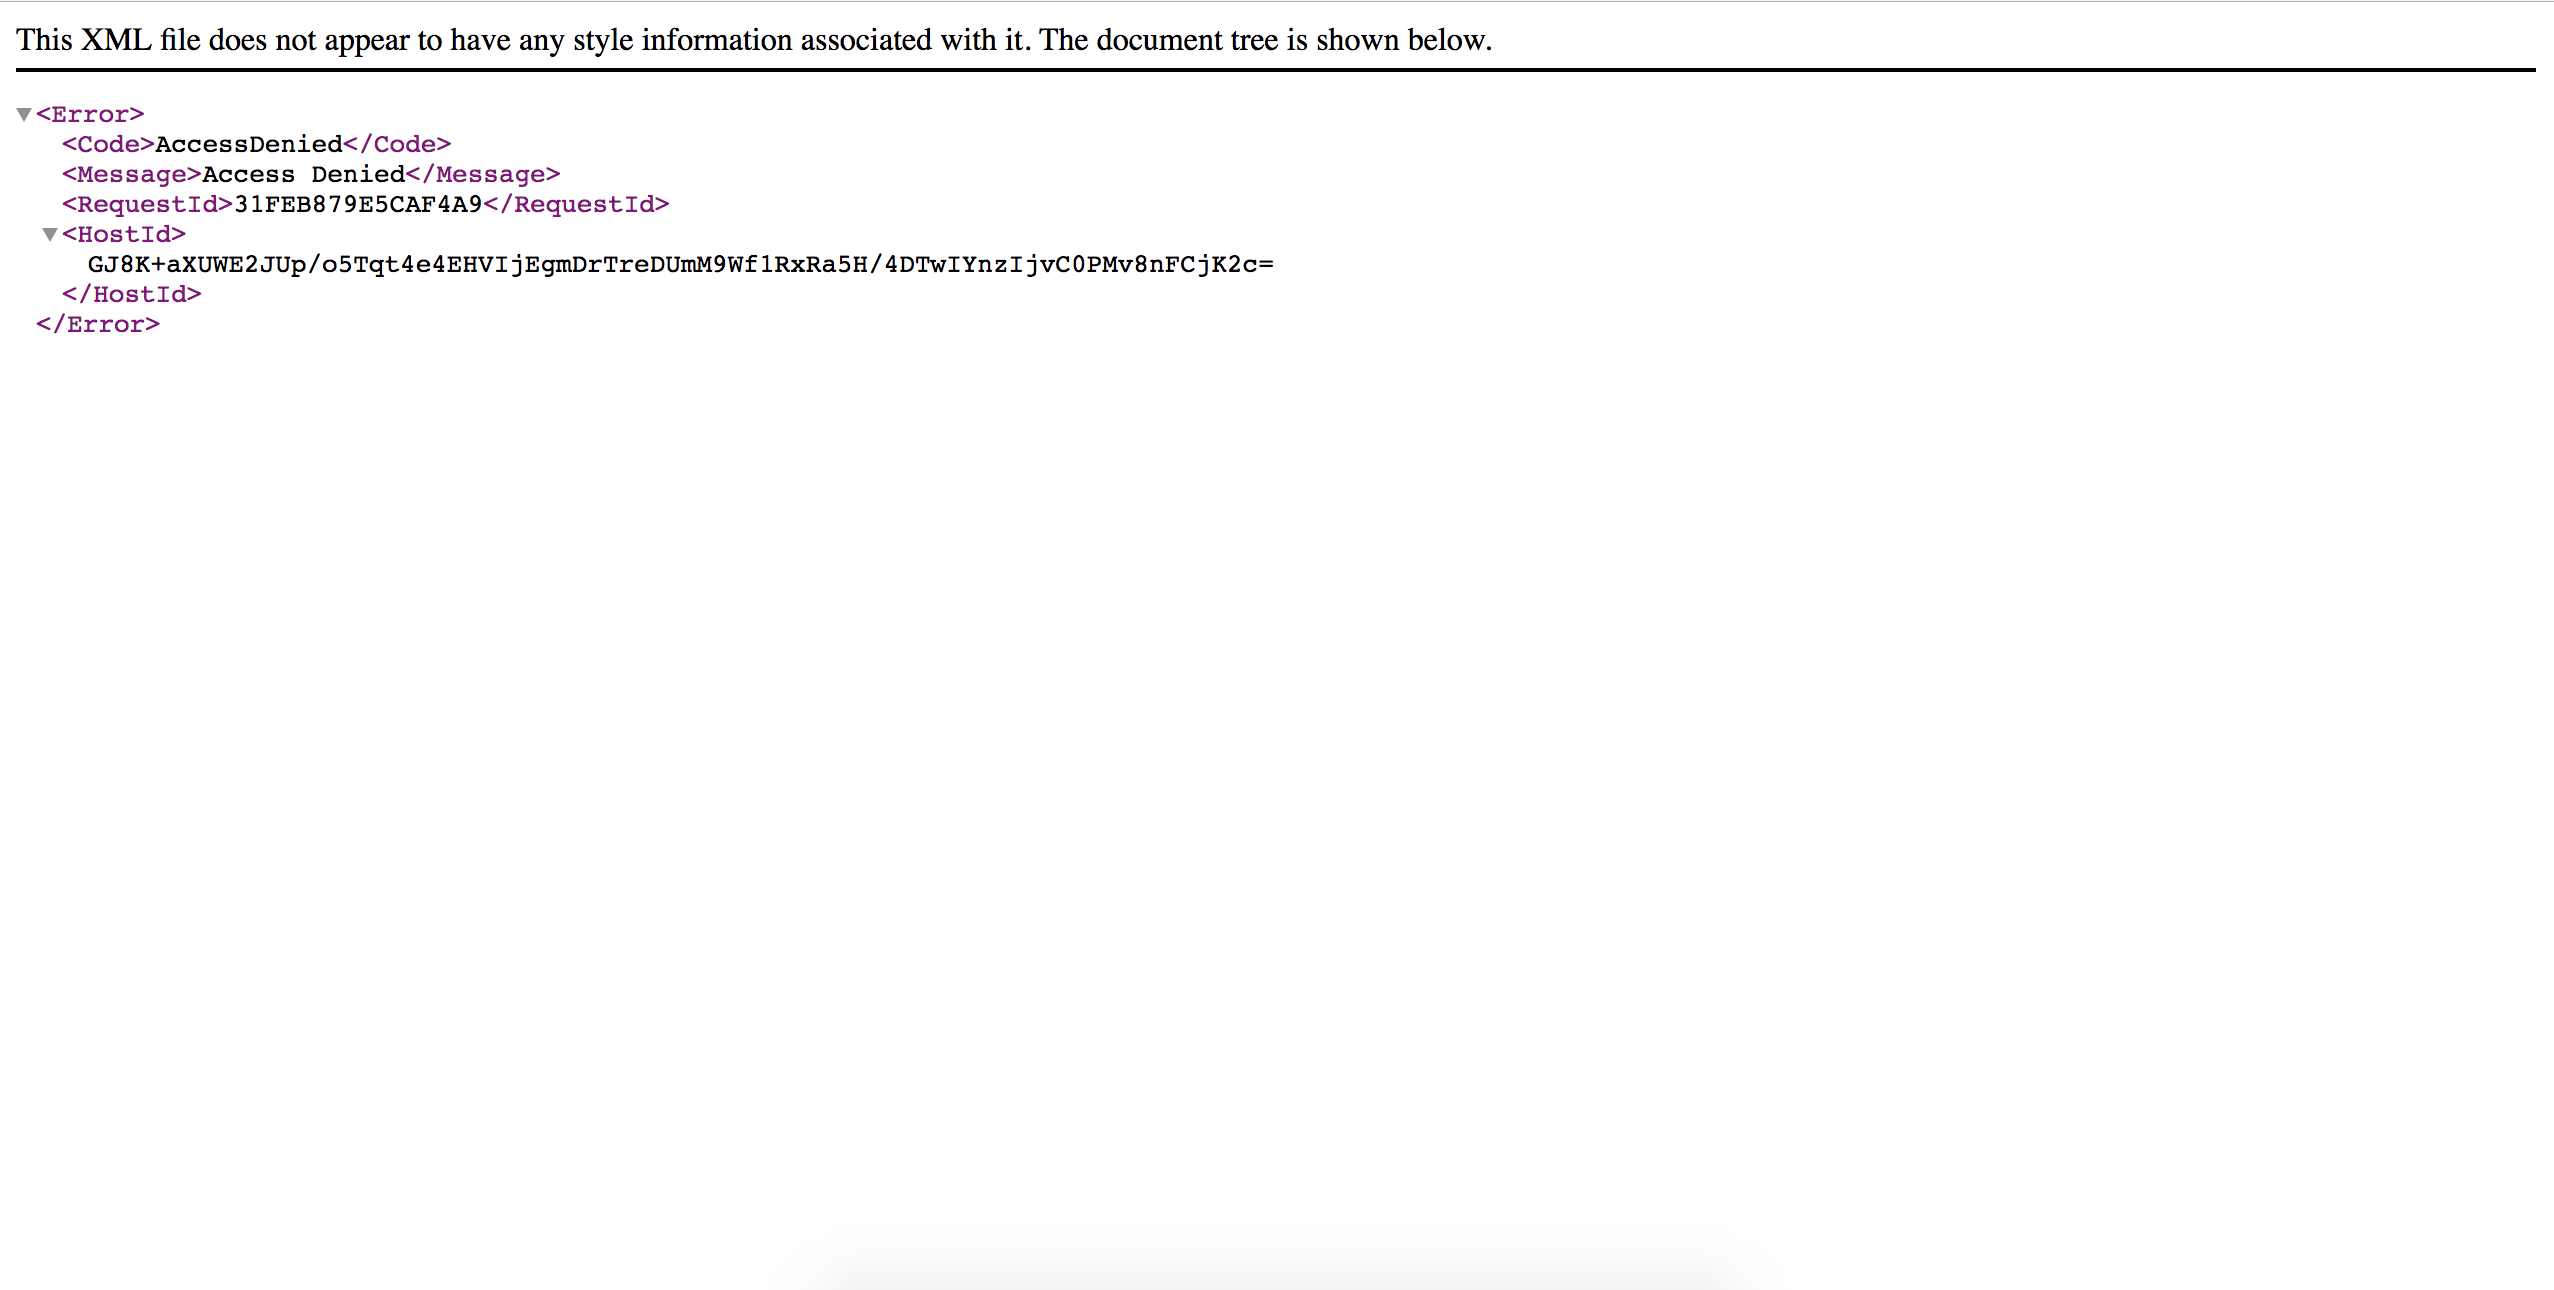
As you can see, you'll get "Access Denied".
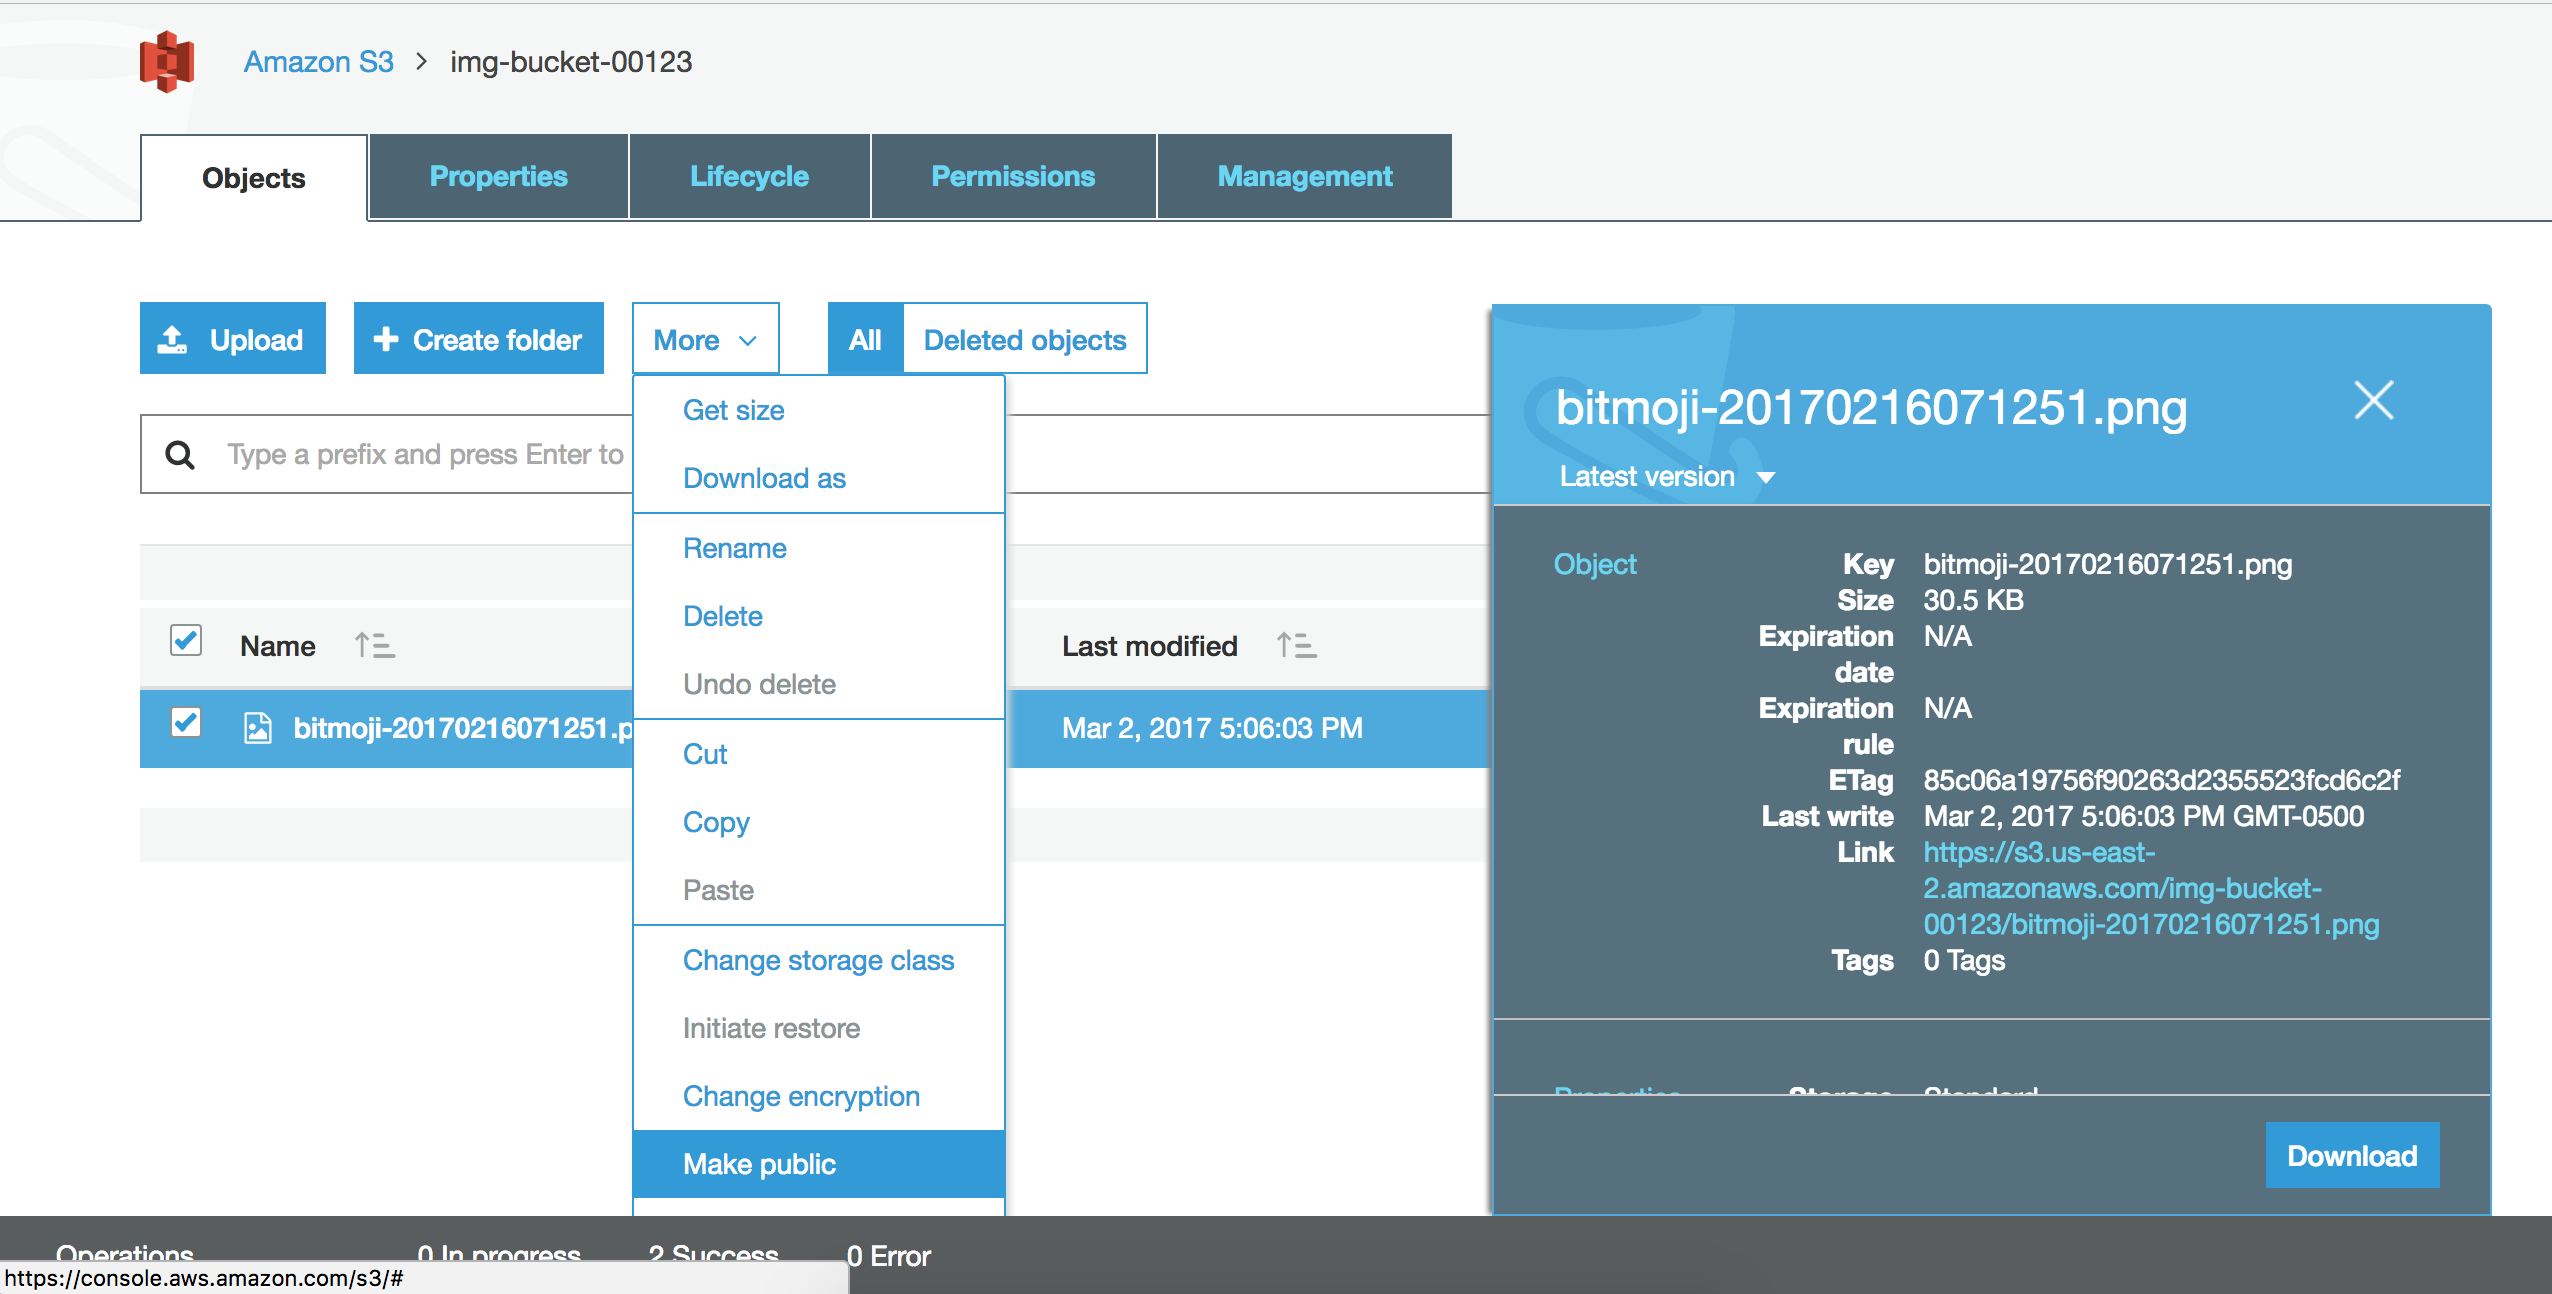
Click the file, and under "more" press make public. Refresh the link.

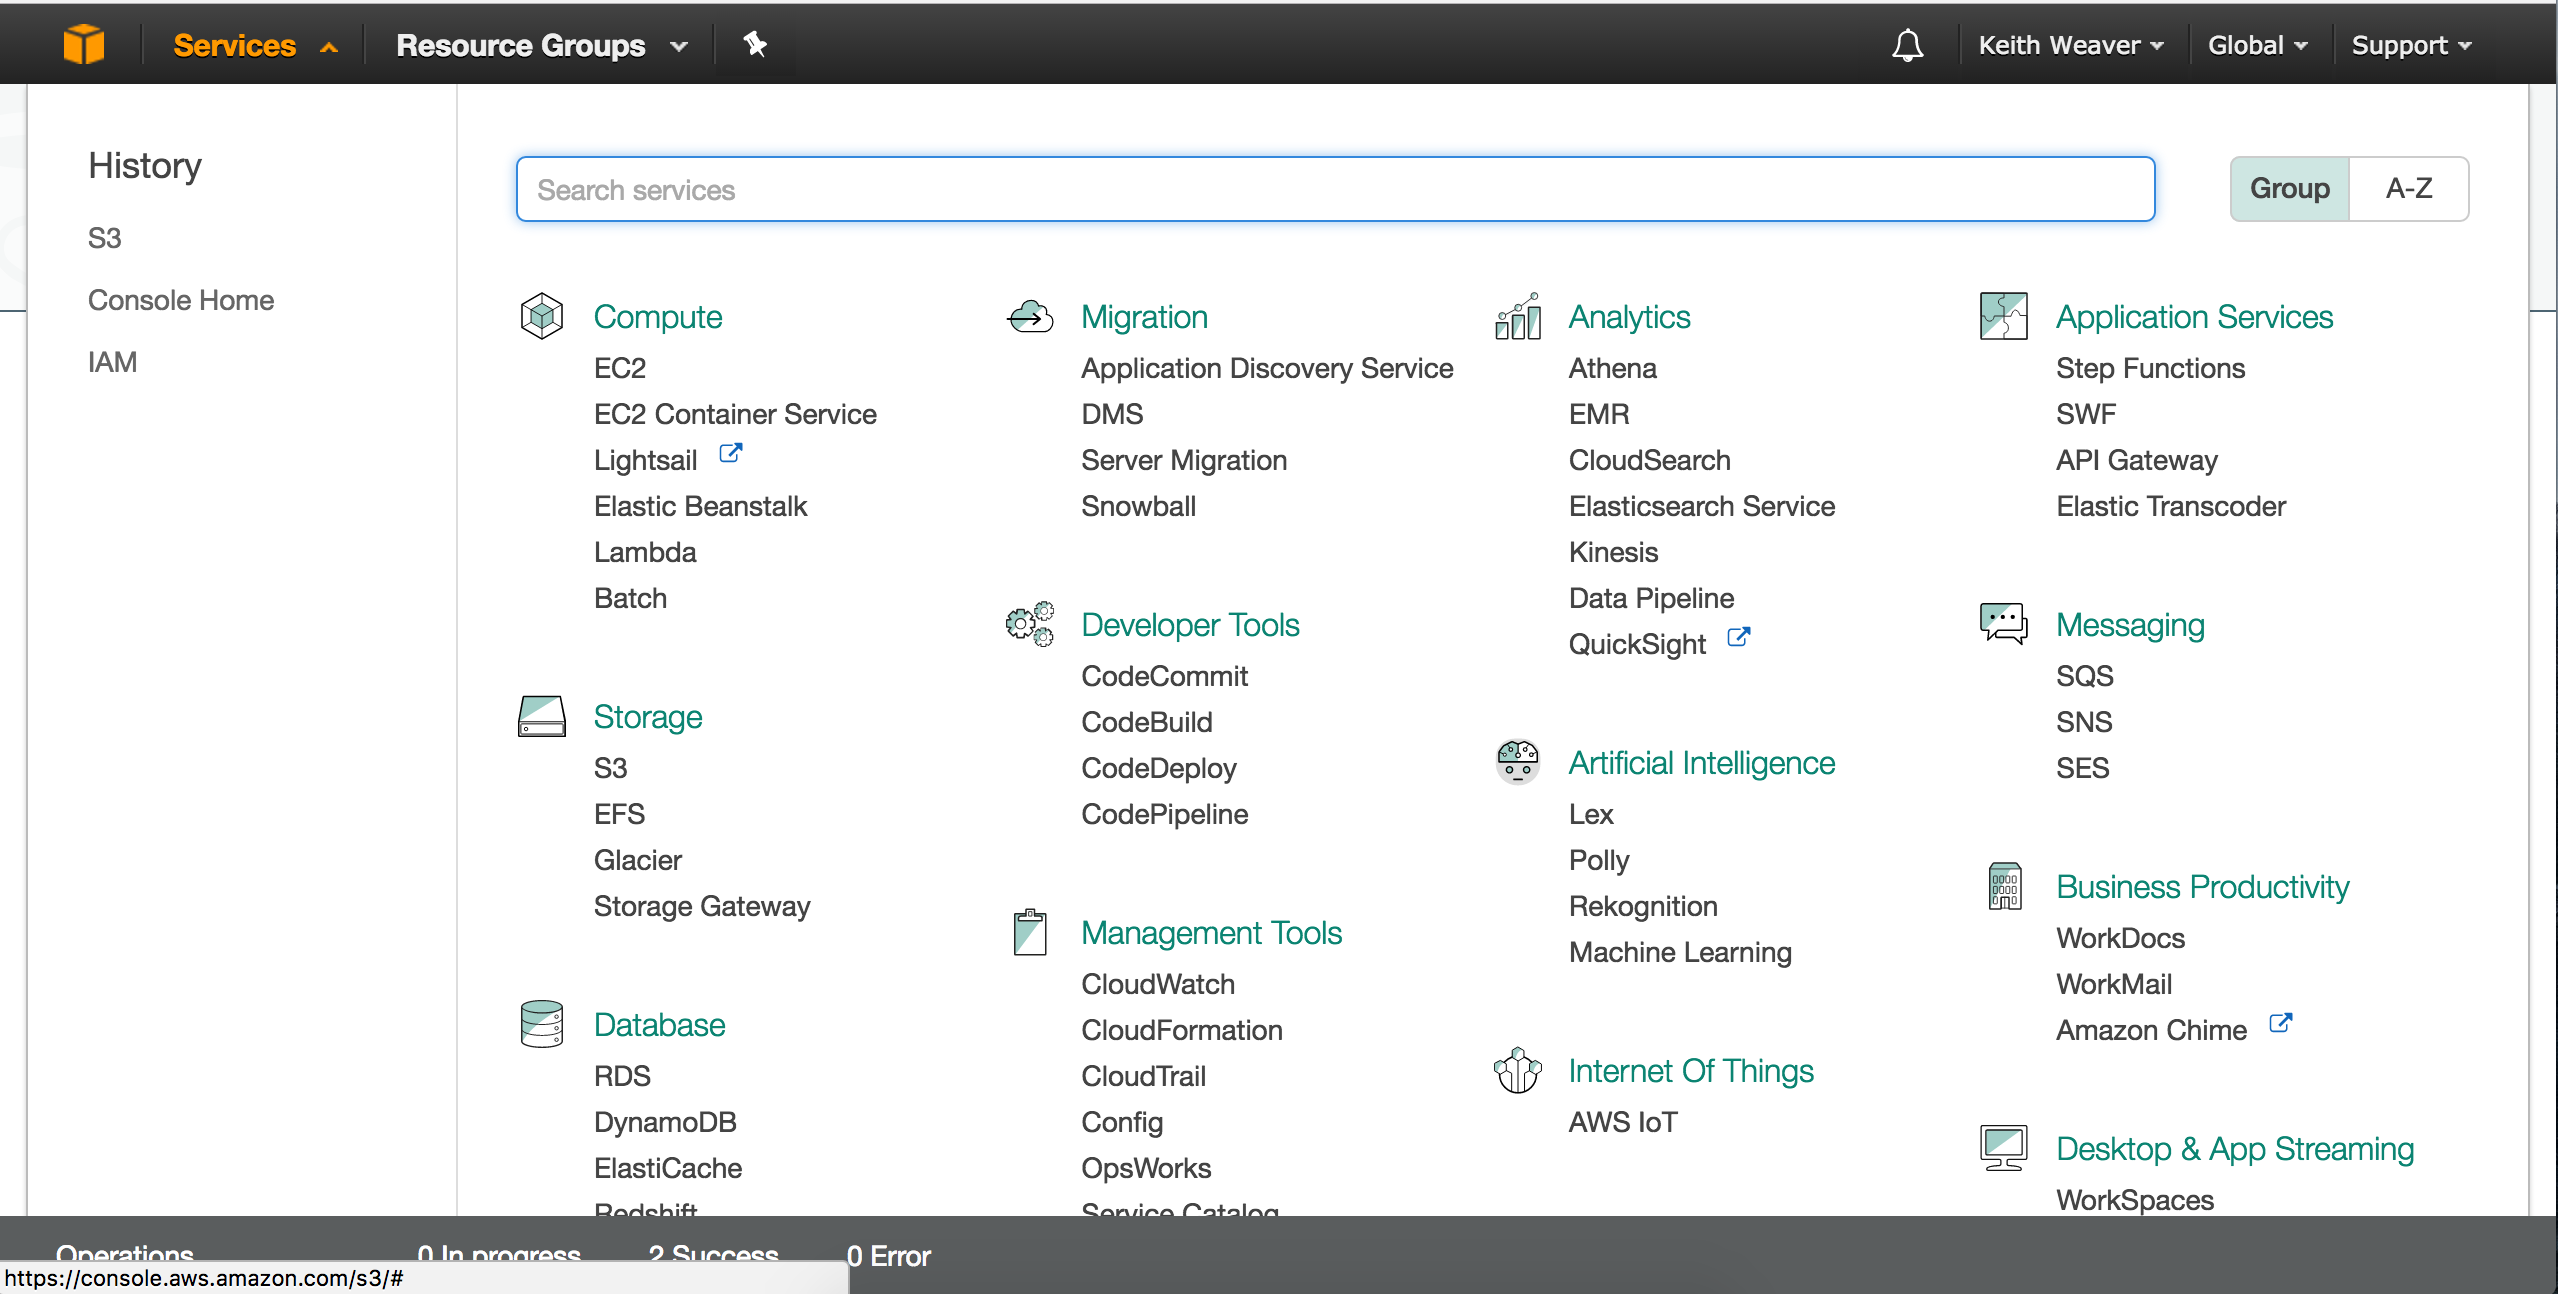
Now click Services then go to IAM dashboard.
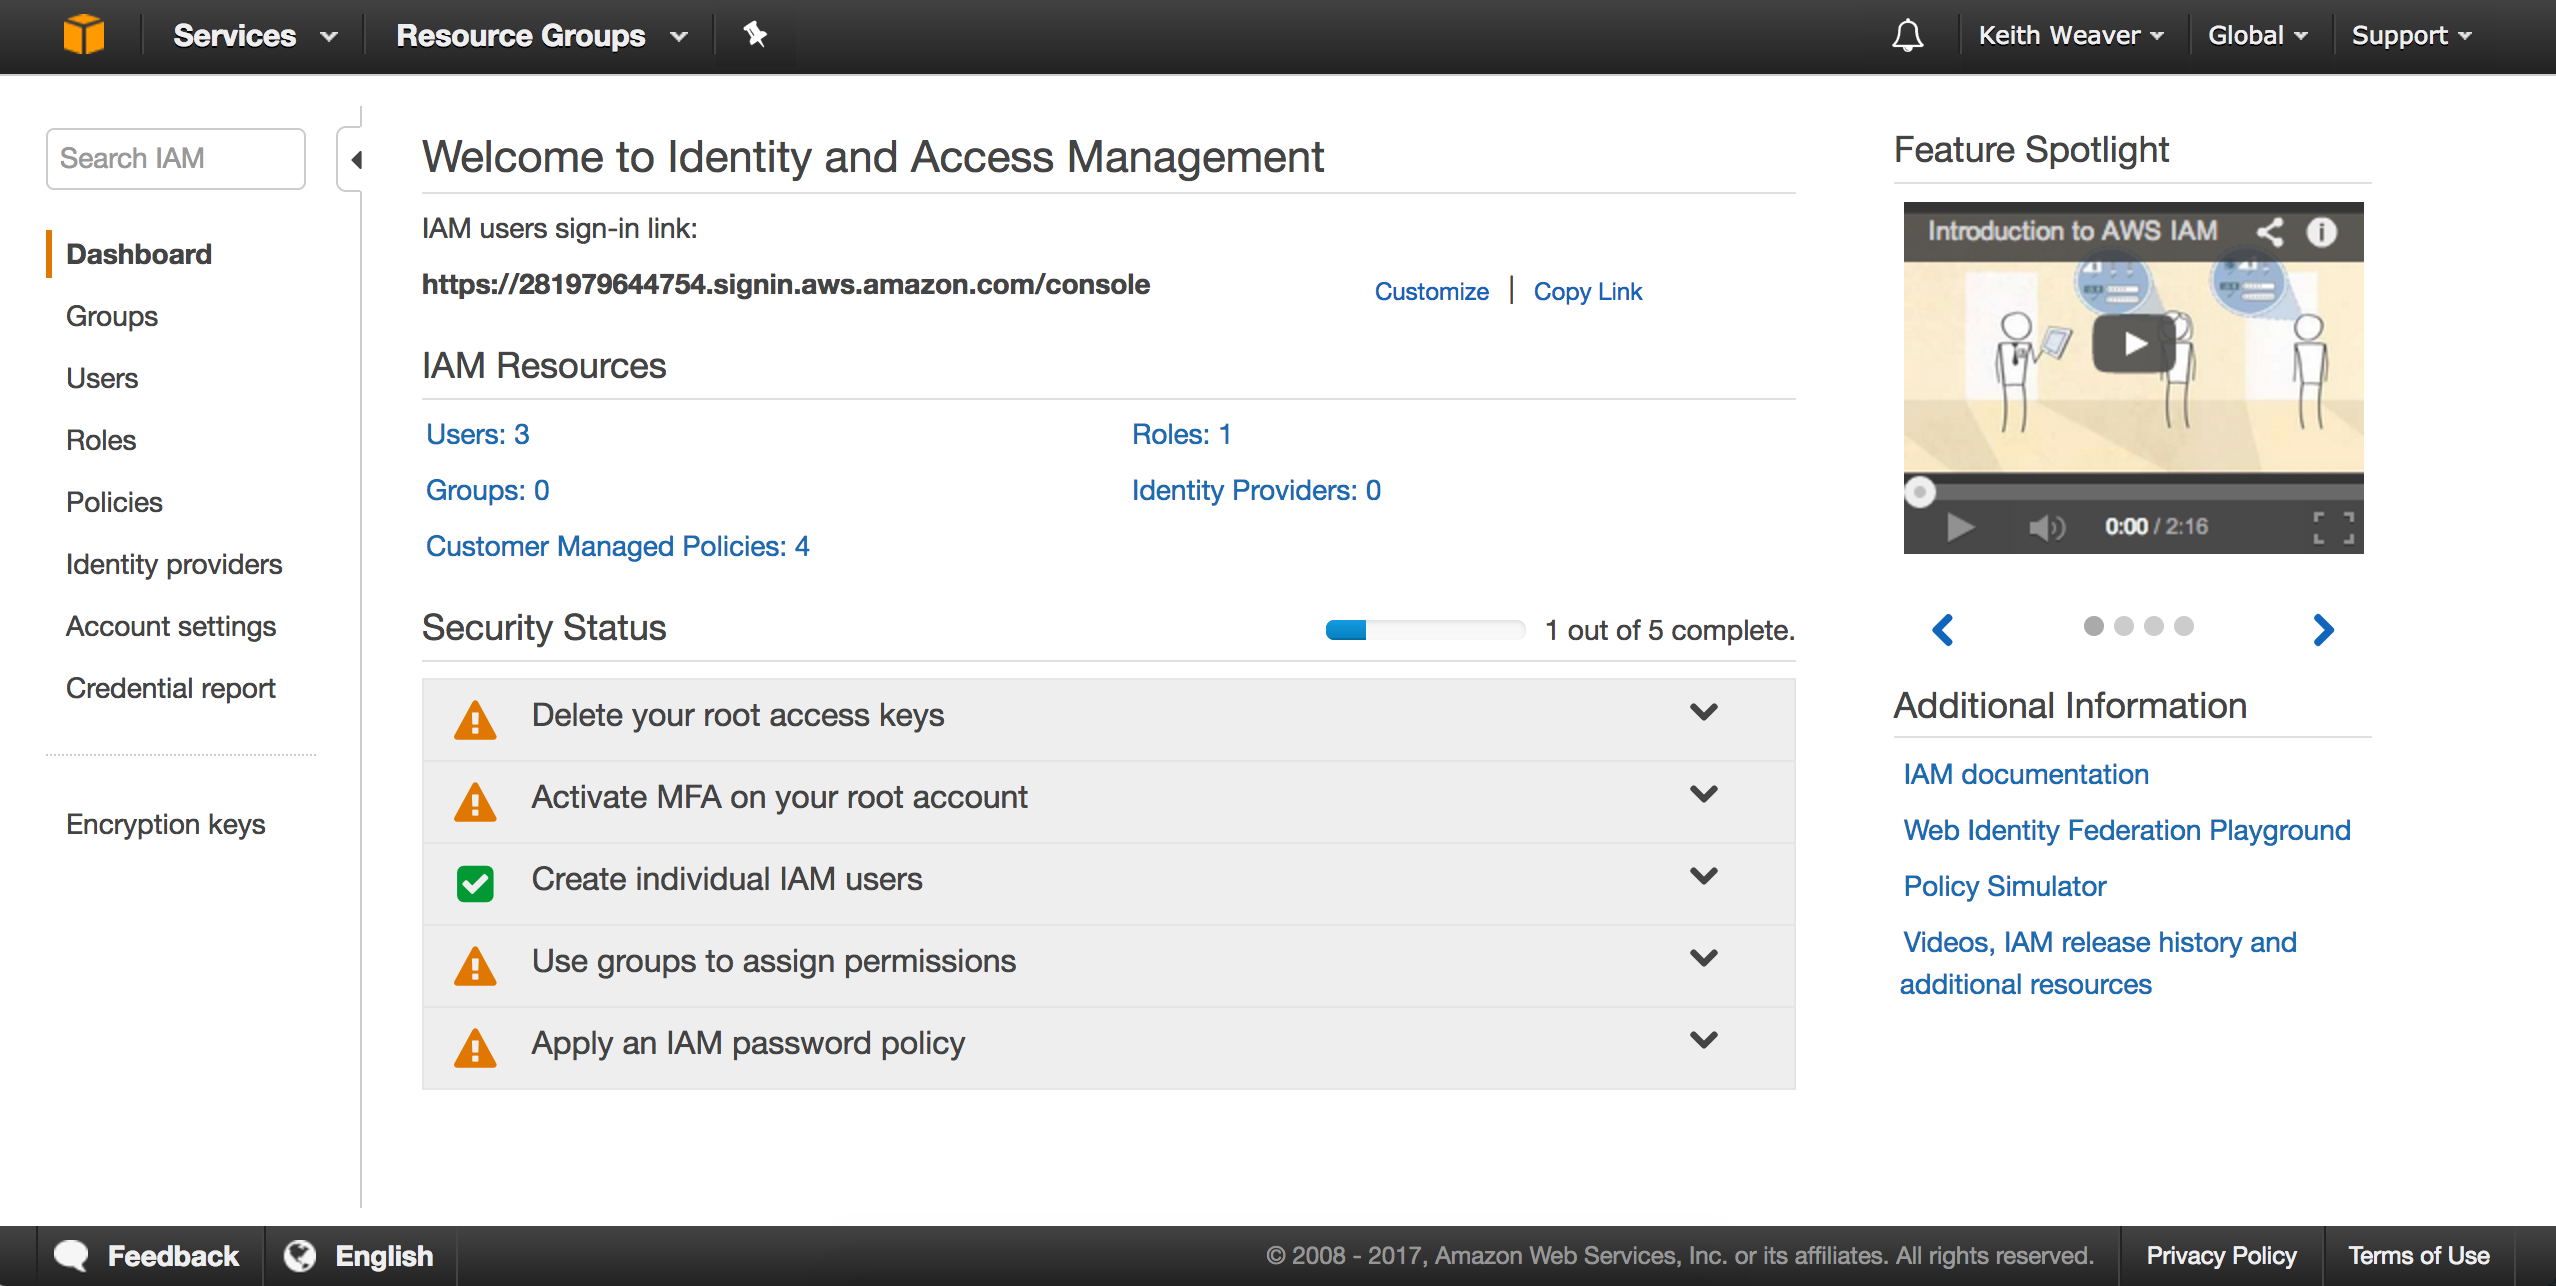
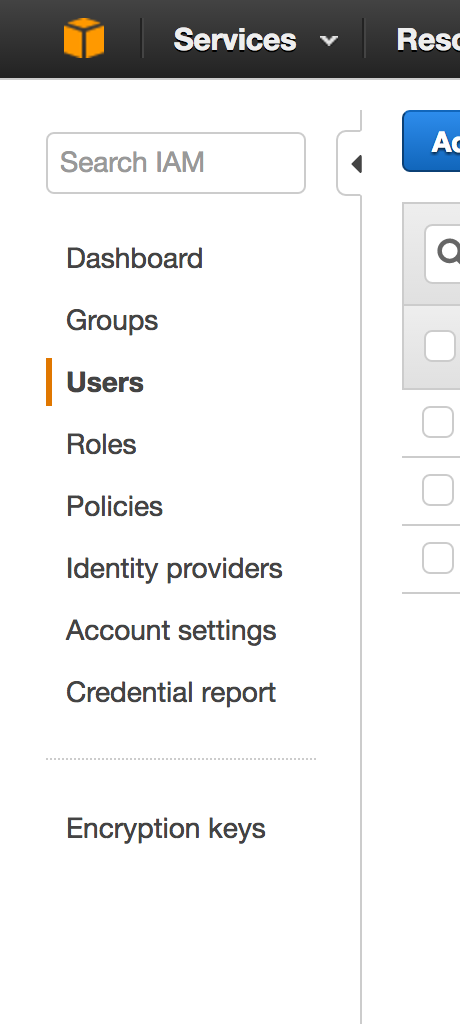
You should see your IAM dashboard. On the left menu, you can click Users.
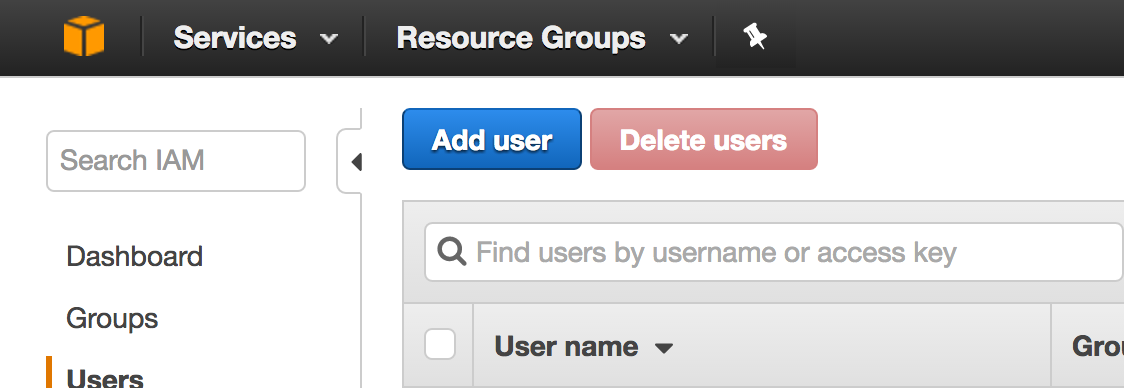
Click the Add User.
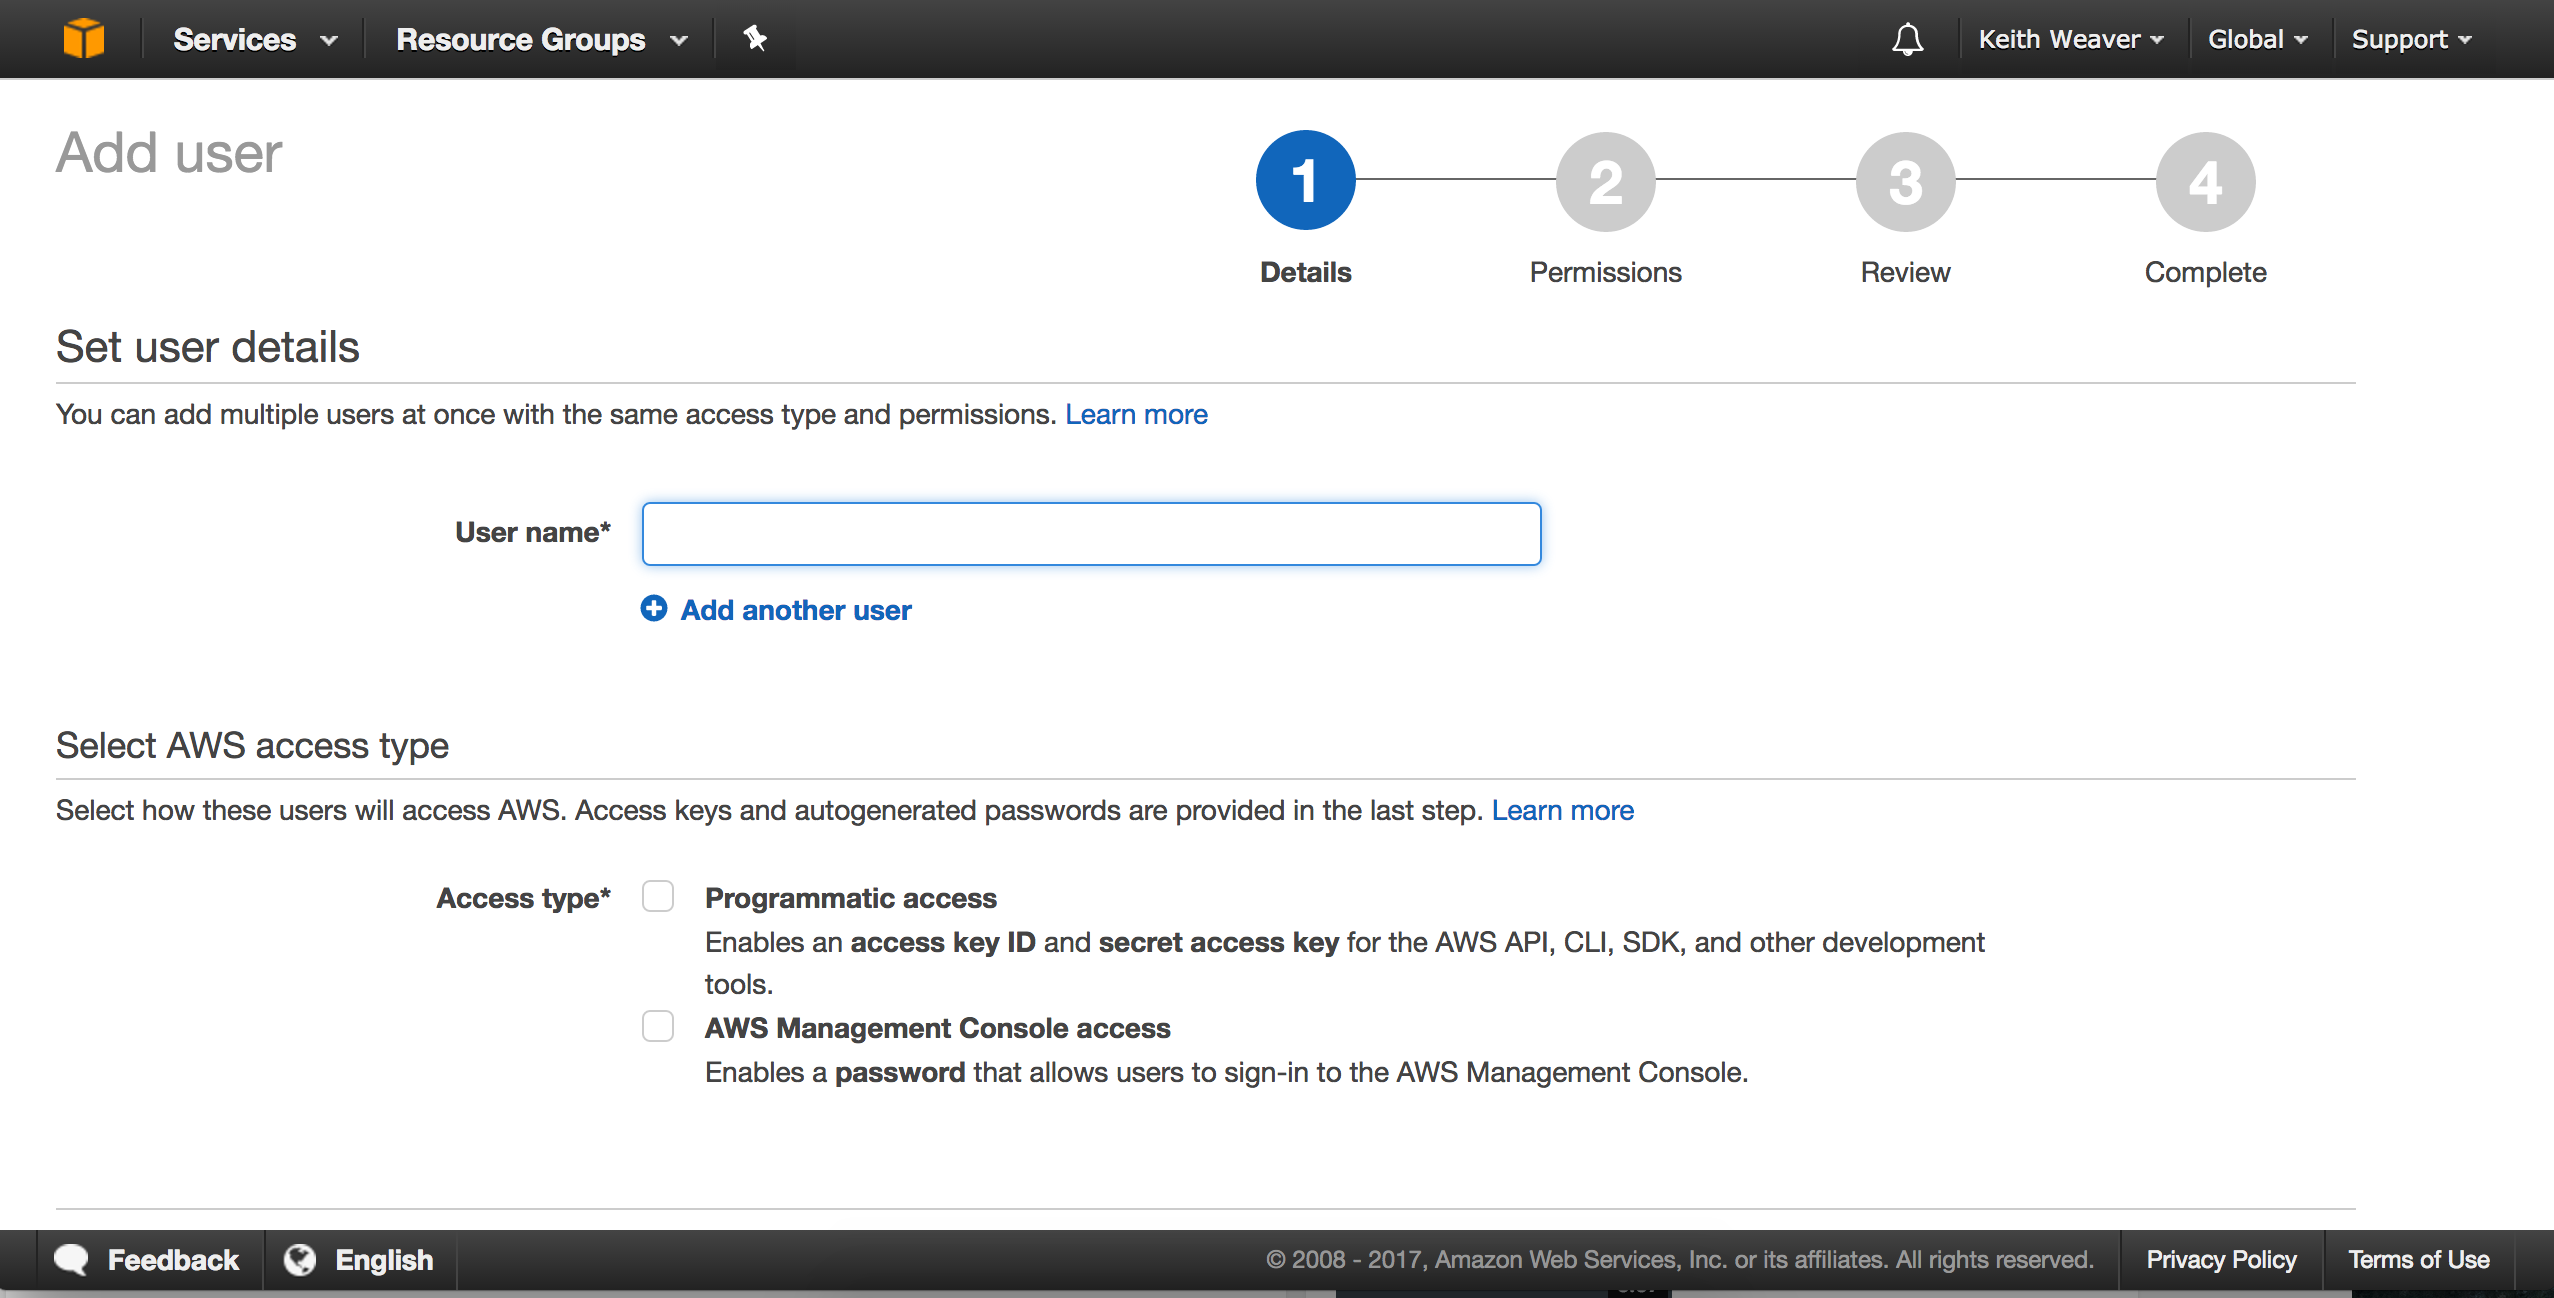
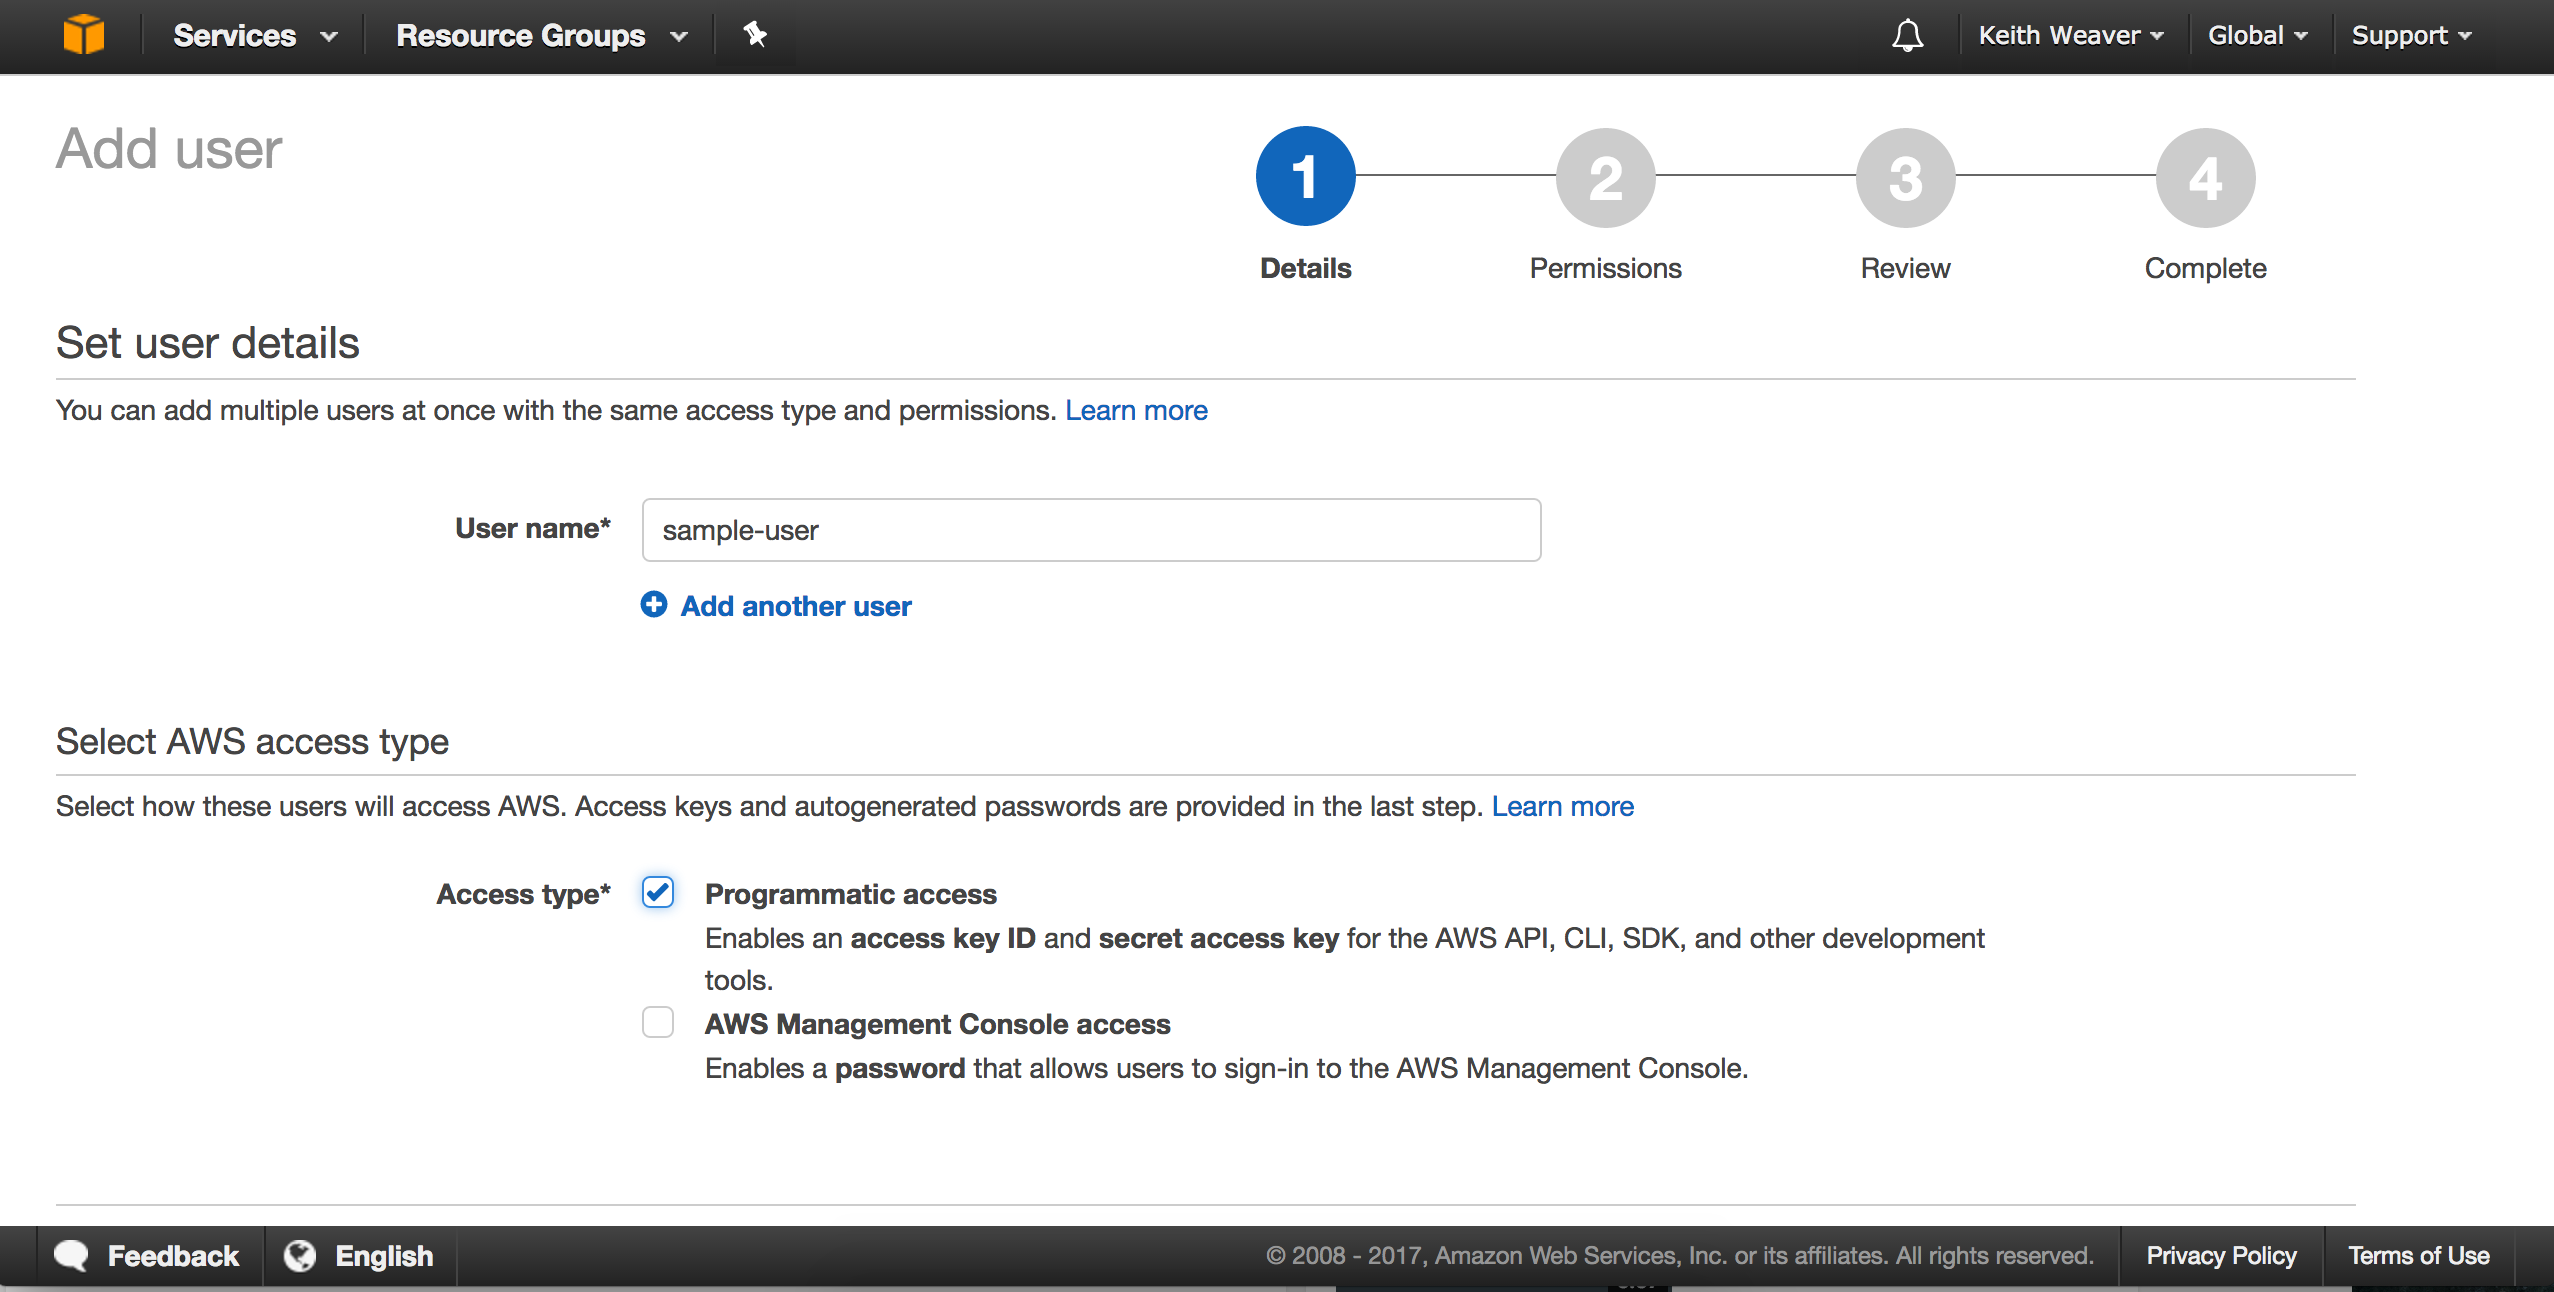
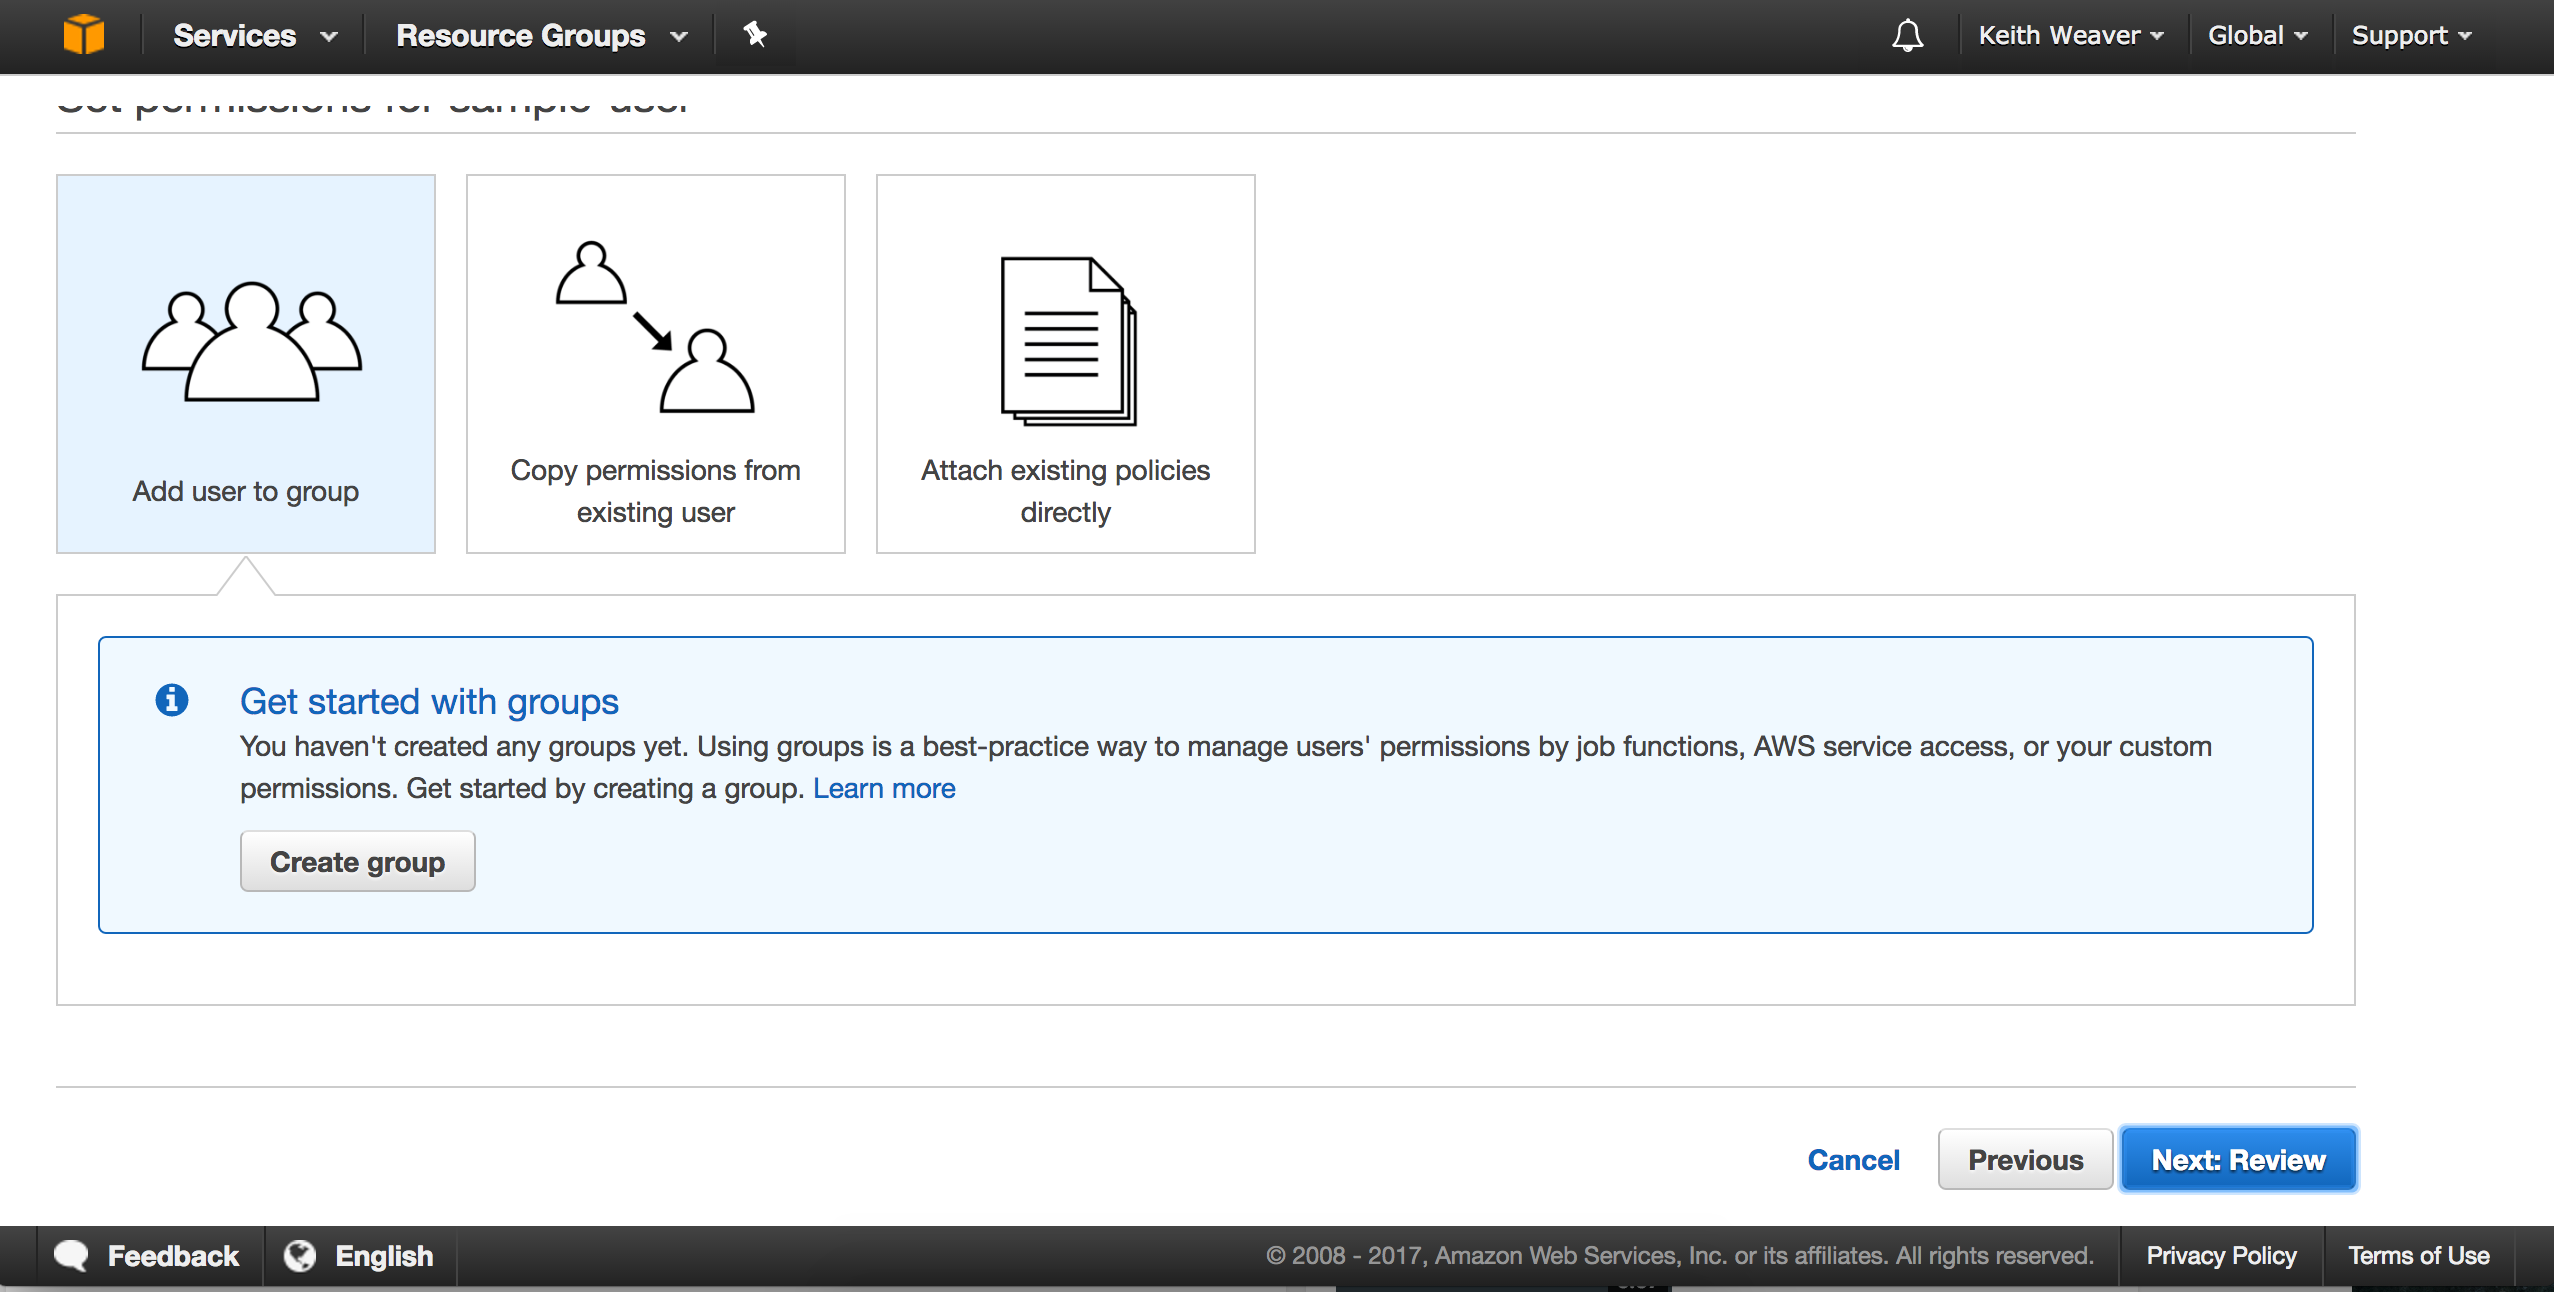
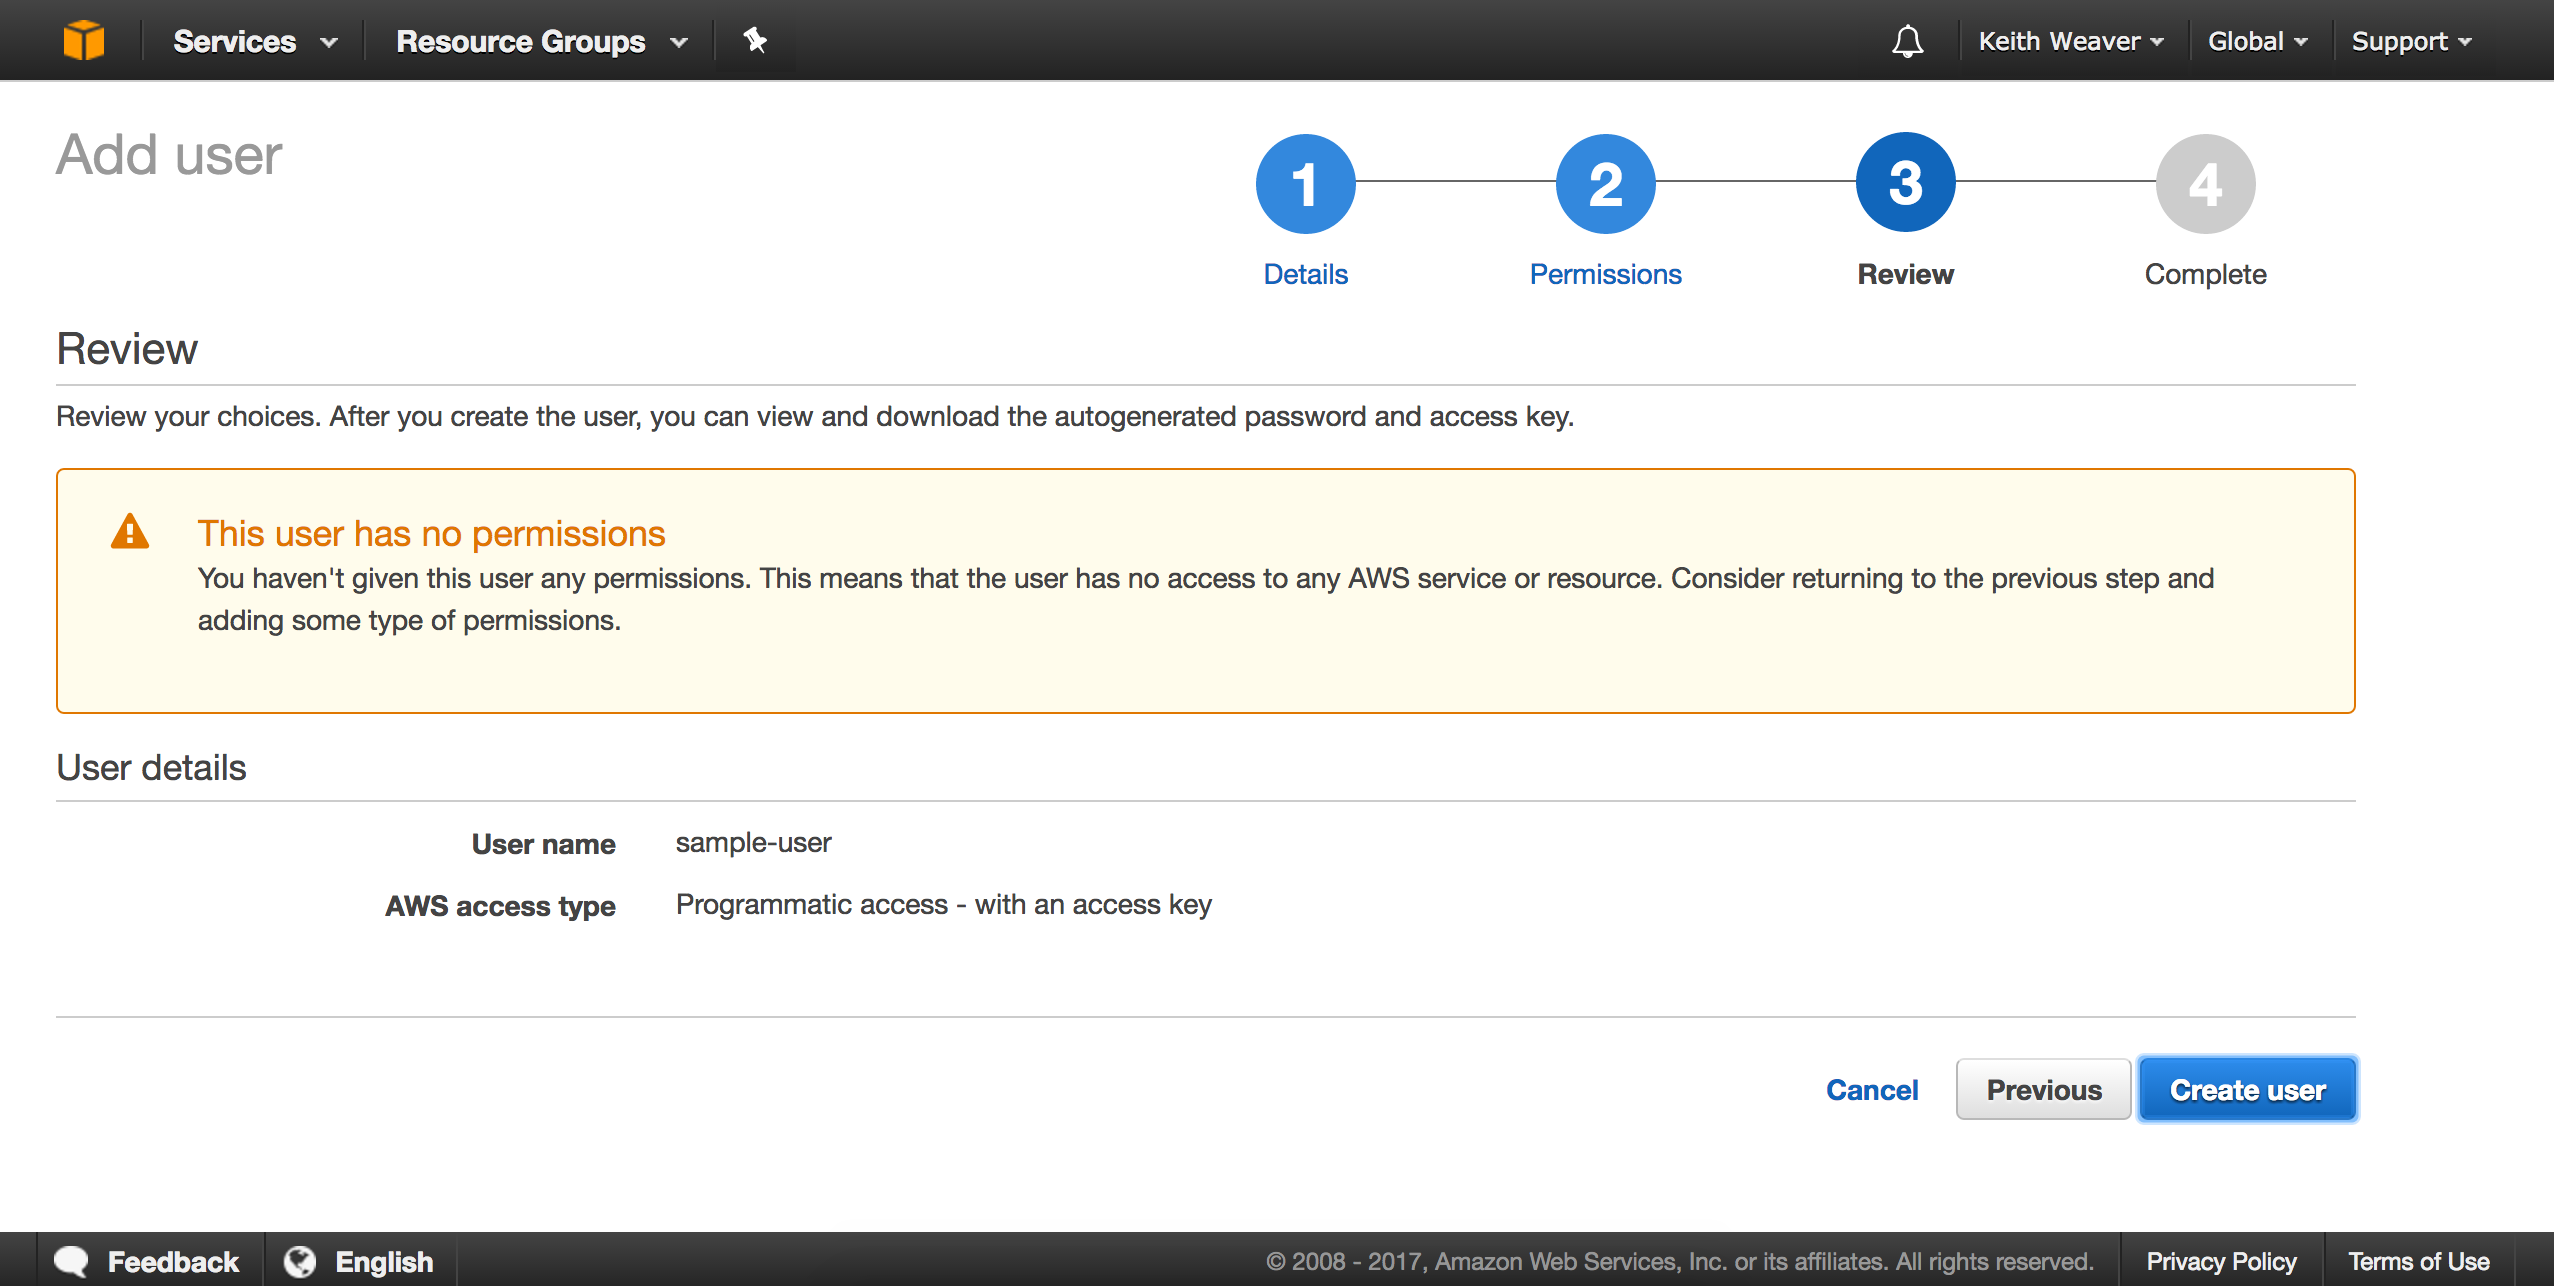
Now click your new user from the list of users.
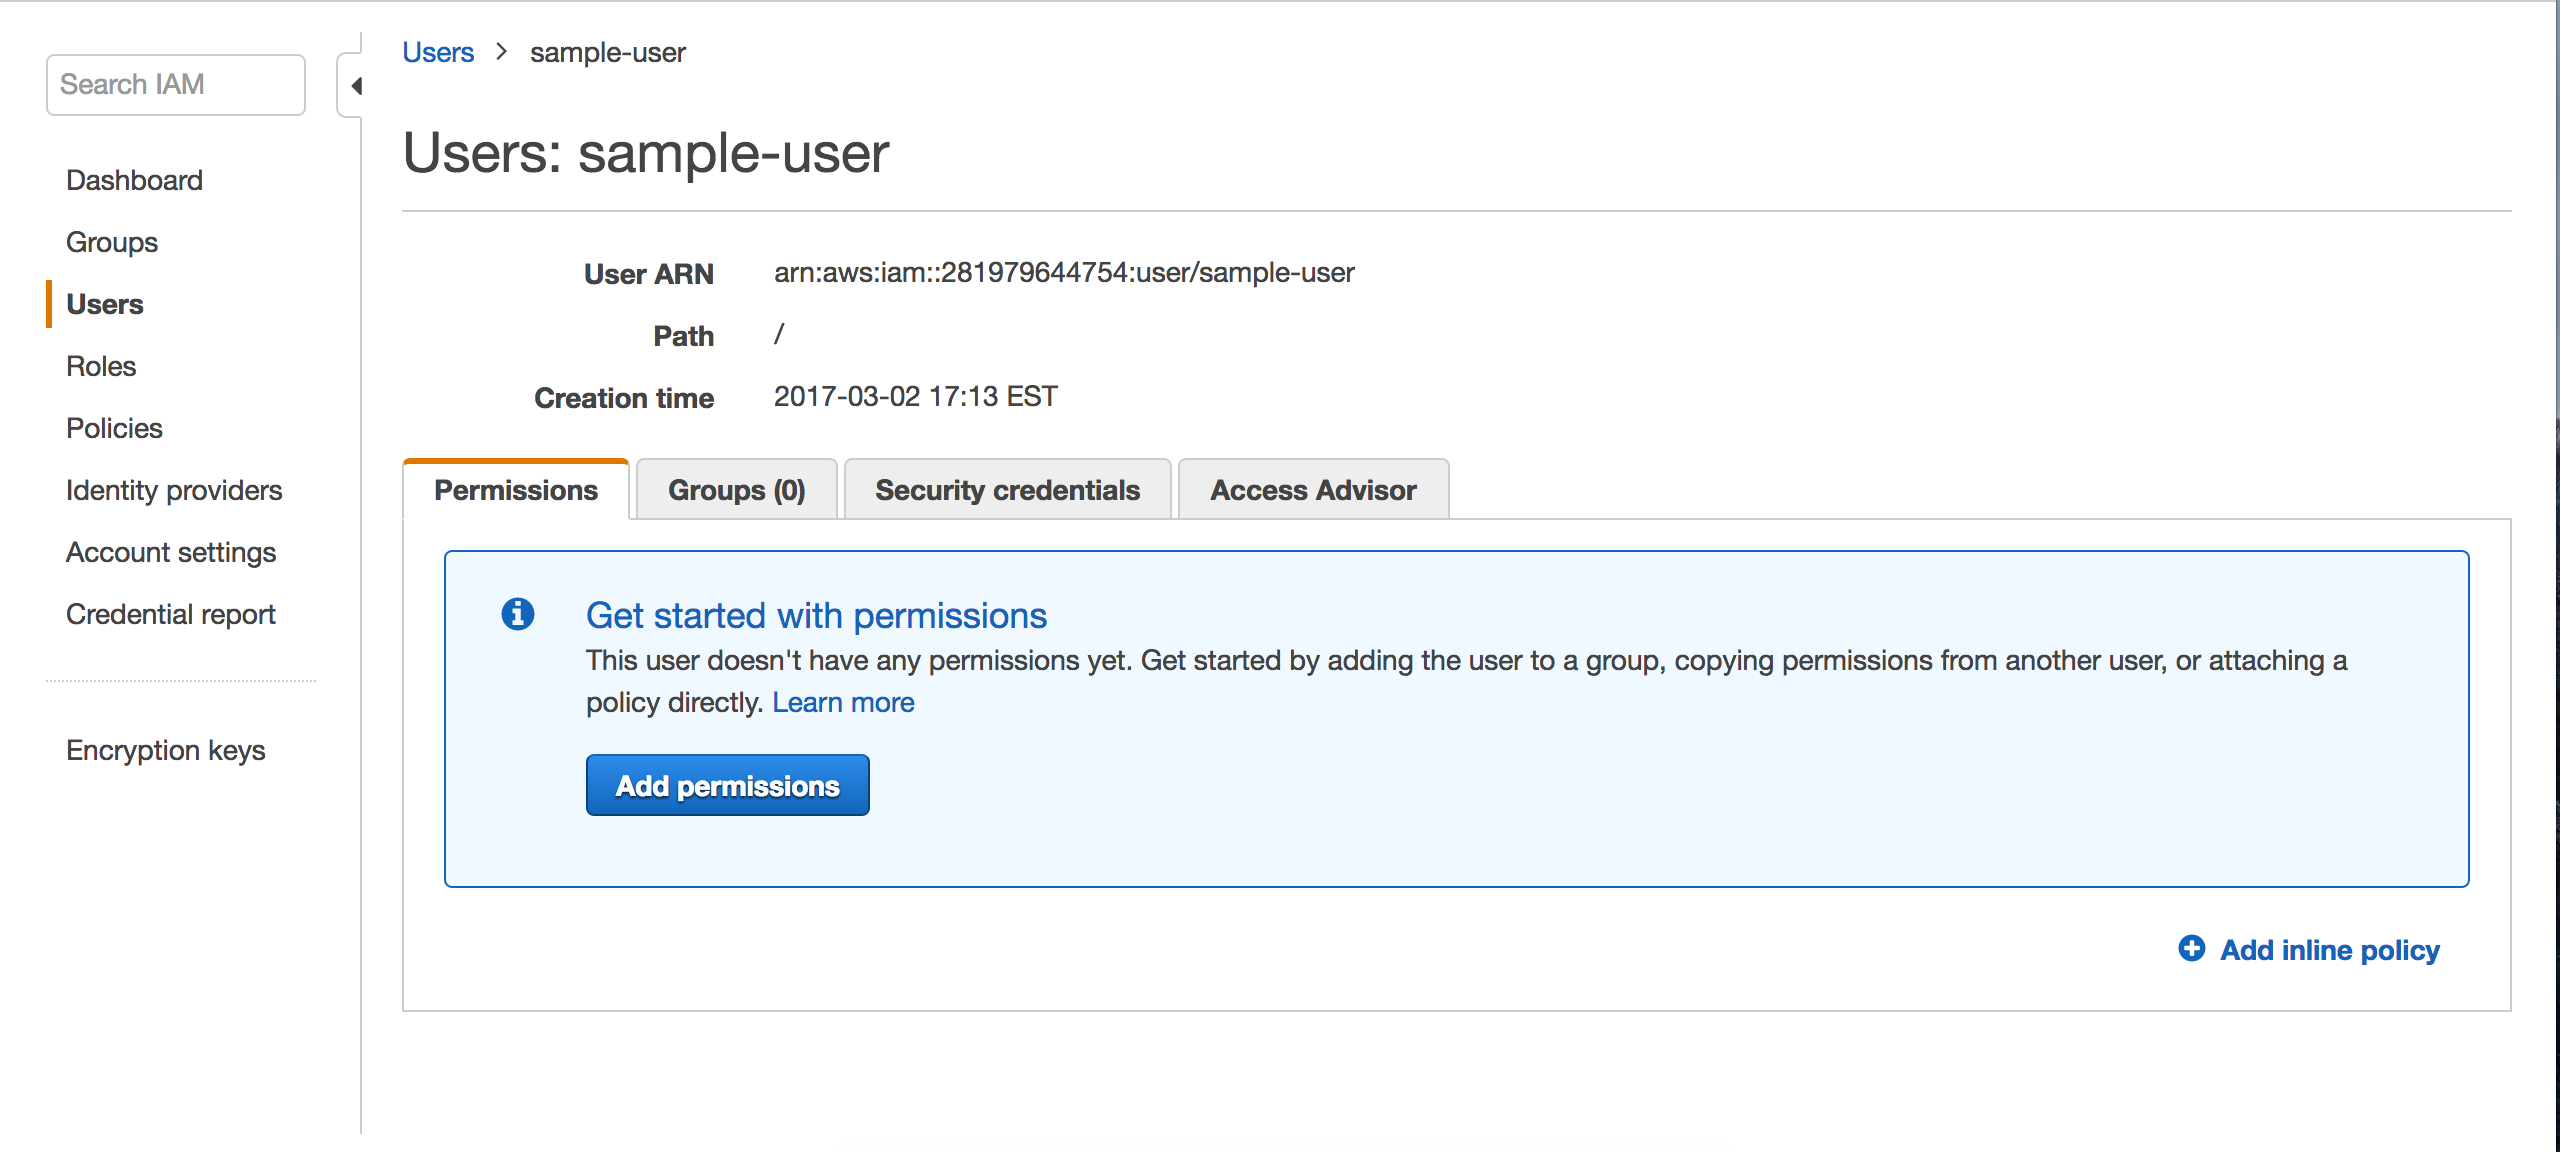
Copy the User ARN
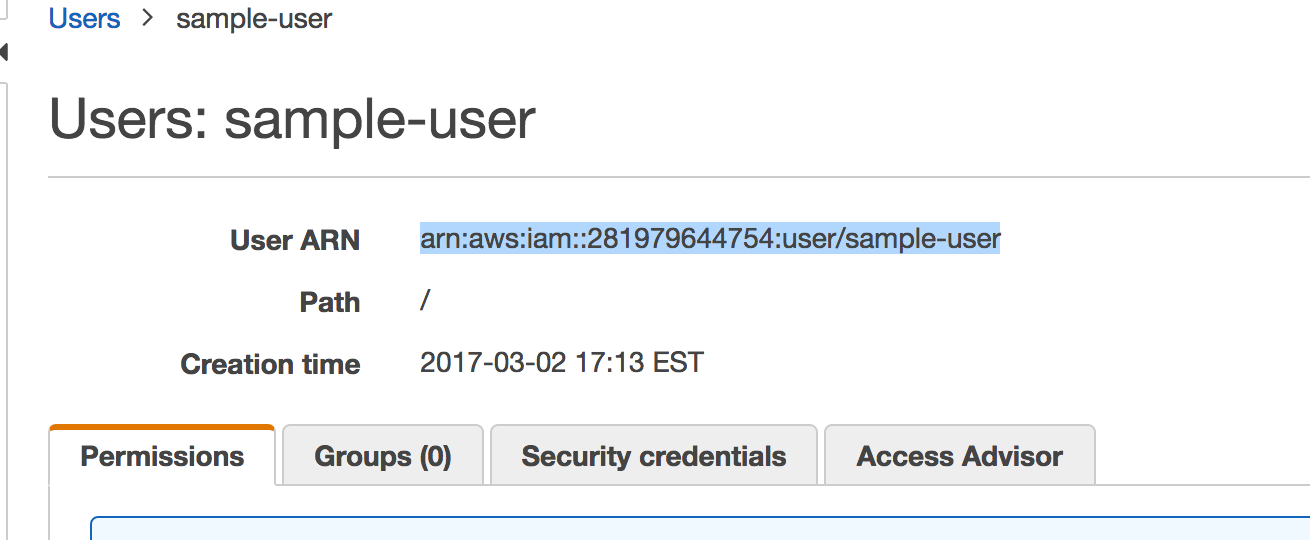
Reopen the S3 dashboard
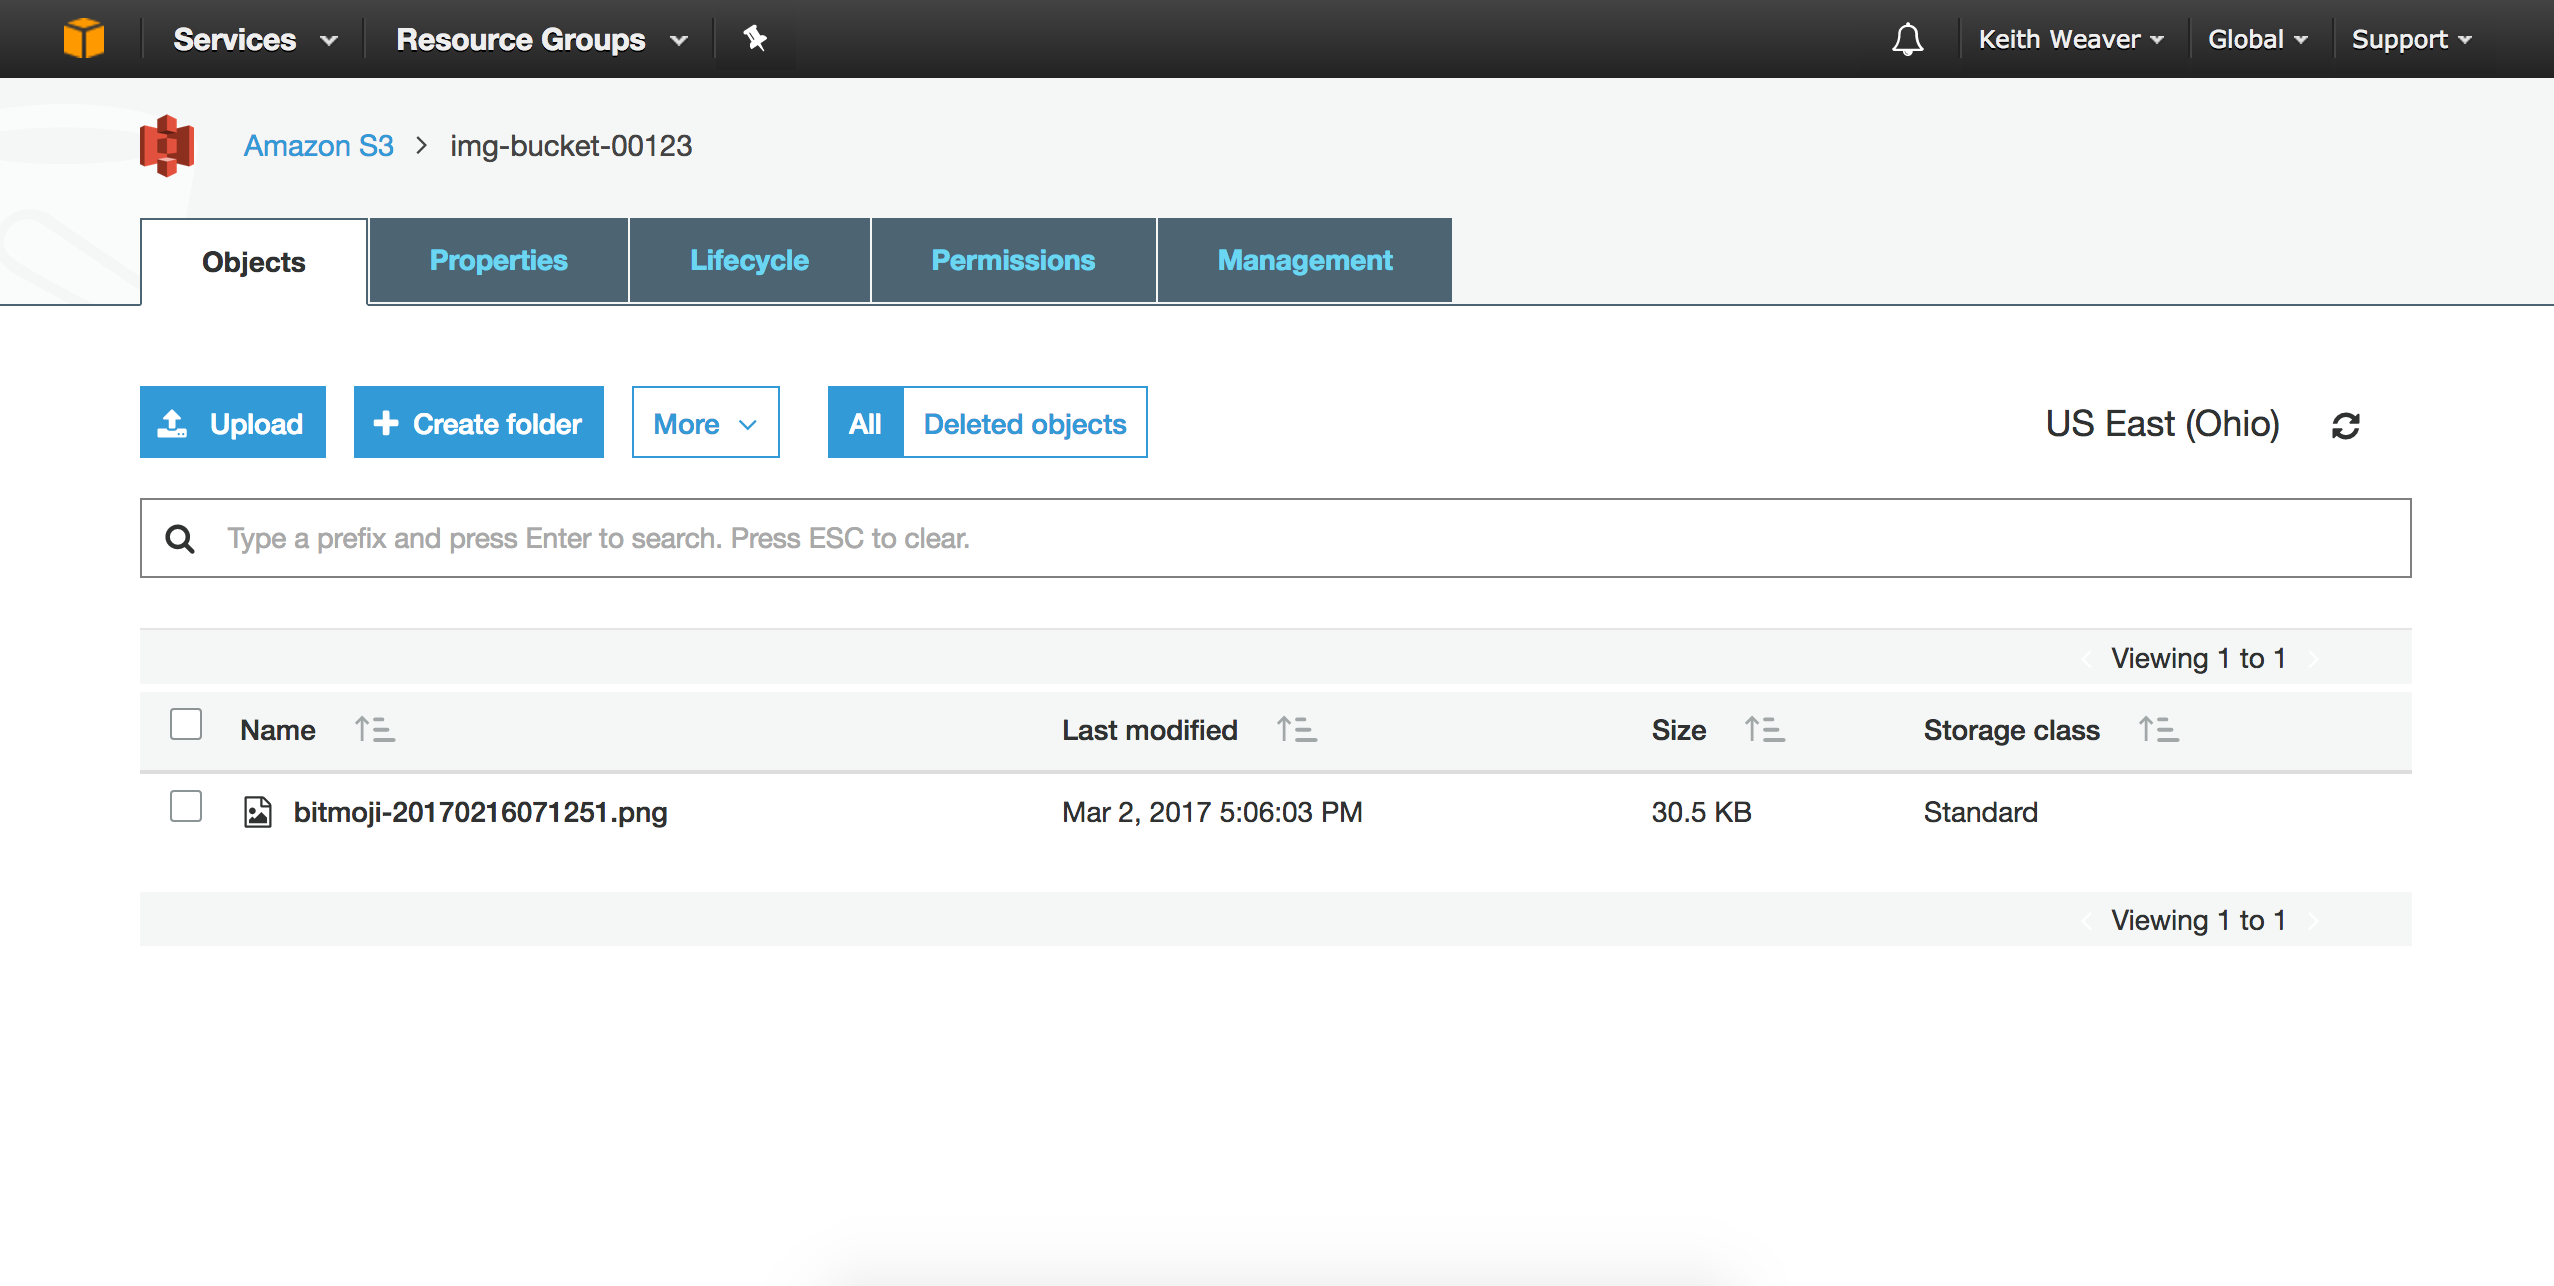
Now click the permissions tab.
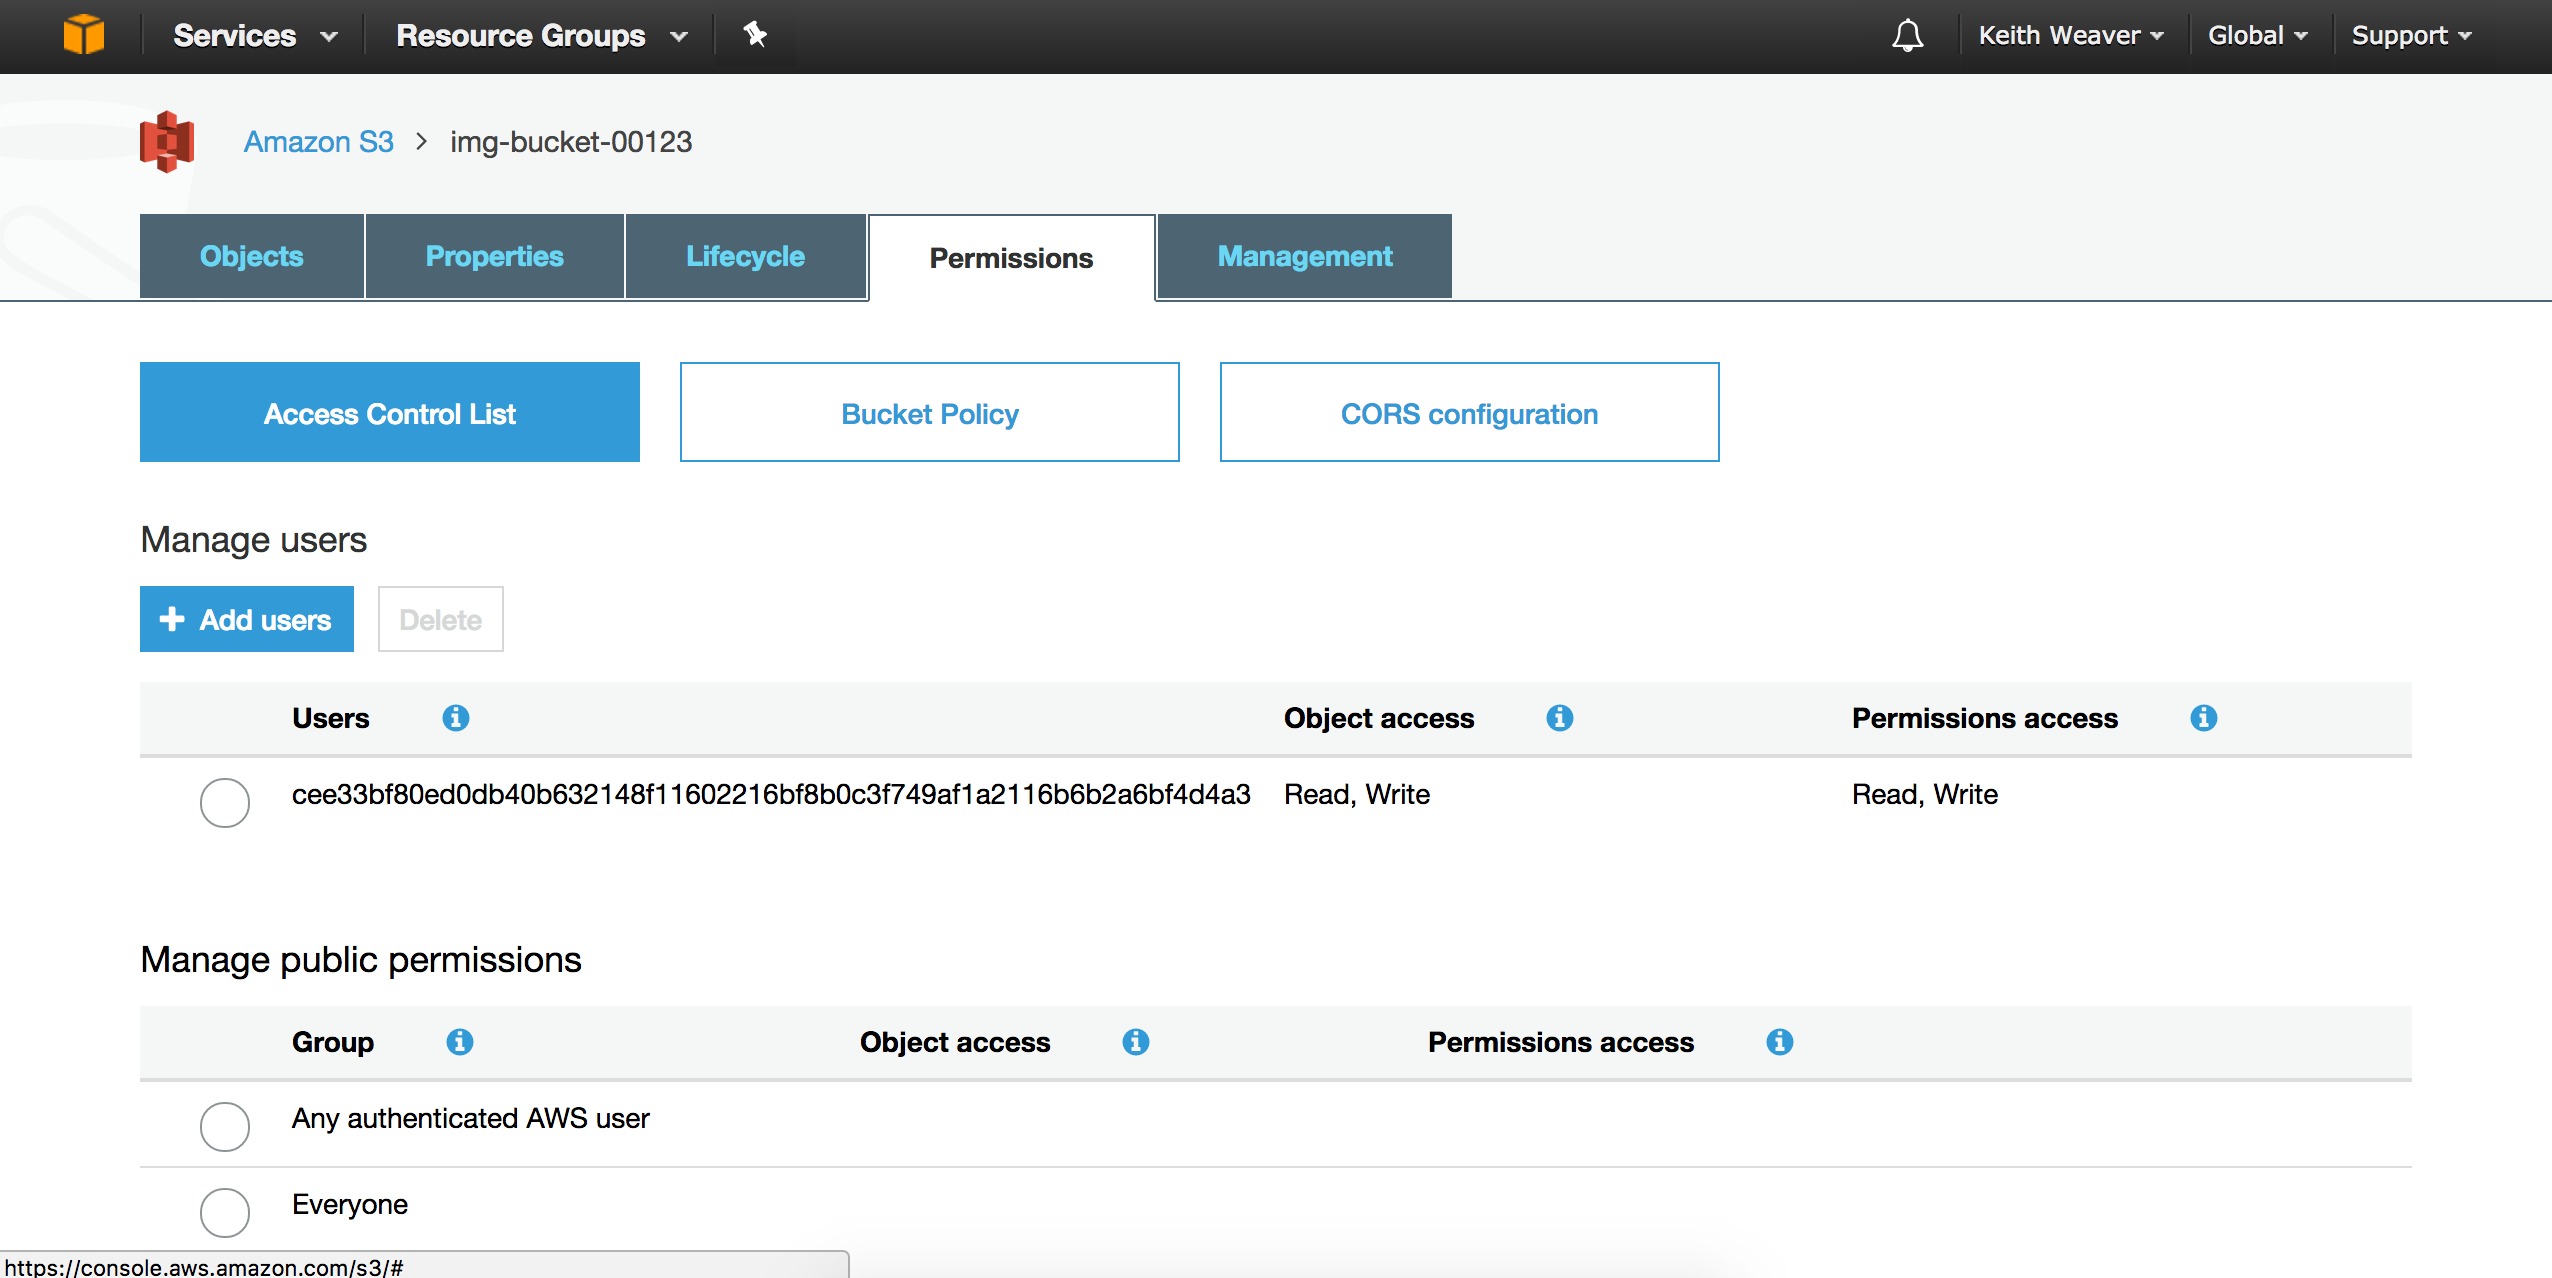
Then click Bucket Policy.
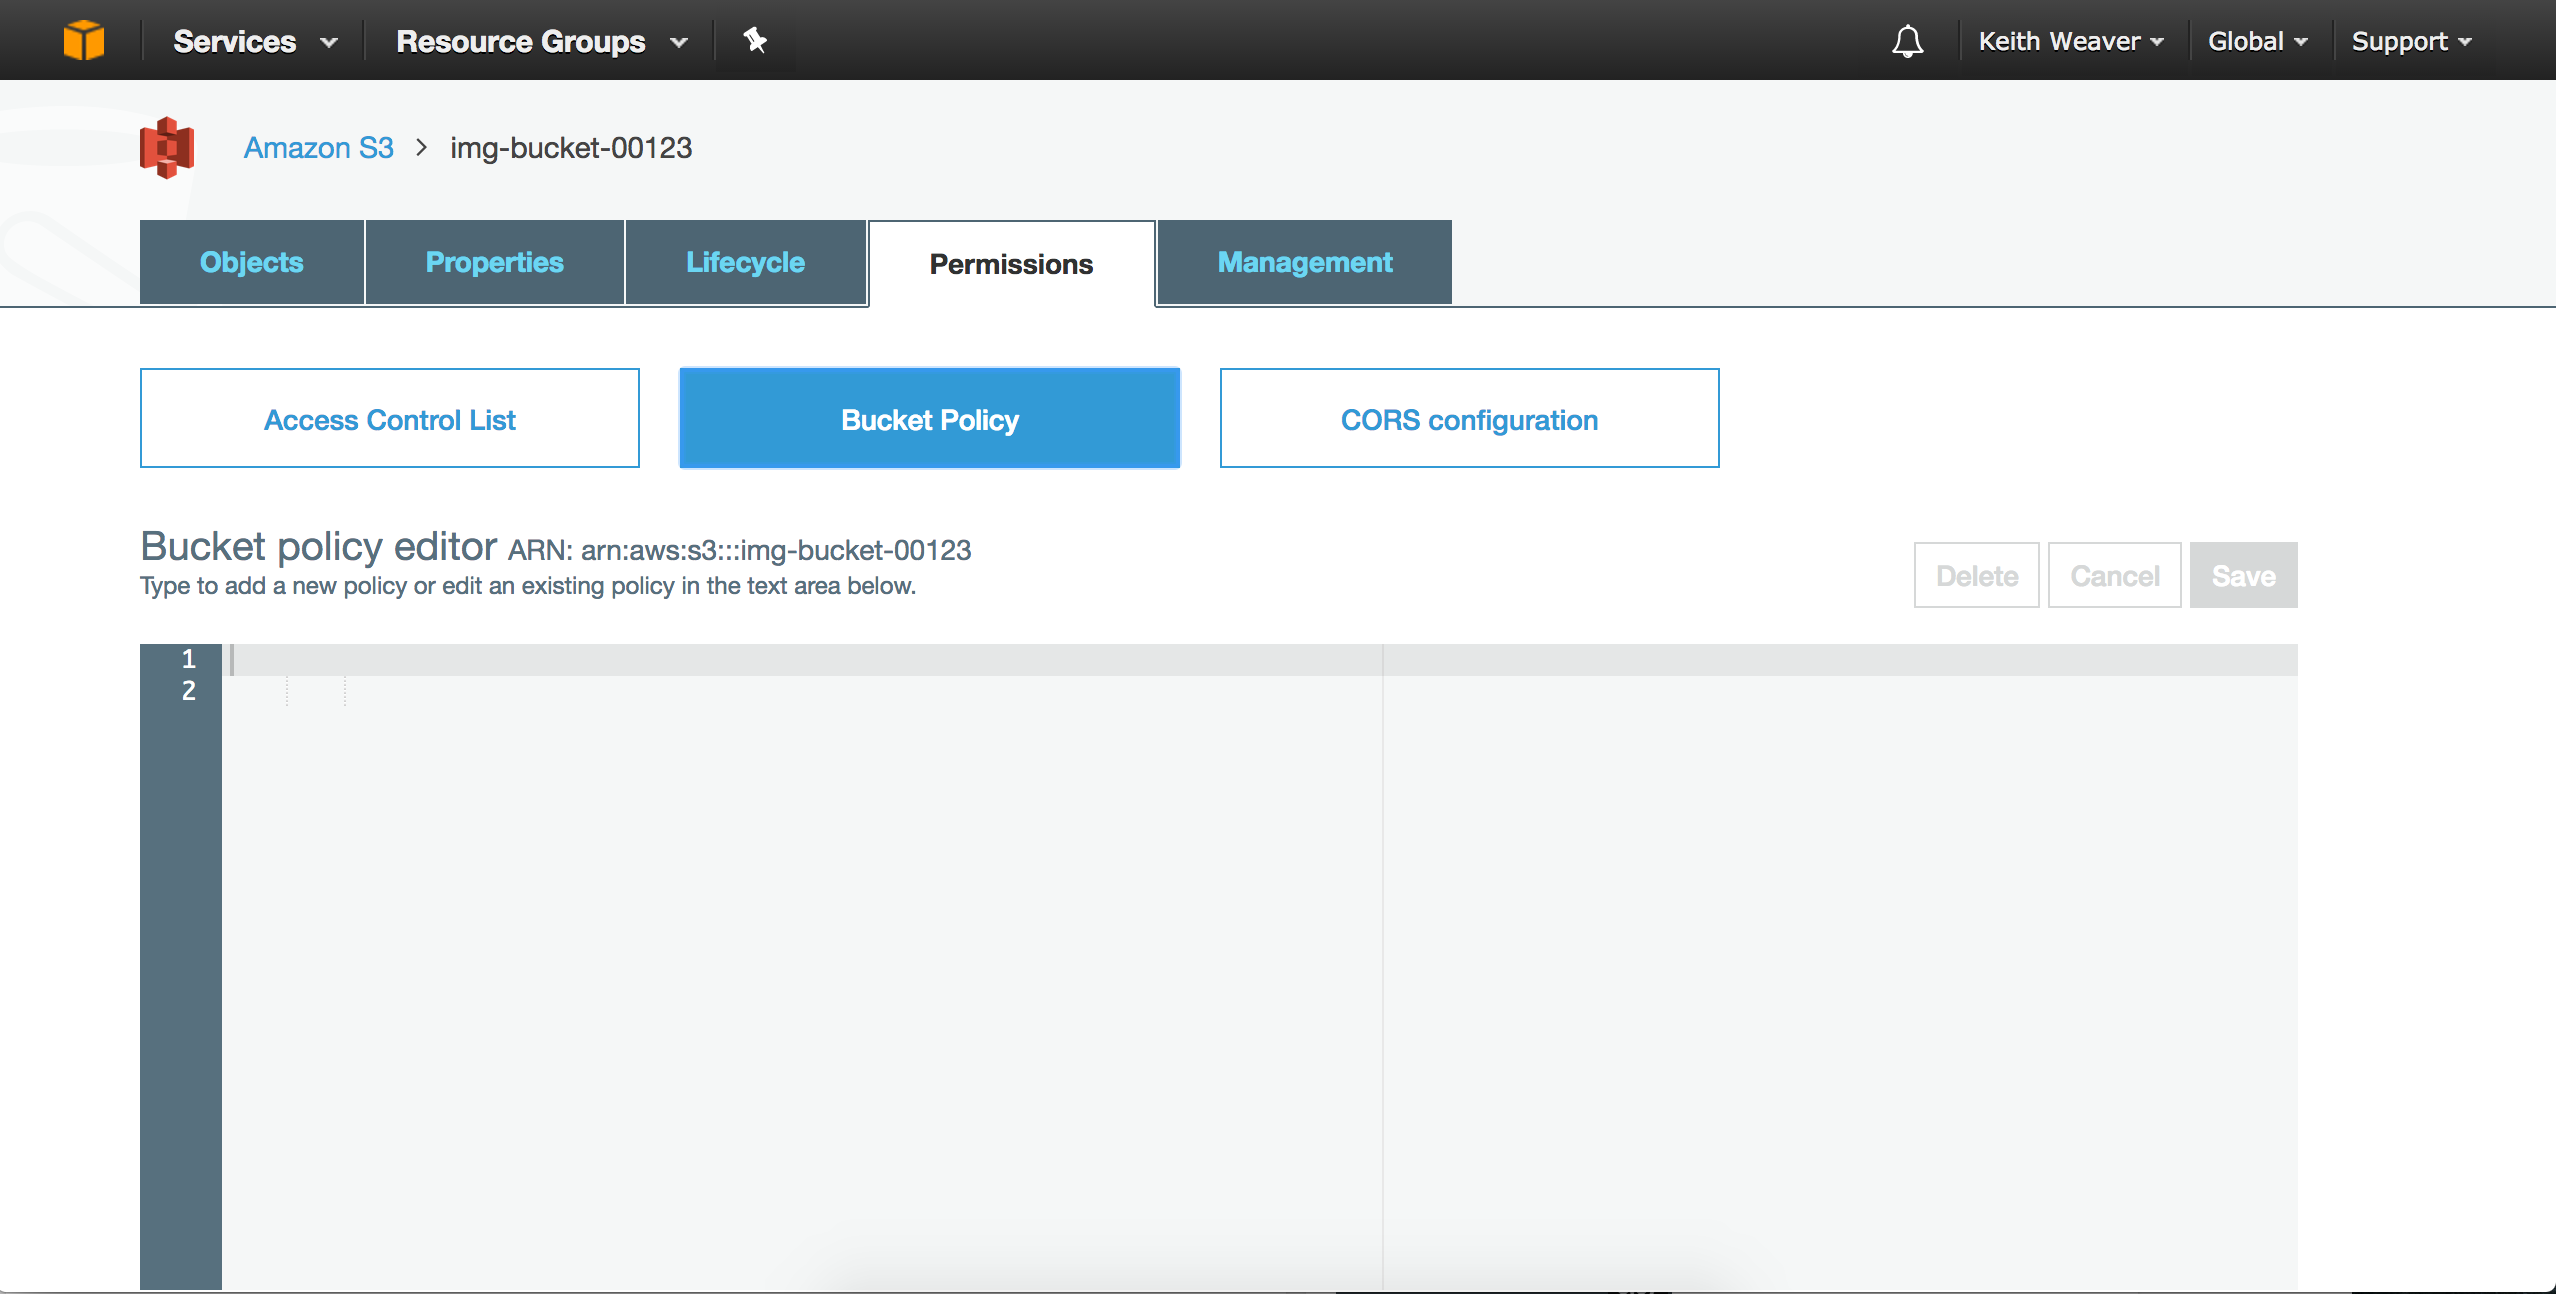
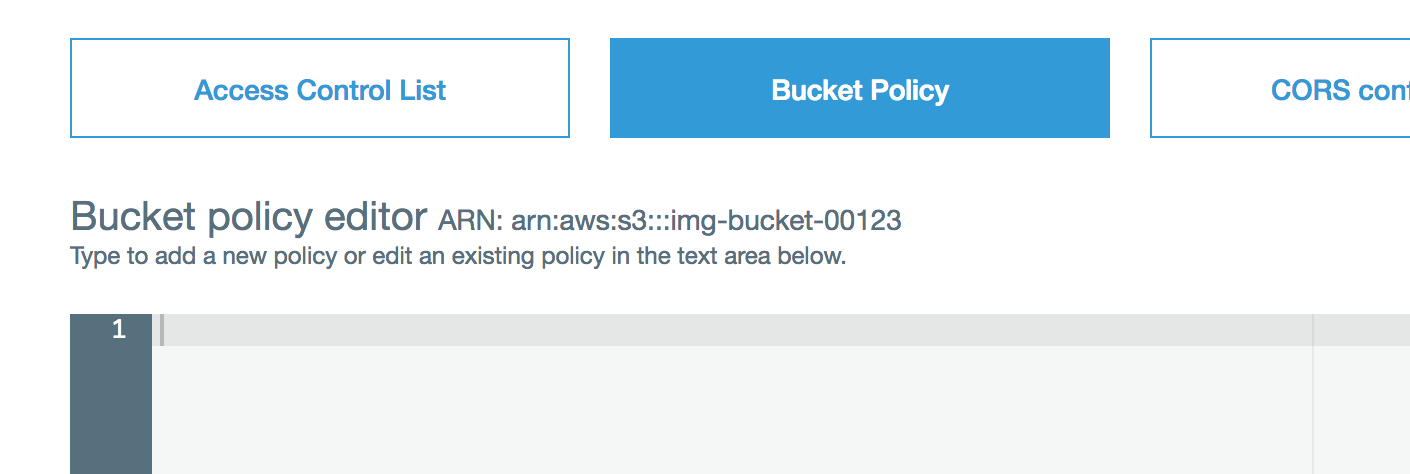
Set your Bucket Policy to be the same as below. Change arn:aws:iam::281979644754:user/sample-user to be your User ARN. Also change arn:aws:s3:::img-bucket-00123 to your Bucket ARN. The bucket ARN is above the textarea.
{
    "Version": "2012-10-17",
    "Id": "Policy1488494182833",
    "Statement": [
        {
            "Sid": "Stmt1488493308547",
            "Effect": "Allow",
            "Principal": {
                "AWS": "arn:aws:iam::281979644754:user/sample-user"
            },
            "Action": [
                "s3:ListBucket",
                "s3:ListBucketVersions",
                "s3:GetBucketLocation",
                "s3:Get*",
                "s3:Put*"
            ],
            "Resource": "arn:aws:s3:::img-bucket-00123"
        }
    ]
}
Click CORS configuration and add the following policy:
<?xml version="1.0" encoding="UTF-8"?>
<CORSConfiguration xmlns="http://s3.amazonaws.com/doc/2006-03-01/">
  <CORSRule>
    <AllowedOrigin>*</AllowedOrigin>
    <AllowedMethod>GET</AllowedMethod>
    <AllowedMethod>POST</AllowedMethod>
    <AllowedMethod>PUT</AllowedMethod>
    <MaxAgeSeconds>3000</MaxAgeSeconds>
    <AllowedHeader>Authorization</AllowedHeader>
  </CORSRule>
</CORSConfiguration>
Reopen the IAM dashboard.
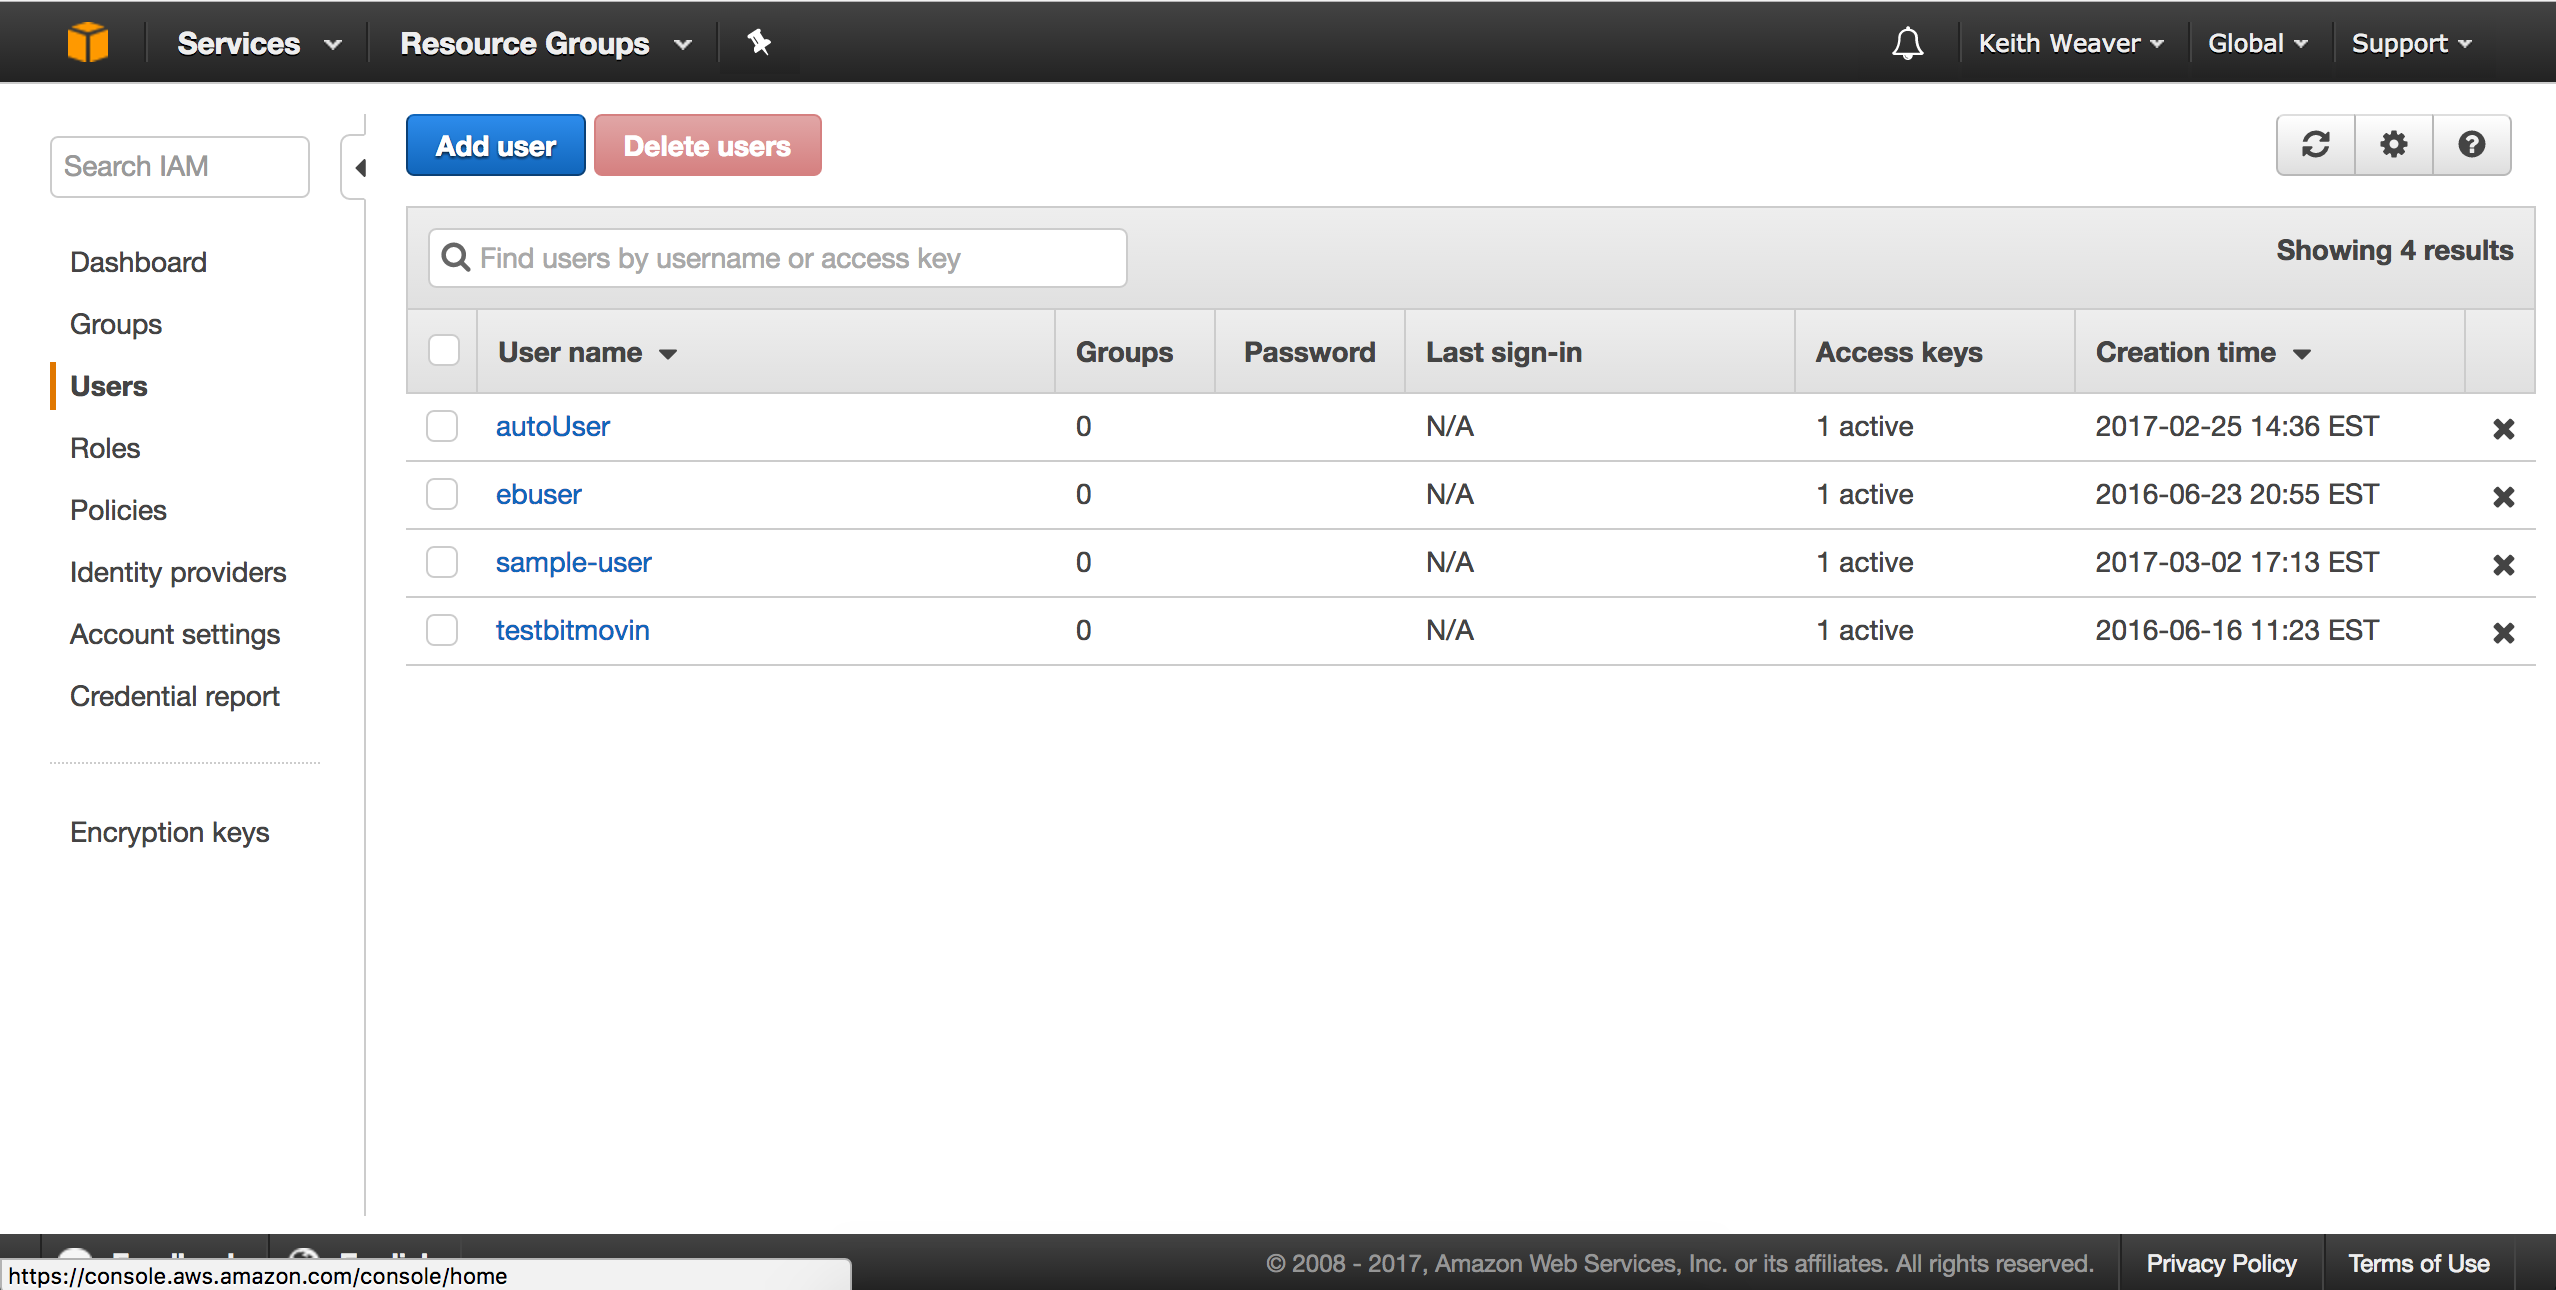
Open your new user.
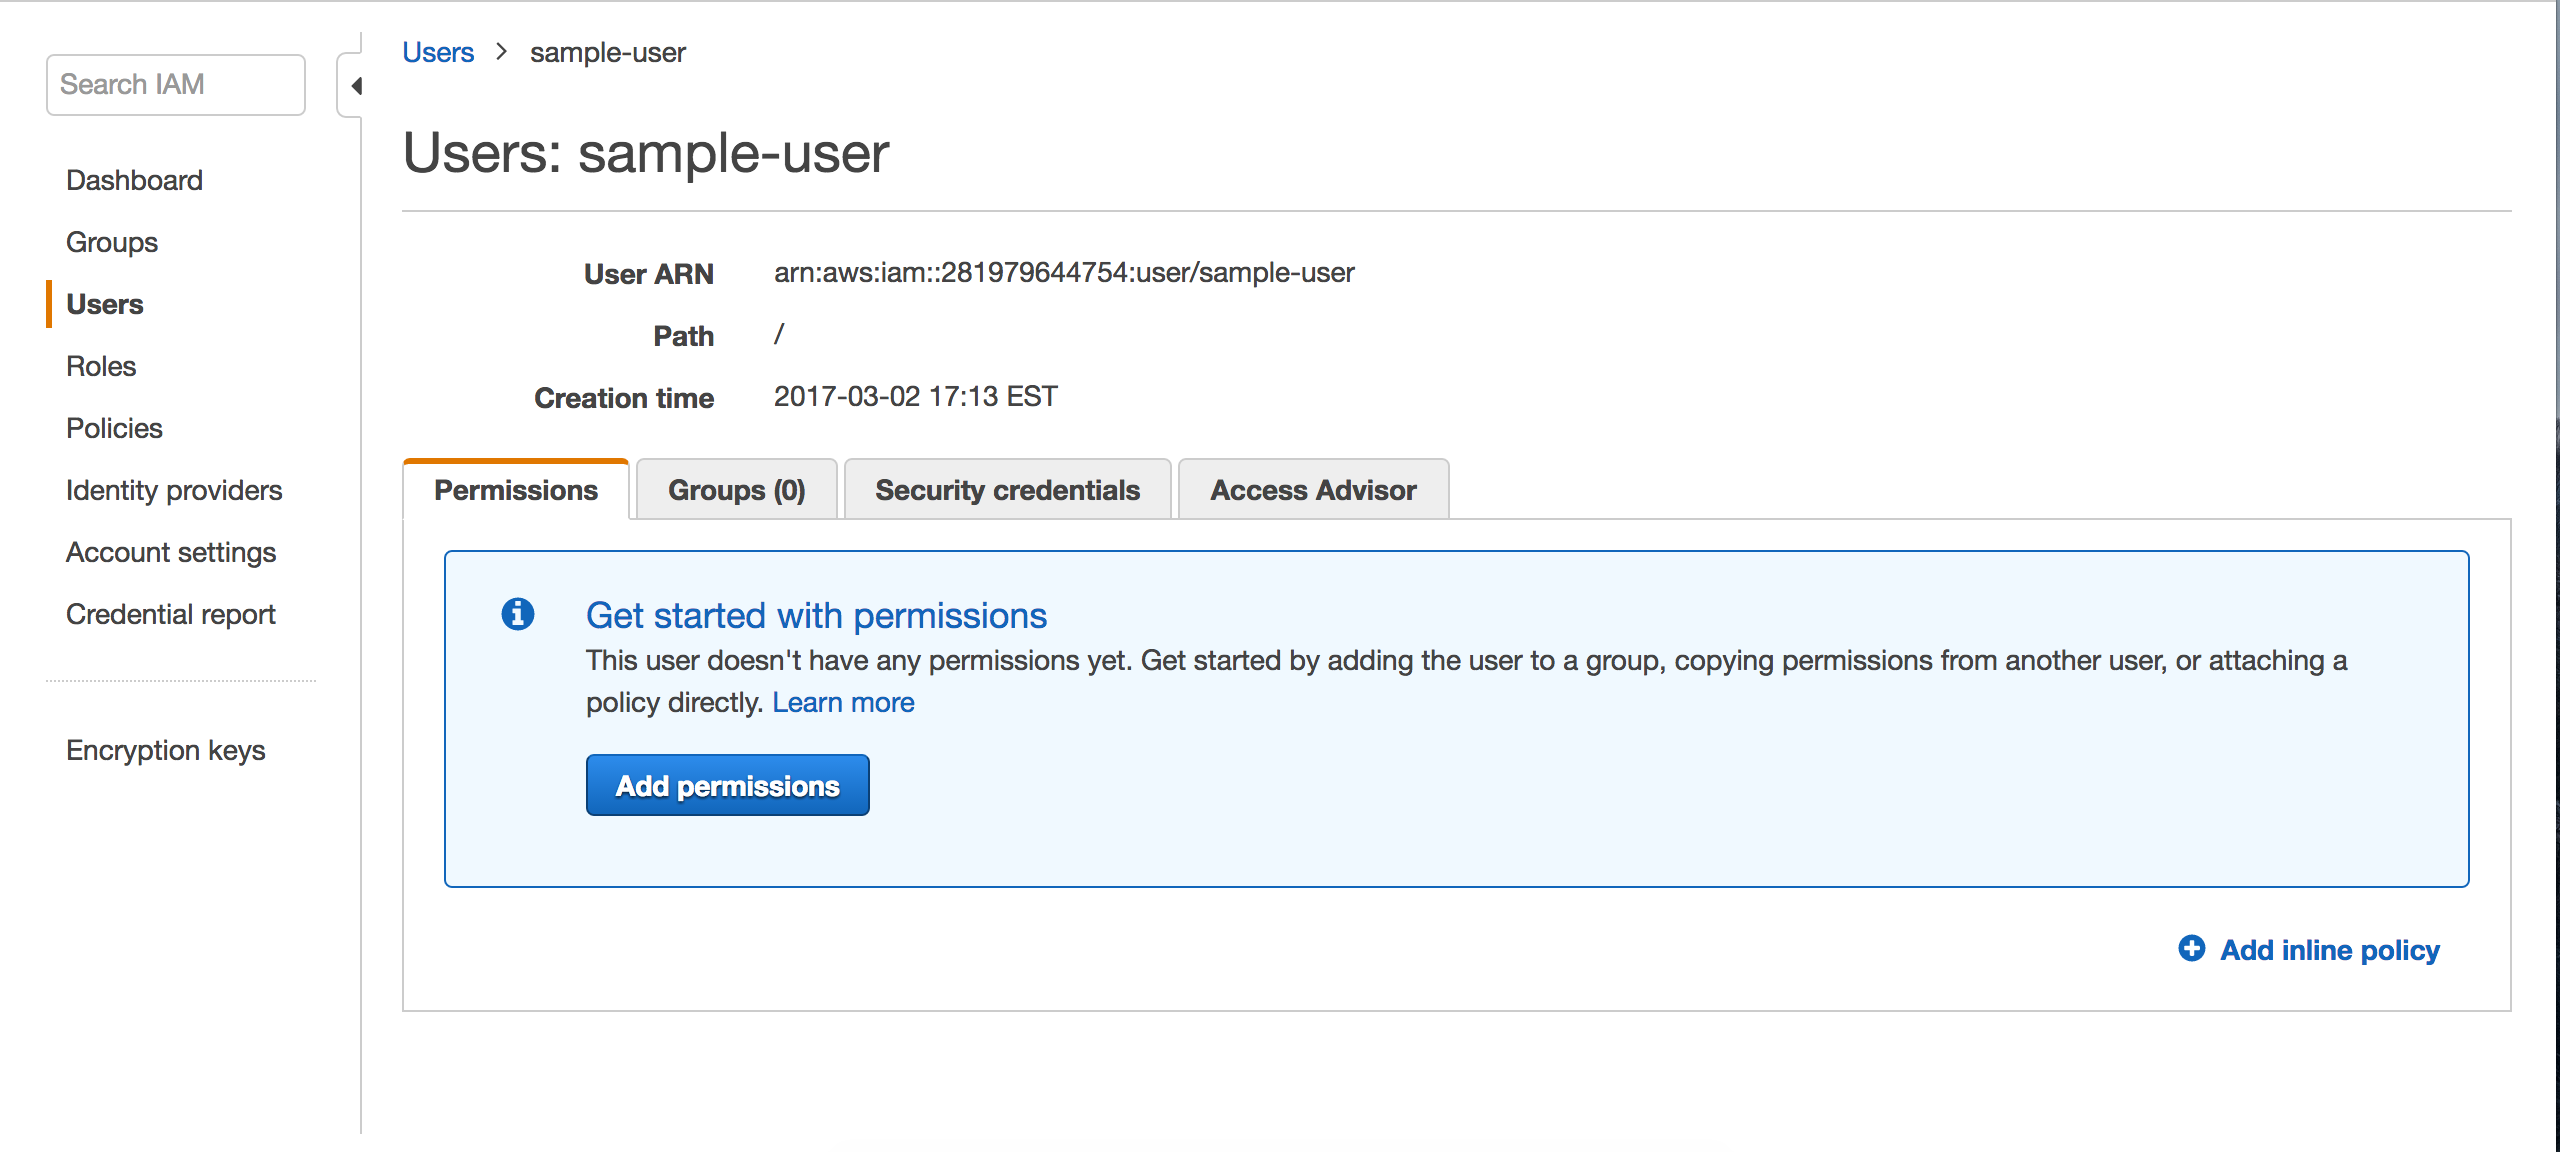
Click on the New inline policy
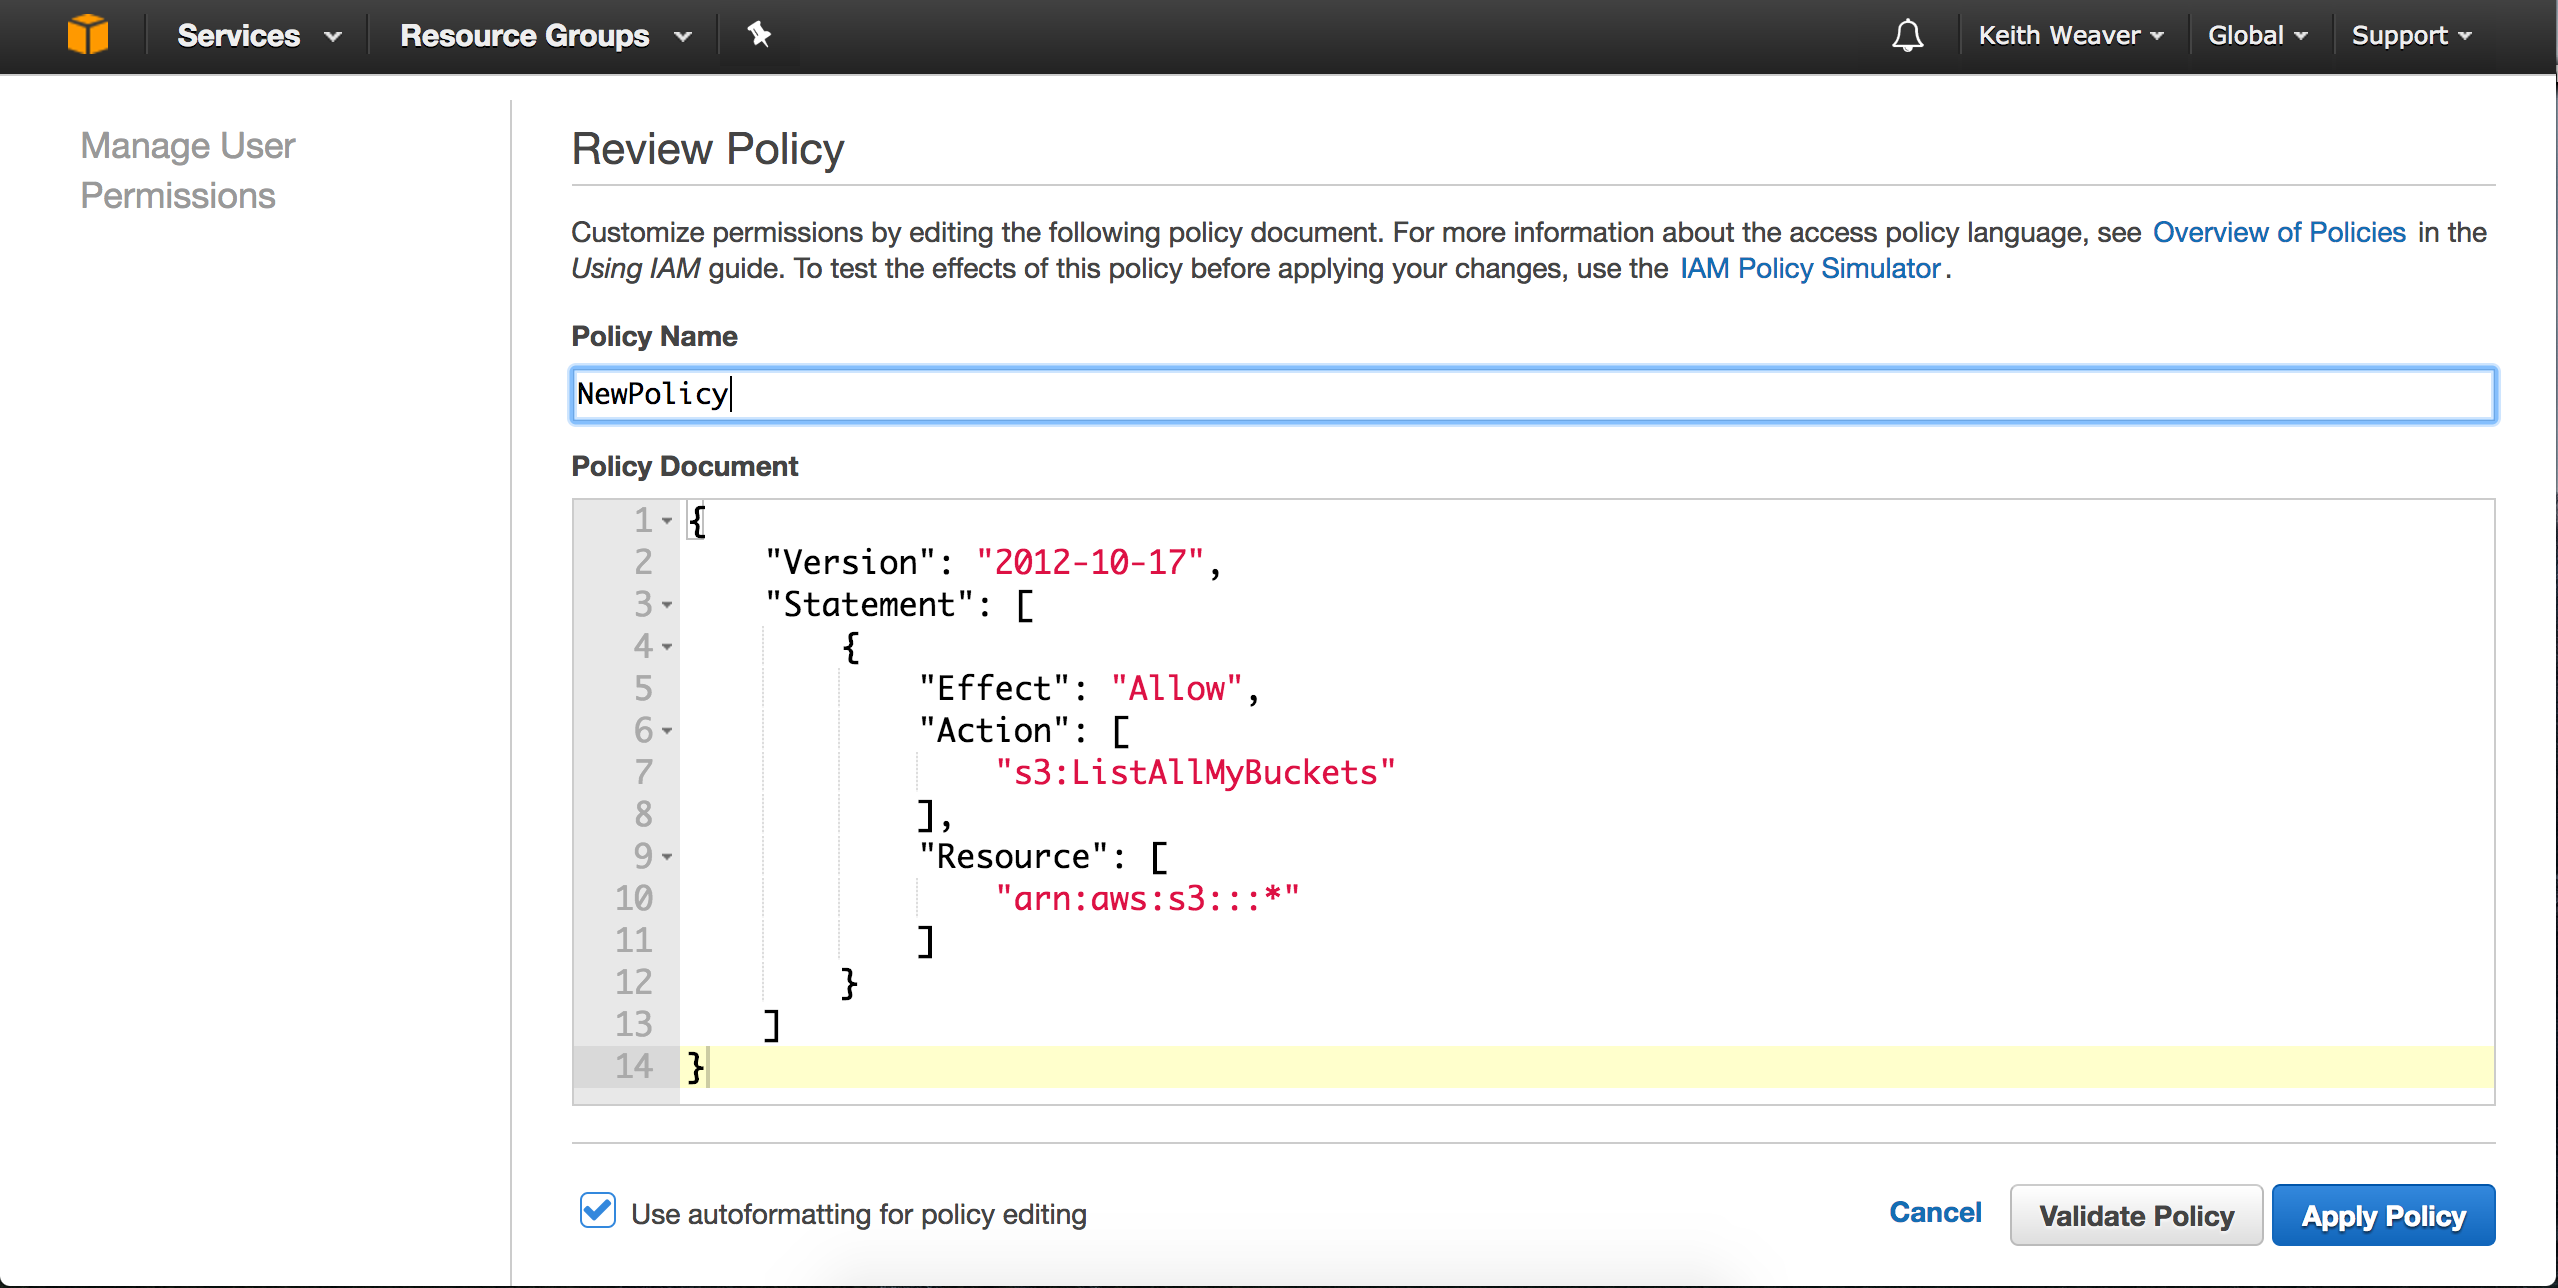
Update the policy to be as follows:
{
    "Version": "2012-10-17",
    "Statement": [
        {
            "Effect": "Allow",
            "Action": [
                "s3:ListAllMyBuckets",
                "s3:PutObject",
                "s3:GetObject"
            ],
            "Resource": [
                "arn:aws:s3:::*"
            ]
        }
    ]
}
git clone https://github.com/keithweaver/python-aws-s3.git
cd python-aws-s3
python example.py
python example-w-folder-create.py
