Postgresql Dotnet Core Save
ASP.NET 7.0 Web Application using PostgreSQL with Entity Framework
PostgreSQL ASP.NET 7
Convert an ASP.NET Core Web Application project to use PostgreSQL with Entity Framework.
This enables development of ASP.NET Core projects using VS Code on macOS or linux targets.
This project uses .NET 7.0 target framework, ASP.NET Core Web Application MVC project scaffold from Visual Studio 2022 (version 17.4).
Project setup has already been completed in this repository - assure environment setup; then, jump to running the solution.
Environment Setup
This project requires PostgreSQL - installation instructions are provided below.
If using Visual Studio Code, you will need to generate ASP.NET Core developer certificates by issuing the following commands from a terminal:
dotnet dev-certs https --clean
dotnet dev-certs https
For command line database ef commands, you will need to install Entity Framework Core tools .NET CLI:
dotnet tool install --global dotnet-ef
Project Setup
Below, instructions are referenced to use PostgreSQL in a ASP.NET Core project.
Install NuGet packages
Install the Npgsql.EntityFrameworkCore.PostgreSQL NuGet package in the ASP.NET web application.
To do this, you can use the dotnet command line by executing:
$ dotnet add package Npgsql.EntityFrameworkCore.PostgreSQL --version 3.1.2
Or, edit the project's .csproj file and add the following line in the PackageReference item group:
<PackageReference Include="Npgsql.EntityFrameworkCore.PostgreSQL" Version="3.1.2" />
Update appsettings.json
Configure connection string in project's appsettings.json, replacing the username, password, and dbname appropriately:
"ConnectionStrings": {
    "DefaultConnection": "User ID=username;Password=password;Server=localhost;Port=5432;Database=dbname;Integrated Security=true;Pooling=true;"
},
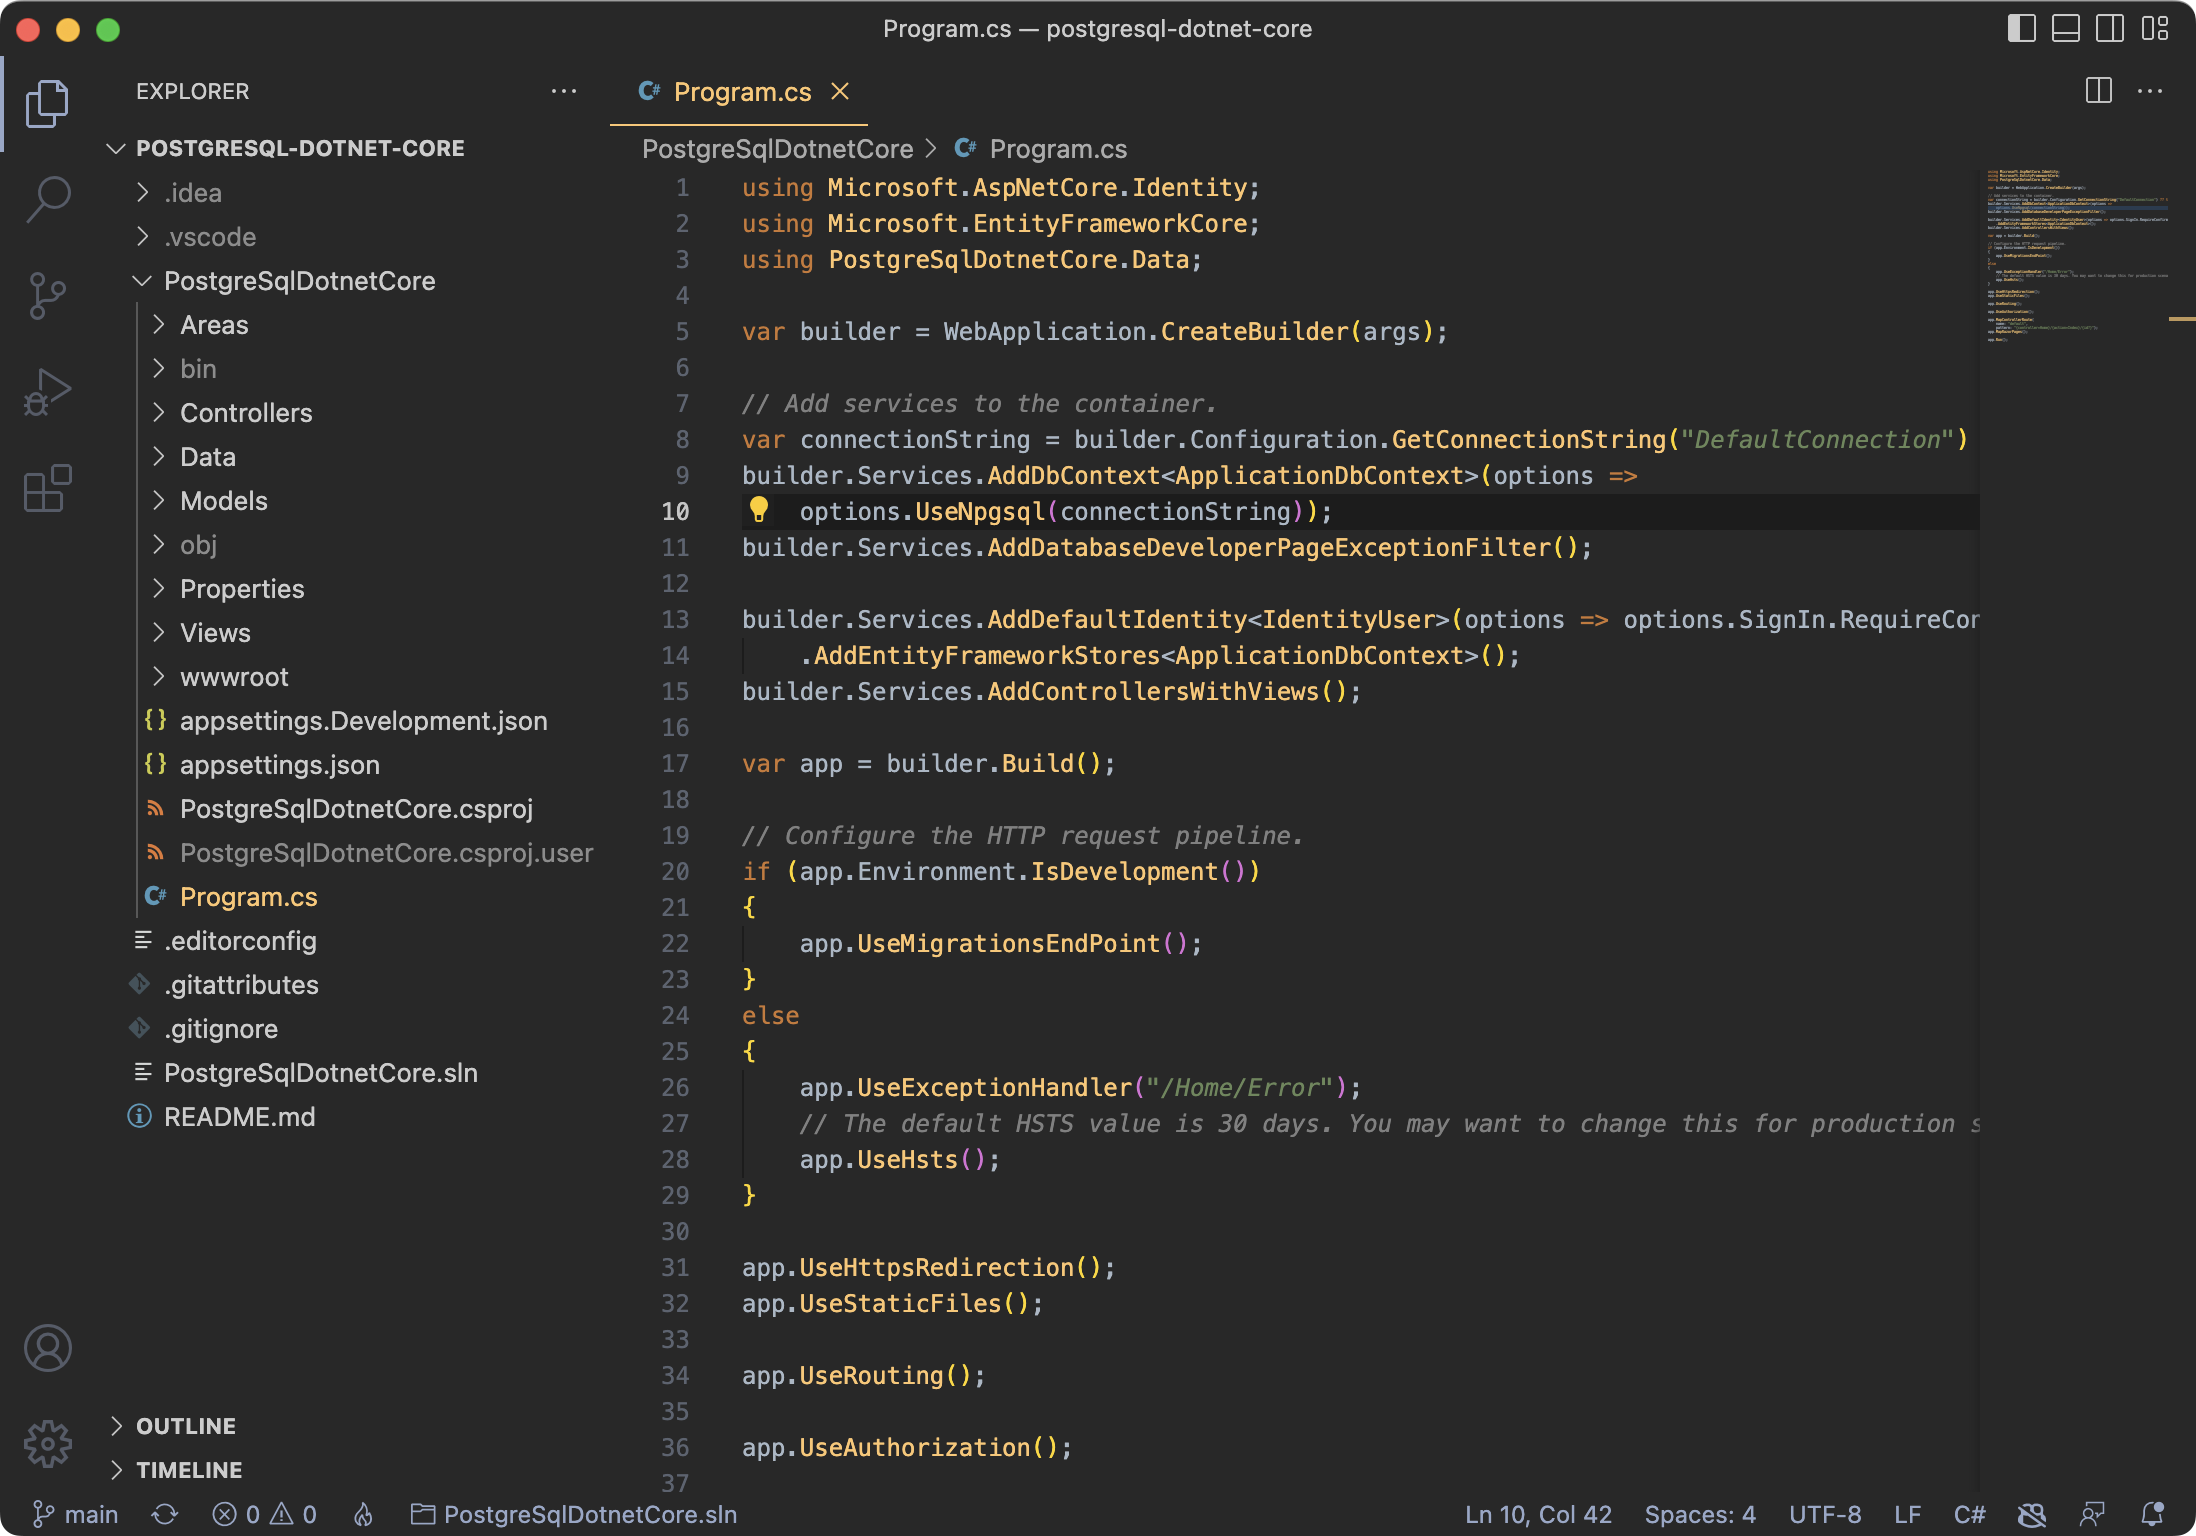
Modify Program.cs
Inside Program.cs replace the UseSqlServer options with UseNpgsql:
builder.Services.AddDbContext<ApplicationDbContext>(options =>
    options.UseNpgsql(connectionString));
Running the solution
Before the solution can be executed, be sure to run entity framework migrations.
Migration Issues with DbContext
Initial migrations may fail, due to ASP.NET Core template come with a pre-generation migration for SQL Server.
When trying to run the migration, you might see errors such as:
Npgsql.PostgresException (0x80004005): 42704: type "nvarchar" does not exist
System.NullReferenceException: Object reference not set to an instance of an object.
System.InvalidOperationException: No mapping to a relational type can be found for property 'Microsoft.AspNetCore.Identity.IdentityUser.TwoFactorEnabled' with the CLR type 'bool'.
Delete the entire Migrations folder, and regenerate new inital migrations.
Generate a new migration using Visual Studio Package Manager Console (from menu: Tools -> NuGet Package Manager -> Package Manager Console):
PM> Add-Migration
Or, from the command line via DotNet CLI:
$ dotnet ef migrations add Initial
If dotnet migration tools don't exist, remember to install the tools using the instruction above in the environment setup.
Run Entity Framework Migrations
Execute the migration using either Visual Studio Package Manager Console (from menu: Tools -> NuGet Package Manager -> Package Manager Console):
PM> Update-Database
Or, from the command line via DotNet CLI, execute the following command inside the project directory, where the .csproj file is located:
$ dotnet ef database update
After running the migration, the database is created and web application is ready to be run.
Setting up a PostgresSQL server on Mac
Here are instructions to setup a PostgreSQL server on Mac using Homebrew.
Installing PostgreSQL on Mac
Use brew to install PostgreSQL, then launch the service:
$ brew install postgresql
$ brew services start postgresql
Create a user
Create a user using the createuser command from a terminal, where username is your desired new user name. Using the -P argument, you will be prompted to setup a password.
$ createuser username -P
Create a database
Create your database using the createdb command from a terminal, where dbname is your desired new database name.
$ createdb dbname
At this time, run the solution's Entity Framework migrations (see above for instructions).
Verifying database
Launch PostgreSQL interactive terminal and connect to the database.
$ psql dbname
From the PostgreSQL interface terminal, List tables using the \dt command:
dbname=# \dt
                   List of relations
 Schema |         Name          | Type  |    Owner
--------+-----------------------+-------+--------------
 public | AspNetRoleClaims      | table | username
 public | AspNetRoles           | table | username
 public | AspNetUserClaims      | table | username
 public | AspNetUserLogins      | table | username
 public | AspNetUserRoles       | table | username
 public | AspNetUserTokens      | table | username
 public | AspNetUsers           | table | username
 public | __EFMigrationsHistory | table | username
(8 rows)
Database permissions issues
If permissions were not setup properly during the creation of the database, retroactively fix by granting privileges where dbname is your database name and username is the user you created:
$ psql dbname
dbname=# GRANT ALL PRIVILEGES ON ALL TABLES IN SCHEMA public TO username;
