Overland IOS Save
📌 GPS logger for iOS devices
Overland GPS Tracker for iOS
This app tracks your location in the background and sends the data to a server of your choosing. The app tracks:
- GPS location
- Motion State (walking, running, driving, cycling, stationary)
- Battery level
The app gathers data even when the phone is offline, and the data is sent to the server in a batch at an interval set by the user.
There are many settings available in the settings tab which allow you to adjust properties of the CoreLocation API.
The app sends data to an HTTP endpoint. You can use an existing backend or build your own. The app works with:
- Compass - a self-hosted PHP app built to save and review data from this app
- PureTrack - a service for tracking lightweight planes and gliders
- Open Humans - a service for tracking your data and sharing it for research purposes
- Icecondor - a service for tracking your location, sharing with friends, and setting geofence alerts
Looking for the Android version? → https://github.com/OpenHumans/overland_android
Documentation
Tracker Screen

The Tracker screen is where you control whether the app is active, and shows you some basic stats of what the app is doing. This is also where you start and stop trips.
-
Age- The age of the last location point that was reported by the OS. You can use this to get a sense of how much data you are recording. -
Location- Shows the latitude/longitude, accuracy, and altitude of the last location update received. -
Speed- The speed of the last location update received. Below the speed you'll see the activity type, such as "stationary" or "driving". -
Queued- This number indicates how many location points are stored in the application's internal database that are not yet sent. -
Last Sent- Indicates how long ago the last batch was successfully sent to the server. -
Send Now- Tapping this button will send the queued data to the server immediately. -
Send Interval- This slider controls the interval at which the app sends data to the server. Using the network connection is a huge source of battery drain, so you can save battery by sending infrequently to the server. The slider's range is from 1 second to 30 minutes, and the rightmost option is "off" which disables sending. This is useful when you know you don't have a network connection such as during flights. Data is queued up and will be sent once you enable sending later. -
Icon- This icon indicates the mode of transport that will be written for the trip record. -
Duration- When a trip is active, indicates how long the trip has been going for. -
Distance- When a trip is active, indicates how far has been traveled in this trip. -
Start/Stop- Starts and stops a trip record. After stopping a trip, the trip record is written to the database and sent to the server along with the location points.
Settings

The Settings screen allows you to set the various options in the Overland app as well as parameters of the iOS CoreLocation API, which gives you fine-grained control over how the tracker behaves.
-
Server URL- Tap this line to set the endpoint that the app will send data to. You can also configure a device ID which will be included in each record, and an access token which will be sent in the HTTP Authorization header. -
Tracking Enabled- The "Tracking Enabled" switch enables and disables tracking globally. When it's set to off, the app stops requesting location updates, and won't record or send any more data.
iOS Settings
The settings in this section set properties on the CoreLocation API. They are meant to give you direct control over how you want to tell the operating system to deliver data to the app. It is worth reading the iOS documentation for more details, but a summary of them is below.
-
Continuous Tracking Mode- "Standard" will request continuous location updates in the background. Use this if you want to be able to draw detailed tracks of your travels.
- "Significant Location" will register for significant location changes. Significant change events are triggered for example when you move to a new cell tower or when your nearby visible wifi access points change. It's not an exact science, and may be triggered more or less often than you expect. This will result in much less data collected, but will also use barely any noticeable battery.
- "Both" will request both types of updates.
-
Visit Tracking- Enables "Visit" tracking, which will record an update when the phone gets to a new location after about 3 minutes. -
Desired Accuracy- Sets the desiredAccuracy property of the location manager. This is only a request for the general level of accuracy, not a guarantee. Setting to "Best" will use the most battery but will get highest accuracy location updates. Setting to "3km" will save the most battery but will result in infrequent location updates. -
Activity Type- According to Apple, "The location manager uses the information in this property as a cue to determine when location updates may be automatically paused.". See activityType for more details. -
Show Background Location Indicator- Setting this to "Always" will cause the location indicator in your iOS menu bar to be activated whenever the app is tracking your location. With the visible indicator, your app is more likely to continue to receive data in the background according to this post on the Apple forums. -
Pause Updates Automatically- Enabling this will use the iOS API for automatically pausing location updates. When disabled, it will prevent the OS from pausing location updates. Pausing location updates automatically is a great way to save battery when you are not moving for extended periods of time, although it does not always pick up tracking again immediately when you start moving. In some initial testing, the automatic pause tends to trigger about 10 minutes after you've stopped moving. -
Location Authorization Status- When you first launch the app, you'll need to request location permissions from the button here. Once you've requested permission twice, you should see it say "Always", which means the app will be able to collect data in the background. If you change the value in the iOS Settings app, this will show you the current status to help you troubleshoot why the app isn't getting updates in the background anymore.
Overland Settings
The settings in this section control features specific to the Overland app.
-
Logging Mode- "All Data" will save every location update received and send to the server in a batch.
- "Only Latest" will send only one update to the server at a time based on the sending interval. If you configure the endpoint URL to send data in the query string then you should use this setting. Experiment with the other settings to control how frequently you get data sent from the app.
- "Owntracks" will change the format of the data logged to Owntracks format, and will also send only one location update at a time. This can also be used with Home Assistant. See the Home Assistant section below for details.
-
Locations per Batch- Controls the number of location updates that will be sent with each HTTP request when in "All Data" mode. Setting this to 50 will mean more requests to the server are required to flush the queue, but each request will be smaller. Setting this to 1000 means you'll be able to flush the queue with fewer requests, but each request will be much larger. Each location point can be around 600 bytes when serialized as JSON, so sending 1000 points in a request will mean the request body may be around 600kb. Lower batch sizes are likely better for flaky network connections, and larger batch sizes are good when on a reliable connection. Note that this does not affect the frequency at which data is sent to the server. -
Resume with Geofence- This is an attempt at overcoming the limitations of the "Pause Updates Automatically" feature. Setting a radius here will register an "exit" geofence whenever location updates are paused at that location. This will attempt to get the app woken up when the user leaves the area again, and when triggered, will resume tracking with the previous settings. -
Min Distance Between Points- When set, the app will discard any location updates closer than the distance selected. For example you can set the value to 50 meters to only record an update if the phone moves 50 meters from the last location. Note: This does not have a noticeable effect on battery life, since the OS will have already delivered the location data to the app by this point. -
Min Time Between Points- When set, the app will discard any location updates received within the selected amount of time. For example you can set the value to 10 seconds to record an update at most every 10 seconds. Note: This does not have a noticeable effect on battery life, since the OS will have already delivered the location data to the app by this point. The default is 1 second. -
Enable notifications- Toggle whether the app should send push notifications about events such as when tracking has been automatically stopped and started. -
Configure Wifi Zone- You can configure a wifi zone to force the app to report an exact location whenever you're connected to a specific wifi SSID. This is useful if you don't want to collect a bunch of noisy data when you're at home.
Trip Settings
The "Trip Settings" tab contains most of the same options as the main settings tab, but these values only apply when a trip is in progress. When a trip starts, the app will apply these settings, and when a trip ends, will revert to the main settings.
You can use this for example to record low-frequency updates continusouly, but then log high-frequency updates when you start a trip.
There are some additional settings specific to trips:
-
Show Location Indicator During Trips- Choose whether you want the device to show the location indicator when a trip is in progress. Enable this to help the app run continuously in the background. -
Prevent screen lock during trip- Does what it says. This is another way you can be sure the app won't get killed by iOS in the background.
System Settings
There are some additional settings in the iOS Settings app that are not exposed in the app interface itself. This is for settings that are infrequently changed or uncommon.
-
Include tracking stats- Toggle whether to include visit and app metadata in the log as well. This is useful when trying to understand the app lifecycle and how the various tracking settings affect the app's behavior, but you probably don't want it enabled for production passive tracking usage. -
Consider HTTP 2XX Successful- By default, the server has to respond with a specific JSON response ({"result":"ok"}) in order to tell the app it has received the data and to delete the stored cache. Turning this on will consider any HTTP 2xx response code successful. Only use this if you are unable to send the JSON response from your server software, as this may inadvertently lose data if your server has errors. -
Include Unique ID in Logs- Turn this on to include an additionalunique_idin every record. This is the phone's "Unique ID" generated by Apple. The value cannot be customized, so you can use it as a reliable way to identify unique devices.
Configuration by Custom URL
You can send people a custom URL that will configure the app by clicking on it. Create a URL with your endpoint, token and device ID like the following:
overland://setup?url=https%3A%2F%2Fexample.com%2Fapi&token=1234&device_id=1&unique_id=yes
Tapping that URL on a device with the app installed will launch the app and save the values in the configuration. This is a quick way to configure many devices since it bypasses the need to enter the values in the settings screen.
Query Parameters:
-
url- The server URL to post data to -
token- The access token to use in requests -
device_id- Set the user-defined device ID here -
unique_id=yes- Set this toyesto toggle the "Unique ID" setting
Usage Profiles
You should decide what kind of data you are hoping to get out of this application. The controls provided will give you a lot of knobs you can turn to adjust the way the app collects data. Below are some recommended presets for different applications.
High Resolution Tracking
To get high resolution data, you should set the following:
- Pause Updates Automatically: Off
- Resume with Geofence: Off
- Tracking Mode: Standard
- Activity Type: Other
- Desired Accuracy: Best
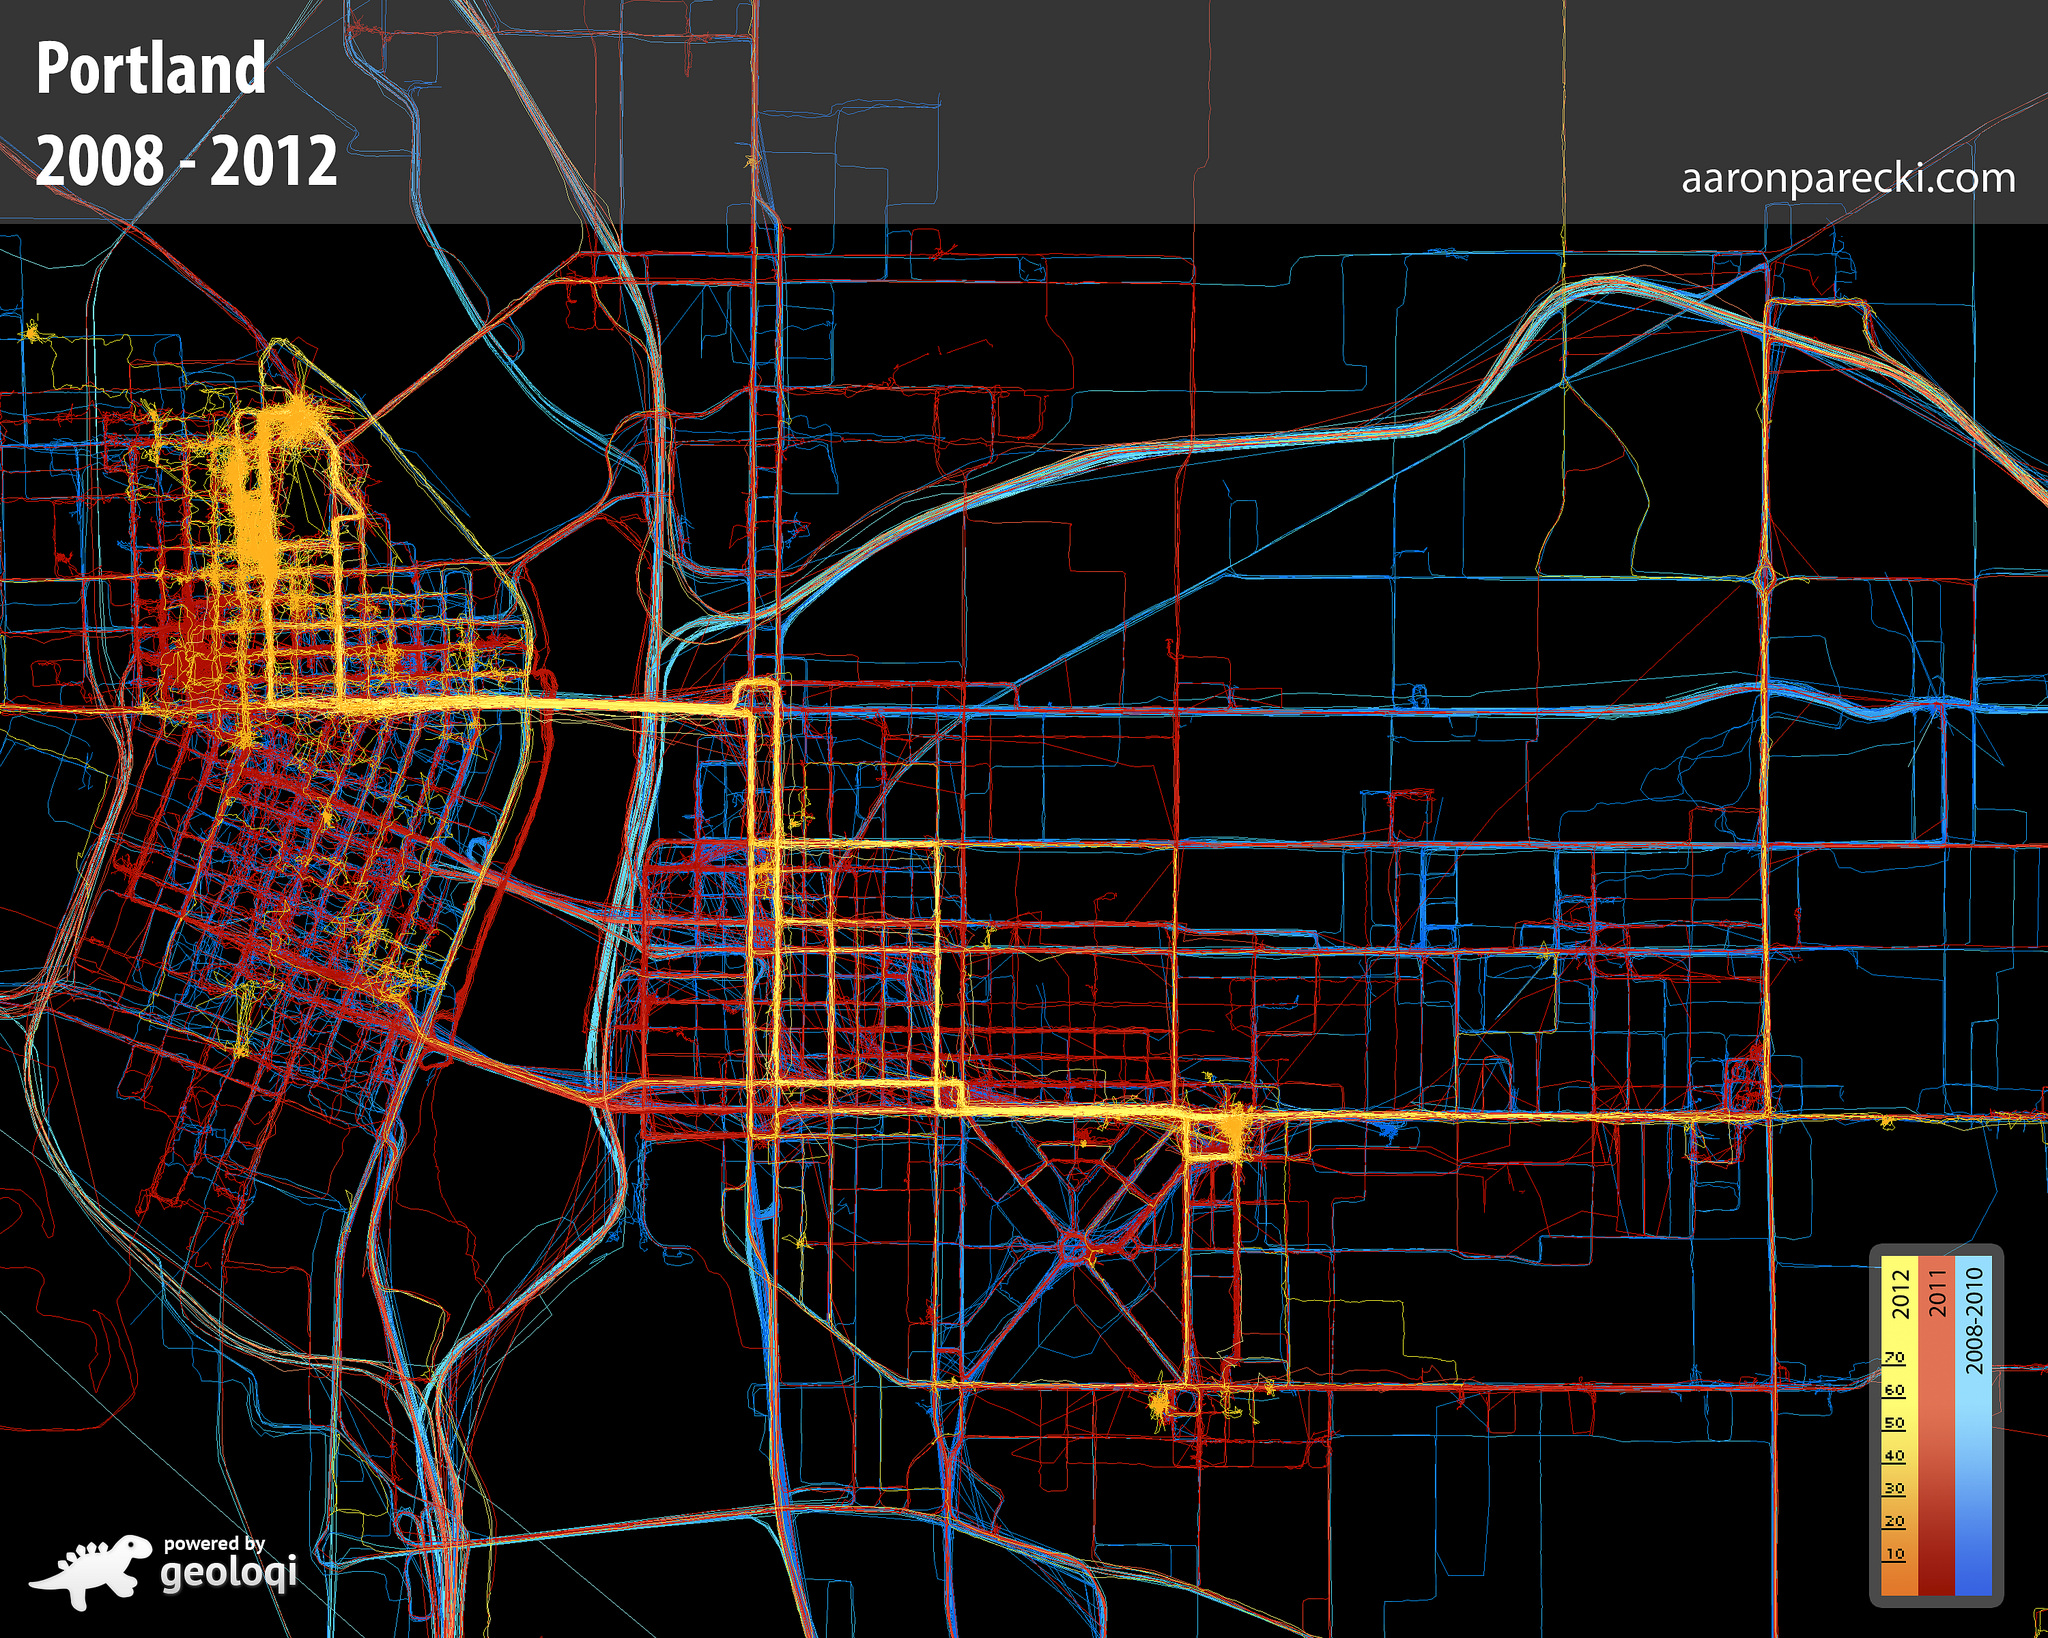
While moving, you will receive up to one point per second. When you're not moving, such as when you're at your desk, etc, there may be several minutes between location updates received. This will use a lot of battery, but will result in data that can be used to generate a picture similar to this level of detail.
Battery Saving / Low Resolution
To use very little battery, you can still get enough location info to know what neighborhood you're in, and likely also when you leave and return home.
- Pause Updates Automatically: On
- Resume with Geofence: 500m
- Tracking Mode: Significant Location
- Activity Type: Other
- Desired Accuracy: 100m
This will use much less battery than high resolution, while still gathering enough data you can use to roughly geotag posts or know what neighborhood you're in. For even more battery savings, you can set Significant Location Only, which will drastically reduce the amount of data you log but will use almost no battery.
API
The app will post the location data to the configured endpoint.
If the endpoint URL has any template parameters, they will be replaced with the value of the most recent location update. The template parameters you can use are below:
-
%TS- Timestamp (ISO 8601, e.g.2023-12-05T16:50:25Z) -
%LAT- Latitude -
%LON- Longitude -
%SPD- Speed in meters per second (negative means invalid) -
%ACC- Accuracy (horizontal) of location in meters -
%ALT- Altitude in meters -
%BAT- Battery percent (e.g.0.8for 80%)
For example, you can use the URL below to receive all the data in the query string:
https://example.com/input?ts=%TS&lat=%LAT&lon=%LON&acc=%ACC&spd=%SPD&bat=%BAT&alt=%ALT
The POST request body will be a JSON object containing a property locations which is an array of GeoJSON objects. The default batch size is 200 but can be set in the settings. This request will look something like the following:
POST /api HTTP/1.1
Authorization: Bearer xxxxxx
Content-Type: application/json

{
  "locations": [
    {
      "type": "Feature",
      "geometry": {
        "type": "Point",
        "coordinates": [
          -122.030581,
          37.331800
        ]
      },
      "properties": {
        "timestamp": "2015-10-01T08:00:00-0700",
        "altitude": 0,
        "speed": 4,
        "horizontal_accuracy": 30,
        "vertical_accuracy": -1,
        "motion": ["driving","stationary"],
        "pauses": false,
        "activity": "other_navigation",
        "desired_accuracy": 100,
        "deferred": 1000,
        "significant_change": "disabled",
        "locations_in_payload": 1,
        "battery_state": "charging",
        "battery_level": 0.80,
        "device_id": "",
        "wifi": ""
      }
    }
  ],
  "current": { ... }, (optional)
  "trip": { ... } (optional)
}
If you've configured an access token, it will be sent in the HTTP Authorization header preceded by the text Bearer.
The properties on the location objects are as follows:
-
timestamp- the ISO8601 timestamp of theCLLocationobject recorded -
altitude- the altitude of the location in meters -
speed- meters per second -
course- direction of travel in degrees -
horizontal_accuracy- accuracy of the position in meters -
vertical_accuracy- accuracy of the altitude in meters -
speed_accuracy- accuracy of the speed in meters per second, or -1 if speed is unknown -
course_accuracy- accuracy of the course in degrees, or -1 if speed is unknown -
motion- an array of motion states detected by the motion coprocessor. Possible values are:driving,walking,running,cycling,stationary. A common combination isdrivingandstationarywhen the phone is resting on the dashboard of a moving car. -
battery_state-unknown,charging,full,unplugged -
battery_level- a value from 0 to 1 indicating the percent battery remaining -
wifi- If the device is connected to a wifi hotspot, the name of the SSID will be included -
device_id- The device ID configured in the settings, or an empty string -
unique_id- If "Unique ID" is enabled, the device's Unique ID as set by Apple
The following properties are included only if the "Include Tracking Stats" option is selected:
-
pauses- boolean, whether the "pause updates automatically" preference is checked -
activity- a string denoting the type of activity as indicated by the setting. Possible values areautomotive_navigation,fitness,other_navigationandother. This can be set on the settings screen. -
desired_accuracy- the requested accuracy in meters as configured on the settings screen. -
deferred- the distance in meters to defer location updates, configured on the settings screen. -
significant_change- a string indicating the significant change mode,disabled,enabledorexclusive. -
locations_in_payload- the number of locations that were sent in the batch along with this location
Response
Your server must reply with a JSON response containing:
{
  "result": "ok"
}
This indicates to the app that the batch was received, and it will delete those points from the local cache. If the app receives any other response, it will keep the data locally and try to send it again at the next interval.
If you are unable to return this JSON, you can set the "Consider HTTP 2XX Successful" in the Settings app, and then any HTTP 2xx response will be considered successful.
Configuration by Server Response
You can configure all of the settings in the app by having your server return new settings in the JSON response when it uploads data. The documentation of the JSON structure and all possible config values is below.
{
  "result": "ok",
  "set": {
    "send_interval": "1s|5s|10s|15s|30s|1m|2m|5m|10m|30m|off",
    "trip_mode": "walk|run|bicycle|car|taxi|bus|tram|train|metro|gondola|monorail|sleigh|plane|boat|scooter",
    "main": {
      "tracking_mode": "off|standard|significant|both",
      "visit_tracking": true|false,
      "desired_accuracy": "nav|best|10m|100m|1km|3km",
      "activity_type": "other|car|fitness|nav|air",
      "background_indicator": true|false,
      "pause_automatically": true|false,
      "logging_mode": "all|latest|owntracks",
      "batch_size": 50|100|200|500|1000,
      "resume_with_geofence": "off|100m|200m|500m|1km|2km",
      "min_distance": "off|1m|10m|50m|100m|500m",
      "min_time": "1s|5s|10s|30s|1m|5m",
    },
    "trip": {
      "desired_accuracy": "nav|best|10m|100m|1km|3km",
      "activity_type": "other|car|fitness|nav|air",
      "background_indicator": true|false,
      "prevent_screen_lock": true|false,
      "logging_mode": "all|latest|owntracks",
      "batch_size": 50|100|200|500|1000,
      "min_distance": "off|1m|10m|50m|100m|500m",
      "min_time": "1s|5s|10s|30s|1m|5m",
    }
  }
}
Note that most values are strings, with the exception of some that are numbers or boolean.
The settings under main correspond to the settings in the main settings screen in the UI, and the settings under trip correspond to the settings when a trip is in progress.
IMPORTANT: It is very possible to send a setting to the phone that will disable logging completely, which is a dead end, since the phone will then never check back with the server for updated settings! The main setting that can cause this to happen is send_interval=off. Setting tracking_mode=off means only "visits" will be tracked, which will be received extremely infrequently, so you won't have a chance to change the setting to something else until after the phone checks in after that.
It is best to only send properties in the response that you want to change at that moment, rather than always sending the values on every response. Treat it like pressing the button in the UI, only send the response when you want to press the button.
Current Location
If the number of locations in the queue are more than twice the batch size, then the request will also contain a property current with the most recent location point stored by the device. (This point will not be one of the ones in the batch.) If you need your backend to be aware of the current location, this allows you to ignore the batch being uploaded and instead use just that point.
Current Trip
If a trip is active, an object called trip will be included in the request as well, with information about the current trip. This object will contain the following properties:
-
distance- current trip distance in meters as calculated by the device -
mode- the trip mode as a string -
current_location- alocationrecord that represents the most recent location of the device -
start_location- alocationrecord that represents the location at the start of the trip -
start- an ISO8601 timestamp representing the time the trip was started. this may be slightly different from the timestamp in the start location.
Home Assistant Integration
Setting the Logging Mode to "Owntracks" will record the data in a format that can be used with Home Assistant.
https://www.home-assistant.io/integrations/owntracks/
Only the latest point will be sent every interval, so you can experiment with the various settings to get this to record as much or as little data as you want.
In the Overland Server URL setup, set the "Device ID" to the Owntracks topic you want, for example "username/device". This will be appended to the string "owntracks/" for the topic URL. Use the "Access Token" field for your Home Assistant username.
Development Setup
This assumes you have Xcode and Homebrew installed. A paid Apple Developer account is not needed.
-
git clone https://github.com/aaronpk/Overland-iOS.git && cd Overland-iOS -
brew install cocoapods -
pod install -
open Overland.xcworkspace - In Project Navigator, select Overland, and update Project Settings:
- Identity → Bundle Identifier: com.yourname.overland
- Signing → Team: Personal Team
- Plug in your iOS device
- Product → Destination -> select your device
- Product → Run (⌘R)
- On your iOS device: Settings -> General -> Device Management -> Developer App -> Trust
- You can now launch the Overland app on your iOS device
License
Contributions from 2017 onward are copyright by Aaron Parecki
Contributions from 2013-2016 are copyright by Esri, Inc.
Licensed under the Apache License, Version 2.0 (the "License"); you may not use this file except in compliance with the License. You may obtain a copy of the License at
http://www.apache.org/licenses/LICENSE-2.0
Unless required by applicable law or agreed to in writing, software distributed under the License is distributed on an "AS IS" BASIS, WITHOUT WARRANTIES OR CONDITIONS OF ANY KIND, either express or implied. See the License for the specific language governing permissions and limitations under the License.
