OpenKickstartSwitcher Save
Open Hardware Kickstart Switcher for Amiga Computers
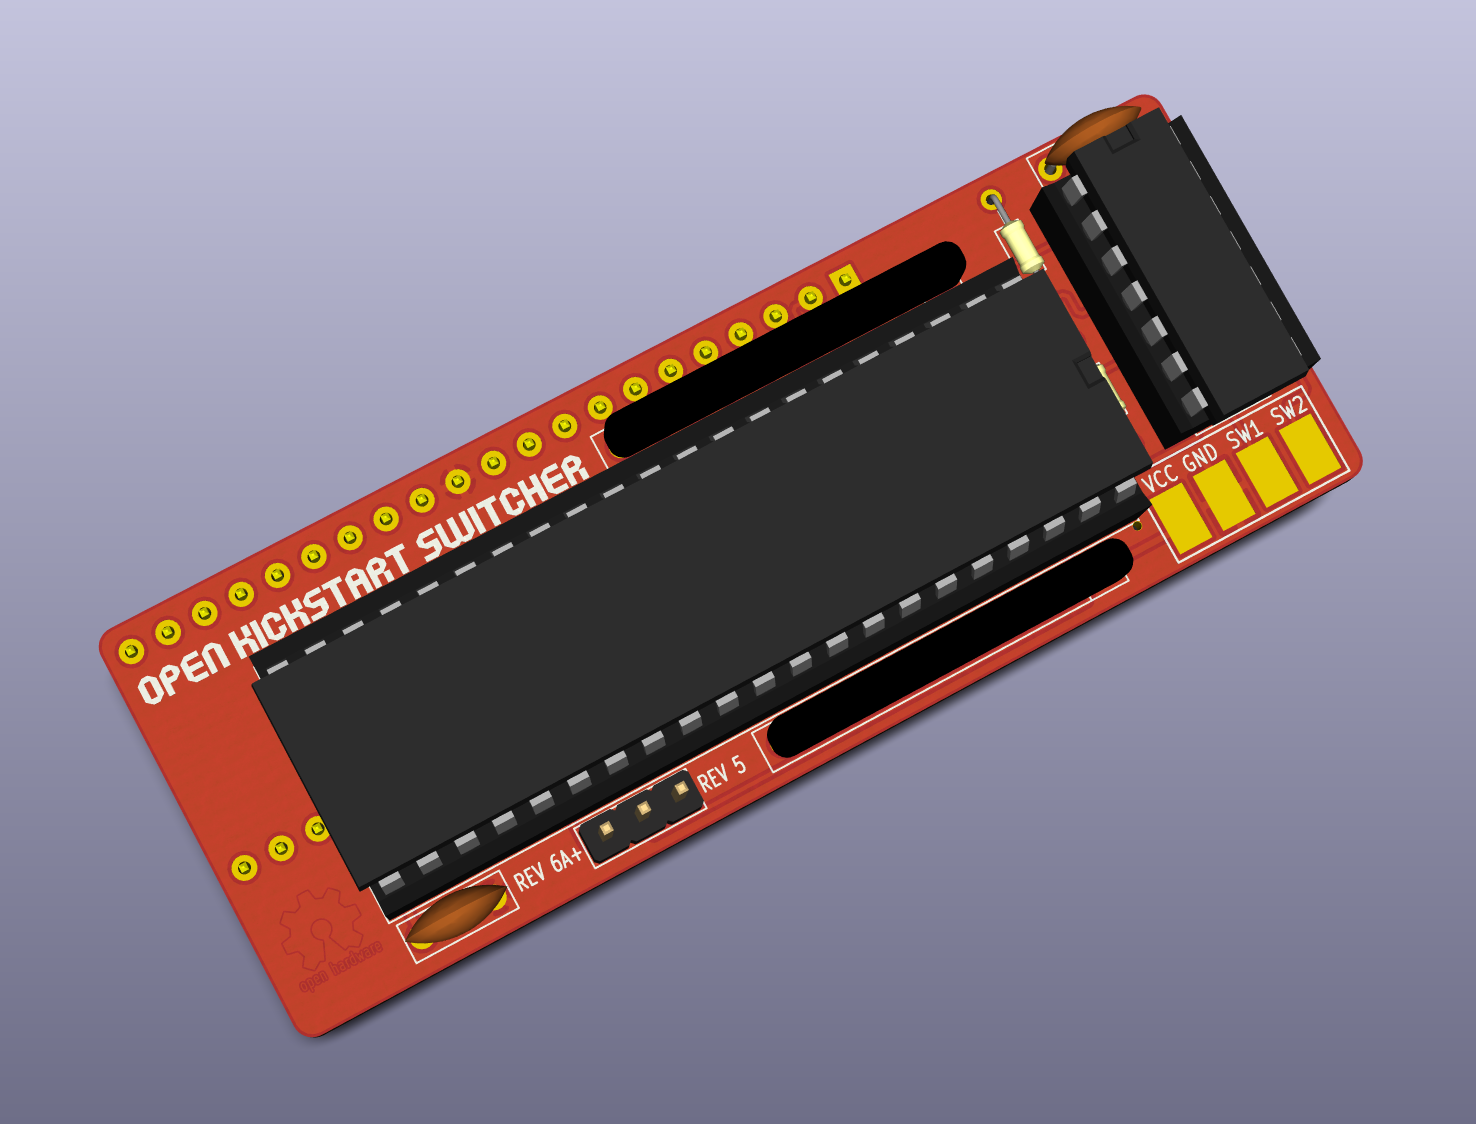
OpenKickstartSwitcher
OpenKickstartSwitcher is an Open Hardware Kickstart Switcher for Amiga Computers.
Summary
OpenKickstartSwitcher is a Kickstart switcher for Amiga computers, based on work by Henryk Richter. It allows switching among three or six different Kickstart images, stored in an EPROM. The switching can be done through physical switches or by pressing the mouse/joystick buttons at power-up. The latter requires an external add-on board that is another project of mine.
Compatibility
The adapter is mostly targeted at Amiga 500+ users, who can use it to switch among Kickstart 3.1 (or 2.04 if they want to keep the version that came originally on their machines), 1.3 and maybe a diagnostic ROM, improving compatibility with older software that does not work correctly on Kickstart 2.x. Note that the adapter will have a tight fit on Rev.8A.1 mainboards (which is what 500+'s have): V2 was reworked to fix this issue, but the upper part of the shield will still touch the EPROM, so it is recommended to apply some insulation tape on the contact point or to remove the upper shield altogether (this won't do any harm, so don't worry too much about it, it will actually improve the internal cooling).
The situation is pretty much the same on Amiga 500s with Rev.6A mainboards.
Amiga 500 Rev.3 and 5 mainboards have their Kickstart sockets placed further towards the back of the machine, which allows the adapter to fit much better. There is plenty is space and you should manage to put everything in place and close the case properly.
Besides the 500/500+, OpenKickstartSwitcher will work correctly on all Amiga models that have a single-chip Kickstart: this means it can be used on the A2000 just as well. It will also work on the A600, but you won't be able to place the keyboard back into the case, so it might be more useful when troubleshooting a broken mainboard. The same applies for the CDTV, but a special version was designed for this model, which will fit perfectly.
In all cases, pay attention to put the revision selection jumper in the correct position: one position is for A500 Rev.3 and 5, the other one is for all other cases, including A600 and A2000.
Assembly
Solder all components to the board. No particular order is recommended, but starting with the smaller components might be a good idea.
The value of the two single resistors is not critical, 10k is recommended, but probably any value between 5k and 50k will do.
My tests show that an SN74HC00 gate works fine. I don't recommend using parts from the HC series though, HCT or LS should be preferred.
The two resistor arrays are not always needed. First of all, these will end up in parallel to RP106 and RP107 on A500 boards, so you must skip them if those are already populated on your particular board. If they are not, you might still get away without them, depending on the particular EPROM you are using: I have several EPROMs of the same model (but different production batches), and some need the resistors while others don't, so the only way to find out is actual testing. For this I usually just load a Kickstart 1.2 disk, start up the four Demos and leave them running for a while. If the system does not hang/crash in like 15 minutes (usually it is much quicker than that, sometimes it even hangs before you can start all the demos!), you don't need them, otherwise you do. If you decide to install them, they must be of the bussed type and the recommended value is 4.7k. Be aware that these parts are polarized and must be installed in a certain verse!
EPROM Selection and Switch Wiring
Since V2, the adapter can be used with either 27C800 or 27C160 EPROMs (earlier versions only supported the former). I recommend using -100F1 EPROMs by ST, but access time is not critical: use 100ns or faster EPROMs if you can, but anything up to 150ns should work reliably.
27C800
With a 27C800 EPROM, the adapter supports 2x256 KB Kickstart images (i.e.: up to version 1.3) and 1x512 KB image (version 2 and later).
To switch between ROMs, you will need two SPDT switches, connected to the SW1/SW2 pads and ground. A ground pad is available on the board, but any ground spot on the mainboard can be used as well, if easier to reach.
| ROM Image # | Size (KB) | SW1 | SW2 |
|---|---|---|---|
| 1 | 256 | LOW | LOW |
| 2 | 256 | HIGH | LOW |
| 3 | 512 | x | HIGH |
(x = Don't Care)
So, basically:
- If SW2 is HIGH, the 512 KB Kickstart image is selected, regardless of SW1.
- If SW2 is LOW, SW1 controls which one of the two 256 KB images is enabled: LOW selects the first one, and HIGH selects the second one.
You can also use a single ON-OFF-ON DPDT switch, just wire ground to the middle pins, SW1 and SW2 on one side and SW2 on the other.
As SW1/SW2 will both read as HIGH if left unconnected, the 512 KB Kickstart will be selected if no switches are wired.
You can fully ignore the A19 pad on the bottom side of the board, when using a 27C800 EPROM.
27C160
With a 27C160 EPROM, the adapter supports up to 4x256 KB Kickstart images and 2x512 KB images.
You will need to solder an additional switch to the A19 pad on the bottom side of the board. VCC and GND pads are provided nearby so that you can also solder a pull-up/down resistor.
| ROM Image # | Size (KB) | SW1 | SW2 | A19 |
|---|---|---|---|---|
| 1 | 256 | LOW | LOW | LOW |
| 2 | 256 | HIGH | LOW | LOW |
| 3 | 512 | x | HIGH | LOW |
| 4 | 256 | LOW | LOW | HIGH |
| 5 | 256 | HIGH | LOW | HIGH |
| 6 | 512 | x | HIGH | HIGH |
IMPORTANT: ALWAYS TURN YOUR AMIGA OFF BEFORE MOVING THE SELECTION SWITCHES!
Flashing Notes
When flashing the EPROM, make sure that the ROM images you are using are exactly 262144 or 524288 bytes long, and just concatenate them. Take care to use the correct byte ordering, as the Amiga hardware expects 16-bit words to be stored in the big-endian format (which is NOT the format UAE expects them in, for the record). On Unix-like systems you can use the conv=swab option of dd to change the byte ordering.
27C800s and 27C160 are 42-pin EPROMs and most programmers only support chips up to 40 pins. This is the case with the popular TL866 programmer, for instance. You can get around this limitation with an adapter PCB. There are at least two open designs of such an adapter:
- One by keirff (who, interestingly, has his own Kickstart Switcher)
- And another one by gaggi
I have only used the latter and found it to be working fine.
Installation
Once your OpenKickstartSwitcher is assembled and programmed, the rest of the installation should be pretty straightforward:
- Open your Amiga.
- Remove the shielding.
- Set the revision selection jumper on OpenKickstartSwitcher according to the Amiga model (see above). On Amiga 500/500+'s you can identify the mainboard revision by looking at the bottom right corner near the floppy drive zone.
- Identify the Kickstart chip.
- Carefully remove it.
- Plug OpenKickstartSwitcher in its place, making sure to match the correct orientation.
- Drill two holes into the back of your Amiga (or wherever you prefer) and screw two switches in there.
- Solder wires to switches.
- Replace your shielding.
- Close your Amiga.
Of course, if you use OpenAmigaMouseTrigger there is no need to drill any holes.
DiagROM
The excellent DiagROM by chucky can be used with OpenKickstartSwitcher.
Normally it is distributed as a 512 KB image, but most of the space is unused, so I have created a 256 KB version of DiagROM 1.0 by simply truncating the image. It is NOT GUARANTEED TO WORK, but it looks fine to me. It can be downloaded here.
License
OpenKickstartSwitcher is Open Hardware. If you make any modifications to the board, please contribute them back.
Support the Project
Since the project is open you are free to get the PCBs made by your preferred manufacturer, however in case you want to support the development, you can order them from PCBWay through this link:

You get cheap, professionally-made and good quality PCBs, I get some credit that will help with this and other projects. You won't even have to worry about the various PCB options, it's all pre-configured for you!
Also, if you still have to register to that site, you can use this link to get some bonus initial credit (and yield me some more).
Again, if you want to use another manufacturer, feel free to, don't feel obligated :). But then you can buy me a coffee if you want:
![]()
Get Help
If you need help or have questions, you can join the official Telegram group.
Thanks
Thanks to Henryk Richter and the guys at the Italian Amiga Page forum. Kudos to Aldo PRS for prividing information about how the adapter fits on the various A500/500+ mainboard revisions.
