Nathaneltitane Dextop Save
Unlock the full potential of your Android device and transform it into a Linux-based workstation in minutes with Dextop! No tech expertise needed - it's user-friendly and hassle-free!

![]()
[ Dextop // Project Page ] [ Version // 01-09-2024 ]
NOTICE // 01-09-2024: Updated extended UUID storage detection (Chrome OS/FydeOS + Android Subsystem for Linux storage mounts access)
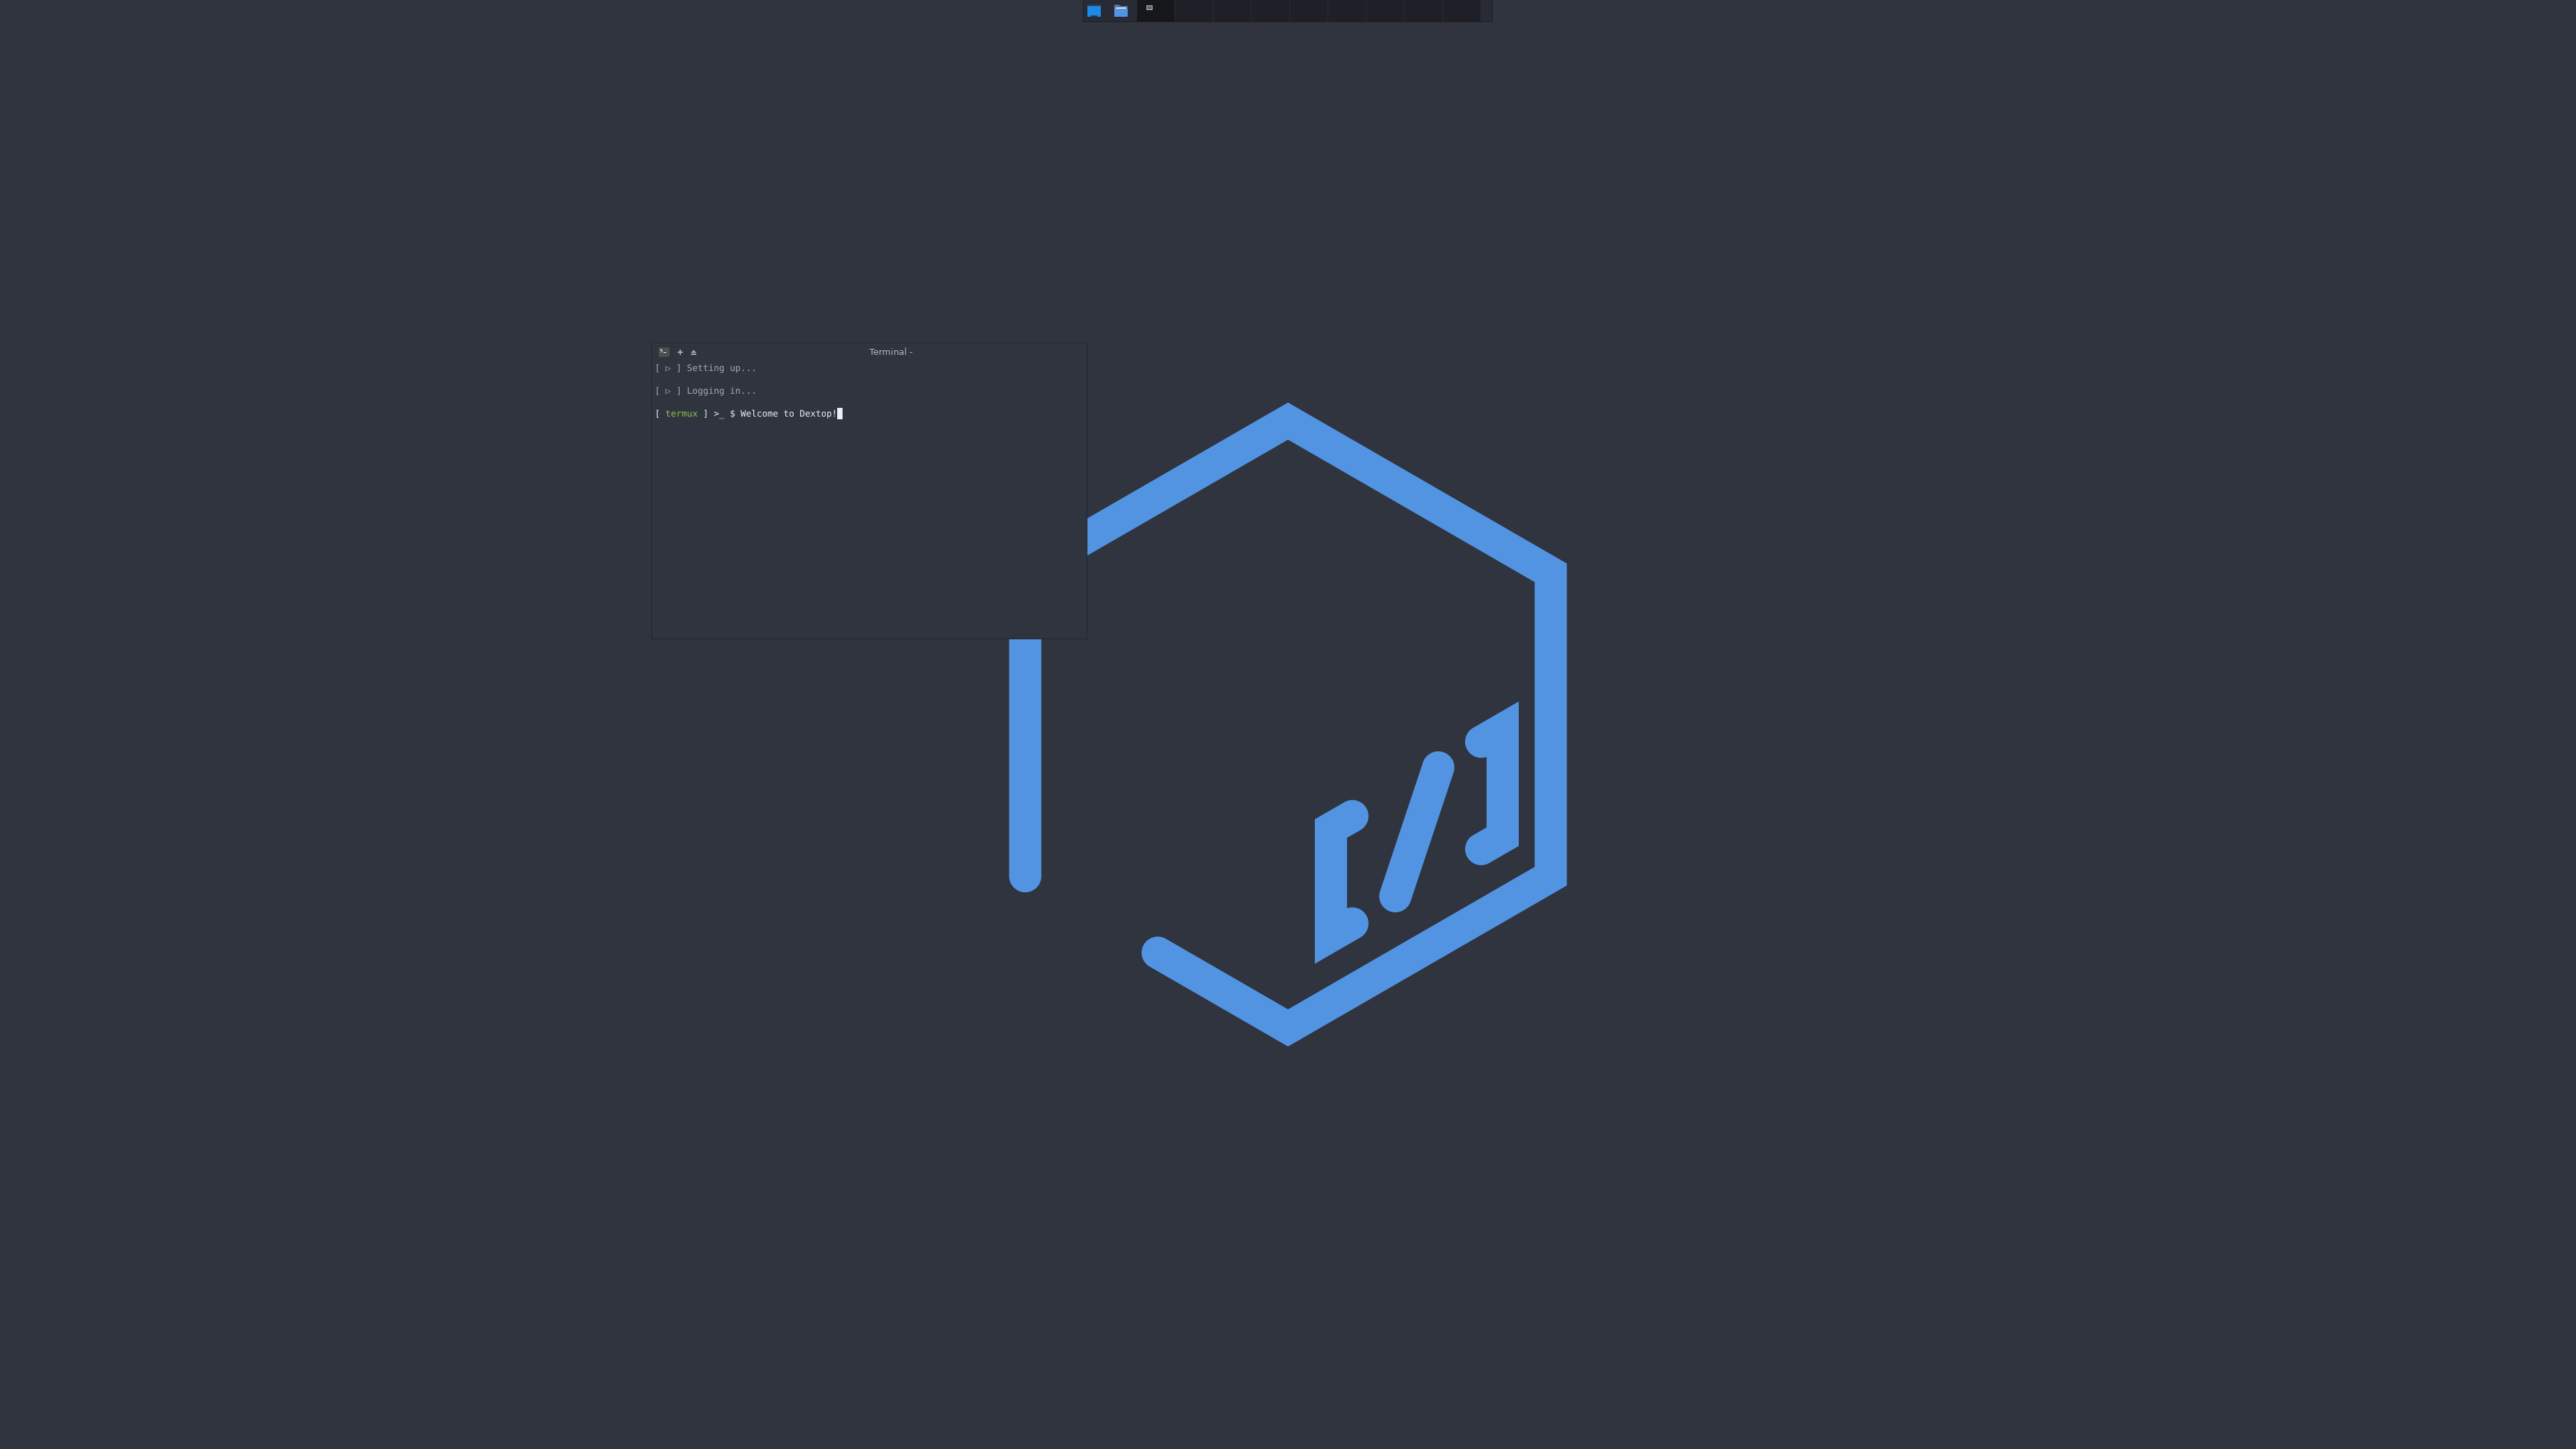
Welcome to Dextop
Dextop turns most modern Android devices into a complete Linux distribution workstation in a matter of minutes! No hassle or deep technical know-how required: Dextop is easy and user friendly.
It is highly recommended to install Dextop on a fresh Termux instance or profile to benefit from a clean slate and a snappy experience, although deploying it on an already existing setup is also possible.
All utilities created for, loaded, and used by Dextop contain a help argument: please refer to the help dialogs while setting things up or before opening a bug report.
Contents
To run the way it does and transition seamlessly in between Termux and the chosen container instance, Dextop is built a certain way: it loads and links scripts, configuration files and utilities to enhance the Android-based workstation experience as follows:
- Dextop installs certain core utilities to load and use a custom scripting library to make the overall command line interface more pleasant and informative:
- ~/.local/bin/frobulator
- Dextop sets up all required items for it to function, aside from the container, under the home directory
- Dextop looks and behaves the way it does because it loads/links a specific set of Termux preferences and properties:
- ~/.termux/colors.properties → ~/.local/bin/termux-colors
- ~/.termux/font.ttf → ~/.local/bin/termux-font
- ~/.termux/termux.properties → ~/.local/bin/termux-properties
- Dextop is BASH-centric and and may not play well with other shell setups and loads/links its own set of BASH configurations:
- ~/.bashrc → ~/.local/bin/bash-configuration
- ~/.bash_aliases → ~/.local/bin/bash-aliases
- ~/.bash_functions → ~/.local/bin/bash-functions
- ~/.bash_login → ~/.local/bin/bash-login
- ~/.bash_logout → ~/.local/bin/bash-logout
- ~/.bash_profile → ~/.local/bin/bash-profile
Customization:
All of the above files can be changed or customized and serve as a good base to start if there are no configurations or preferences already set.
All other scripts and utilities can also be edited or modified to benefit from a more customized experience.
The Dextop project releases itself from any responibility regarding hardware failure or loss of data when doing so!
Any modification of the Dextop setup routine, scripts or utilities implies the user is fully aware of potential hardware failure or breakage and/or loss of data, including the consequences of doing so: Any bug report that stems from such action will not be acknowledged and will be closed immediately!
Architecture:
Dextop is developed using a Samsung Galaxy Note 20 Ultra, a Samsung Galaxy Tab S7+ and an Intel NUC running Chrome OS with ASL (Android subsystem for Linux) enabled.
Dextop has been primarily optimized to run within/alongside Samsung's DeX, on mobile devices.
Given the devices Dextop was developped on and made for, the ARM64 V8a architecture is the base for all compiled objects, binaries, libraries, utilities and all other installed or required packages for the project and is the implied architecture reference when stating 'modern android device'.
Back. It. Up.
Backing up your existing setup by following the Termux backup recommendations is a must.
Final warning: the Dextop project will not be held responsible for any overrides, file corruptions or deletions caused by the installation and configuration process - You Have Been Warned.
A backup routine has also been built that archives the user's home directory before proceeding, regardless, to ensure some kind of safety.
Once generated, it can be found under the user's home directory with the corresponding stamp as 'dextop-backup-MM-DD-YYYY-HH-MM-SS.tar.gz'
What it does:
Dextop can be compared to other very similar projects, though:
- It provides a selection of the Ubuntu distribution base images: known to be stable, popular and has tons of user-friendly knowledge bases.
- It expands the installed base image to run just like a normal PC!
- It generates an actual user profile and prepares a functional home directory for the user to work in, easily and securely.
- It installs all the necessary applications and utilities to provide the user with the right experience.
- It sets up the internal (and external, when available) storage media for flexible, system-wide access.
- It handles all the technical intricacies related to a container installation (chroot/proot) so that the user does not have to bother with them and get right to work.
- It is configured as a transient container system: it talks to Android via the Termux shell to access Android and launch relevant viewers and applications as needed.
What it doesn't:
Power users be warned!
- Dextop does not root the host device!
- Dextop does not load any services or backends!
- Dextop does not install or configure advanced system services!
Applications that require backend services (i.e.: Ubuntu Snap/snapd), standalone services, hardware probes and other advanced features that require access to restricted core system directories will not function: the device must be rooted to remove those limitations and gain full access to all system hardware and virtual devices.
Dextop links some of the modified utilities that have been patched under Termux for an attempt at limited access to whatever the Android user space runtime policy permits (htop, kill, pgrep, pkill, ps, top).
General requirements:
Do not install Google Play Store Packages: thay have not been maintained and are deprecated since November 2020.
For the best possible experience, follow the links and recommendations below and make sure to have:
- A modern Android device equipped with a 64 bit ARM processor (Android 7.0 or above: Termux limitation - Avoid Android 11/12/13 when and if possible: read more regarding the Phantom Process Killer)
- Medium to high speed internet connectivity (wifi or other: for setup, updates and additional package downloads)
- Approximately 4GB in free storage on the device for symmetric setup (Termux and distribution container)
- A mouse (bluetooth or other)
- A keyboard (bluetooth or other)
- A power source (other than the battery, for extended work periods and performance requirements: Samsung DeX limitation)
- A monitor (highly recommended for phones and low display density devices)
Environment:
Dextop is very quick and efficient:
Users can choose in between a complete XFCE setup to get work done, or to keep the base install for command line interface and programming workflows:
The 'console' option is intended for users who would like to experiment with Dextop or setup their own window manager (WM)/desktop environment (DE), utilities and preferences.
The 'environemnt' option lets the user specify the desktop environment (DE) to be set up and used.
Setup currently defaults to XFCE (being the only complete and functional environment suite) for both the Termux and container sides, when no argument is passed to the 'dextop' deployment script.
Performance:
By default, XFCE compositing is (and should remain) disabled with XFCE to optimize resource usage and prevent display tearing and other glitches.
In general, and for other kinds of setup, turning compositing off allows for the best possible performance and experience in accordance to current Android system and security limitations.
Such requirement is due to the Android user space runtime policy and limited hardware access: there is no graphics hardware acceleration available - the container graphics are emulated and run using LLVM.
Activities:
Dextop only loads applications as needed: this helps keep a minimal footprint and the host device running as smooth as possible!
Music, mail, web browsing and gaming activities should preferably be taken care of using native Android applications as they interface with the device's hardware and provide acceleration and other desirable features. See additons.
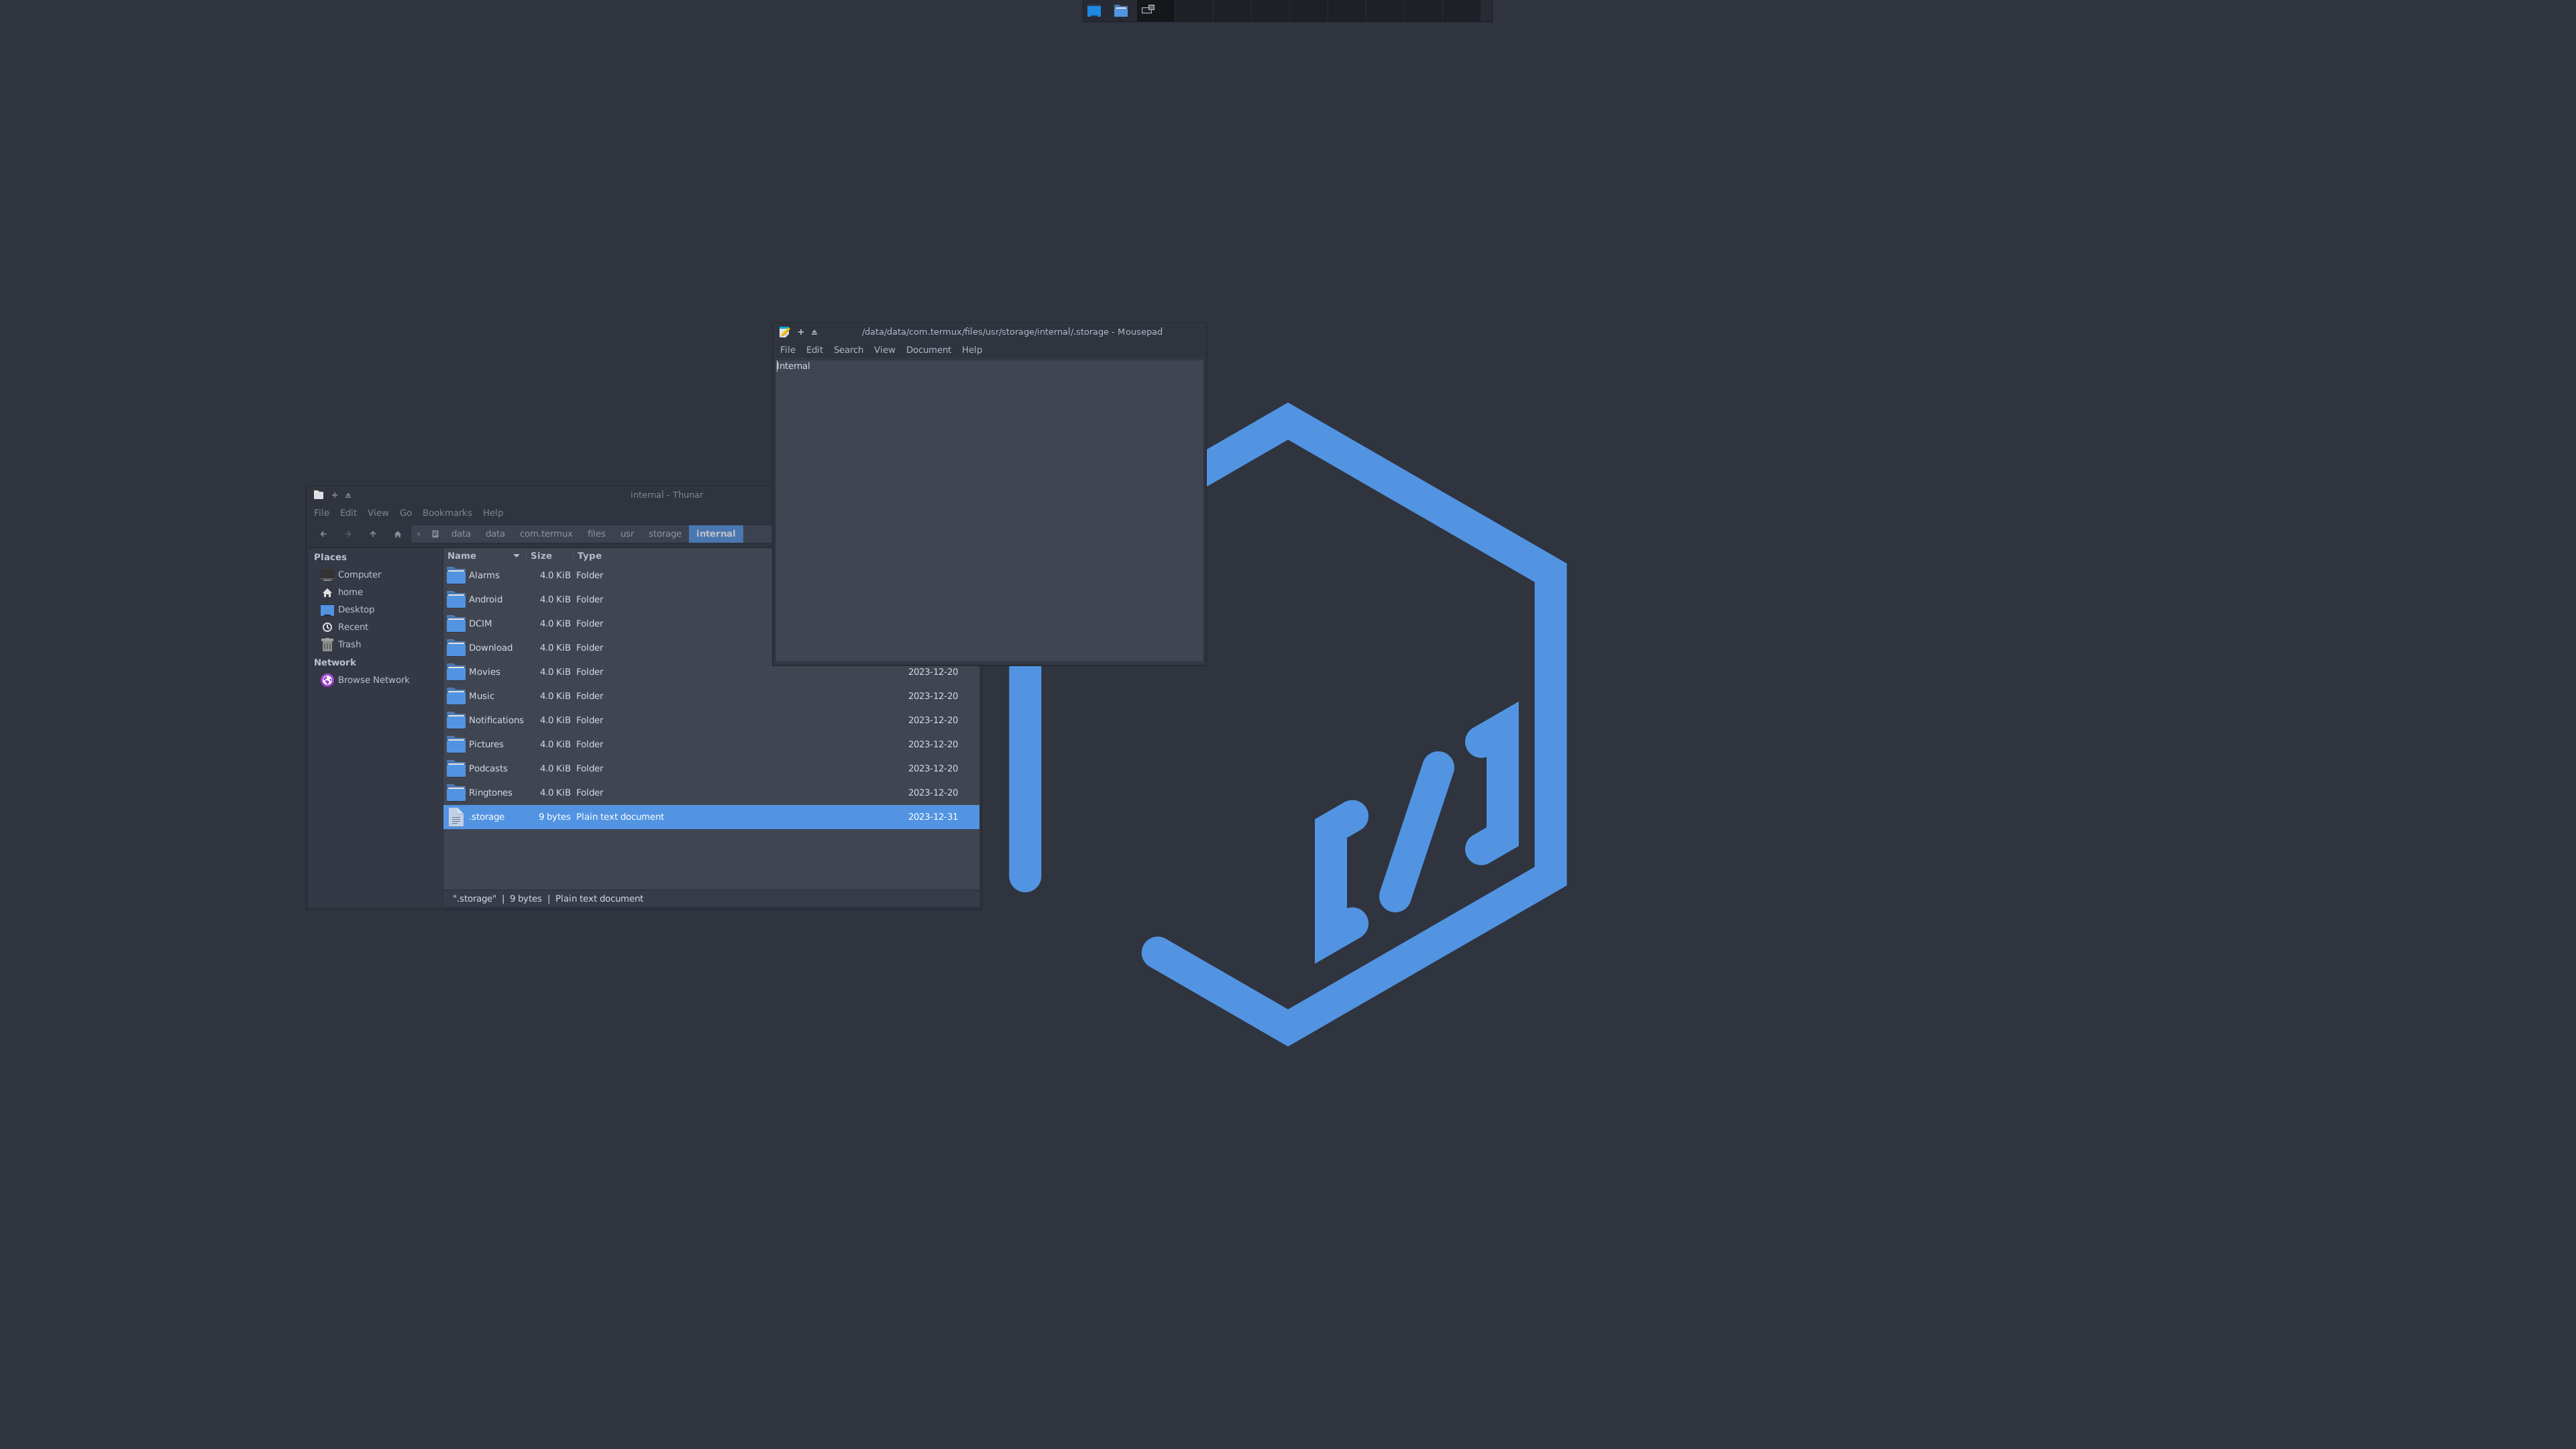
Storage:
Dextop sets up the internal (and external, when available) storage media for flexible, system-wide access. Storage detection is done through /proc/mounts by parsing the /storage directory's entries. Those entries, when present, are filtered agains a regular expression to identify additional external storage media such as SD cards, eternal drives or specific UUID mount patterns such as the ones delivered by Chrome OS based systems (i.e.: FydeOS).
The utility in charge of mounting and linking these entries for your convenience will first look for a .storage file at the root of each of those mounted paths: it is highly recommended, before starting the setup, to create those files and to append whatever sensible or recognizable label intended for those mounts.
Example:
/storage/emulated/0 is the default location for tha Android internal user memory (also known as the 'user data' and/or 'user home' location).
Appending 'internal' to a .storage file for that directory via echo internal > /storage/emulated/0/.storage will then result in having accessible mounts linked under ${PREFIX}/storage and ${PREFIX}/media as internal -> /storage/emulated/0
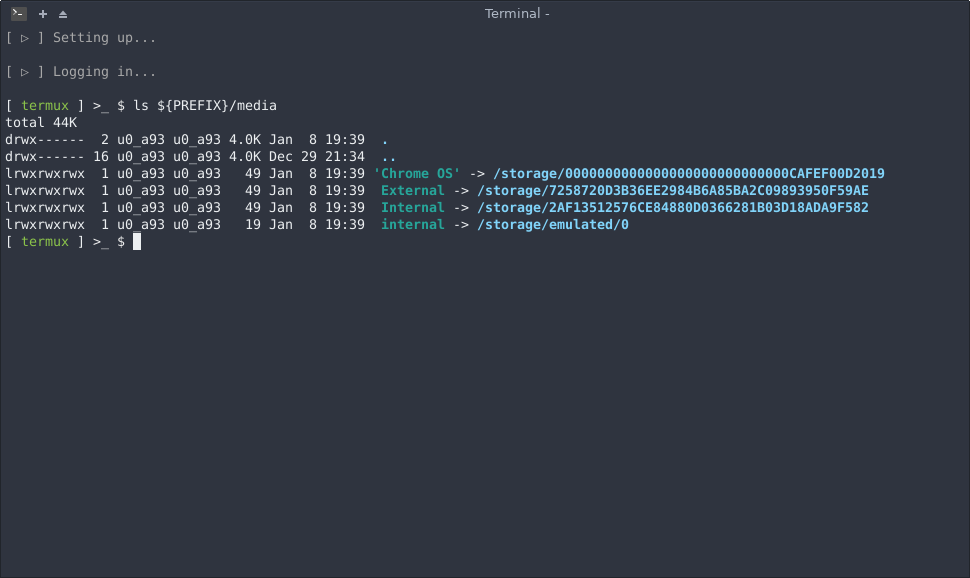
If not present, the utility will simply default to linking and making those mounts acessible under ${PREFIX}/storage and ${PREFIX}/media through their respective labels or default UUIDs.
Interface:
Dextop offers two methods to turn an Android device into a desktop workstation and provide access to both the Termux and container side using a graphical interface.
The VNC method uses the X11 virtual framebuffer 'xvfb' alongside the X11 VNC server 'x11vnc' and forwards a display port within the device as 'localhost' to minimize latency and runs it using software emulated acceleration (LLVM).
The X11 method uses a native display server application 'termux-x11' alongside the Termux:X11 android application package and forwards the display using the device's native resolution and DPI settings using the device's hardware graphics platform (GPU).
In either case, the experience is extremely similar to setting up a virtual machine (VM) on a typical laptop or desktop computer and accessing it through a viewer.
┌─────────────────────────────────────────────────────────────────────────────────────────────┐
│                                                                                             │
│ Device ///////////////////////////////////////////////////////////////////////////////////  │
│                                                                                             │
│  ┌───────────────────────────────────────────────────────────────────┐  ┌────────────────┐  │
│  │                                                                   ◄──┤                │  │
│  │ Firmware                                                          │  │ Hardware       │  │
│  │                                                                   ├──►                │  │
│  └──────────────────────────────────────────────────────────────▲─┬──┘  │  ┌──────────┐  │  │
│                                                                 │ │     │  │ Sound    │  │  │
│  ┌──────────────────────────────────────────────────────────────┴─▼──┐  │  └──────────┘  │  │
│  │                                                                   │  │                │  │
│  │ Software                                                          │  │  ┌──────────┐  │  │
│  │                                                                   │  │  │ Power    │  │  │
│  │  ┌─────────────────────────────────────────────────────────────┐  │  │  └──────────┘  │  │
│  │  │                                                             │  │  │                │  │
│  │  │ Android OS                                                  │  │  │  ┌──────────┐  │  │
│  │  │                                                             │  │  │  │ . . .    │  │  │
│  │  │  ┌───────────────────────────────────────────────────────┐  │  │  │  └──────────┘  │  │
│  │  │  │                                                       │  │  │  │                │  │
│  │  │  │  Termux Application                                   │  │  │  │  ┌──────────┐  │  │
│  │  │  │                                                       │  │  │  │  │ Cameras  │  │  │
│  │  │  │  ┌────────────────────────────┐  ┌─────────────────┐  │  │  │  │  └──────────┘  │  │
│  │  │  │  │                            │  │                 │  │  │  │  │                │  │
│  │  │  │  │  Termux System             ◄──┤ Activity        │  │  │  │  │  ┌──────────┐  │  │
│  │  │  │  │                            │  │ Manager         │  │  │  │  │  │ Display  │  │  │
│  │  │  │  │  ┌─────────────────▲────┐  ├──►                 │  │  │  │  │  └──────────┘  │  │
│  │  │  │  │  │                 │    │  │  │                 │  │  │  │  │                │  │
│  │  │  │  │  │ Home Directory  │    │  │  └─────────────▲─┬─┘  │  │  │  │  ┌──────────┐  │  │
│  │  │  │  │  │                 │    │  │                │ │    │  │  │  │  │ APU      │  │  │
│  │  │  │  │  │  ┌──────────────┴─┐  │  │  ┌─────────────┼─┼────┘  │  │  │  └──────────┘  │  │
│  │  │  │  │  │  │                │  │  │  │             │ │       │  │  │                │  │
│  │  │  │  │  │  │ Dextop         │  │  │  │  ┌──────────┴─▼────┐  │  │  │  ┌──────────┐  │  │
│  │  │  │  │  │  │                │  │  │  │  │                 │  │  │  │  │ RAM      │  │  │
│  │  │  │  │  │  └──▲─────────┬─┬─┘  │  │  │  │ Termux          │  │  │  │  └──────────┘  │  │
│  │  │  │  │  │     │         │ │    │  │  │  │ X11             │  │  │  │                │  │
│  │  │  │  │  │  ┌──┴─────────┼─▼─┐  │  │  │  │                 │  │  │  │  ┌──────────┐  │  │
│  │  │  │  │  │  │            │   │  │  │  │  │                 │  │  │  │  │ ROM      │  │  │
│  │  │  │  │  │  │ Frobulator │   │  │  │  │  │                 │  │  │  │  └──────────┘  │  │
│  │  │  │  │  │  │            │   │  │  │  │  └──────────▲─┬────┘  │  │  │                │  │
│  │  │  │  │  │  └────────────┼───┘  │  │  │             │ │       │  │  │  ┌──────────┐  │  │
│  │  │  │  │  │               │      │  │  │  ┌──────────┴─▼────┐  │  │  │  │ Storage  │  │  │
│  │  │  │  │  └──▲────────────┼──────┘  │  │  │                 │  │  │  │  └──────────┘  │  │
│  │  │  │  │     │            │         │  │  │ Termux          │  │  │  │                │  │
│  │  │  │  │  ┌──┴────────────▼──────┐  │  │  │ API             │  │  │  │  ┌──────────┐  │  │
│  │  │  │  │  │                      │  │  │  │                 │  │  │  │  │ Sensors  │  │  │
│  │  │  │  │  │ Container System     │  │  │  │                 │  │  │  │  └──────────┘  │  │
│  │  │  │  │  │                      │  │  │  │                 │  │  │  │                │  │
│  │  │  │  │  └──────────────────────┘  │  ◄──┤                 ◄──┼──┼──┤  ┌──────────┐  │  │
│  │  │  │  │                            │  │  │                 │  │  │  │  │ Comms    │  │  │
│  │  │  │  └────────────────────────────┘  ├──►                 ├──┼──►  │  └──────────┘  │  │
│  │  │  │                                  │  │                 │  │  │  │                │  │
│  │  │  └──────────────────────────────────┘  └─────────────────┘  │  ◄──┤  ┌──────────┐  │  │
│  │  │                                                             │  │  │  │ Addons   │  │  │
│  │  └─────────────────────────────────────────────────────────────┘  ├──►  └──────────┘  │  │
│  │                                                                   │  │                │  │
│  └───────────────────────────────────────────────────────────────────┘  └────────────────┘  │
│                                                                                             │
└─────────────────────────────────────────────────────────────────────────────────────────────┘
Setup:
Before beginning, please note that automated Android package installation requires that the 'Install Unknown apps' permission be enabled for the Termux application itself and, if already installed, all other Termux companion applications:
To enable this permission, navigate into Settings → Security and Privacy → Install unknown apps → Termux[:Application] and toggling the switch on.
To get Dextop set up, install the following packages on the host Android device:
Optionally, a VNC viewer application with full screen or immersive capabillities can also be installed alongside Termux:X11, such as:
Once the Android applications are installed on the device, open Termux and paste or type:
curl -s -L run.dxtp.app > dextop && bash dextop
Process summary:
Be attentive!
User information and distribution preferences are captured throughout the setup process to set up the container's user profile, home directory and other parameters.
Most of the setup process is fully automated and should run its course until the container is ready for the user to use.
Dextop automatically detects and processes any external media mounts, adds them to the working container and labels them adequately in the file browser's bookmarks file.
User input is still required to give Termux storage and installation access permissions when required and this can only be done through user interaction.
There are no workarounds!
Storage:
Press 'Allow' when prompted during the setup to grant the storage permission.
Additions:
Press 'Install' when prompted during the setup to install the display server components.
Additional packages:
The 'termux-additions' utility is part of the newest deployment and sets up the required Android packages to interface with the main Termux application, including Termux API, Termux GUI and Termux:X11.
These additions are fetched directly from their respective Termux project GitHub releases page: any previously installed version should be removed to not inherit any conflicting packaege signatures that may contribute to unexpected issues.
The display server, Termux:X11 will interface with the required 'termux-x11' package and provides Dextop with a native display solution on the host device, using the available DPI settings and running it through the hardware platform (with possibility of acceleration when it is compiled and enabled).
Session start:
To start a session and access the newly generated container, paste or type:
container-session -o <display server> | -u <username> | -a <application>
To access the desktop environment installed directly under Termux (recognizable by the green username prompt), paste or type:
container-session -o <display server>
To access the container housing distribution that has been selected (recognizable by the fuschia username prompt), paste or type:
container-session -o <display server> -u termux
To start the session using the vnc display server (x11vnc) and restart the display output, paste or type:
container-session -o vnc
If using the native X11 display server (termux-x11), paste or type:
container-session -o x11
Session notes:
User 'termux' is the default username that is utilized during the automatic container setup. It is used to identify a default user under the distribution image that has been selected and can be edited after setup. Other users can be added by using the 'container-user' utility.
When accessing the container for the very first time, a one-time configuration runs on login to set up the keyboard layout, locales and timezone preferences.
If using the vnc display server (x11vnc), the vnc session manager requires the user to select a preferred display resolution for the best display experience:
The selection is saved under "${HOME}"/.vnc/selection and the login routine uses it to start the VNC server and viewer automatically for your convenience!
The next login will automatically launch the session using the previously chosen selection. To override the selection, paste or type:
container-session -n vnc
Session stop:
To stop the active session using the vnc display server by halting the vnc display server, paste or type:
container-session -x
To log out, press Ctrl+D or type 'logout' or 'exit' for the session to immediately stop the vnc server and exit:
Depending on the shell level in use at the time the command is executed, the container exits back to the Termux shell (recognizable by the green username prompt), or to the Android home screen.
Updates:
As the project evolves, certain utilities may change, either slightly or significantly and some new utilities may be introduced into the Dextop ecosystem.
To ensure Dextop runs as expected, and wth the latest features in tow, proceed as follows according to the existing setup:
For new installations, run the normal setup routine and follow instructions as they appear (refer to the setup section).
For existing installations, manual updates can be run by downloading and executing the update routine from the latest Dextop deployment script.
First, get the latest version of the Dextop deployment script. To do so, paste or type:
curl -s -L run.dxtp.app > "${HOME}"/.local/bin/dextop
This step overwrites and updates the script with all the latest features required for the next steps.
To then update the utilities needed or used by Dextop, paste or type:
curl -s -L run.dxtp.app > dextop && bash dextop -u utility all
To update a specific utility, paste or type:
curl -s -L run.dxtp.app > dextop && bash dextop -u utility [Utility Name]
If for whatever reason the user is unsure of the utility name to call as an argument, the update routine automatically displays all available utility names on fail.
To update all shell session and experience scripts, paste or type:
curl -s -L run.dxtp.app > dextop && bash dextop -u shell
To simplify the overall version update process, the user can also decide to update the main deployment script and all dependant utilities. To do so, paste or type:
curl -s -L run.dxtp.app > > "${HOME}"/.local/bin/dextop && bash dextop -u all
Issues:
If the initial setup succeeds but the user is unable to launch a session, or any random package appears to be missing when typing a command, spotty Termux package management issues are the cause: repository info seems spotty and pkg/apt fails to fetch or pull the requested package at the time of install.
To reinitialize the Dextop setup checkpoints, without having to wipe the Termux session or instance, paste or type:
rm -rf "${HOME}/.dextop
To remedy potentially missing packages and random initialization failures, paste or type:
curl -s -L run.dxtp.app > dextop && bash dextop
High latency internet connectivity or issues with accessing server content (GitHub) may cause some files to malfunction or go corrupt.
If for whatever reason an update fails due to an error because of deployment script corruption, paste or type:
curl -s -L run.dxtp.app > "${HOME}"/.local/bin/dextop && bash dextop -u utilities
Once the latest version of Dextop is deployed, configuring it to fetch all the latest and relevant utilities is possiblewhen automatic updates on login are enabled.
Automatic utility updates on login can be enabled as follows:
echo update > "${HOME}"/.dextop/dextop-update
Automatic utility updates on login can be disabled as follows:
echo '' > "${HOME}"/.dextop/dextop-update
Additions:
For the purpose of keeping the system load slim and light, setting up default applications via the use of 'dextop-additions' is highly recommended, and by doing so, 'dextop-additions' transfers mimetype requests for specific applications through the use of the Activity Manager and opens the relevant Android application for you to use.
'dextop-additions' handles activities:
dextop-additions -a <activity>
or takes care of mimetype handles:
dextop-additions -n <handle>
Audio:
Audio playback is configured and supported through 'pulseaudio', although it is not recommended for use as it can be process and cycle intensive on the device's battery and processor(s).
Audio latency on playback and other such related parameters may vary depending on the host device's hardware specification, and depending on if it is running directly under the Termux shell or from within a distribution container.
Audio playback on login can be enabled as follows:
echo audio > "${HOME}"/.dextop/dextop-audio
Audio playback can be disabled as follows:
echo '' > "${HOME}"/.dextop/dextop-audio
Termination:
Automatic session and display shutdown on terminal exit can be enabled as follows:
echo logout >> "${HOME}"/.dextop/dextop-logout
Automatic session and display shutdown on terminal exit can be disabled as follows:
echo '' > "${HOME}"/.dextop/dextop-logout
Repositories:
Frobulator to streamline the scripts and make redundant code a thing of the past.
Termux as the android shell provider application to make Dextop interface with the host device.
Termux:X11 as the android native display server provider.
GNU/Bash as the shell environment on top of which the scripts function.
Projects:
[ Frobulator // Project Page ]
[ Lego // Linux // Project Page ]
[ Nathanel + Titane // Project Page ]
Reports:
Submit bug report or feature request
Note:
All setup dialogs, prompts, commands and binary execution outputs have been set to redirect to the '${PREFIX}/var/log' directory to keep output messages to a minimum.
Should you suspect any issues or errors, please provide a copy of those files when submitting a bug report.
[ Dextop // Project Page ] [ Version // 01-09-2024 ]
Enjoying Dextop? Buy me a coffee to show your appreciation!
![]()
