MultiFunctionBot Save Abandoned
Telegram Bot to bypass Short Links, get direct DLs & also Shorten URLs
Telegram Bot to bypass Short Links, get direct DLs & also Shorten URLs
Environment Variables
-
CONFIG_ENV_URLPut your Config File URL so that it works as Bot Config -
API_HASHYour API Hash from my.telegram.org -
API_IDYour API ID from my.telegram.org -
BOT_TOKENYour bot token from @BotFather -
COMMAND_PREFIXESPrefixes for running Bot Commands. Separate them by space such as "! . /" -
OWNER_ID- User ID of the Bot Owner (controls sensitive Bot Information!) -
SUDO_USERSSudo Users who can control the Bot. Separate User IDs by space -
BOT_USERNAMEYour BotuserName Without@. ExampleMultiFunctionUse_Bot -
BIFM_URLYour BIFM instance Url. Default tohttps://bifm.tacohitbox.com/api/bypass?url -
DATABASE_URLYour Mongo Database URL (Connection string). Follow this guide to generate database. -
LOG_CHANNELYour Log Channel ID where the Bot which store Critical Information. Starts with "-" -
BOTOWNER_UNAMEUsername Name of the Bot Owner (without@) -
FORCESUB_ENABLESet to True if you want to enable ForceSubscribe else set to False/None -
FORCESUB_CHANNELID of the Channel you want ForceSubscribe -
FORCESUB_CHANNEL_UNAMEUsername of the Channel you want ForceSubscribe (without@) -
GDTOT_CRYPTPut your GDTot Crypt -
UNIFIED_EMAILPut your Generated Unified Email -
UNIFIED_PASSPut your Generated Unified Pass -
HUBDRIVE_CRYPTPut your HubDrive Crypt -
KATDRIVE_CRYPTPut your KatDrive Crypt -
KOLOP_CRYPTPut your Kolop Crypt -
DRIVEFIRE_CRYPTPut your DriveFire Crypt -
DRIVEBUZZ_CRYPTPut your DriveBuzz Crypt -
DRIVEHUB_CRYPTPut your DriveHub Crypt -
GADRIVE_CRYPTPut your GaDrive Crypt -
JIODRIVE_CRYPTPut your JioDrive Crypt -
Sharerpw_XSRFPut your Sharer XSRF Token -
Sharerpw_laravelPut your Sharer Laravel Session -
SHAREDRIVE_PHPCKSPut your ShareDrive.pics PHP Packs Token -
DEFAULT_UPLOAD_HOSTPut the default host number for File Uploading. See the table for more Info -
UPLOAD_SIZE_LIMITPut the Max Size Limit (in GB) for File Upload Function -
UPTOBOX_TOKENPut your UptoBox Account Token (Free Account works too!) -
EMILY_API_URLYour Emily API instance Urls. Separate API URLs by space -
UPSTREAM_REPOAdd the Upstream Repo of your Bot for automatic updation -
UPSTREAM_BRANCHSelect the Upstream Branch of your Bot for automatic updation
NOTE: Fill the above values in config.env or use them as Environment Variables.
BotFather Commands (for Public Users) -
start - Bot Start Message
help - Alias command for start
dalle - Generate images from a text prompt using DALLE-Mini
upload - Upload a Telegram File to various Free File Hosting Servers
bifm - Bypass Short Links using BIFM API
direct - Get Direct Link for various Supported URLs
bvip - Bypass Short Links using Bypass.vip API
bypass - Bypass Various Supported Shortened URLs
multi - Bypass Short Links using PyBypass Library
shorten - Get AdFree Shortened URLs of your Link
magnet - Extract Magnet from Torrent Websites
index - Extract Direct Links from Bhadoo Index Folder URLs
scrape - Extract Direct Links from Supported Sites
ytdl - (or /ytdlp) Extract DL Links using YT-DLP
gd - (or use /clone) Get GDrive Links for various Drive File Sharer
headfone - Scrape Headfone.co.in to get Direct Links of an Album
hungama - Get Download link and Metadata of a Hungama Link
image2pdf - Convert Image to PDF
rename - Rename a File in Telegram
tgupload - Upload a File to Telegram
takess - Take ScreenShot of a Webpage
wayback - Generate WayBack of a Webpage
Basic Bot Commands and it's usage
-
Users Commands
/start - To get the start message.
/help - Alias command for start.
/dalle - Generate images from a text prompt using DALLE-Mini
/upload - Upload a Telegram File to various Free File Hosting Servers
/bifm - Bypass Short Links using BIFM API
/direct - Get Direct Link for various Supported URLs
/bvip - Bypass Short Links using Bypass.vip API
/bypass - Bypass Various Supported Shortened URLs
/multi - Bypass Short Links using PyBypass Library
/shorten - Get AdFree Shortened URLs of your Link
/magnet - Extract Magnet from Torrent Websites
/index - Extract Direct Links from Bhadoo Index Folder URLs
/scrape - Extract Direct Links from Supported Sites
/ytdl - (or /ytdlp) Extract DL Links using YT-DLP
/gd - (or use /clone) Get GDrive Links for various Drive File Sharer
/headfone - Scrape Headfone.co.in to get Direct Links of an Album
/hungama - Get Download link and Metadata of a Hungama Link
/image2pdf - Convert Image to PDF
/rename - Rename a File in Telegram
/tgupload - Upload a File to Telegram
/takess - Take ScreenShot of a Webpage
/wayback - Generate WayBack of a Webpage
/paste - Paste the text/document to KatBin
/ping - Ping the telegram api server
-
Sudo User Commands
/db: Get information about Bot DataBase
/speedtest: Check the internet speed of bot server.
/serverstats: Get the stats of server.
/stats: Alias command for serverstats.
/users - Get details about the Bot Users
/inspect - Inspect the message and give reply in json format
-
Developer Commands
/addsudo - Add a user to the Bot sudo users list
/removesudo - Remove a user to the Bot sudo users list
/broadcast - Broadcast a message to all the Bot Users
/shell: To run the terminal commands via bot.
/exec: (or use /py) To run the python commands via bot.
/update: To update the bot to latest commit from UpStream Repository.
/restart: Restart the bot.
/log: To get the log file of bot.
Generate Database
- Go to
https://mongodb.com/and sign-up. - Create Shared Cluster.
- Press on
DatabaseunderDeploymentHeader, your created cluster will be there. - Press on connect, choose
Allow Access From Anywhereand press onAdd IP Address- Put '0.0.0.0', then create user. - After creating user press on
Choose a connection, then press onConnect your application. ChooseDriverpython andversion3.6 or later. - Copy your
connection stringand replace<password>with the password of your user, then press close.
Upload Hosts
| # | Host | Limit |
|---|---|---|
| 1 | anonfiles | 20 GB |
| 2 | Catbox | 200 MB |
| 3 | file.io | 2 GB |
| 4 | Filemail | 5 GB |
| 5 | Gofile | unlim |
| 6 | KrakenFiles | 1 GB |
| 7 | LetsUpload | 10 GB |
| 8 | MegaUp | 5 GB |
| 9 | MixDrop | unlim |
| 10 | pixeldrain | 10 GB |
| 11 | Racaty | 10 GB |
| 12 | transfer.sh | unlim |
| 13 | Uguu | 128 MB |
| 14 | WeTransfer | 2 GB |
| 15 | workupload | 2 GB |
| 16 | zippyshare | 500 MB |
Contributions -
- Thanks to Sanjit Sinha for Telegram-Bot-Boilerplate Template
- Thanks to Altryne for ChatGPT-Telegram-Bot
- Thanks to Yukki Senpai for Bypassers as well as GDrive Sharer Directs
- Thanks to Jack for Site Scraping Scripts
- Thanks to Miss Emily for maintaining the Repo as well as the API
- Thanks to zevtyardt for LK21 Bypasser
- Thanks to Disha Patel for ArtStation, MDisk and WeTransfer Direct link Gen
- Thanks to Bipin Krishna for OlaMovies, IGG Games and FileCrypt Site Scrapers
Deployment
⚛️ Deploying on Heroku
- Click on the Button below to deploy this Bot to Heroku

 Deploy on Koyeb
Run program totally for free on Koyeb with single click deployment button!
1. Click the following one-click deployment button:

2. Fill the Config File variable with a direct link to your config and click Deploy.
3. While deployment, you can choose Micro instance type since it requires 512 RAM.

⛔NOTE: This method uses ready-to-use Docker Image made specially for Koyeb, hence any change requires building of new image with Flask to listen on port 8080.
🐳Build or Deploy using Docker
MultiFunctionBot can be deployed almost everywhere using Docker
1.To pull MultiFunctionBot Docker Image:
->docker pull ghcr.io/missemily22/multifunctionbot:main
2.Or, to use as base Image:
->FROM ghcr.io/missemily22/multifunctionbot:main
⛔NOTE:
Docker Image only accepts the variables as stated before
Fly.io is platform and best alternative of Heroku (Salesforce) becuase here you can deploy your apps by just adding Credit Card (without being charged) or anyother payment methods, unlike Heroku, they offers you 2,340 running hours per month while Heroku only provides 550 running hours (dyno hours) to run your app! that means you don't have to worry about suddenly getting your app stopped like in the case of Heroku. Fly.io also not restarts your app each 24 hours which enables you to clone bigger data easily.
1.Create an account on Fly.io.
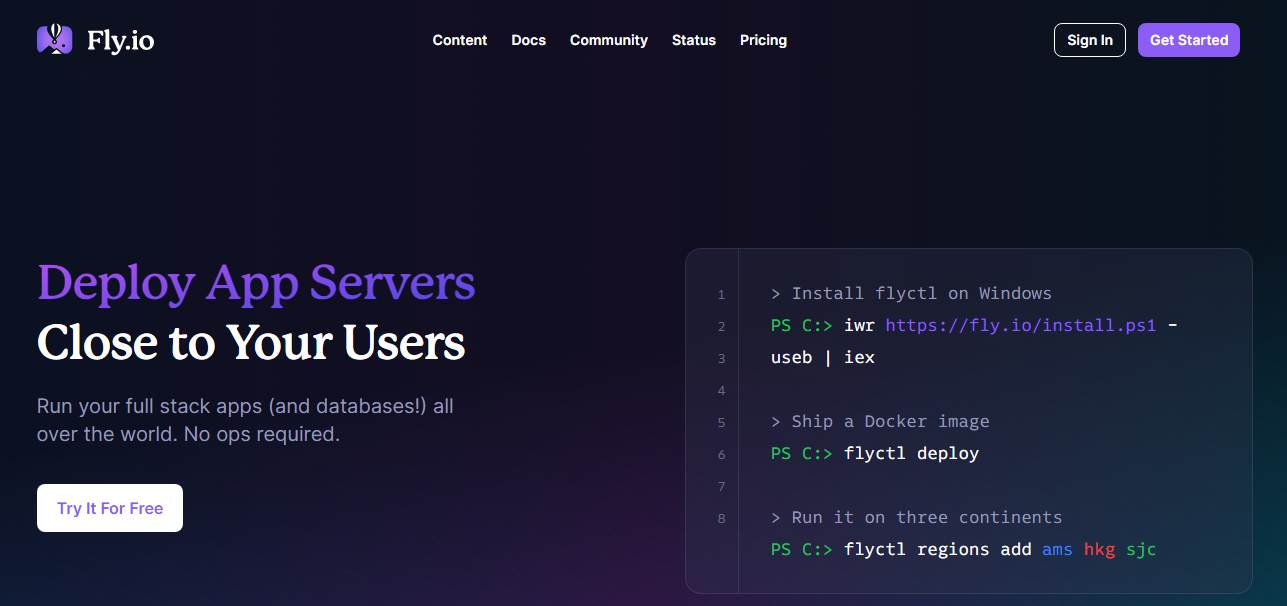
2.Install flyctl on your system.
MacOS / Linux:
curl -L https://fly.io/install.sh | sh
Using Brew:
brew install flyctl
Windows Powershell:
iwr https://fly.io/install.ps1 -useb | iex
Termux: (Refer #54)
pkg install flyctl
3.Download MultiFunctionBot Repository:
git clone https://github.com/missemily22/MultiFunctionBot
4.Now run following commands:
cd MultiFunctionBot - To change directory.
fly auth login - To login on Fly.io.
fly launch - To configure basic things, like app name and data center as well as creating fly.toml.
5.Configure App:
1.For app name keep the field empty (Hit Enter), and for choosing data center! use arrow keys to select one. For attaching Postgres Database enter
N including for Deploy Now.
2.Once you run the above command! It will say fly.toml file exists, open the fly.toml file with any text editor and under [env] section put your Env Variables !

3.Everything done! now run the final deploy command to deploy your app.
fly deploy - To deploy your app.
⛔NOTICE:
1. You can use flyctl instead of fly.
2. Choose yes to Use Exisiting Configurtion to avoid loss of fly.toml file
♦️Deploy on Clever Cloud
Clever Cloud is a Europe-based PaaS (Platform as a Service) company. They help developers deploy and run their apps with bulletproof infrastructure, automatic scaling as well as fair pricing. In my opinion! it is best choice to deploy MultiFunctionBot on Clever Cloud because pricing is excellent & fair as well as you can run MultiFunctionBot for days to clone large amount of data.
⛔NOTICE: Before deploying/running MultiFunctionBot on Clever Cloud! Don't forget to add payment method like credit card in your account to verify your account otherwise deploying and using MultiFunctionBot on Clever Cloud will cause suspension of your app/account.
1.First log in on Clever Cloud.

2.Now click on Create and then select an application from the list.

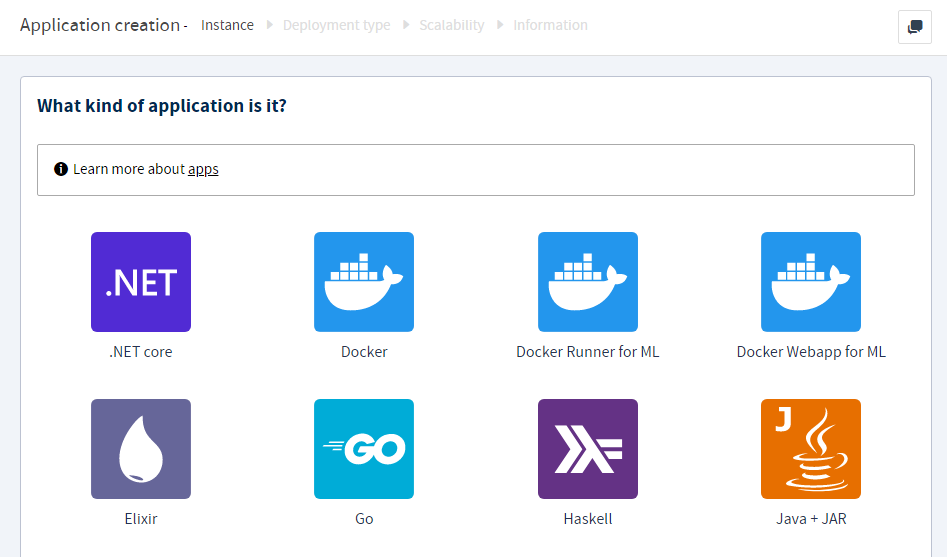
3.Once you reach "Application Creation" page, choose "Create an application from GitHub repository" and select the MultiFunctionBot Repository. Not visible? fork this!

4.Done? now specify the application type by choosing our beloved Docker.😘
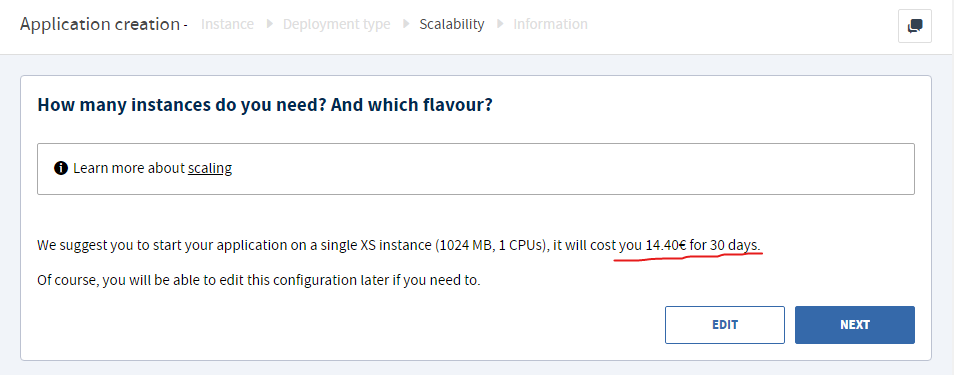
5.After that! directly click Next on "How many number of instances?" page and keep the number of instance only 1. Additionally, you can keep instance type to Nano which is most cheap because MultiFunctionBot is designed to run on very low end systems.
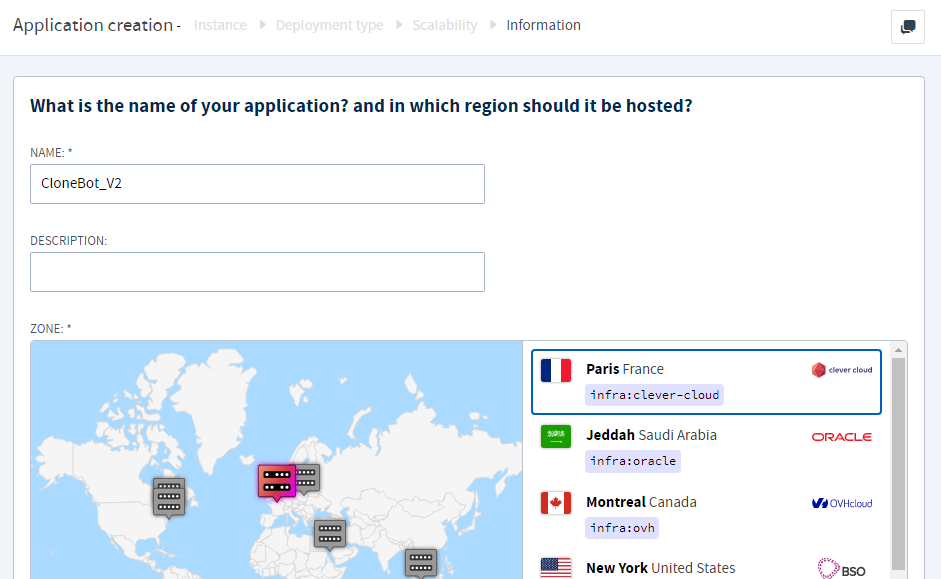
6.Provide your instance a beautiful name, it can be "MultiFunctionBot" itself, and for instance location, you can choose Paris France for lower ping (tested!😉).
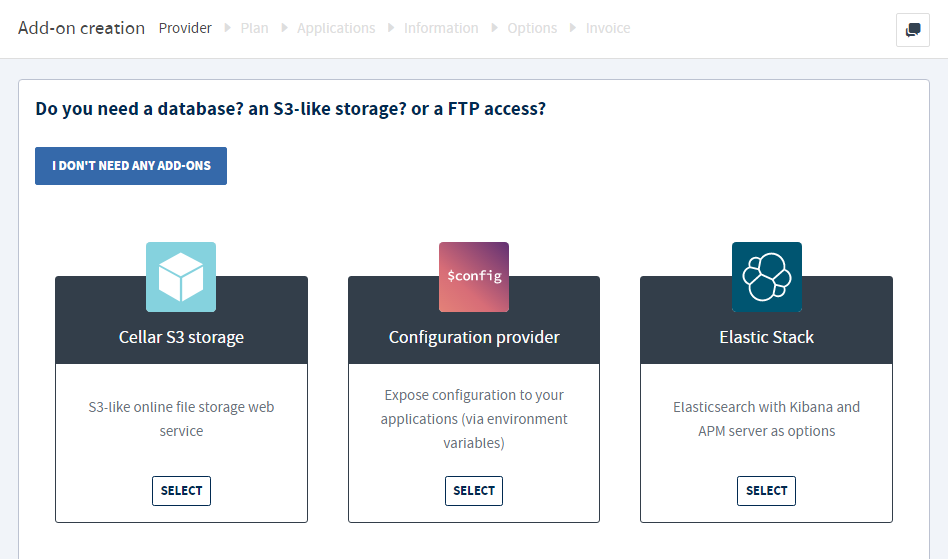
7.Now it will navigate to "Add-ons" page, simply click I DON'T NEED ANY ADD-ONS because... you already know it!🌟 still why? it is designed for low end systems.
8.Then enter Environment Variables one by one and Clever Cloud will start deploying your instance.

9.Finally! to check if MultiFunctionBot is working perfectly, you can open the domain (it will display the guide) provided by Clever Cloud for your instance which can be collected from Domain Names tab and for logs you can check Logs tab.

🪬Deploy on Okteto
Okteto is Kubernetes development platforms and used by many users and it is ideal for lightweight apps and it is perfect for MultiFunctionBot, Okteto is worst than Heroku, your bot will sleep after 24 hours and will not get back to online until you ping the provided ENDPOINT.
1.First Create your Okteto Account, You need one GitHub account as okteto supports only one Method to either Create or Login: Create/Login on Okteto
2.Now fork this repository, and go to Okteto Dashboard then press "Launch Dev Environment".
3.After it, select your forked repository and select branch main and add following value carefully:
Add your Environment Variables one by one
4.Once done! press "Launch" and you successfully done it! Yes 😊
5.Okteto make your deployed app to sleep if provided ENDPOINT (Allotted URL) remain untouched for 24 Hours. So lets setup a simple cron-job to keep your app active.
6.First copy your app's ENDPOINT as shown in the image and go to Cron-Job.org and sign up!
7.Done? Nice! now click "CREATE CRONJOB" button and provide your copied ENDPOINT URL that you just copied and change execution schedule to every 5 minutes.Finally! click "CREATE" and you done it! 😌 Relax and use MultiFunctionBot freely.
⛔NOTE: Don't forget to setup Cron-Job for Okteto otherwise your deployed bot will go into sleep and you have to active it from Okteto Dashboard, while Cron-Job doing it on your behalf.
🖥️ Deploy on VPS or PC
Running MultiFunctionBot on your PC or VPS is very simple and takes very less efforts! It have very less load on your System and don't use your bandwidth or Internet connection for cloning Google Drive data but only for calling Telegram APIs to update the progress or to generate required response.
1.Download Requirements:
->Python 3 or above with pip
->Git
2.Download Repository:
->git clone https://github.com/missemily22/MultiFunctionBot
3.Install MultiFunctionBot Requirements:
->cd MultiFunctionBot
->pip install -r requirements.txt
4.Edit Config.ini file
->Renamesample_config.env to config.env and open the file in any text editor and enter the values of variables as described
5.Start MultiFunctionBot:
->cd MultiFunctionBot
->python -m bot
6.Stop MultiFunctionBot:
->Press CTRL + C keys
Note:
- I will soon add other Deployment Methods!
Credits
- Bot is purely based on Disha Patel MMBot
