Kdeldycke Dotfiles Save
🍎 macOS dotfiles for Python developers.
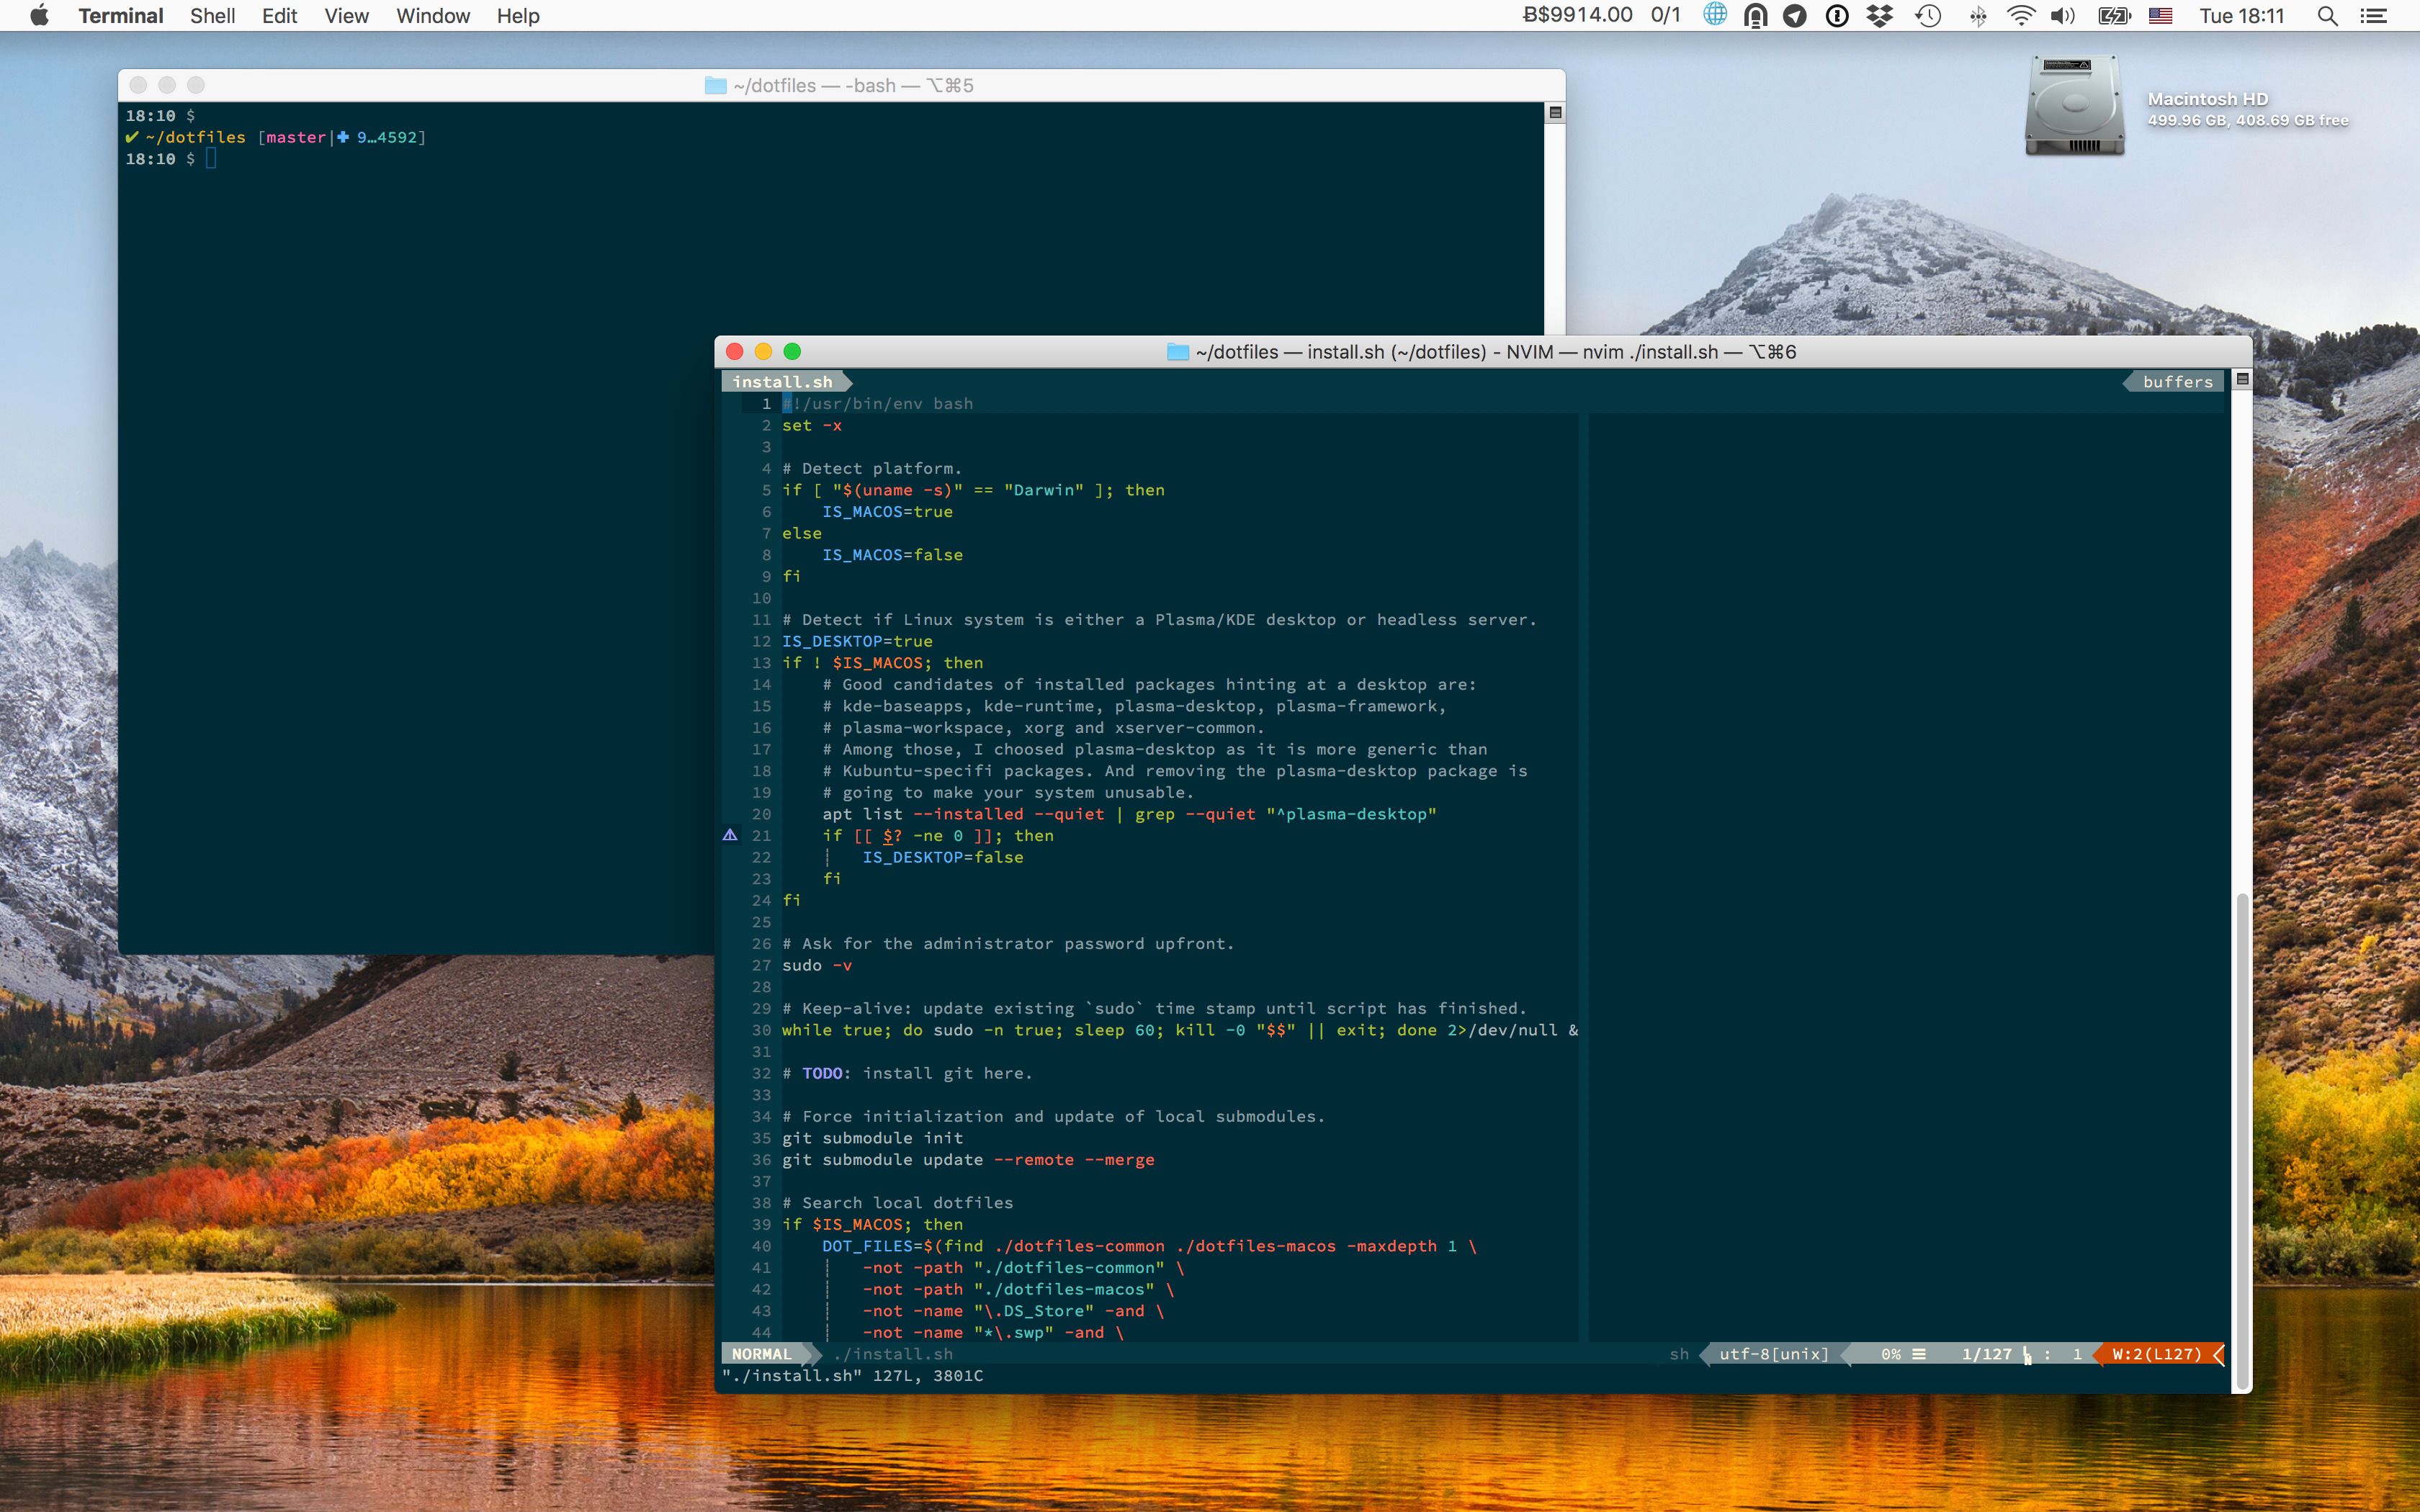
Kevin's dotfiles
Dot-files and system configuration for Python developers on macOS with Apple Silicon hardware.
Features
- Aimed at Python programmers using
NeovimandVisualStudio Code. - Targets
ZSHshell (now the default since Catalina). - Produce colored output for most of shell commands.
- All color schemes are based on Monokai.
- Terminal and coding font is Source Code Pro.
- Keeps macOS fast, lean and secure.
Pre-installation
We will reinstall macOS from scratch.
-
Download macOS from the
App Store.app. -
Plug a USB drive to your machine, format it with the Disk Utility app, double-check it is mounted at
/Volumes/Untitled, and finally flash it with the macOS image:$ sudo /Applications/Install\ macOS\ Monterey.app/Contents/Resources/createinstallmedia --volume /Volumes/Untitled --nointeraction -
Reboot your machine, reinstall macOS, create a user.
-
Login to your new user, and launch
System Preferences.app. -
Go to
Security & Privacy→Privacy→Click the lock to make changes, and then unlock with touch ID or password: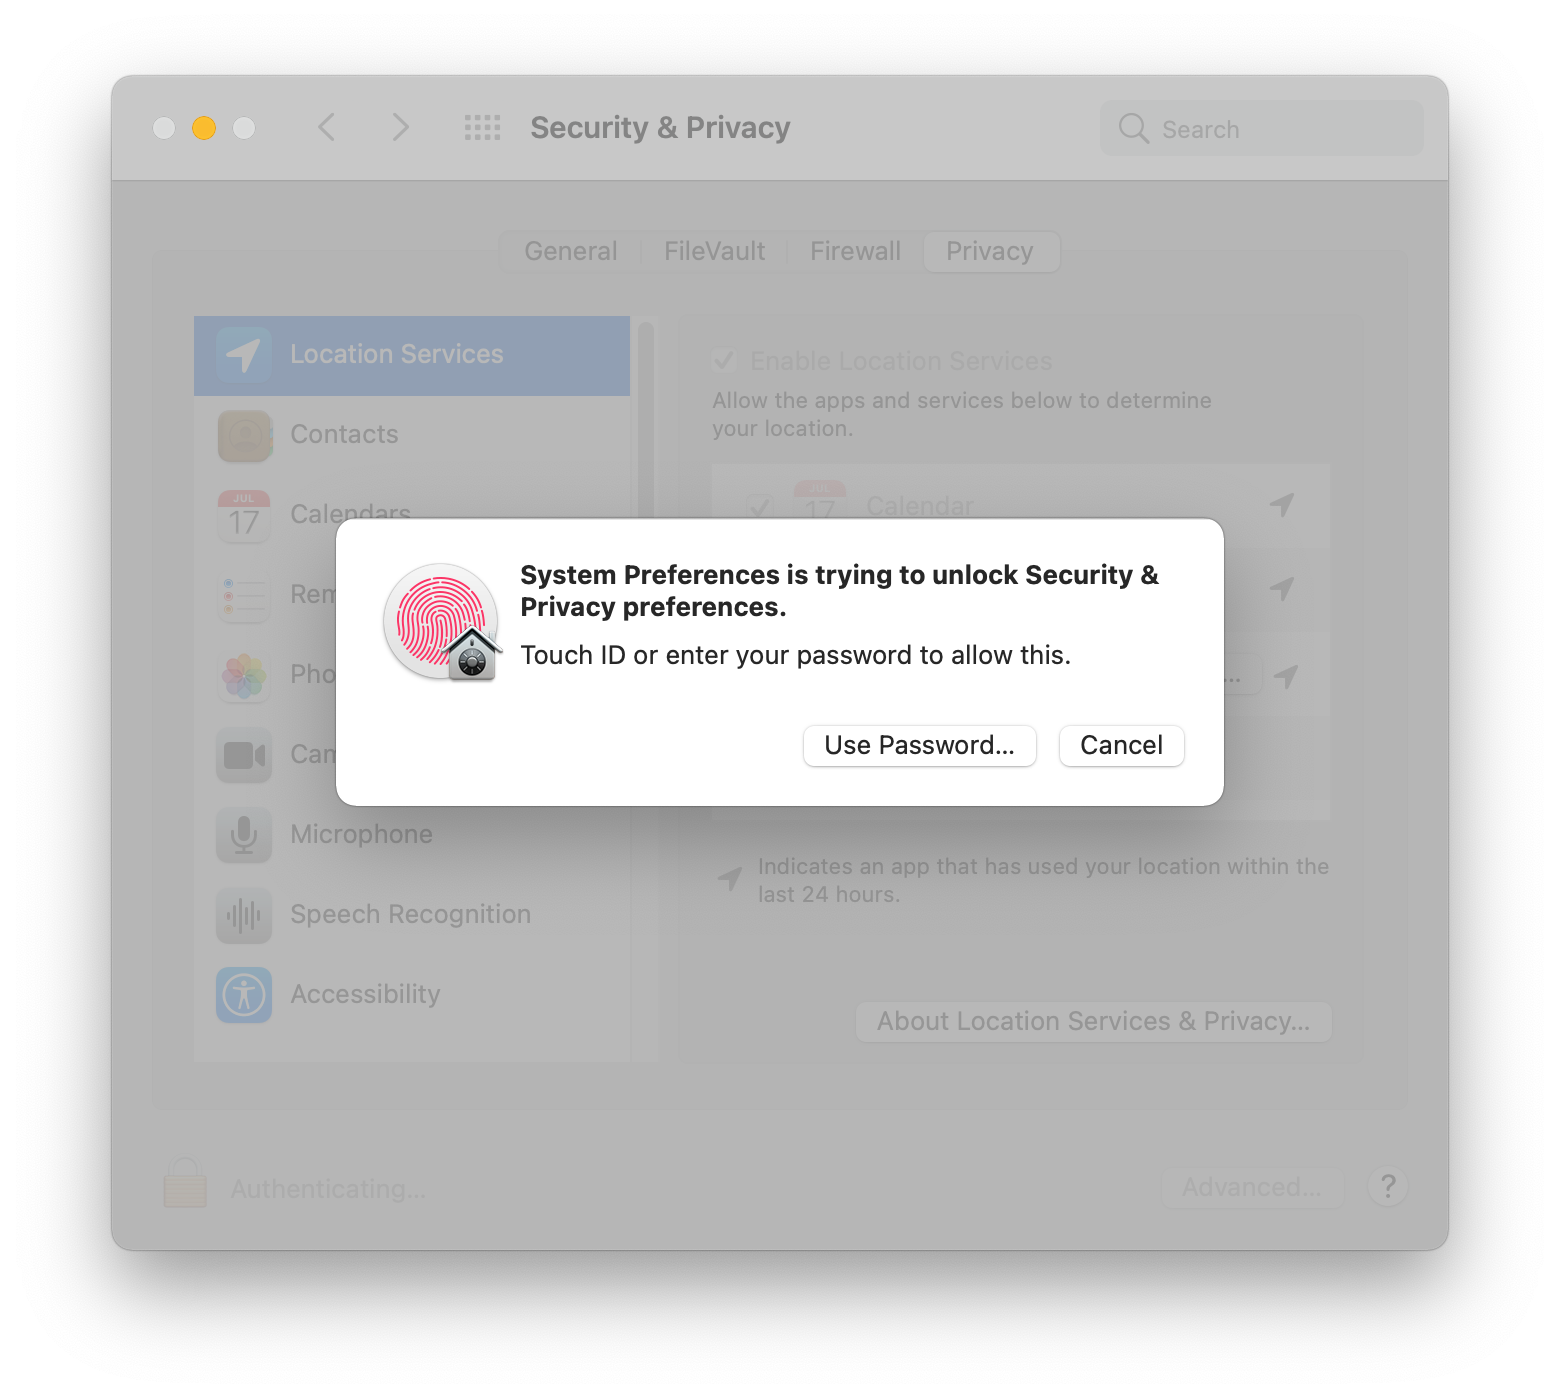
-
Go to
Full Disk Access, click the+button, go toApplications→Utilities, and chooseTerminal.app: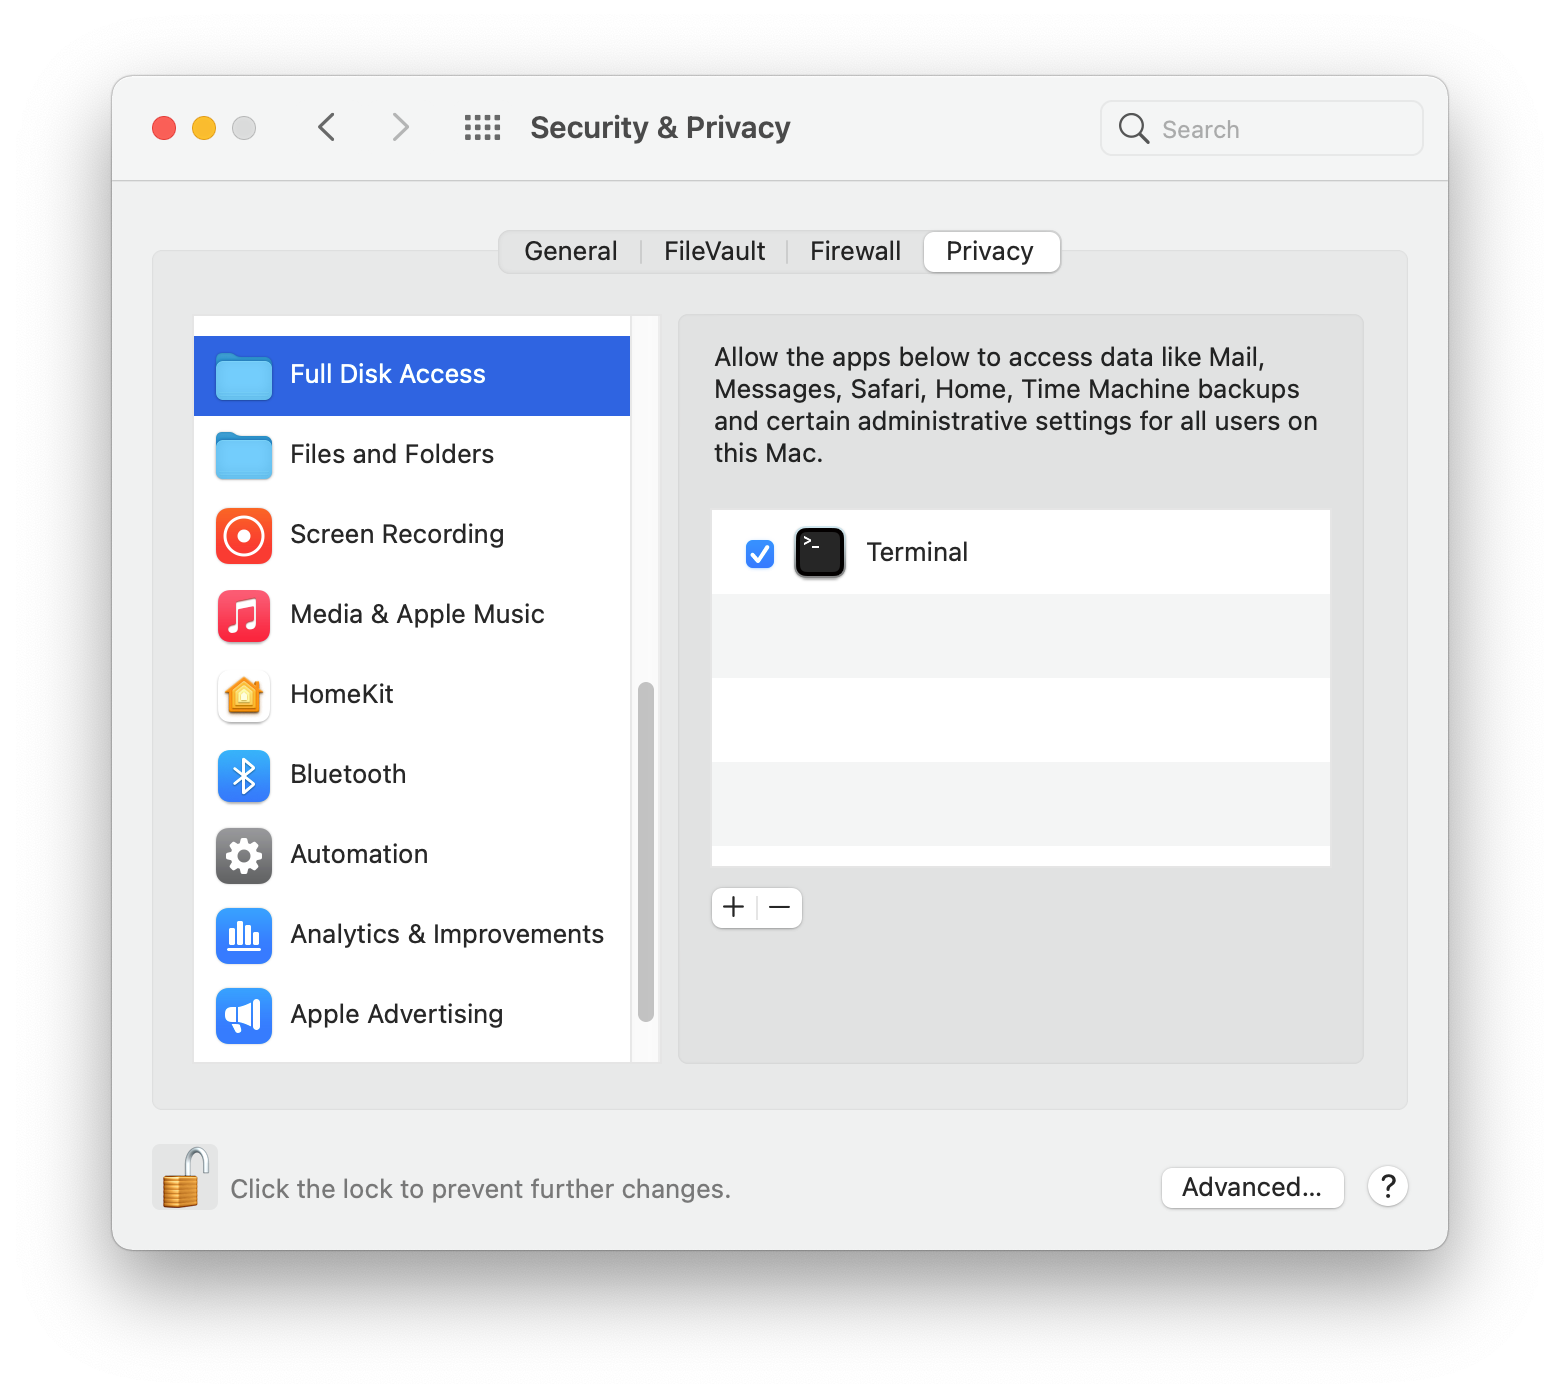
Install
-
First, you need a local copy of this project.
If you're lucky and have
gitalready installed on your machine, do:$ cd ~ $ git clone --recursive https://github.com/kdeldycke/dotfiles.gitIf you don't have
gityet, fetch an archive of the repository:$ mkdir ~/dotfiles $ cd ~/dotfiles $ curl -fsSL https://github.com/kdeldycke/dotfiles/tarball/main | tar --strip-components 1 -xvzf - -
Now you can install the dotfiles on your system:
$ cd ~/dotfiles
$ /bin/zsh ./install.sh 2>&1 | tee ./install.log
Post-installation
Manual setup required to finish up the perfect configuration.
This is a list of manual post-installation steps required to fully configure the system. Haven't found any way to automate them all.
System Preferences.app
-
In
Displays, set external monitor scale: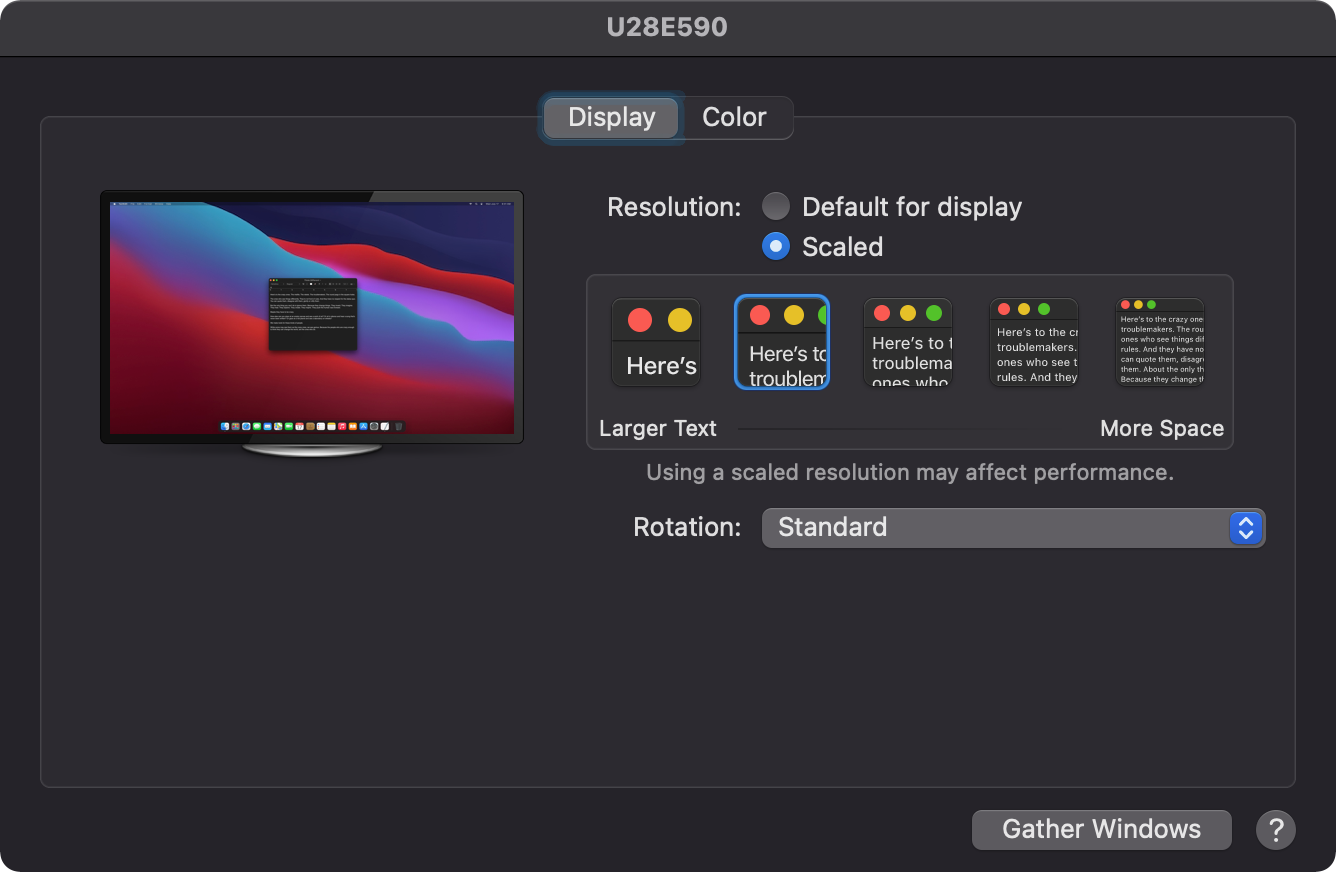
-
In
Touch ID→Add other fingerprints. -
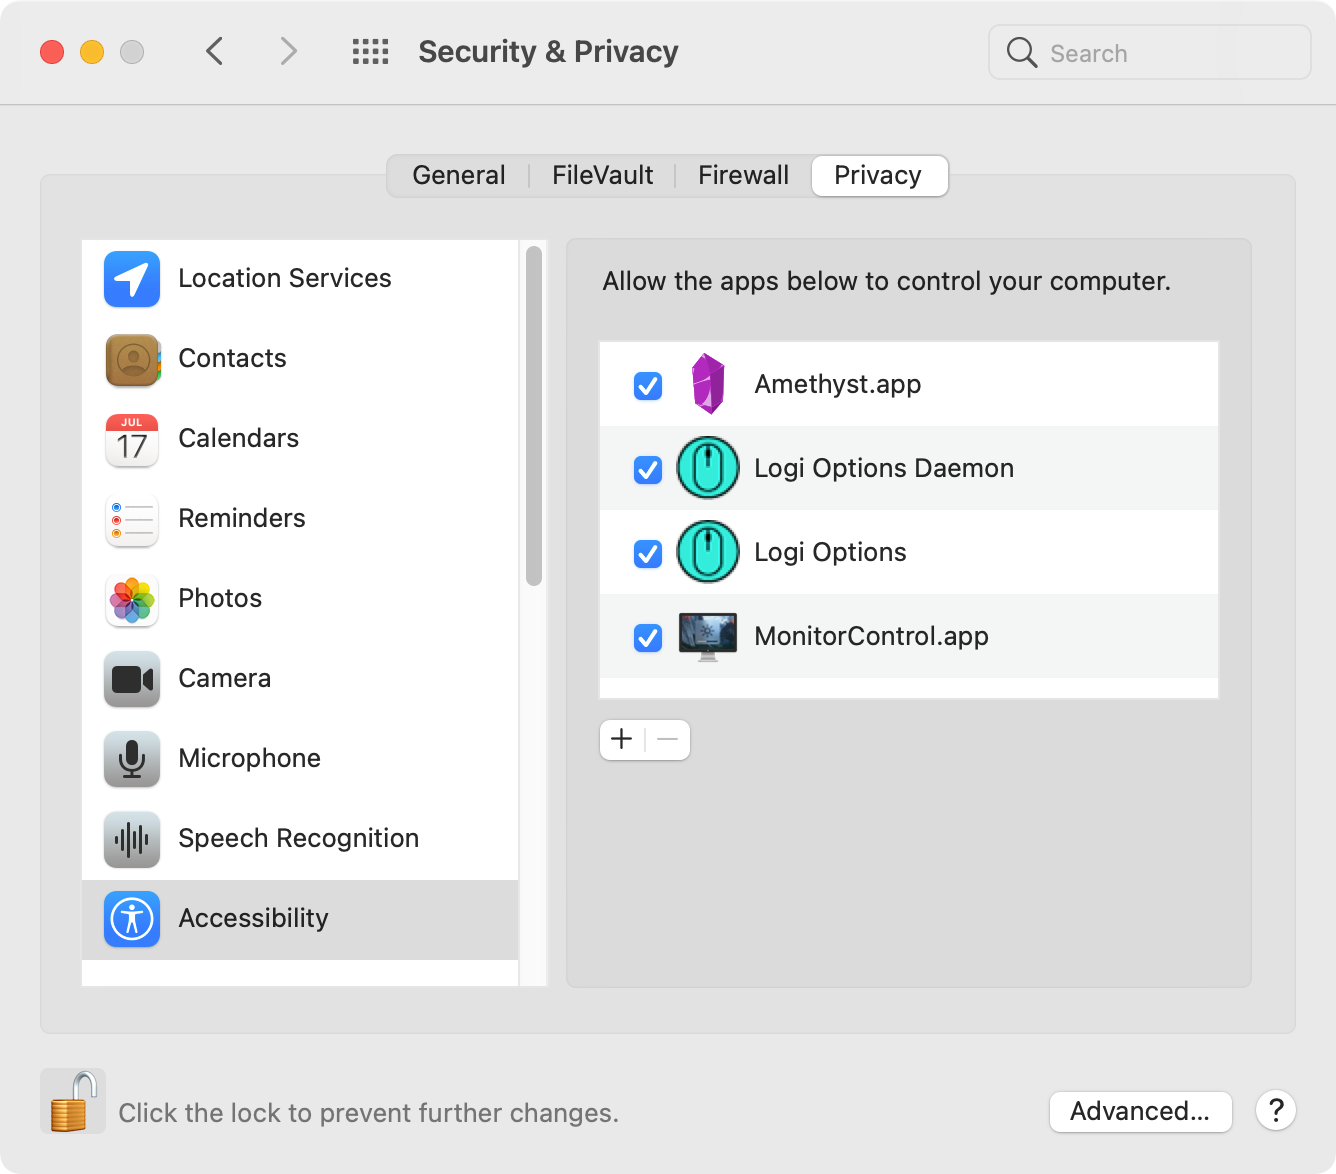
In
Security & Privacy→Privacy→Accessibility, activate:-
Amethyst.app -
Logi Options Daemon -
Logi Options -
MonitorControl.app
-
-
In
Security & Privacy→Privacy→Full Disk Access, click the+button. Then go toApplications→Utilities, to add:-
BlockBlock.app -
KnockKnock.app
-
-
In
Security & Privacy→Privacy→Analytics & Improvements: uncheck all options to disallow analytics sharing.
-
In
Security & Privacy→Privacy→Apple Advertising: uncheckPersonalized Adsoption.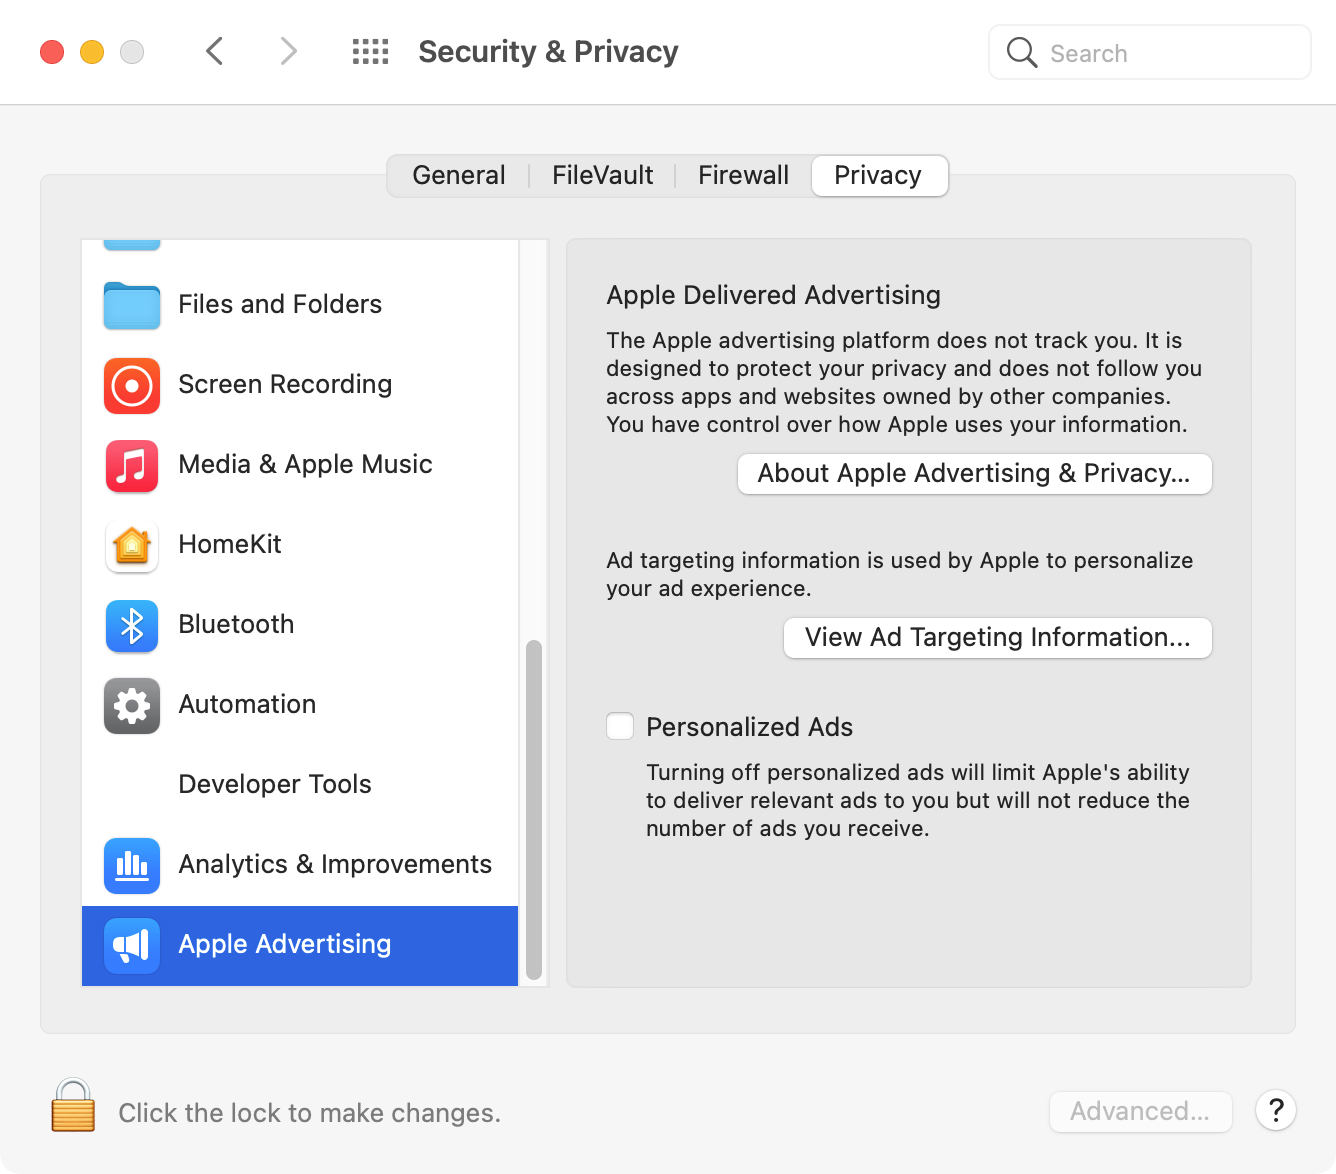
-
In
Security & Privacy→Privacy→Developer Tools, activateTerminal: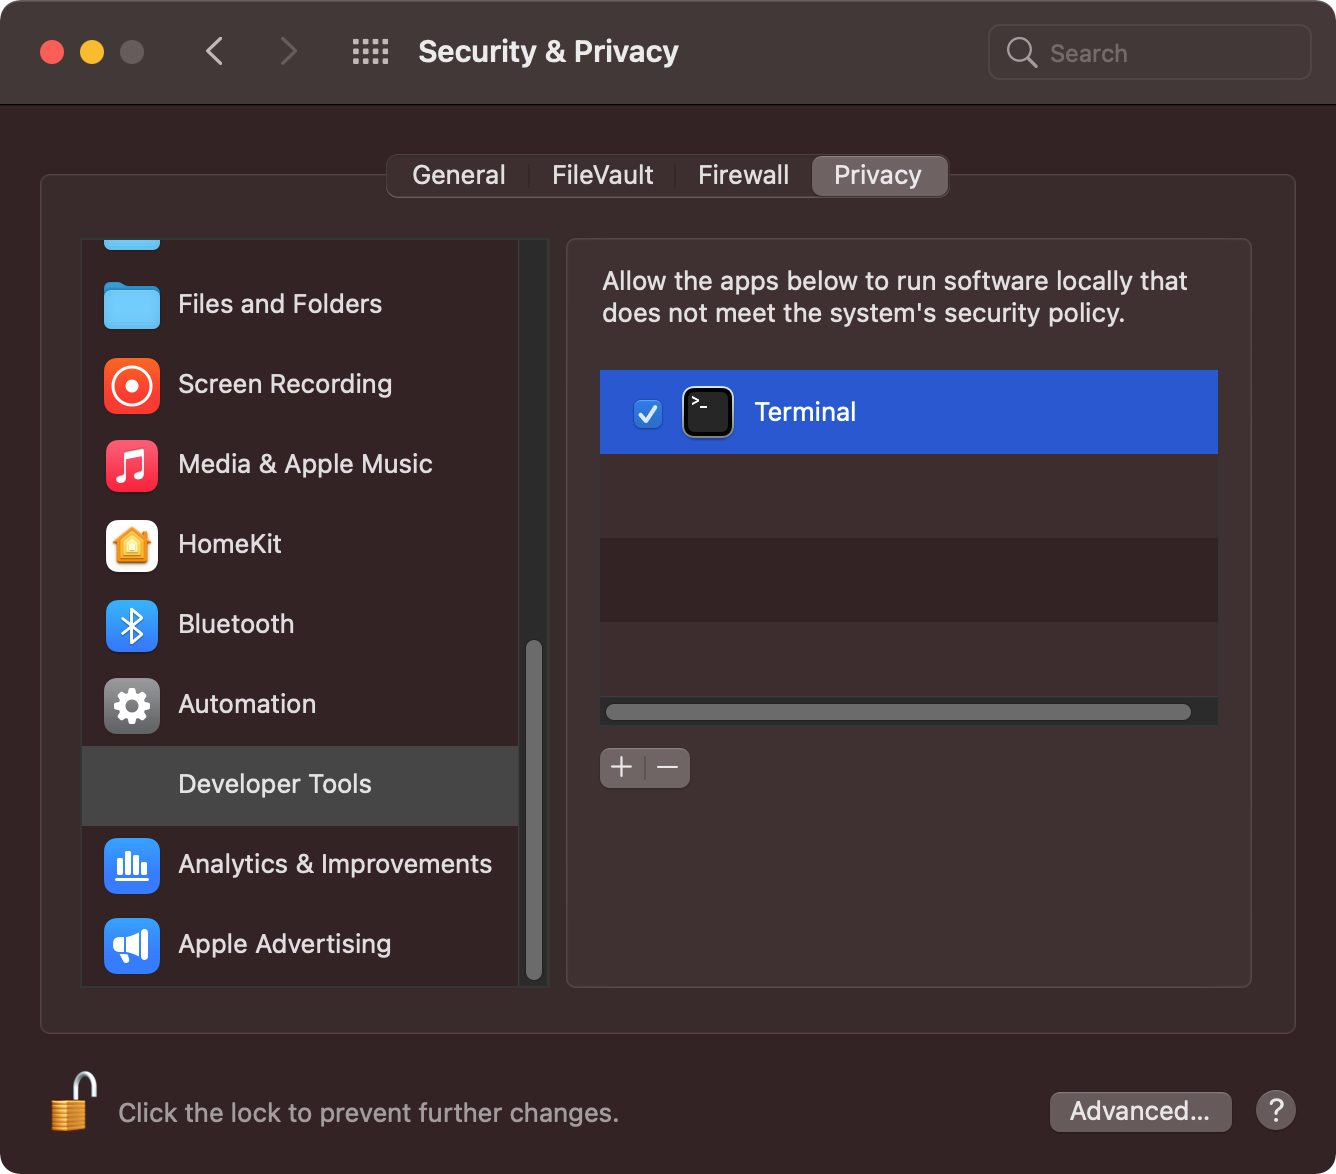
SSH & GPG
Copy SSH (./dotfiles/dotfiles/.ssh/) and GPG (./dotfiles/dotfiles/.gnupg/)
folders from Time Machine backups.
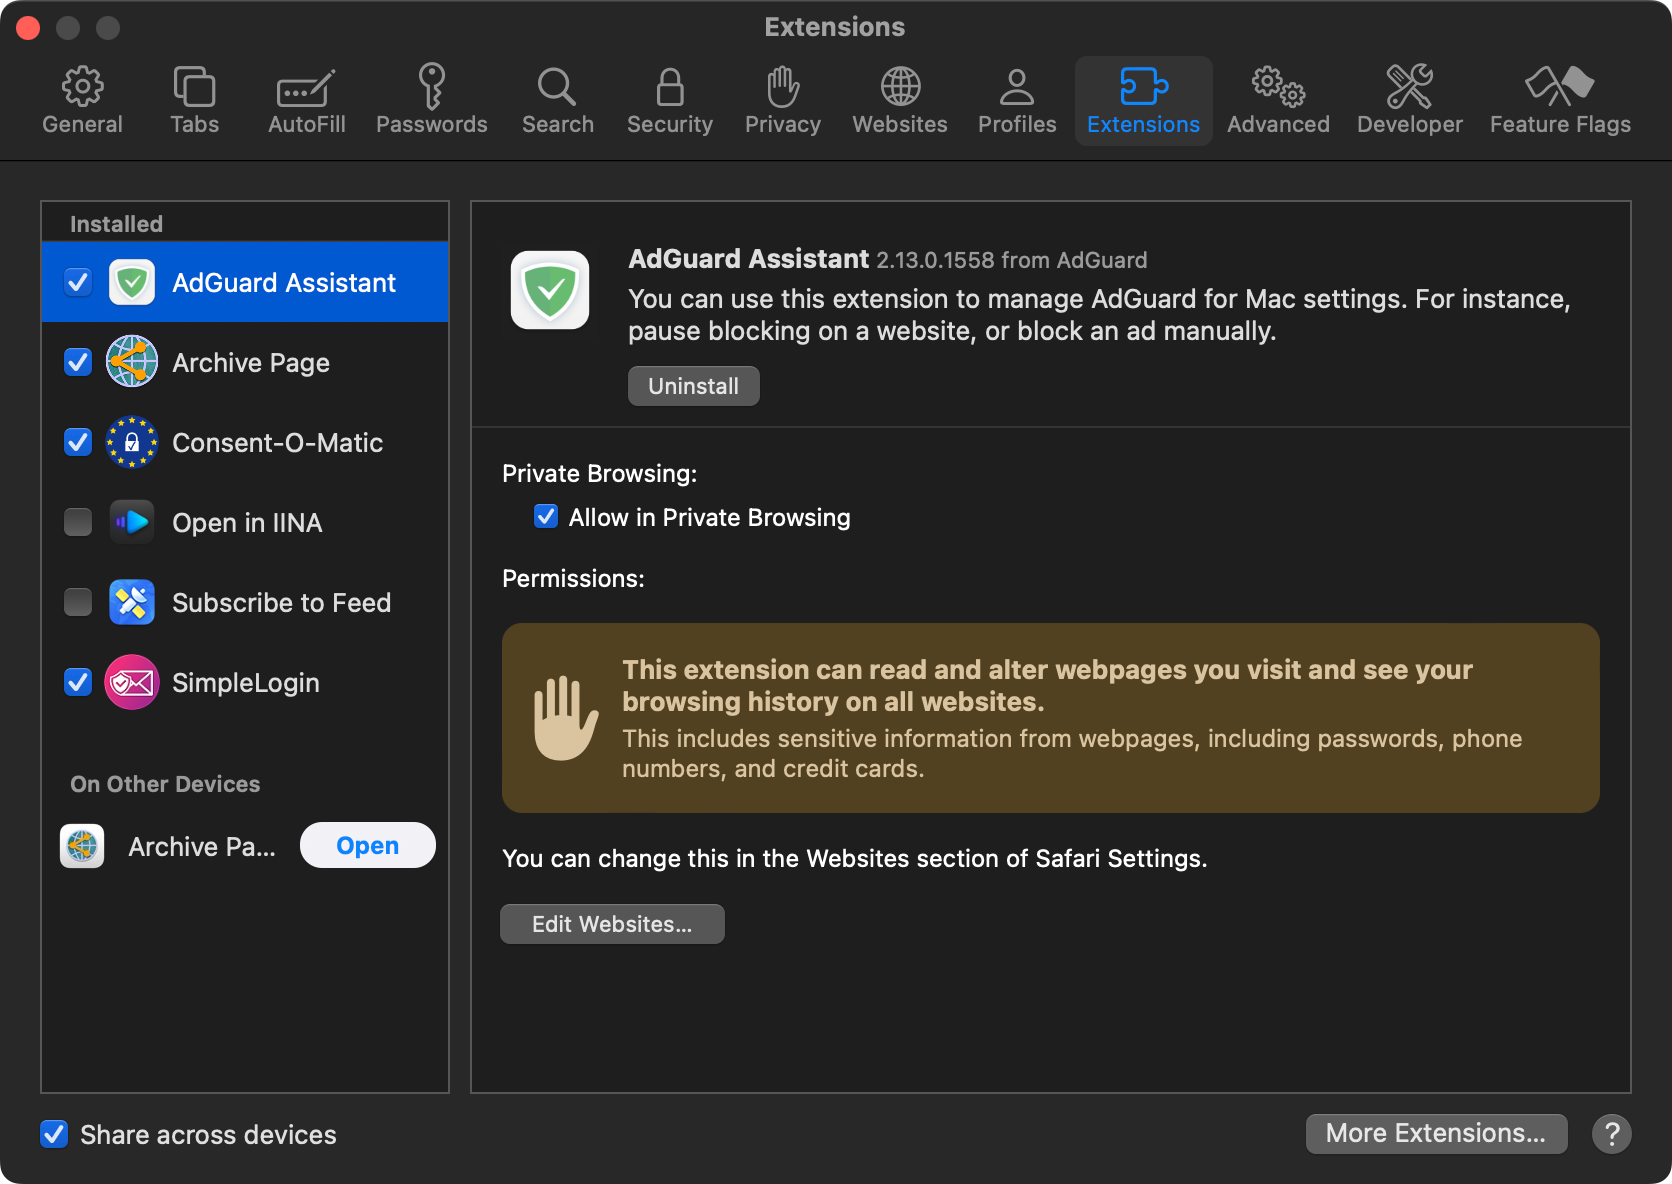
Safari
In Preferences... → Extensions, activate:
-
AdGuard Assistant -
Archive Page -
Consent-O-Matic -
SimpleLogin
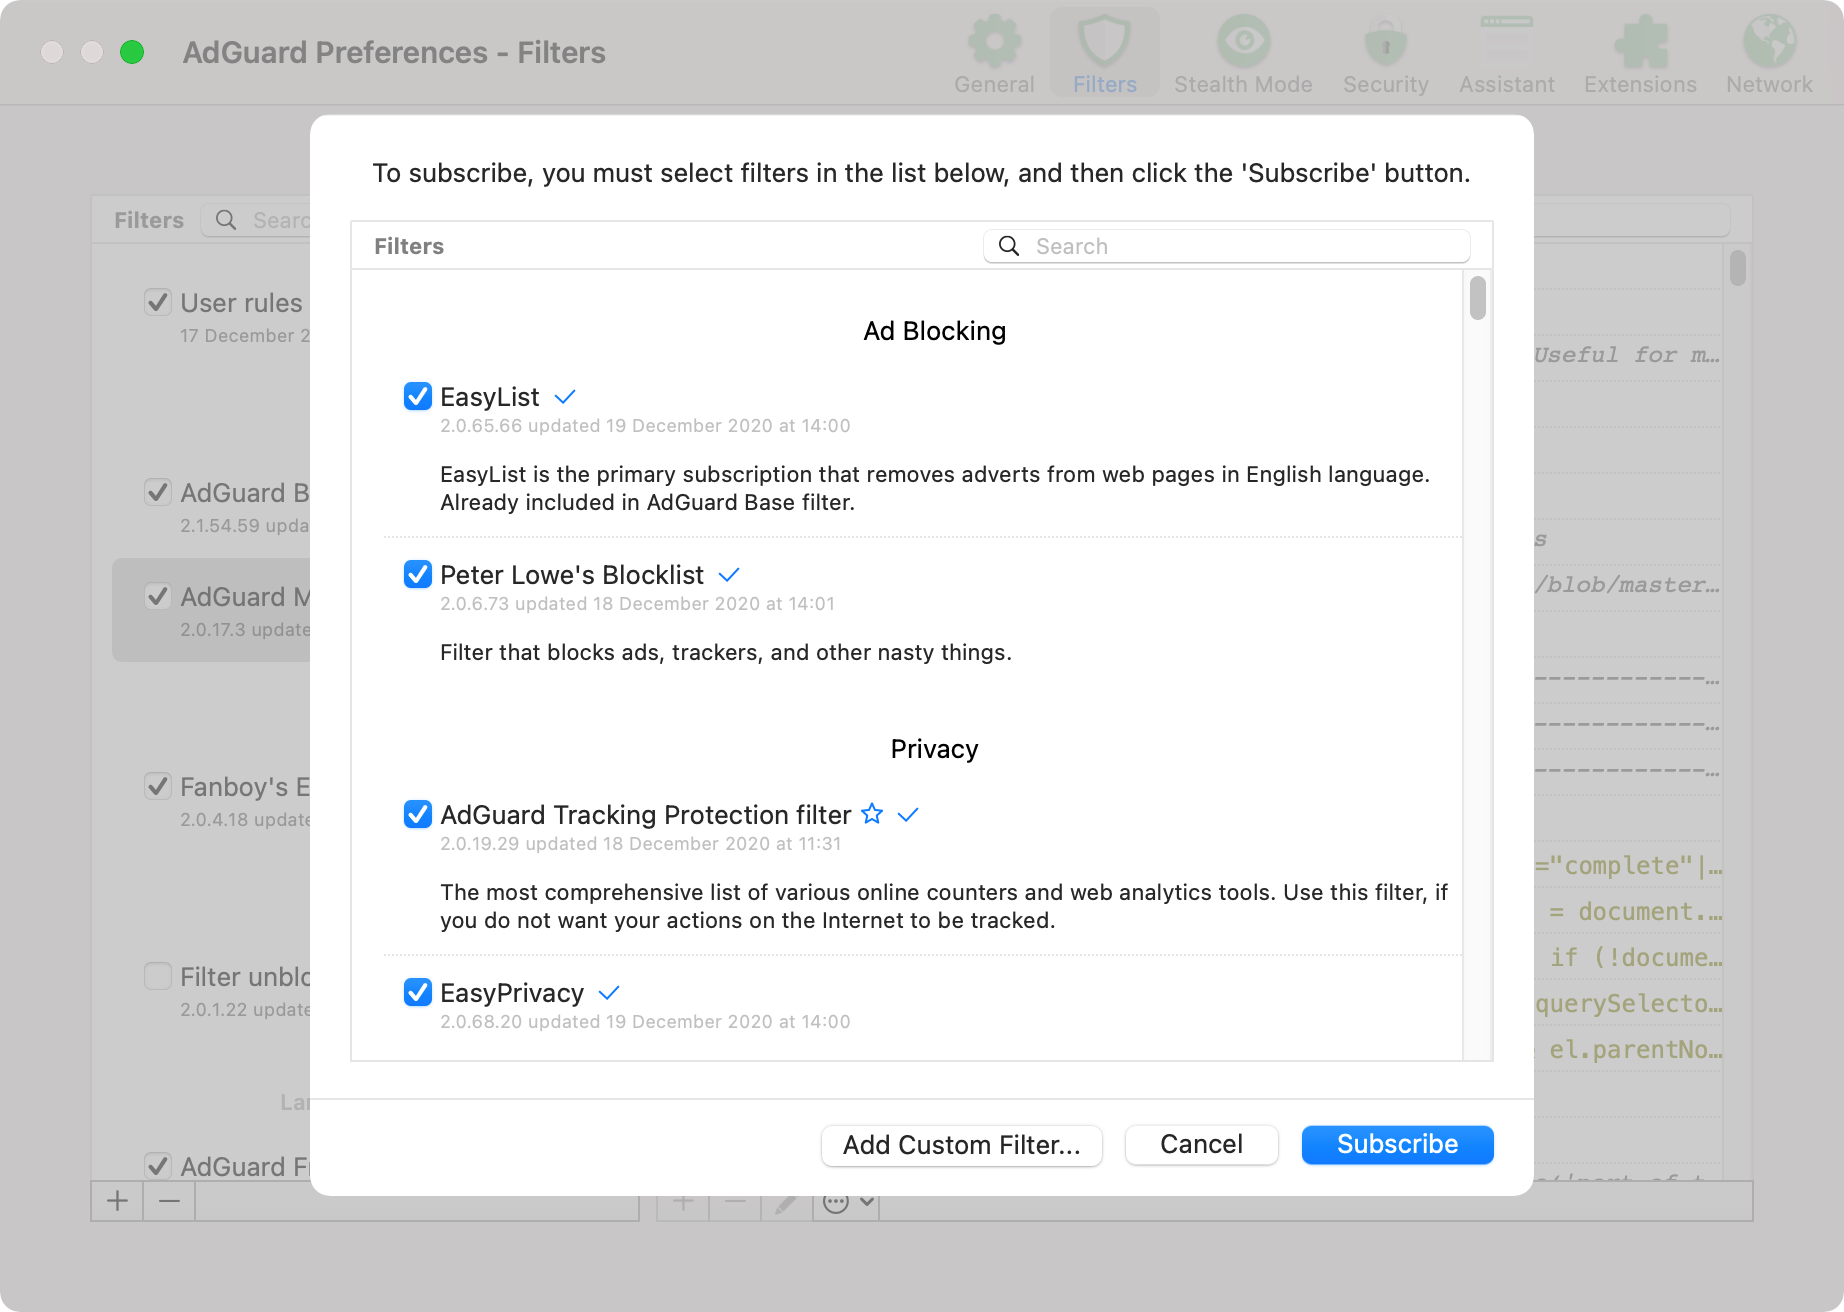
AdGuard
In Preferences... → Filters, click the + button and subscribe to all
filter lists:
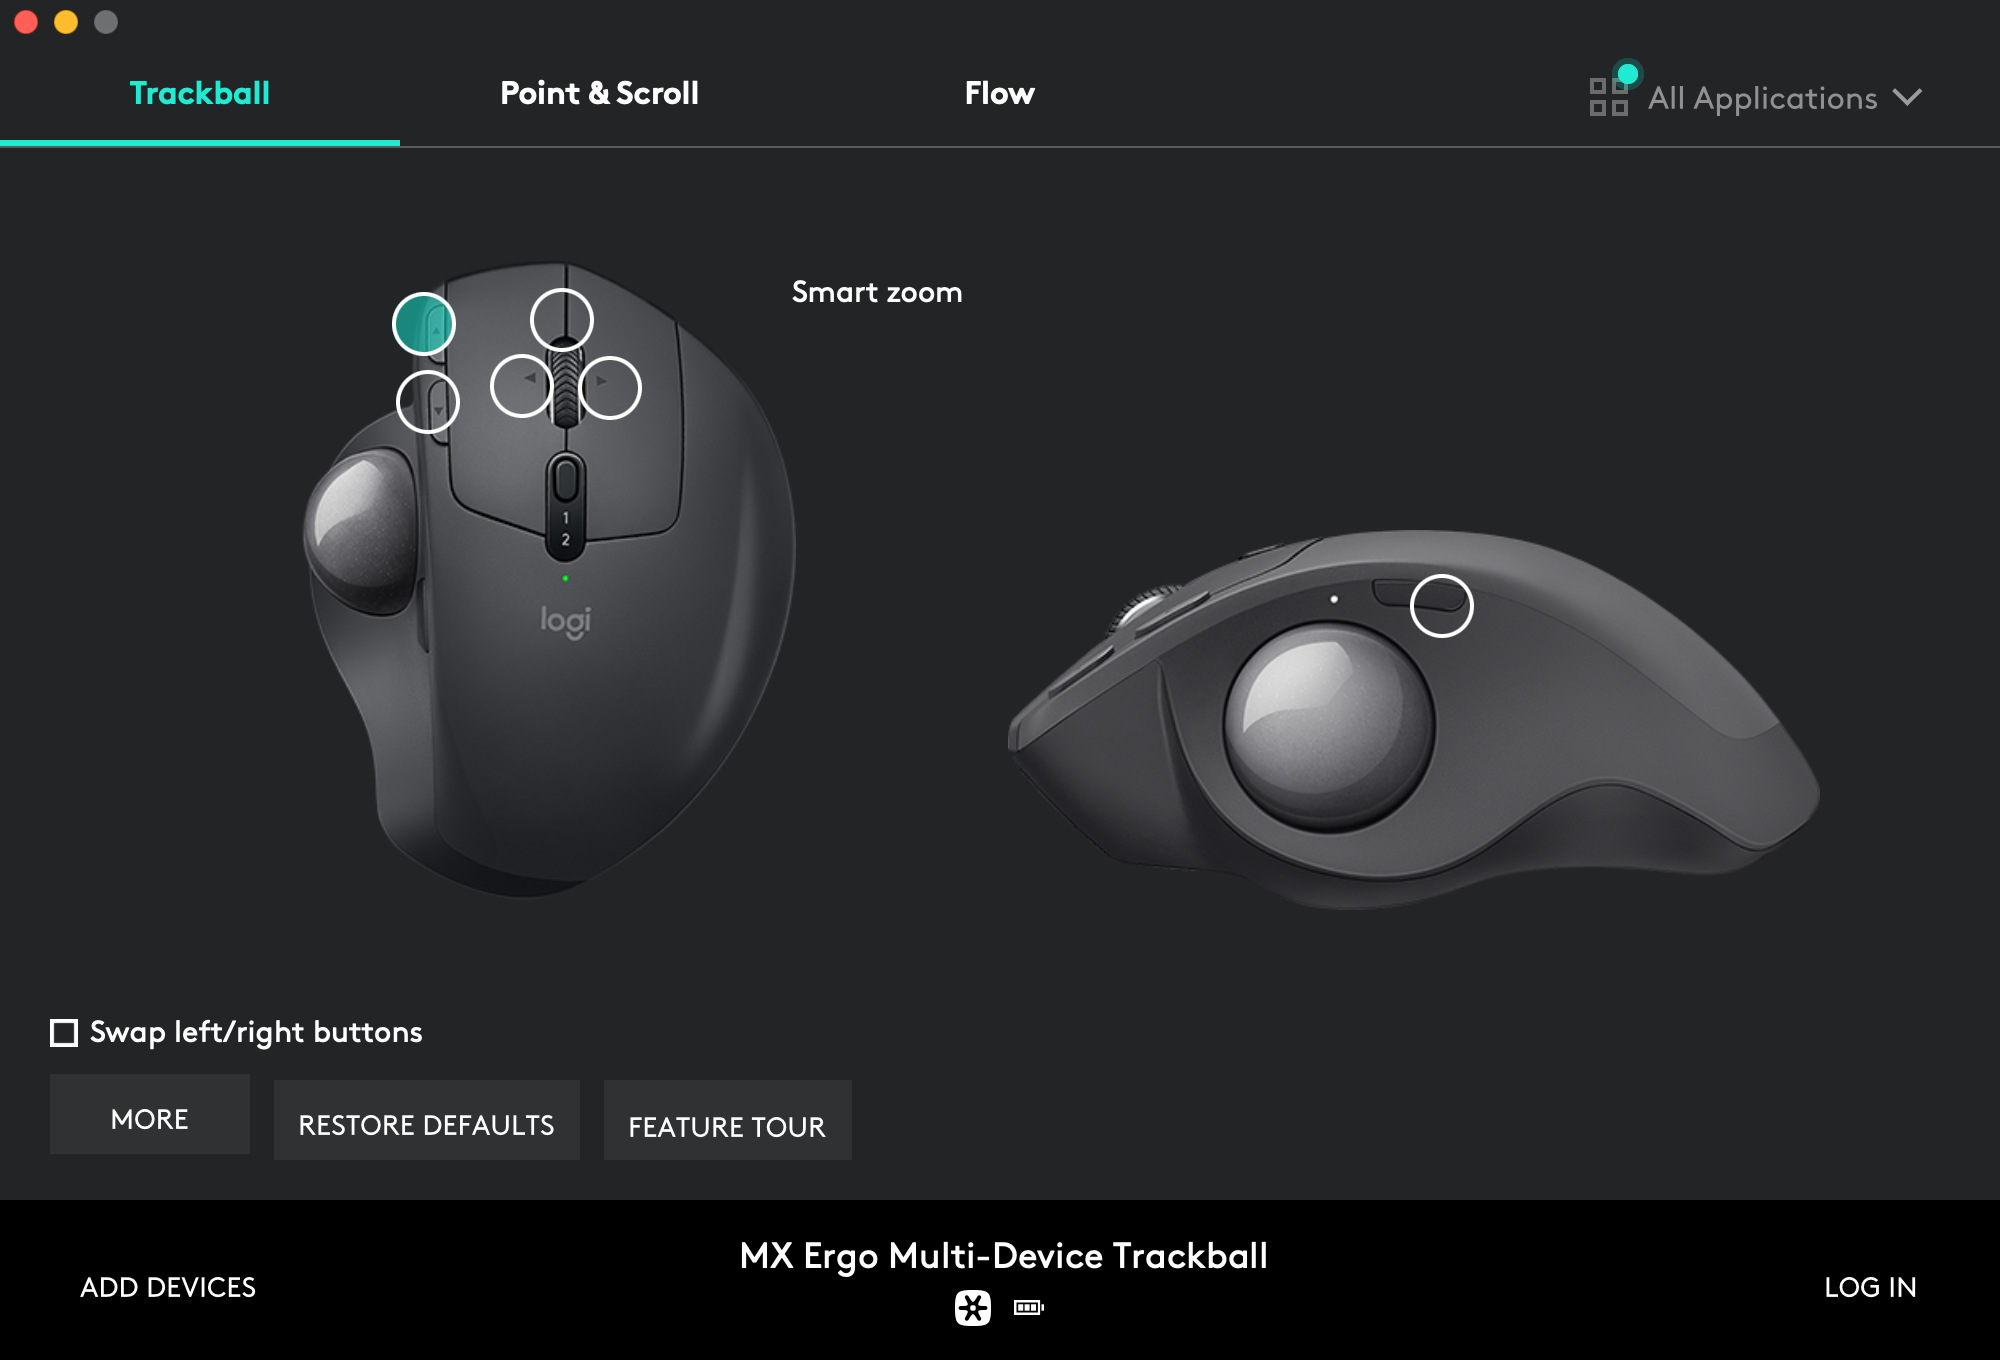
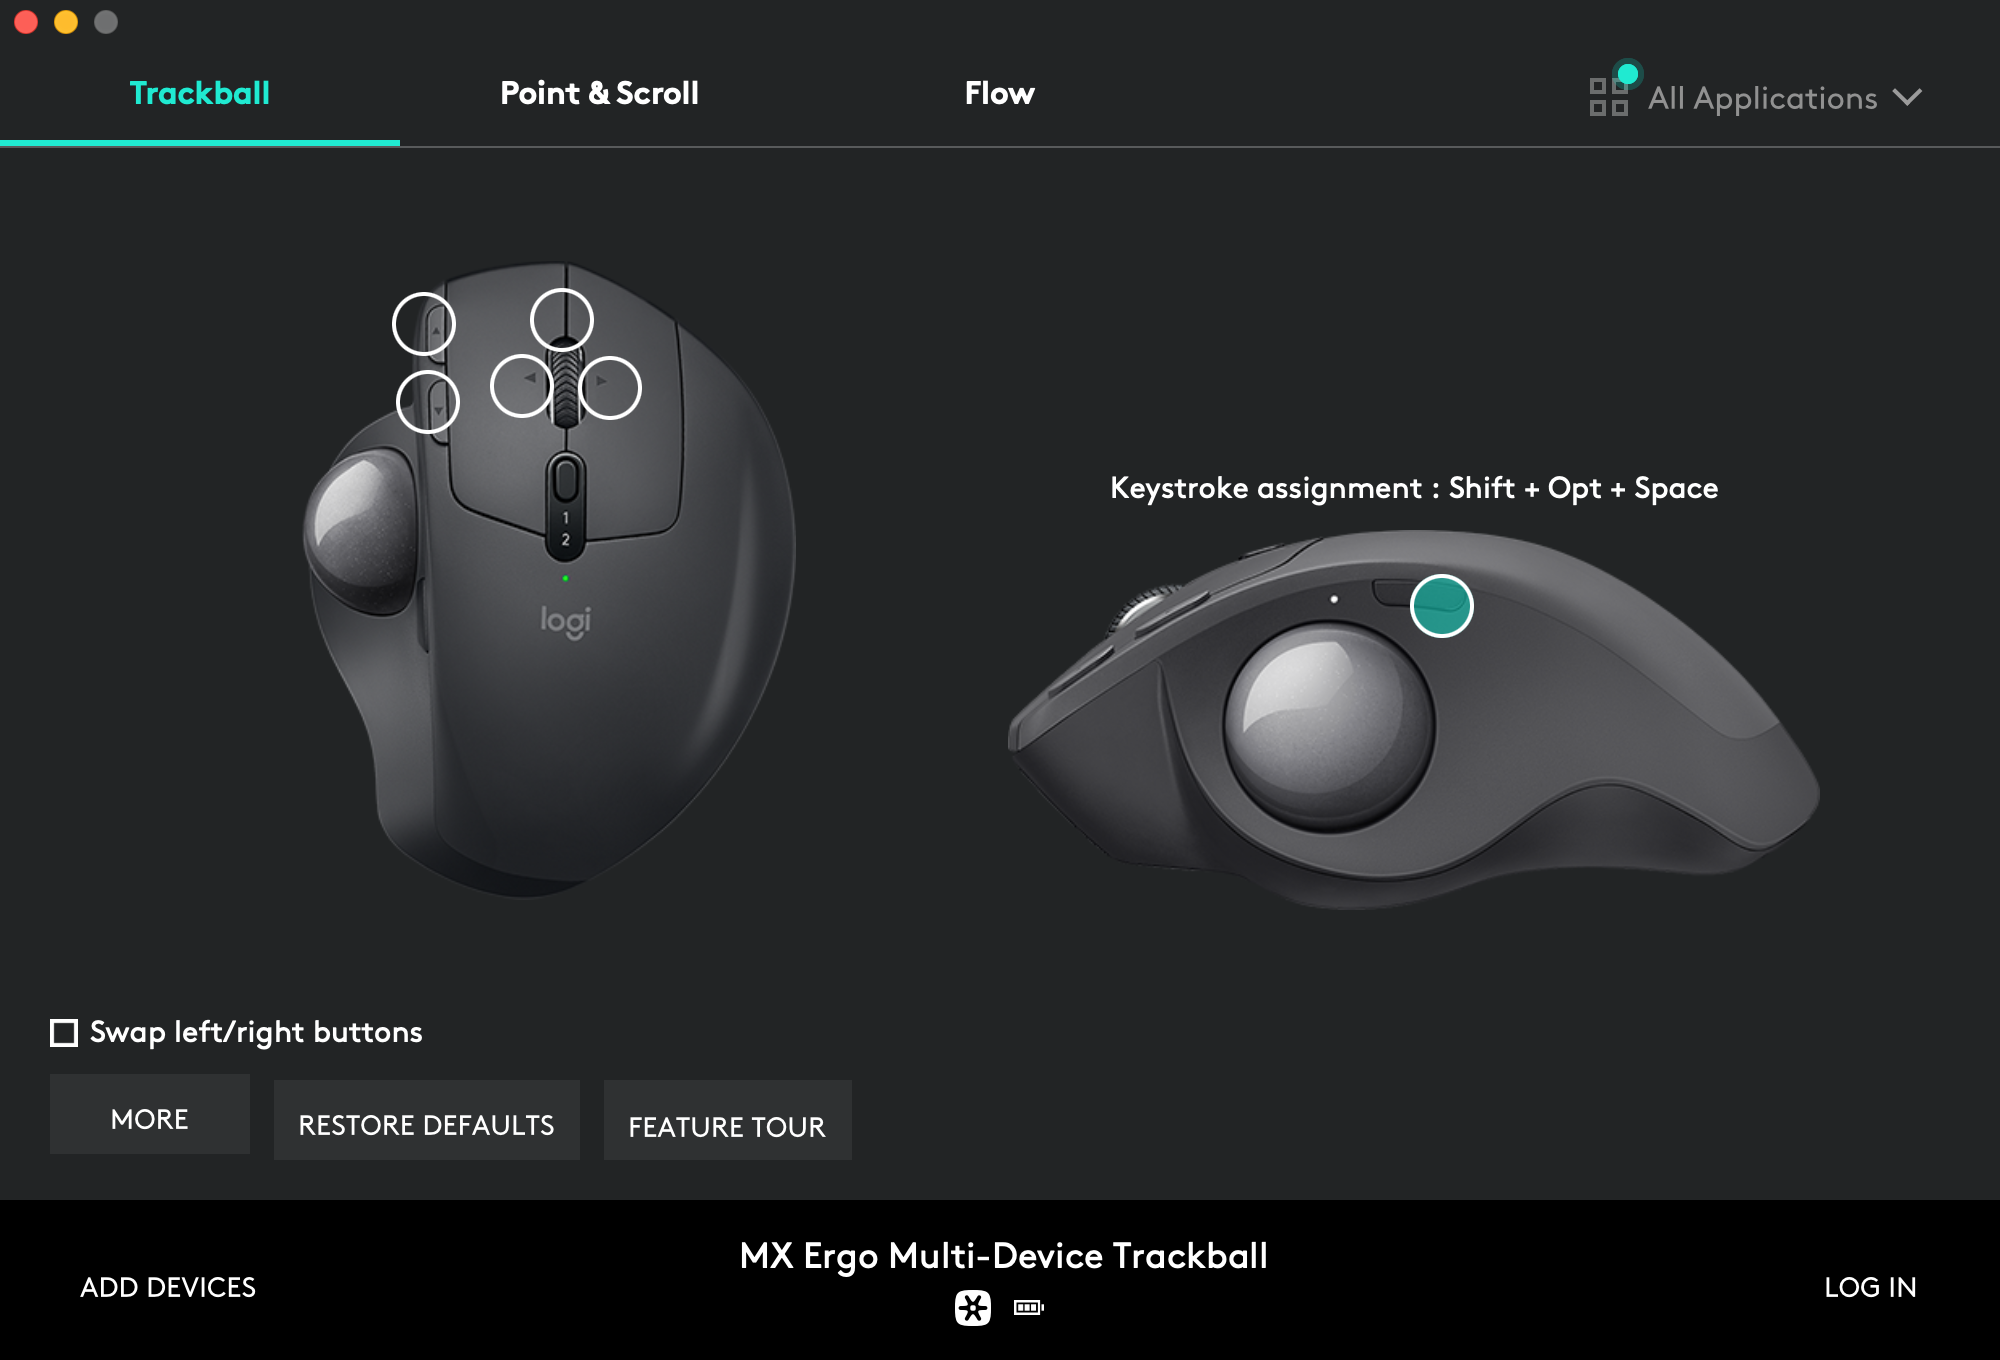
Logi Options
For productivity, setup custom trackball shortcuts with macOS desktop management tools and Amethyst windows commands.
Page-up button assignment → Smart zoom:
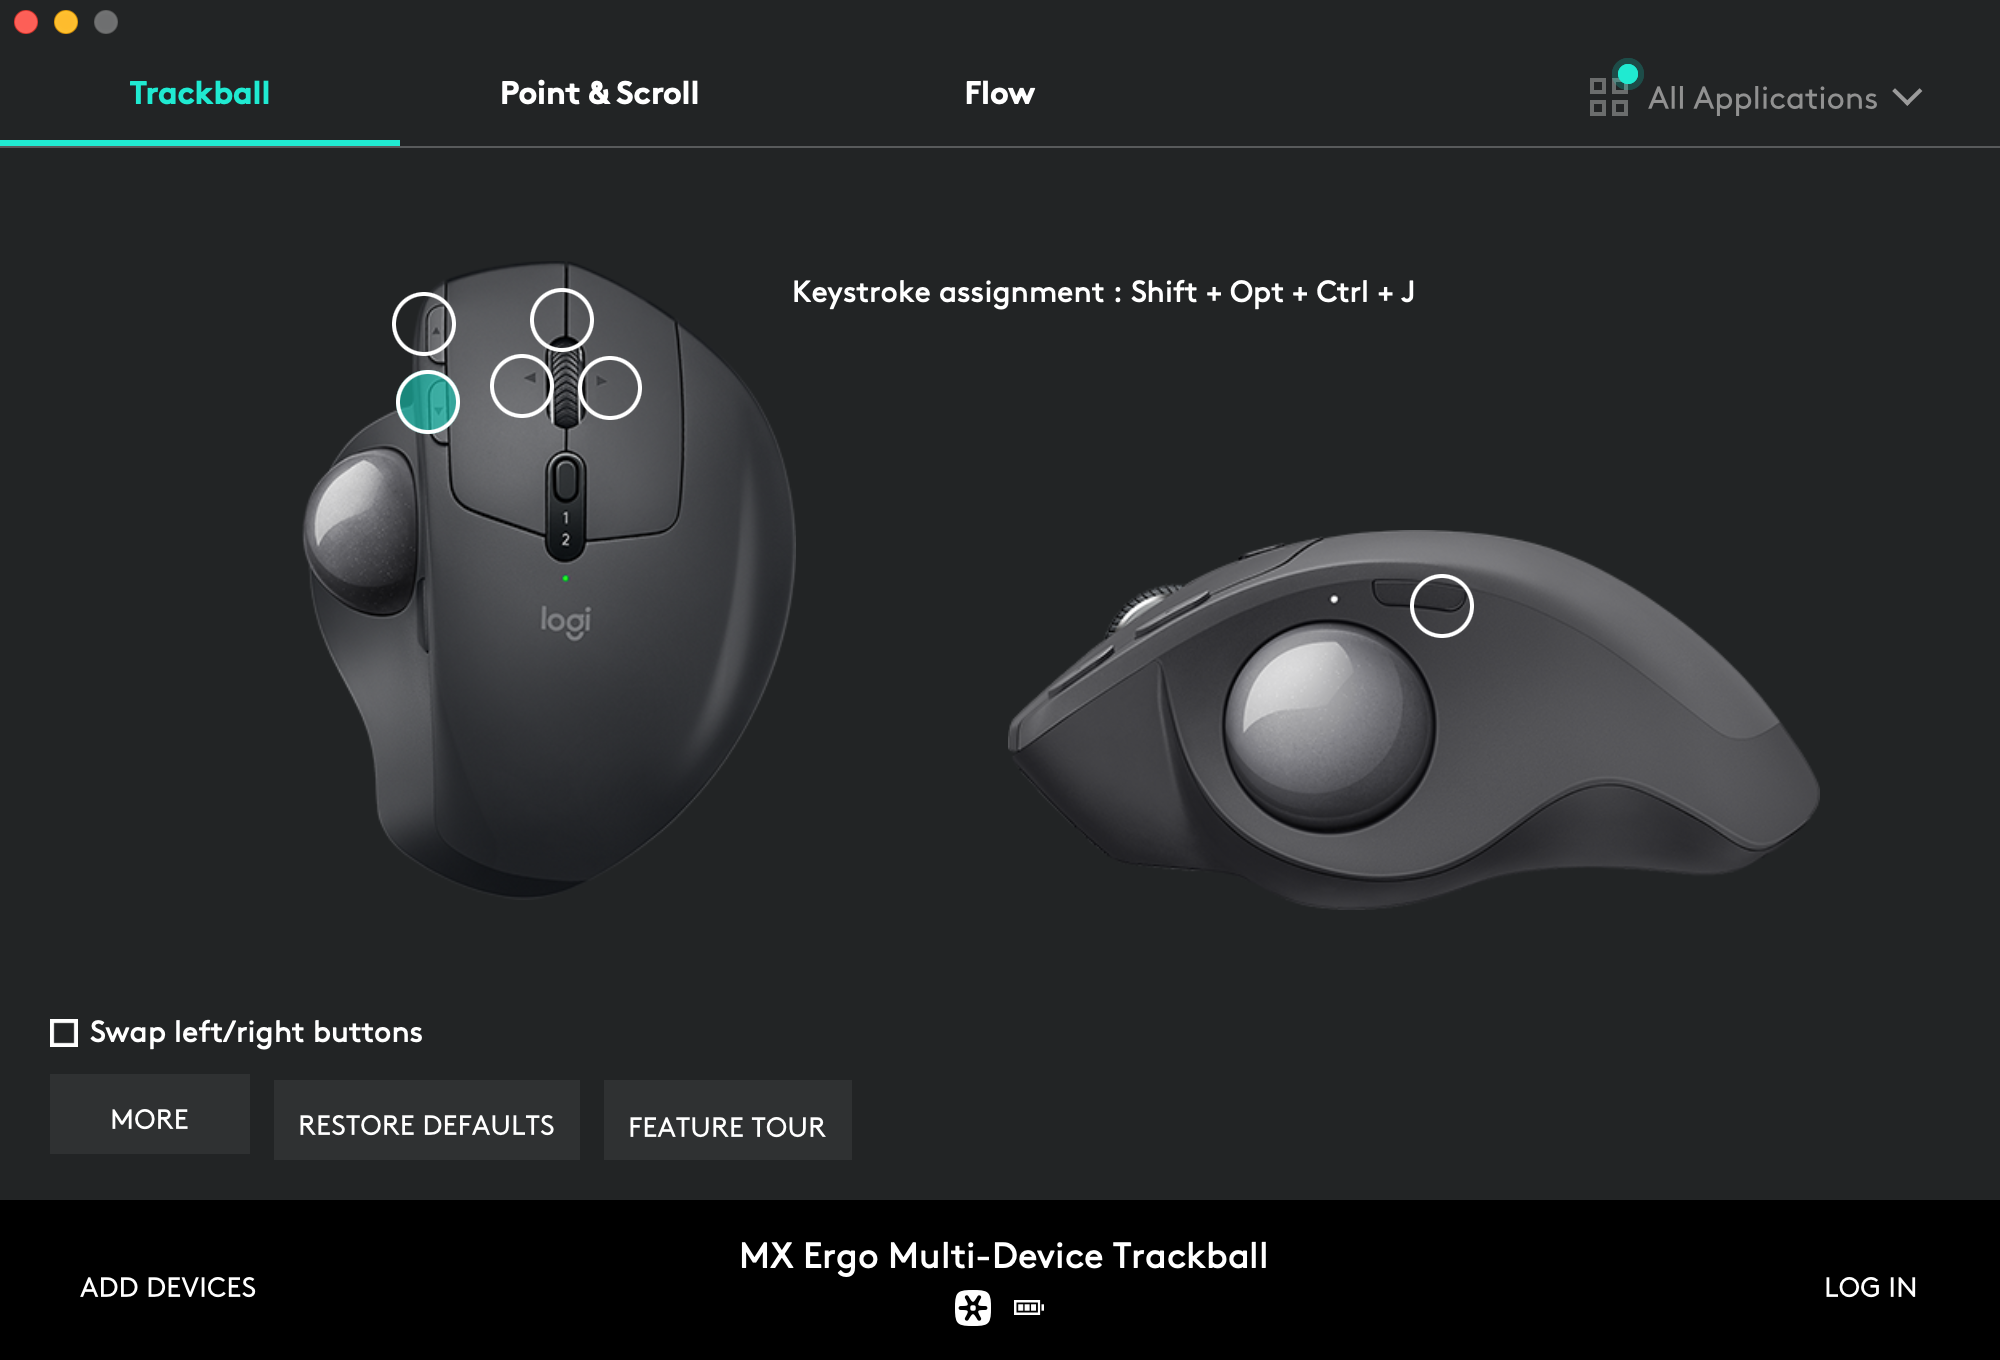
Page-down button assignment → Shift + Opt + Ctrl + J:
Wheel click button assignment → Misson Control:

Wheel left click assignment → Desktop (left):

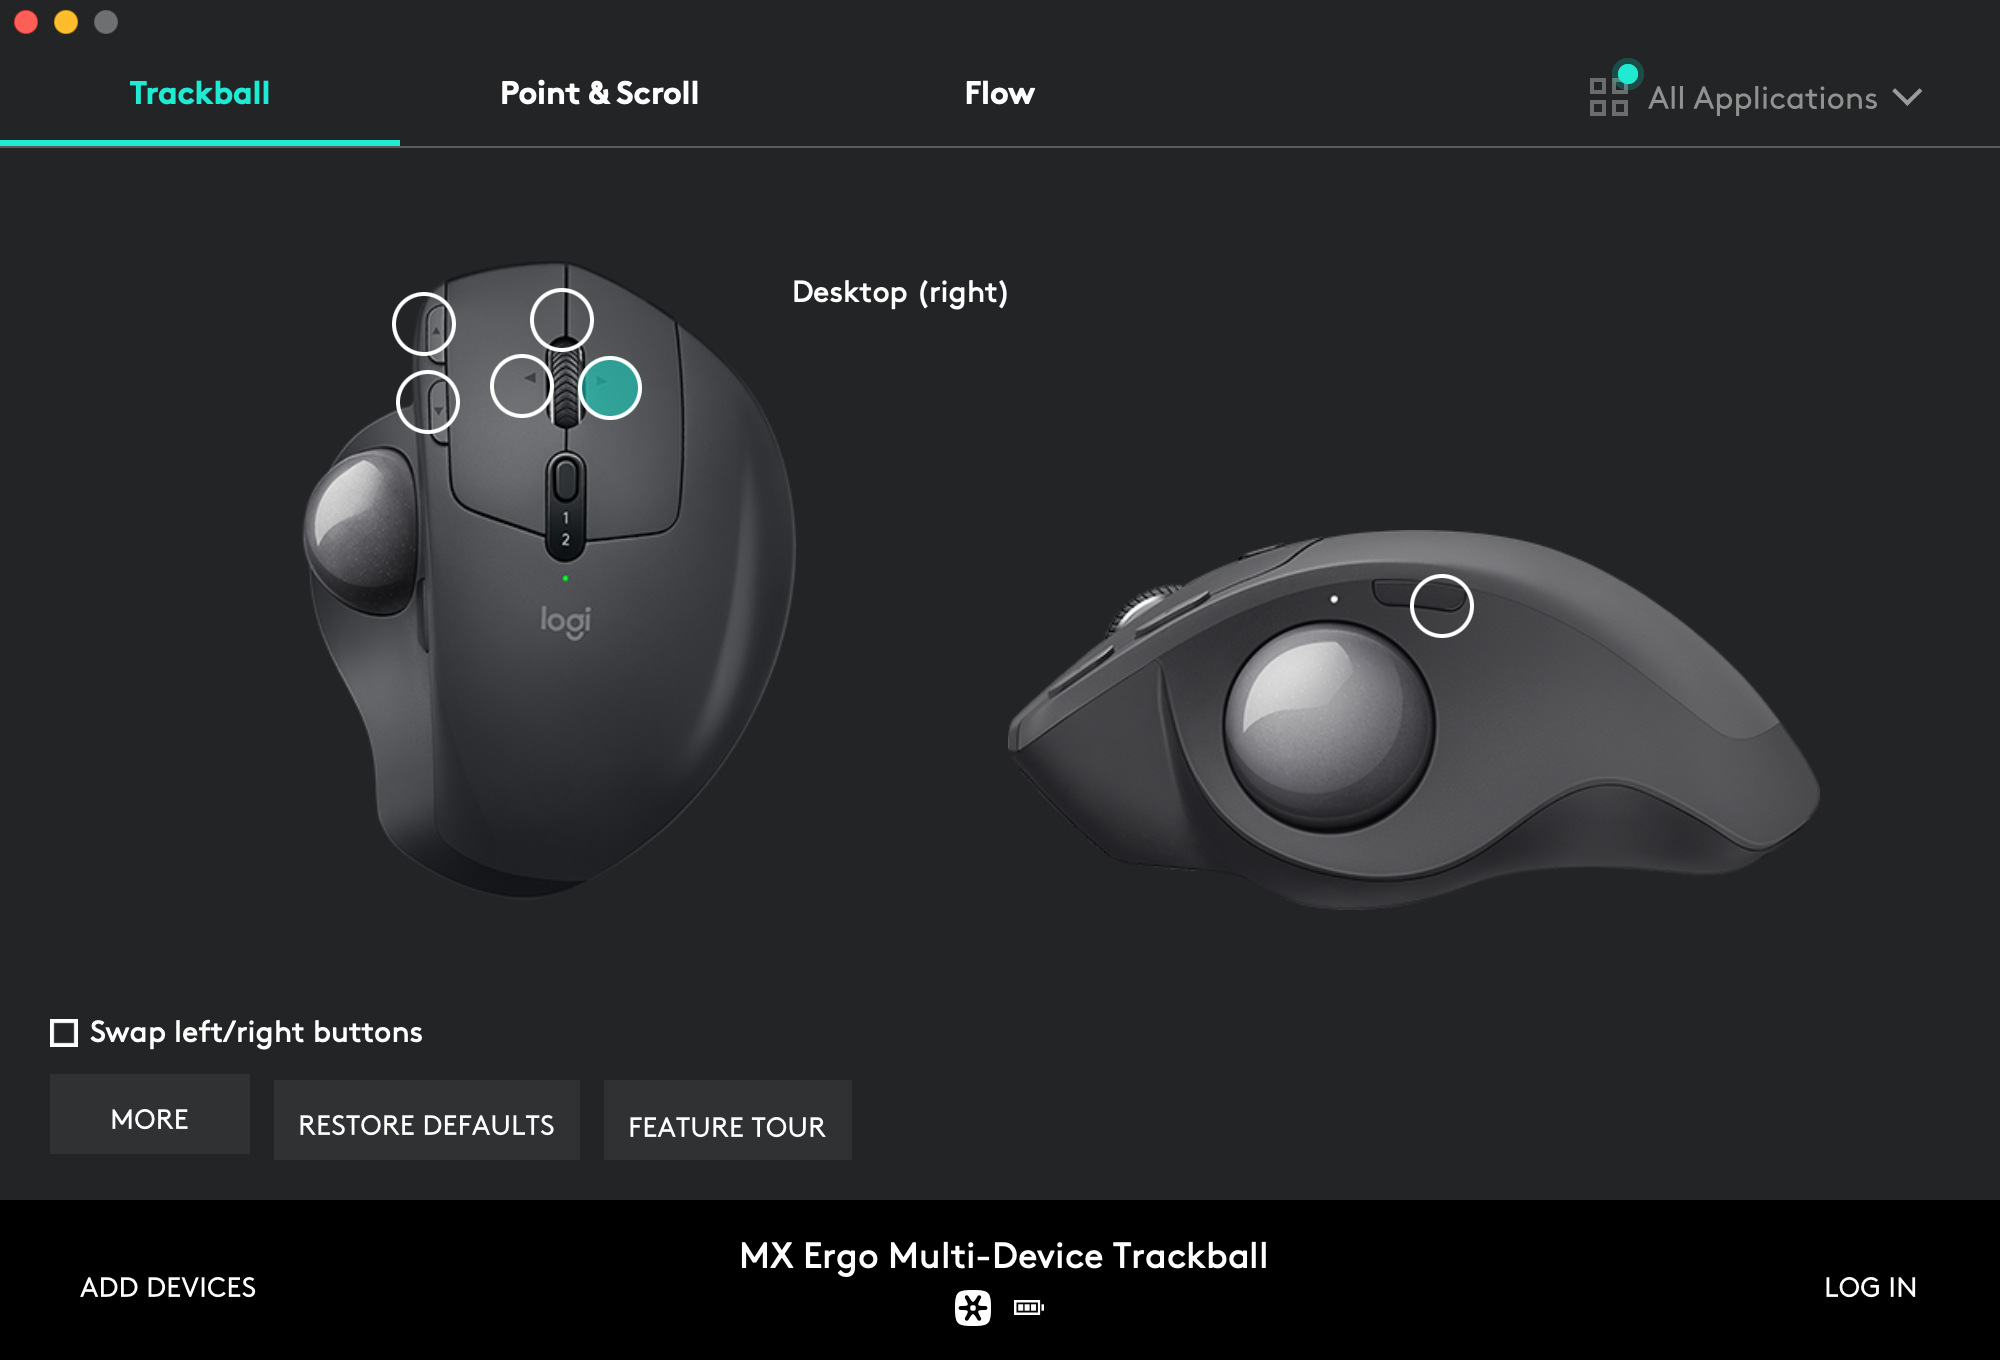
Wheel right click assignment → Desktop (right):
Side button assignment → Shift + Opt + Space:
Upgrade
I'm trying to make the install procedure indempotent so you'll just have to call the script again to upgrade your system:
$ ./install.sh 2>&1 | tee ./install.log
Maintenance
It mainly consist in refreshing some assets at every macOS major release:
-
Regenerate
Monokai Soda.terminalprofile. -
Re-run
p10k configurewith the same parameters as before. -
Keep list of packages up-to-date:
$ mpm snapshot --update-version ./packages.toml -
Update screenshots. 😖
Versions
Only the current default main branch is supported and actively maintained.
Older branches are available for archive.
- macOS 13.0 (Ventura) (current)
- macOS 12.0 (Monterey)
- macOS 11.0 (Big Sur)
- macOS 10.15 (Catalina)
- macOS 10.14 (Mojave)
- macOS 10.13 (High Sierra)
- macOS 10.12 (Sierra)
Former support of Kubuntu and Ubuntu Server Linux distributions has been dropped. You can still find these as dedicated branches, but all are quite ancient (2016).
Resources
License
For convenience, some third party code and assets are hard-copied in place. These particular items have their own license and copyright:
The rest of the content is configuration and code I accumulated over years. Some was heavily inspired by other dotfiles repositories. But each time I borrow something, I try to credit the author and/or point to the source. You should be able to trace back the origin of things by looking at the commit history.
If you can't find any clue about an external source, then assume it is original content I produced, which I released under the BSD 2-Clause License.
