Jpanther Lynx Save
A simple links theme for Hugo built with Tailwind CSS.
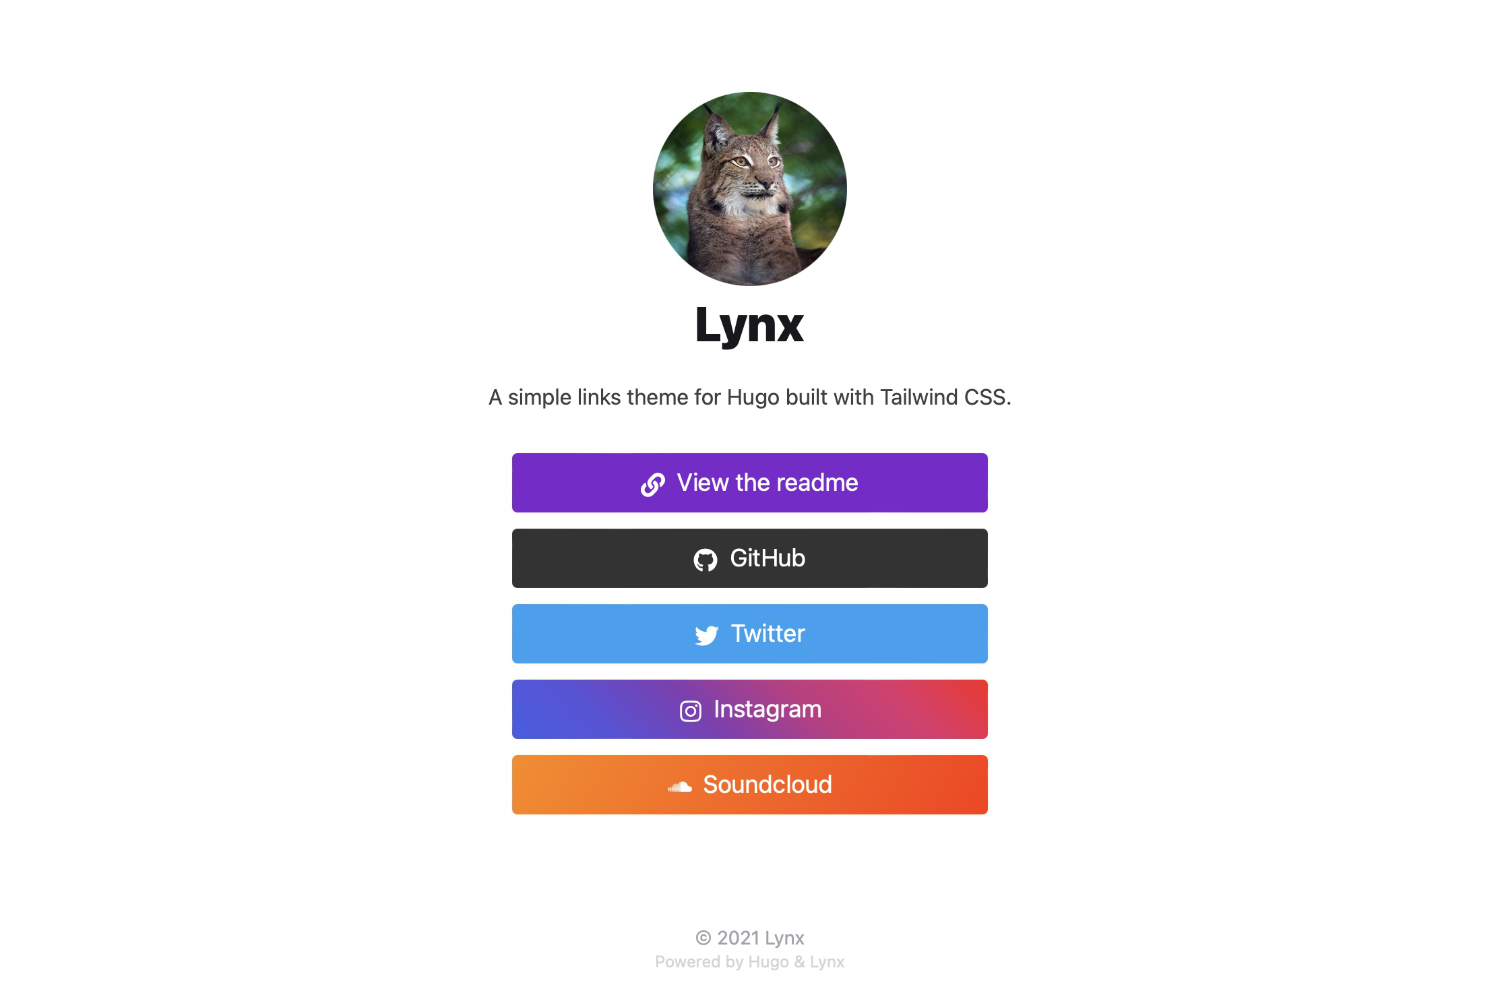
Lynx
Lynx is designed to be a simple links page powered by Hugo. It's built using Tailwind CSS and inspired by services like LinkTree.
🌏 Demo site 🐛 Bug reports & issues 💡 Questions & feature requests
Features
- Fully responsive layout built with Tailwind CSS 3.0
- Dark mode (auto-switching based upon browser)
- SVG icons from FontAwesome 5
- HTML and Emoji support
- Fathom Analytics and Google Analytics support
- Favicons support
Installation
Lynx supports several installation methods - as a Hugo Module (easiest), a git submodule, or as a completely manual install.
Below is a quick start guide using Hugo modules.
Quick start using Hugo
Note: Ensure you have Go and Hugo installed, and that you have created a new Hugo project before proceeding.
-
From your project directory, initialise Hugo Modules:
hugo mod init github.com/<username>/<repo-name> -
Create
config/_default/module.tomland add the following:[[imports]] path = "github.com/jpanther/lynx" -
Start your server using
hugo serverand the theme will be downloaded automatically. -
In the root folder of your website, replace the
config.tomlfile that was generated by Hugo with the one from Lynx. You will find the theme config file in the Hugo cache directory, or download a copy from GitHub. -
Follow the configuration instructions below.
Installing theme updates
As new releases are posted, you can update the theme using Hugo. Simply run hugo mod get -u from your project directory and the theme will automatically update to the latest release.
Configuration
The main theme configuration is managed in the config.toml file. Most parameters are self explanatory and the default config contains some basic examples.
The author name and image are displayed at the top of the page. Both are optional and will default to the site title with no image when not provided.
Links can either be a simple string containing the URL for the link, or an object that defines the link parameters. Links are displayed in the order provided in the config file.
Acceptable link parameters are:
-
href= the URL the link should point to (required) -
icon= the name of the icon to use for this link -
text= the link text -
target= the target of the link (default:_blank) -
title= the HTML title of the link
[params.author]
links = {
   # Simple link
   { github = "https://github.com/jpanther/lynx" }

   # Custom link
   { github = { href = "https://github.com/jpanther/lynx", text = "GitHub Project" } }
}
Additional page content can be provided by creating a Markdown file at content/_index.md. The contents of this file will be displayed between the title and links. Check out the exampleSite to see this in practice.
Basic content pages can also be created by placing Markdown files in the content directory. These can then be linked to using links in the config file or through the homepage content.
Adding custom icons and link styles
Lynx supports adding your own SVG icons and link styles to fully customise your links page. In the root of your Hugo project, simply create an assets folder and add your assets. Icons should be placed in an icons folder and any CSS should be in a file named css/custom.css.
The custom CSS file will automatically be included and minified when the site is built. The styles can be as creative as you wish and anything in your custom CSS will override the default theme.
If you need icons, you can find free SVG icons for many services at FontAwesome.
Example
Let's make a custom link for FontAwesome using the FA flag as the link icon and a gradient background as the link style.
If you prefer to inspect the code, the exampleSite contains a custom link to FontAwesome that demonstrates this process.
-
Place the SVG icon in the icons folder
/assets/icons/font-awesome.svg. -
Create the CSS file at
/assets/css/custom.cssand add in a rule to style the link:.link-font-awesome { background: rgb(131, 58, 180); background: linear-gradient( 90deg, rgba(131, 58, 180, 1) 0%, rgba(253, 29, 29, 1) 50%, rgba(252, 176, 69, 1) 100% ); }Note: The CSS class name should be the icon name prefixed with
link-. -
Finally, in the
config.tomlfile, create the link by referencing the new icon:font-awesome = { href = "https://fontawesome.com", text = "FontAwesome" }
When the site is rebuilt, the new custom link will appear.
Contributing
Lynx is expected to evolve over time. I intend to keep adding features and making changes as required.
Feel free to get in touch with any issues or suggestions for new features you'd like to see.
- 🐛 Bug reports & issues: Use GitHub Issues
- 💡 Ideas for new features: Open a discussion on GitHub Discussions
- 🙋♀️ General questions: Head to GitHub Discussions
If you're able to fix a bug or implement a new feature, I welcome PRs for this purpose. Learn more in the contributing guidelines.
