Haynieresearch Jarvis Save
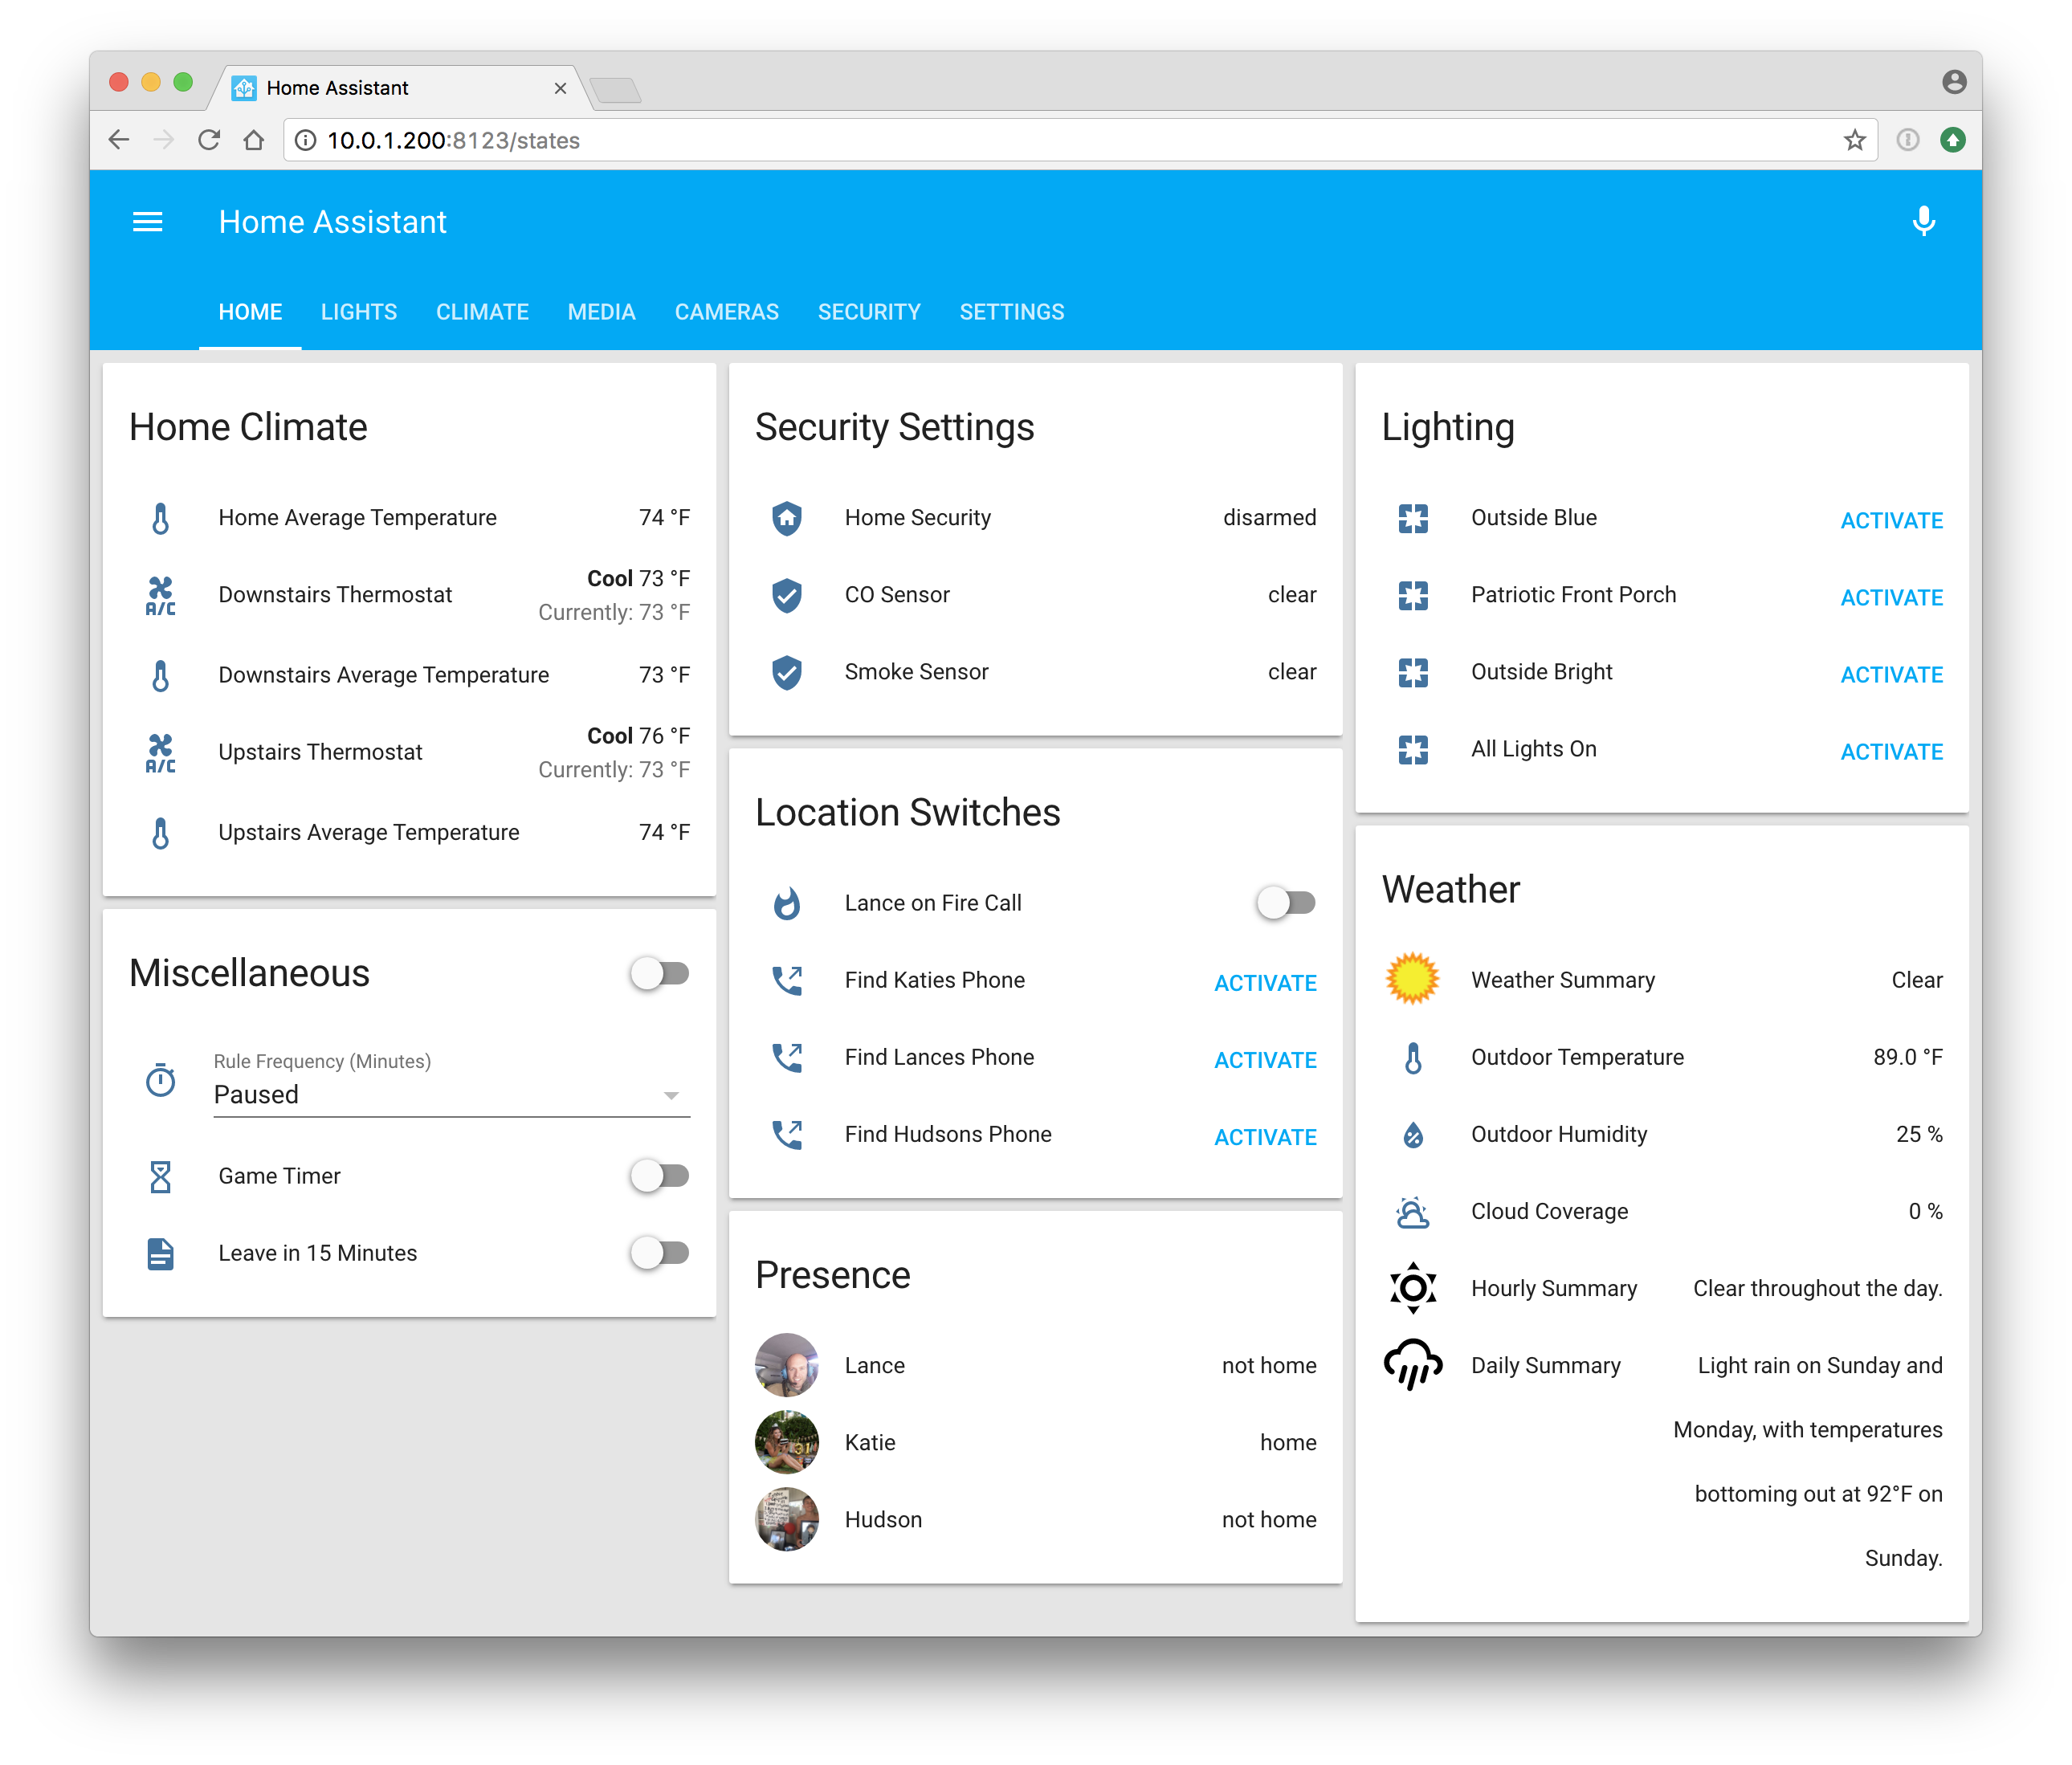
Jarvis Home Automation
Jarvis Home Automation 
Jarvis is a Home Assistant (https://home-assistant.io/) implementation with wake word detection, SMS commands, and a lot of automation control. While the Conversation component does it's job, it's currently a bit limited and without wake word detection it was almost useless to me. I also have tried the AlexaPi implementation as well as using Amazon Alexa products. However, creating custom intents was not as straight forward as I would have liked for quick and easy creation. Between wake word and API.AI for speech handling, it appears to work rather well. I have also decoupled the TTS services to make it easier to use that functionality elsewhere.
Firewall Note: The Jarvis firewall is setup so that only local clients and one specific public IP can access. The specific IP that can access Jarvis is a front end server with Apache as a reverse proxy and encryption. Any other external clients will connect to the front end server outside of the network that then connects direct to Jarvis.
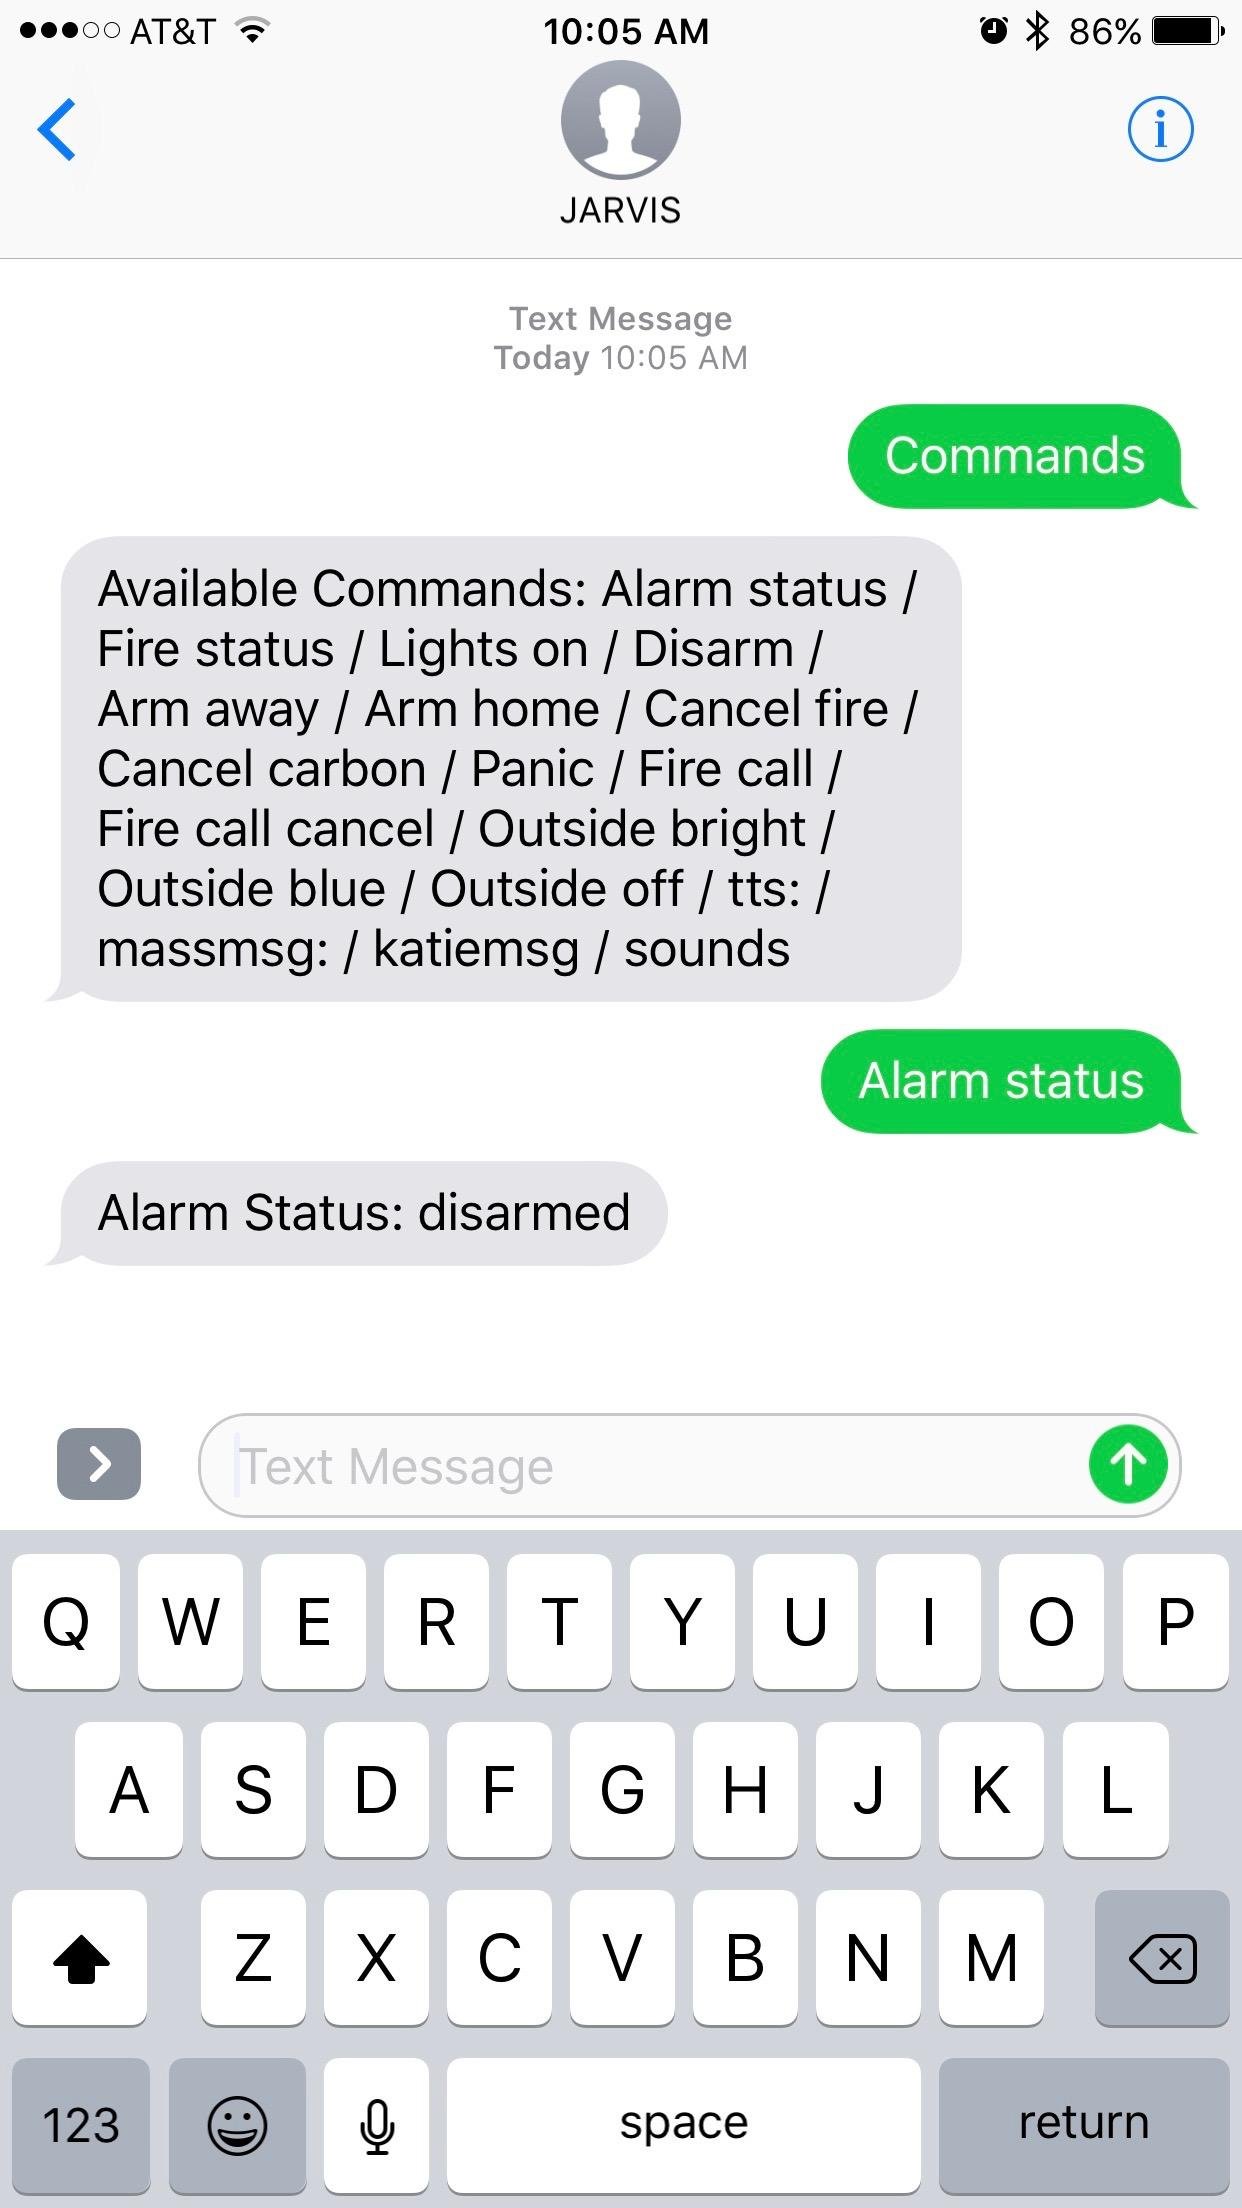
Note: SMS commands will require a basic level of experience with PHP.
P.S.: This system is far from perfect, if you make some enhancements or have any ideas please feel free to share them. If you find any bugs you would like to report, you can do so via the following link: https://github.com/haynieresearch/jarvis/issues Keep in mind, generally any Home Assistant related issues should be raised on their side. If you are having a configuration problem, I would be glad to help.
You will need to read this section completely before using this software to ensure that everything works as designed. There is no other documentation other than this README file. Please note: this software comes with no guaranteed support. Furthermore, this software is licensed under the Apache License, Version 2.0. License text is provided in the LICENSE file.
Front End Integrations
- Meteorologisk Institutt
- Hue
- IFTTT
- Speedtest
- Apple iCloud
- Minecraft
- Roku
- uPnP
Assumptions
This software makes a couple of assumptions, I will list them below and you can either update/install what is needed on your system or make the required changes. Even though the software is open source, some services currently are utilizing paid services. The main service is Wit AI Speech. While there are free alternatives for speech-to-text services. I have found them to be less than desirable. Luckily, most have a free tier available to use.
For everything to work, you will need the following API keys:
- API.AI - https://api.ai/
- Wit AI Speech - https://wit.ai/
- Microsoft Azure Face - https://docs.microsoft.com/en-us/azure/cognitive-services/face/overview
- Dark Sky - https://darksky.net/dev/
- Weather Underground - https://www.wunderground.com/weather/api/
- Twilio - https://twilio.com
- Amazon Polly - https://aws.amazon.com/polly/
- iNWS - https://inws.ncep.noaa.gov/ (not an API key, but how I process NWS alerts)
If you want SSL you can purchase and install a certificate. However, I find it much easier to sign up for a free Cloud Flare (https://www.cloudflare.com) plan and encrypt your external site that way.
Note: I am going to include my current configuration and layout as an example. The systemd services are included in the resources folder if you wish to edit them. The installer will take care of setting this up for you.
Configuration Files
- /opt/jarvis/configuration.yaml
- /opt/jarvis/secrets.yaml
- /opt/jarvis/stt/config/*.yaml
- /opt/jarvis/web/webapi/sms/config.php
If you utilize the install script it will set you up with ready to edit configuration files. Otherwise, you can copy the .example files located in each primary directory.
Setup
This assumes you are setting up Home Assistant from scratch.
- Download the Raspian Lite image, and burn to an SD card for your Raspberry Pi.
- Boot your Raspberry Pi and set the initial system configuration.
- Login with the default user pi and password raspberry.
- Change the password with the command "passwd" and change to something other than the default.
- Run the program "sudo raspi-config" to initially setup your Pi.
- Hostname menu, set the hostname you wish to have your Pi appear as on the network.
- Interfacing Options menu, enable at a minimum SSH for remote access.
- Advanced Settings, set the memory split to 16 and audio to force 3.5mm.
- Reboot your Pi.
- Navigate to /opt "cd /opt" on your Raspberry Pi.
- Checkout the latest Jarvis program:
- Install git: sudo apt-get install git
- If this command fails, you may need to run: sudo apt-get update
- Then run: sudo git clone https://github.com/haynieresearch/jarvis.git jarvis
- Install git: sudo apt-get install git
- Update permissions: sudo chown -fR pi:pi jarvis
- Navigate to /opt/jarvis "cd /opt/jarvis" and run install.sh
- Configure AWS CLI for Amazon Polly TTS: aws configure --profile adminuser
- You will need to obtain your AWS Access Key, and Secret Key before you begin
- Default Region Name: us-east-1
- Default Output Format: text
- Edit the configuration options in /opt/jarvis/secrets.yaml
- Setup API Access
- API.AI
- Navigate to https://console.api.ai/
- Create a new a new Agent
- Go to the Agent Settings, make note of your Client Access Token
- Navigate to Export and Import, and RESTORE FROM ZIP: /opt/jarvis/resources/apiai.zip
- Amazon AWS
- Wit AI Speech
- API.AI
- Edit the configuration options in /opt/jarvis/stt/config/config.yaml
- Update /opt/jarvis/configuration.yaml
- Update SMS Commands
- Edit the PHP file /opt/jarvis/web/webapi/sms/config.php
- Update the commands you wish to execute in functions.php
- Update Pianobar (Pandora) configuration
- Edit /home/pi/.config/pianobar/config and update email/password for Pandora to work
- Update the floorplans, refer to https://github.com/pkozul/ha-floorplan
- Reboot your Raspberry Pi
If all is well, your system will be 100% ready to go. If you have an attached screen/touch screen the main panel will appear after all systems boot. If not, navigate to http://[raspberry pi IP]:8123.
Notes
Once installed you can use the following system services to restart/control the entire system.
Restart Everything:
sudo service jarvis* restart
Restart Home Assistant:
sudo service jarvis-base restart
Restart Speech to Text:
sudo service jarvis-stt restart
Restart Text to Speech:
sudo service jarvis-tts restart
Restart Kiosk:
sudo service jarvis-web restart
If you get a TLS fingerprint mismatch error with Pianobar/Pandora run this command to get the updated one:
openssl s_client -connect tuner.pandora.com:443 < /dev/null 2> /dev/null | \
    openssl x509 -noout -fingerprint | tr -d ':' | cut -d'=' -f2