Hack Dell Latitude E6430 Save
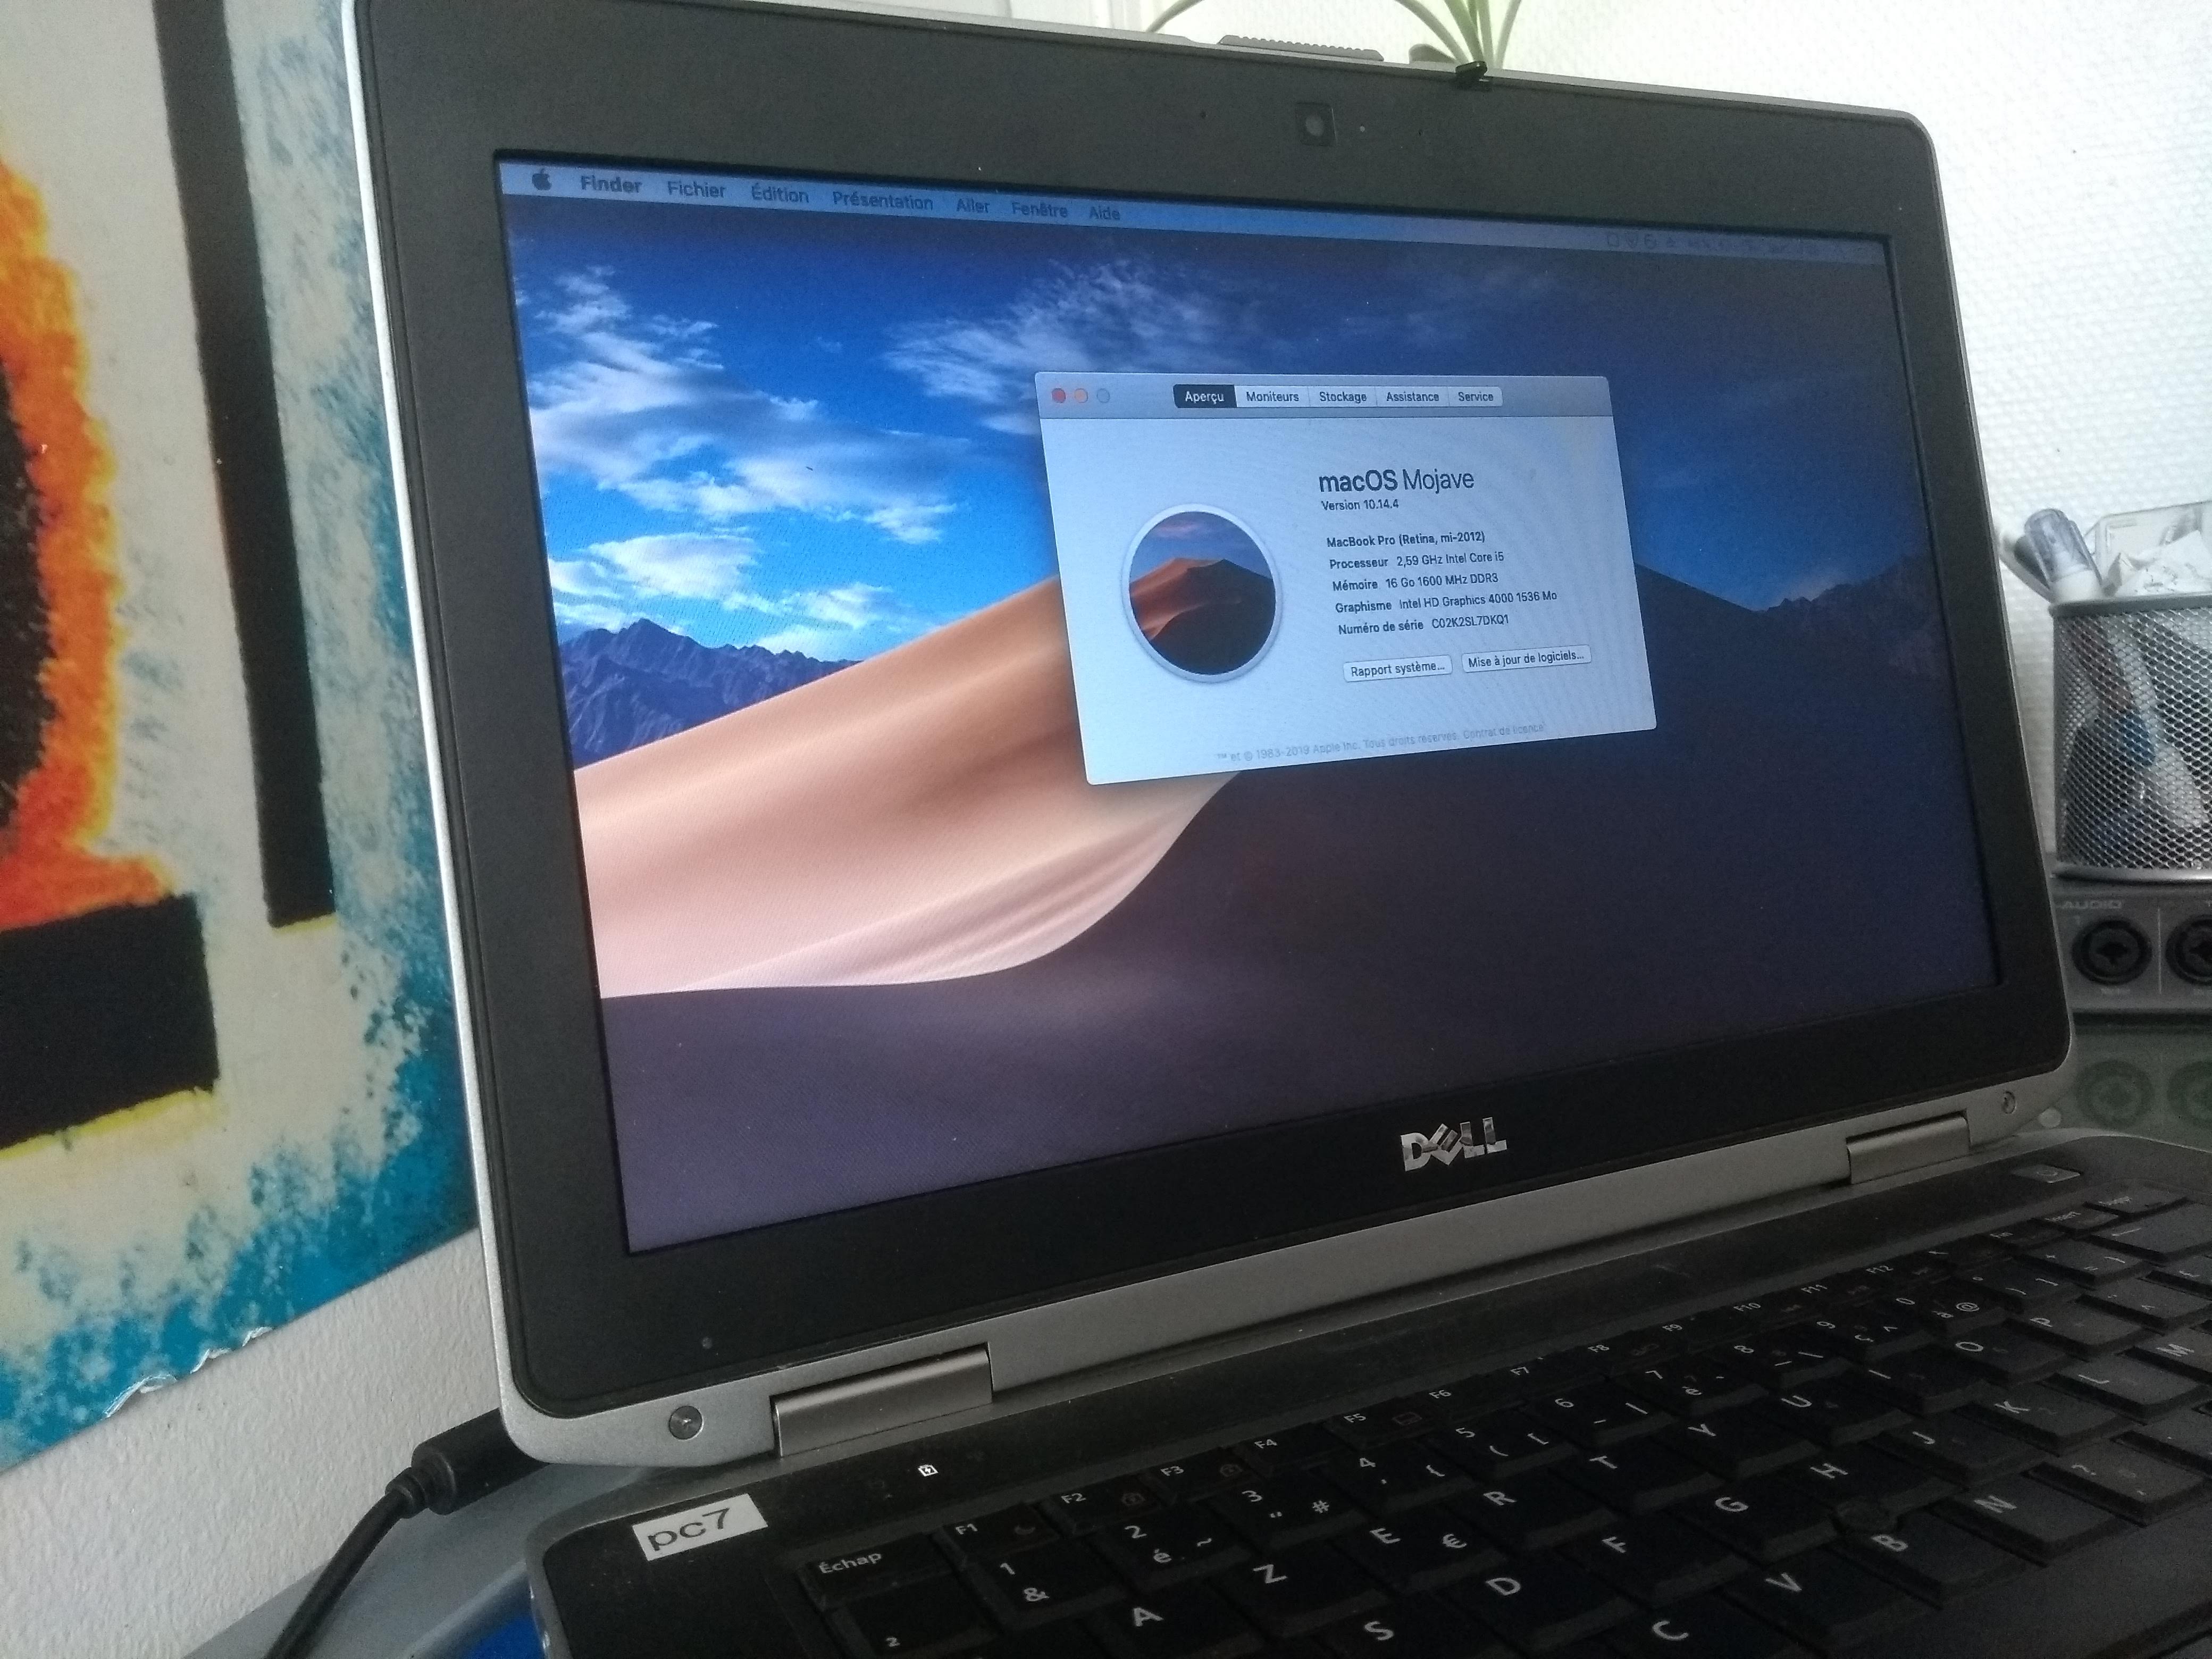
A Dell Latitude E6430 Hackintosh running macOS Mojave.
Dell Latitude E6430 Hackintosh
I have already a Hackintosh at home running smoothly. I was given an old laptop at work, a Dell Latitude E6430, and I couldn't resist to try to install macOS on it despite its age. It worked!
Laptop Specs
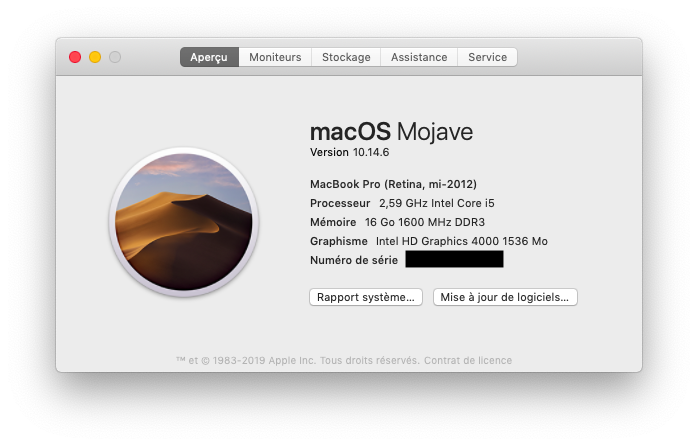
- macOS Mojave 10.14.6
- Intel Core i5-3320M 2.6Ghz Turbo 3.3Ghz (2 cores, 4 threads)
- Crucial Ballistix Sport 16GB DDR3-RAM @ 1600 Mhz (BLS8G3N169ES4.16FE)
- Intel HD Graphics 4000 1536 Mb
- Crucial MX200 250 GB SSD (Crucial_CT250MX200SSD1)
- 14" HD 1366x768 Screen
- MATSHITA DVD+/-RW UJ8B2
Note: My model doesn't have a Nvidia Card. If you have one, my instructions might not work correctly.
Note2: For models with 1600x900 monitor, please see #1.
What works
- Sound (in and out)
- Trackpad with gestures
- USB Ports (including USB3 on the right)
- DVD Player
- Webcam (tested with Photobooth)
- LAN/Ethernet
- Fn keys to change volume or brightness
- Battery percentage/status
- Sleep/Wake-up (thanks @Tuan9304, see #2)
- SD Card Reader
- HDMI Out
Doesn't work natively / Not tested
- Wifi (need to change internal card) ; I use a TP-Link-TL-WN725N USB Dongle since I don't own the laptop
- Line Out after waking up (speakers still work though, see #2)
- Bluetooth (not tested)
- VGA out (not tested but according to some users it can work)
Second HDD in the Optical Drive
If you have a second HDD installed in the optical drive, you might need to include a patch to be able to use it. See this message from @mikenzb to fix it.
BIOS
Flashing your BIOS
First thing you need to do is to flash your BIOS if you're running an old one like A02/A03. I flashed mine to the A12 version which seems to work fine. If you already have a recent version superior to mine, I can't guarantee that my instructions will work for you. Some people had to downgrade first to A02/A03 then flash to A12 in order to install.
You can find the A12 BIOS here: https://www.dell.com/support/home/us/en/04/Drivers/DriversDetails?driverId=TW3TN&osCode=w732&productCode=latitude-e6430&lwp=rt
Read carefully the installation instructions. It's pretty straight-forward though: download their .exe file and you can start the flashing directly from Windows. It will reboot your machine and finish the work.
BIOS Settings
Once you have the correct BIOS version, go to the BIOS by using the F12 key at boot. Click on "Load defaults" then set SATA Operations to AHCI, set Boot List Option to UEFI and Disable Secure Boot.
Creating the USB Installer
You will need a 16+ GB USB, a Mac and an internet connection to download the Mojave Installer. Open the App Store, search for "Mojave", download it.
While it's downloading, use Disk Utility to format your USB Drive as Mac OS X Extended (Journaled) and rename your USB stick to "USB" (just to be easier). Don't forget to change before the partition table to GPT when formatting the USB Stick. Every USB comes with MBR partition by default because it's the most compatible one for external medias. But we want a GPT partition. So in Disk Utility, enable the "Show All Devices Option" in the menu (it's in the "Presentation" or "View" menu). Select your USB Stick and erase the whole USB with GPT option selected.
Once the download is done, open the Terminal and write:
sudo "/Applications/Install macOS Mojave.app/Contents/Resources/createinstallmedia" --volume /Volumes/USB
It will copy the installer to your USB Stick and make it bootable. It can take some time.
Install Clover on the USB Installer
Once we have a USB Installer, we need to install Clover on it, with our config.plist file and the needed kexts for our laptop. Here are the steps:
- Download Clover r5070: https://sourceforge.net/projects/cloverefiboot/files/Installer/
- Start the Clover-Minimal installation app
- Make sure to select your USB Stick as the destination during the installation. We also want to Customize the installation so click on "Customize"
- Check these items in the customize list:
- Install for UEFI booting only
- Install Clover in the ESP
- drivers/UEFI/DataHubDxe-64
- drivers/UEFI/FSInject-64
- drivers/UEFI/SMCHelper-64
- drivers/UEFI/ApfsDriverLoader-64
- drivers/UEFI/AptioMemoryFix-64
- drivers/UEFI/PartitionDxe-64
- drivers/UEFI/EnglishDxe-64
- drivers/UEFI/Fat-64
Copy my EFI Folder
Download my EFI Folder from this repo and copy it (replace, not merge) to your USB Installer existing EFI Folder. It will replace your EFI folder that was created by Clover during the installation, copy all the necessary kext files and my config.plist file as well.
Note: I use the Clover-Minimal Theme in my config.plist so if you only download my config.plist, be sure to either install this theme or change it to something you already have.
macOS Mojave Installation
Reboot your Laptop with the USB Installer stick plugged in. Press F12, choose UEFI, it should boot to Clover. Pick your USB Installer in the menu, the Mojave Installer will start to load. You can encounter various graphics glitches during this step, it's fine.
Once you reach the Mojave Installer, launch the Disk Utility app and in the menubar, in the "presentation" menu (or similar, don't remember the name), enable "Show all devices". That way, we will see our internal hard drive completely in Disk Utility. Format it as Mac OS X Extended (Journaled) and pick the scheme "GUID Partition Map" or similar.
Now close the Disk Utility and start the Installer.
Post-Installation
You should now have a running Hackintosh. After reaching the Desktop, the first thing to do is to install Clover but this time on your Laptop HDD (right now we were able to boot thanks to the USB Installer and Clover on it).
Basically redo all the same steps described before : Install Clover, pick this time your Laptop HDD as destination, same customize settings. Then copy my EFI Folder to the Laptop's HDD EFI.
Generate your serials
By default, my config.plist file doesn't contain any serial. You need to generate yours. You can use macserial to generate serials for the model we picked (MacBookPro10,1). To do that, download macserial, open the Terminal, go to the folder that contains macserial (cd /folder/that/contains/macserial) and run:
./macserial -a | grep -i 'MacBookPro10,1'
It will output some table with the following structure "Product | Serial | Board Serial (MLB)". Add the serial and the Board Serial to your config.plist with any text editor or with Clover Configurator and save it. Now you should be able to boot without your USB Installer plugged-in.
Internet
You can use the LAN/Ethernet which works OOTB. For the WIFI, you need to replace the internal card with a compatible one. You can find plenty of them on eBay. Otherwise, the cheaper and quicker solution is to use a USB Dongle WIFI. I own a TP-Link-TL-WN725N and it works great. Once you have plugged it in one of your USB ports, install the drivers. You can find them for Mojave here: https://www.tp-link.com/us/support/download/tl-wn725n/#Driver. Reboot, done.
Benchmarks
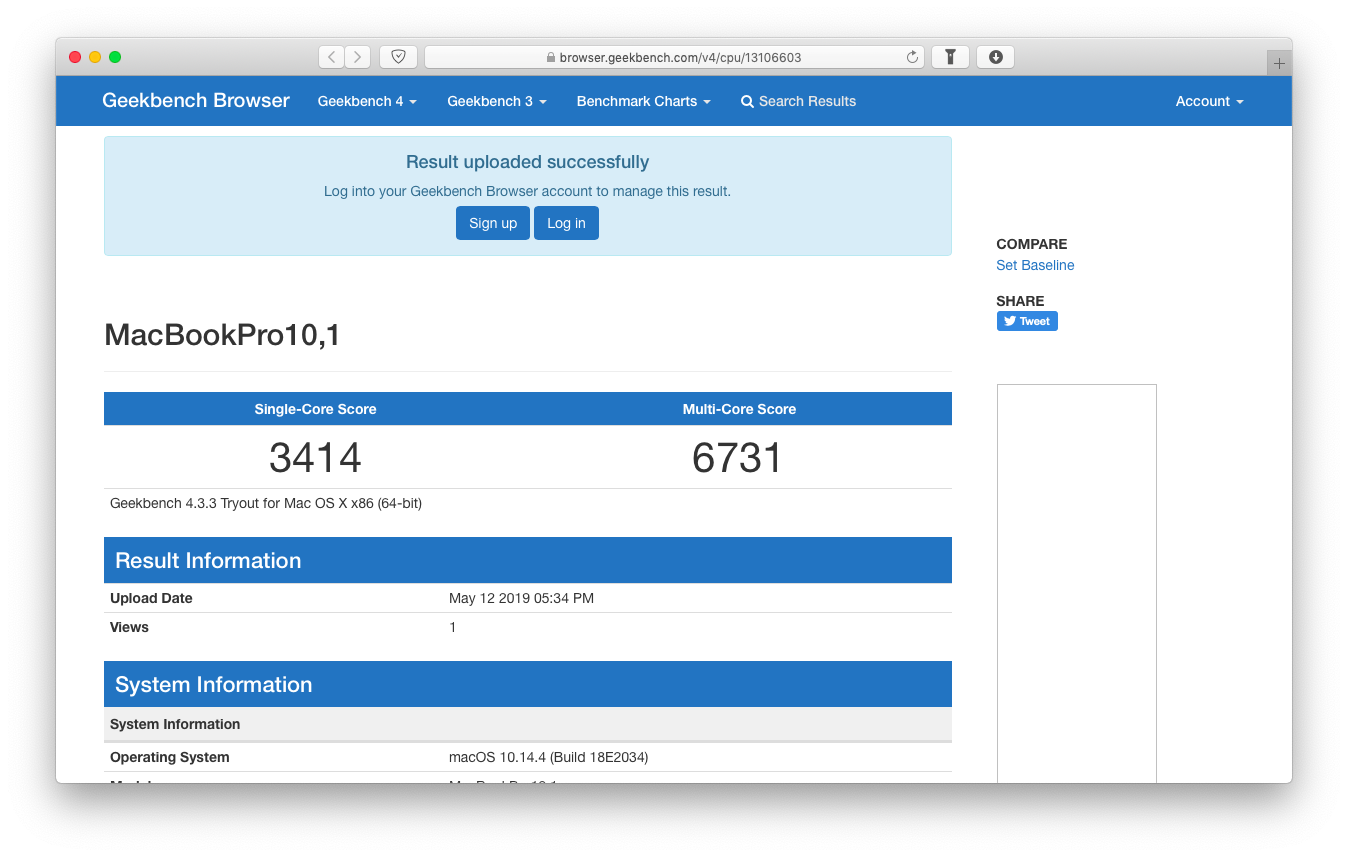
https://browser.geekbench.com/v4/cpu/13106603
The Beast
Credits
- Thanks to Slice on InsanelyMac for his High Sierra EFI Folder
- Thanks to Jake Lo on OSXLatitude for his guide for laptops
