FontAwesomeKit.Swift Save
A better choice for iOS Developer to use FontAwesome Icon with UI.😍
Project README
FontAwesomeKit.Swift
😀😘A better choice for iOS Developer to use FontAwesome Icon with UI.😍
![]()

![]()
![]()
![]()
Support
Swift 4.2 & iOS 8.0+
FontAwesome 4.7.0
Storyboard supported.
Installation
CocoaPods
- add
pod 'FontAwesomeKit.Swift'to your Podfile. - Run
pod installORpod update. -
import FontAwesomeKit_Swift
Manually
- Download the full file.
- Drag the FontAwesomeKit folder to your project.
Example
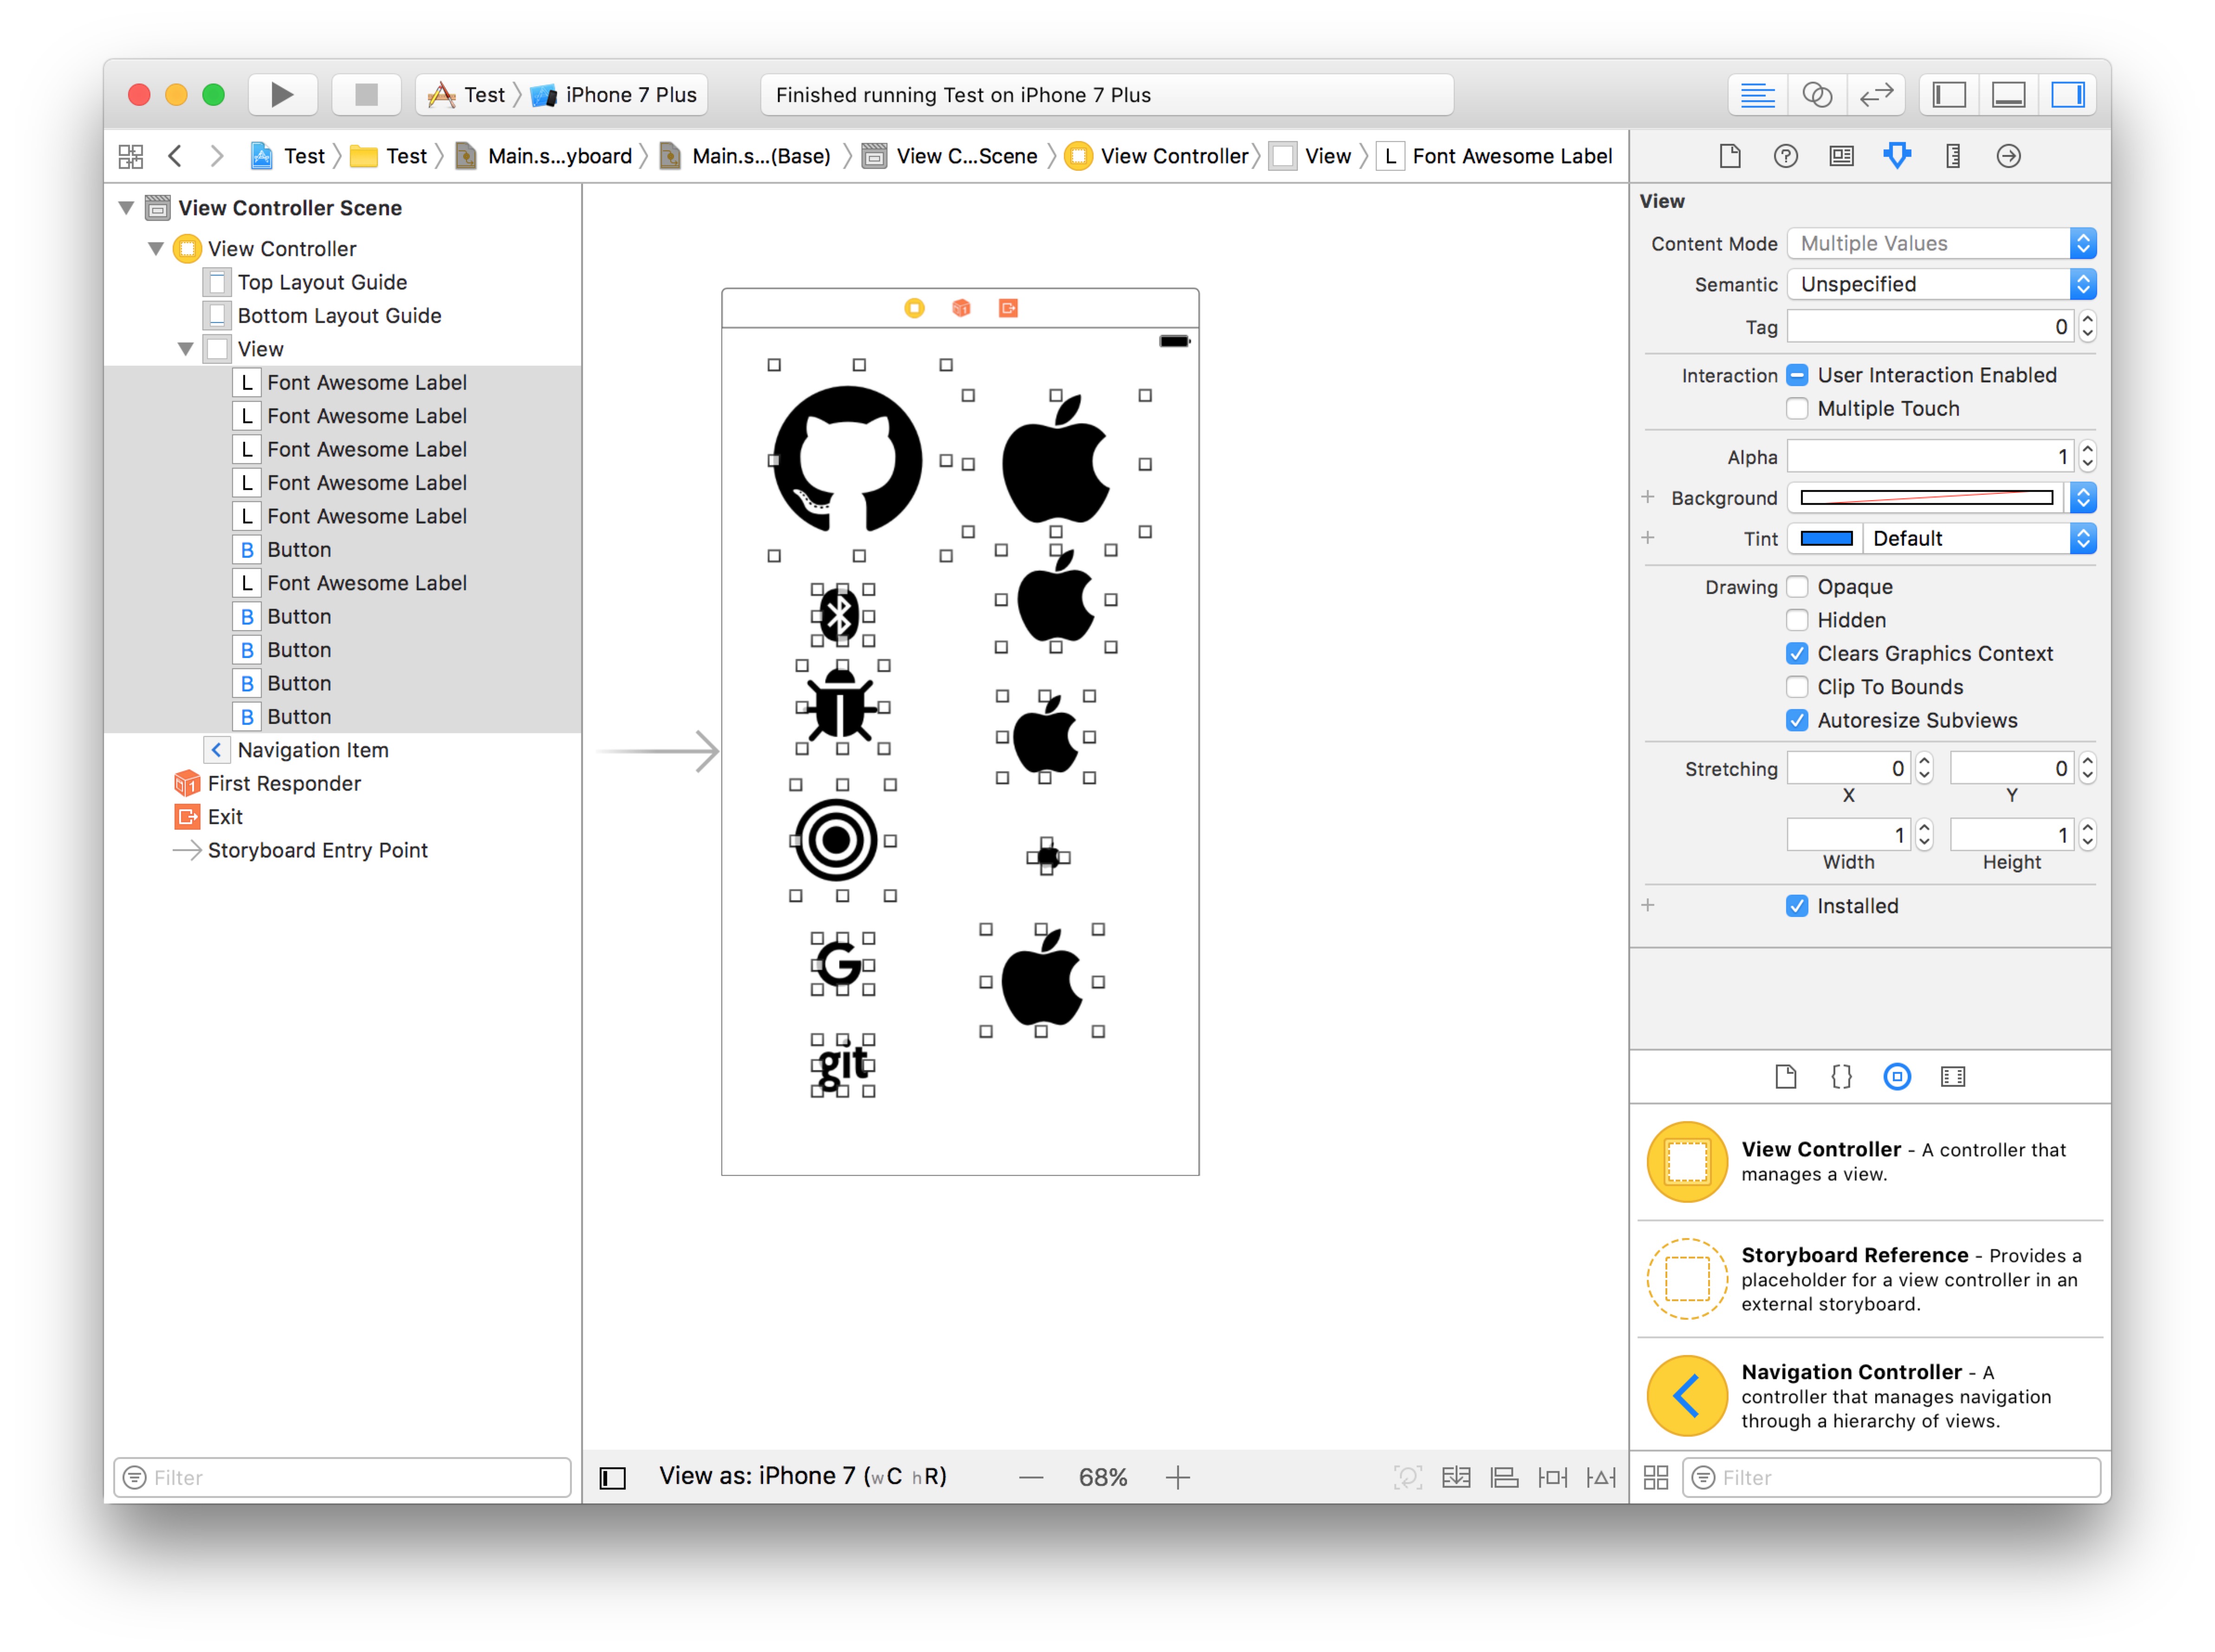
Use FontAwesomeKit.Swift in Storyboard.
- Set Custom class to
FontAwesomeButtonorFontAwesomeLabel - Set unicode string in Attributes inspector for
FontAwesomeLabelor setnormal,highlighted,selected,disabledunicode string forFontAwesomeButton, such asf107or0xf107
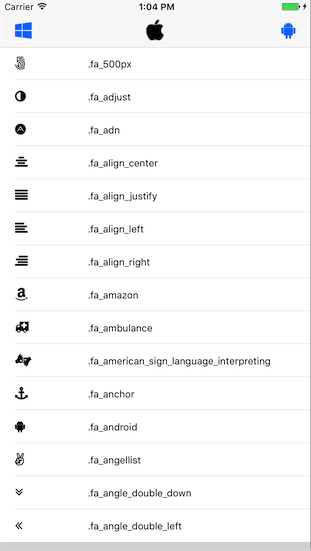
// All awesome unicode --> http://fontawesome.io/cheatsheet/
Use FontAwesomeKit.Swift with String.
let str1 = String.fontAwesome(undefined: 0xf107)
let str2 = String.fontAwesome(awesomeType: .github)
let attrs = [NSFontAttributeName: UIFont(fontSize: 32)]
let attrStr1 = NSAttributedString(string: str1)
let attrStr2 = NSAttributedString(string: str2)
The attrStr1 will get icon.  The attrStr2 will get icon.
Use FontAwesomeKit.Swift with UILabel.
let label = UILabel()
label.text = .apple
label.font = UIFont(fontSize: 100)
/// text : FontAwesomeType.
Use FontAwesomeKit.Swift with UIButton.
let button = UIButton(type: .custom)
button.setTitle(.gift, for: .normal)
/// type : The fontAwesome type, and you don’t need to ‘setImage’ or ‘setBackgroundImage’
/// state : The state that uses the specified title. The possible values are described in UIControlState.
button.titleLabel?.font = UIFont(fontSize: 50)
Use FontAwesomeKit.Swift with UIImage.
let image1 = UIImage(awesomeType: .github)
/// fontSize : The fontSize you can give, default is 80.
/// tintColor : The UIImage filled color you get, default is UIColor.lightGray.
let image2 = UIImage(awesomeType: .github, size: 30.0, color: UIColor.black)
Use FontAwesomeKit.Swift with UINavigationBarItem.
let rightItem = UIBarButtonItem(awesomeType: .github, style: .plain, target: nil, action: nil)
let leftItem = UIBarButtonItem(awesomeType: .github, size: 24, style: .plain, target: nil, action: nil)
/// fontSize : The font size, default is ‘24.0’
/// awesomeType : FontAwsomeType
LICENCE
Under MIT License
Thanks
- The FontAwesome Unicode list. From fontawesome.io
- The Lastest(version4.7.0) FontAwesome.otf bundle
Open Source Agenda is not affiliated with "FontAwesomeKit.Swift" Project. README Source: status302/FontAwesomeKit.Swift
Stars
191
Open Issues
3
Last Commit
4 years ago
Repository
License
