Expense Manager React Save
An 💰 Expense Tracking App Made using React ⚛️ , Firebase for storage and authentication
A Simple Expense Manager 💵
Note
I have stopped support for this application in terms of updating the stack and versions, if you run npm install , you might run into errors for not having latest versions of firebase , hence i advice to download the node modules in this project to run it locally
DEMO Account
In case you need to have a quick look at the app without creating an account, use the below credentials
Username : [email protected]
password : yogesh
SCREENSHOTS
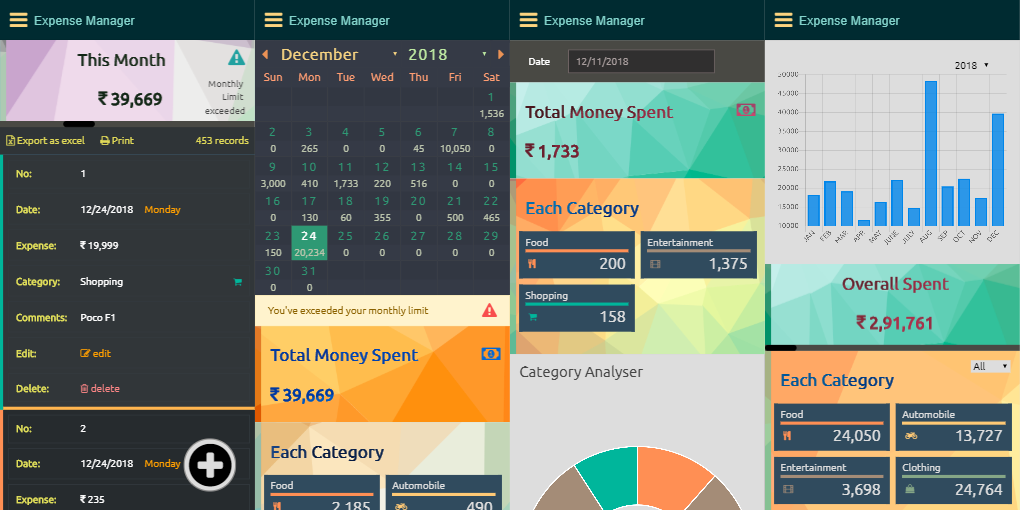
Mobile Views
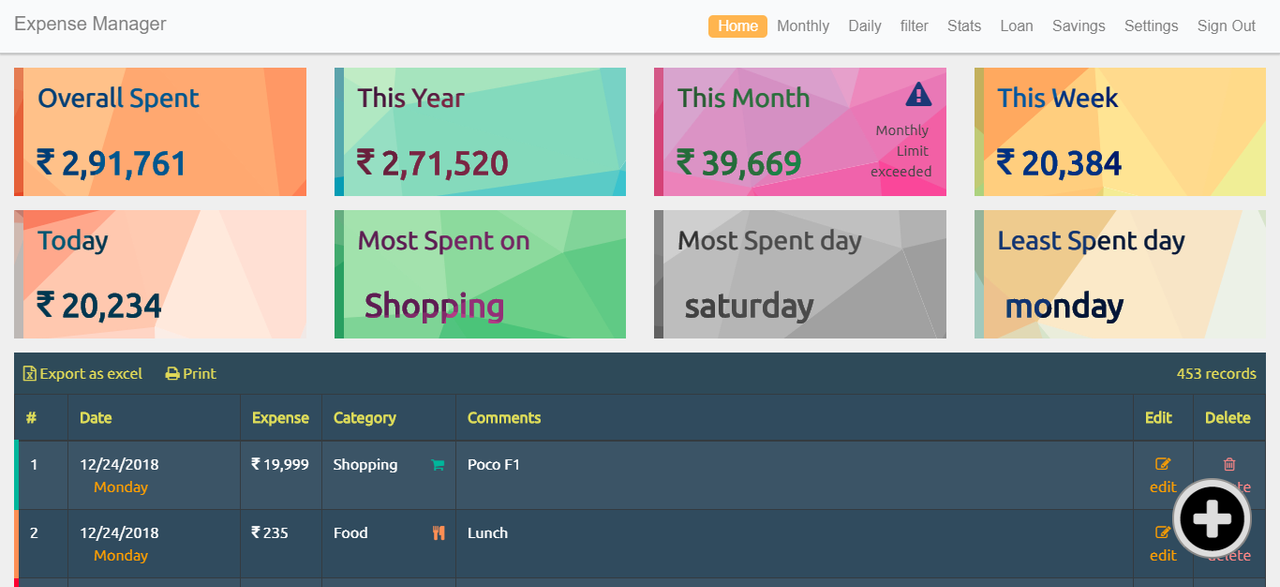
Night Mode Home Page
Month View Page Night Mode

Daily View Night Mode
Statistics Night Mode
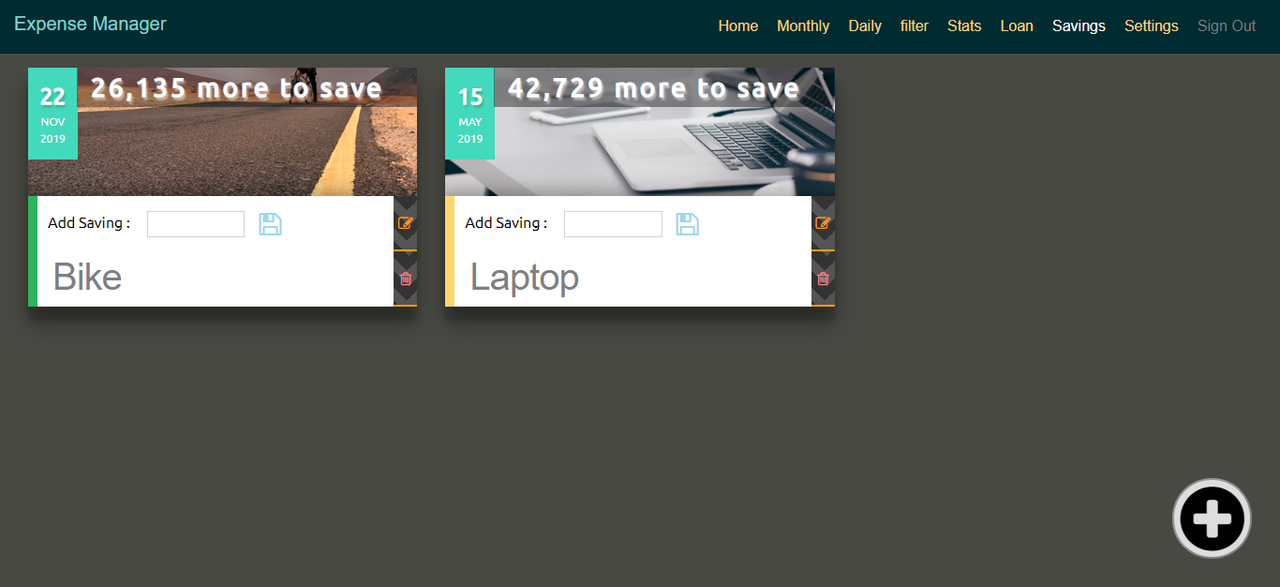
Saving Goals Night Mode
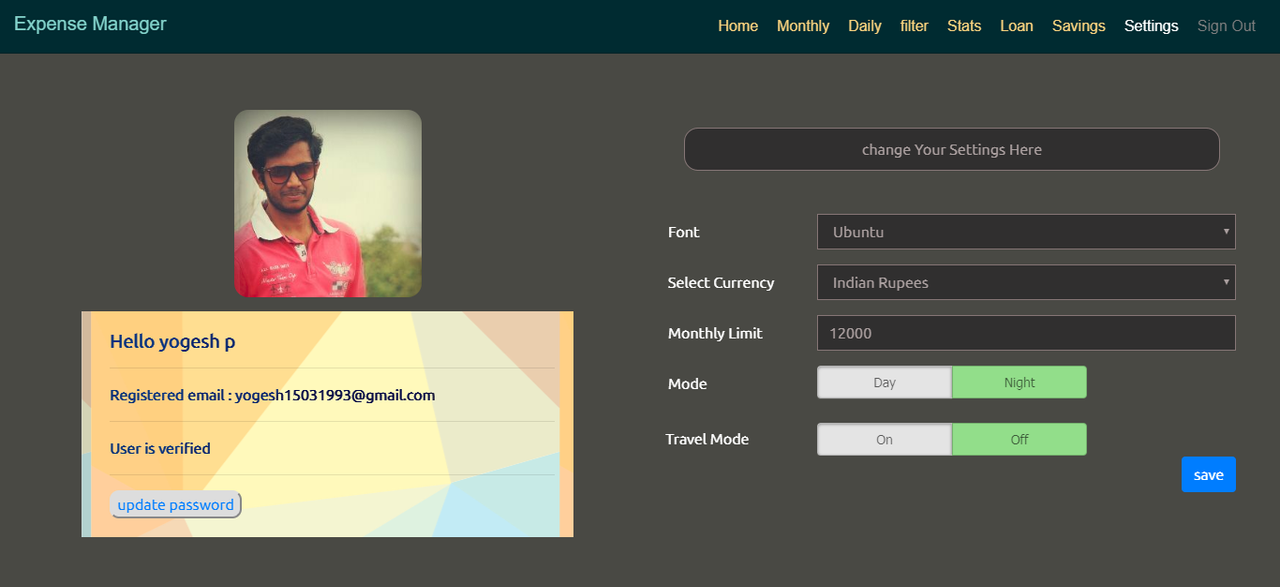
Settings Night Mode
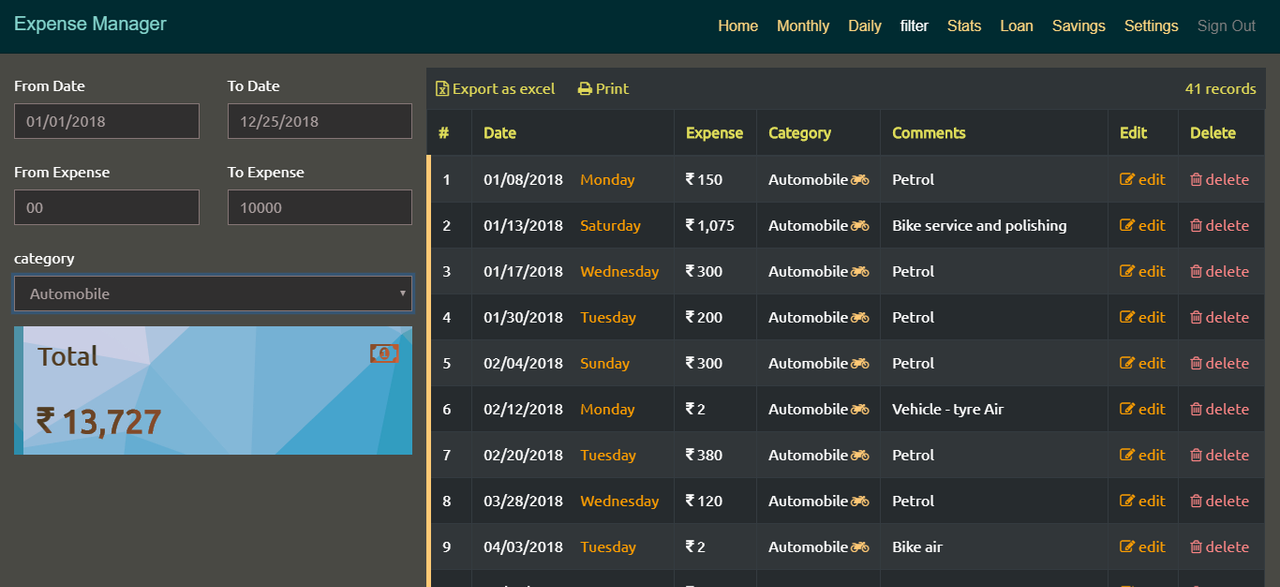
Filter Night Mode
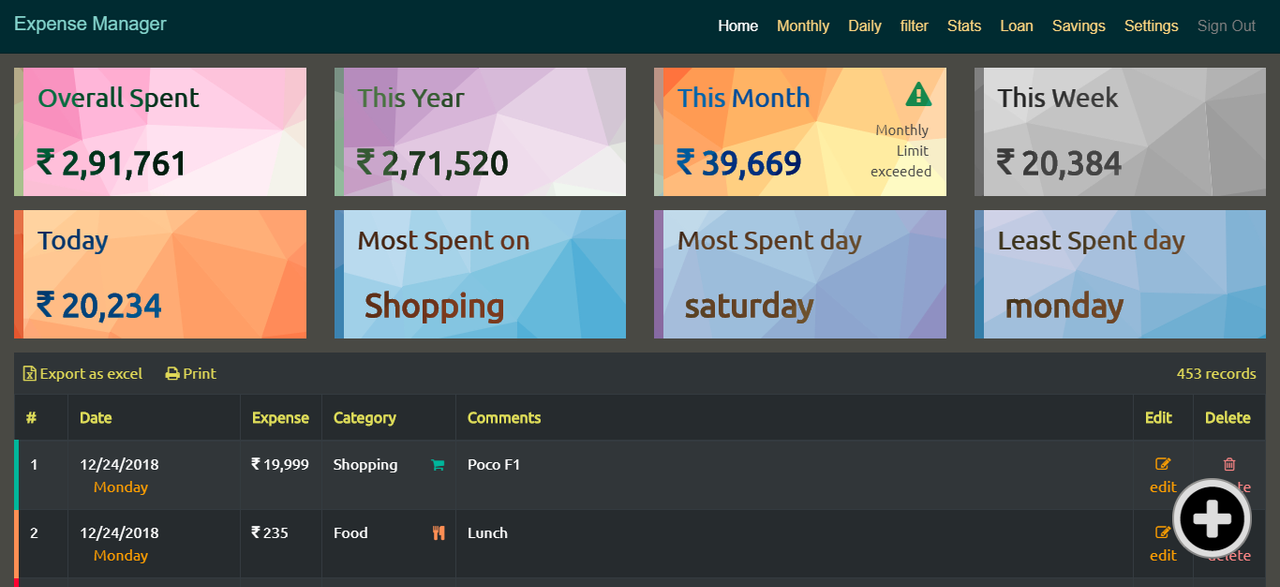
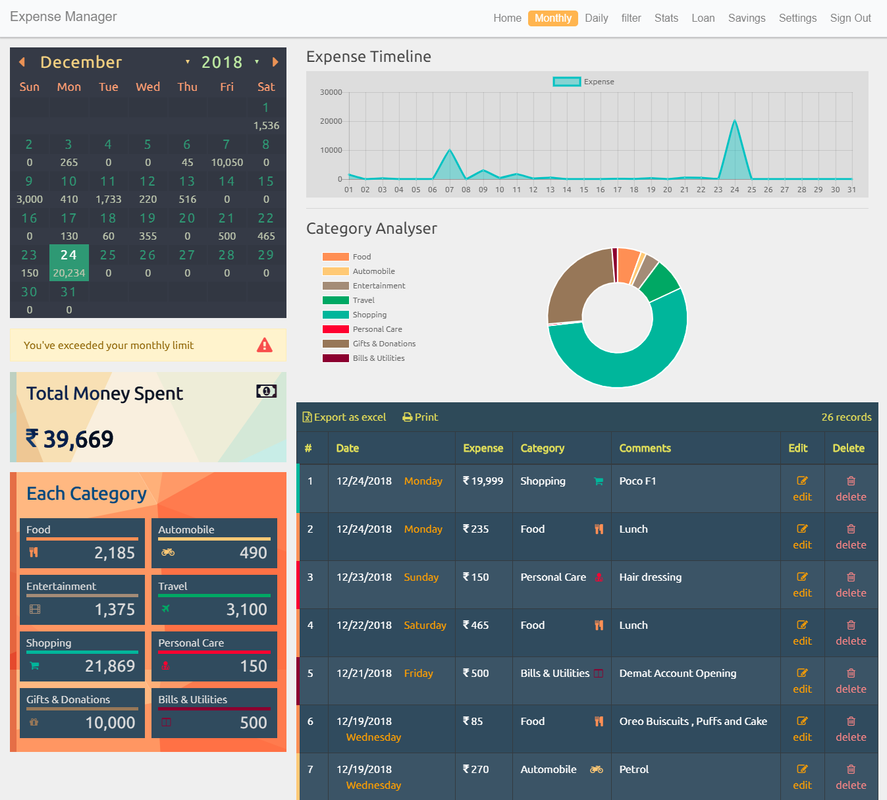
Home Page Day Mode
Monthly View Day Mode
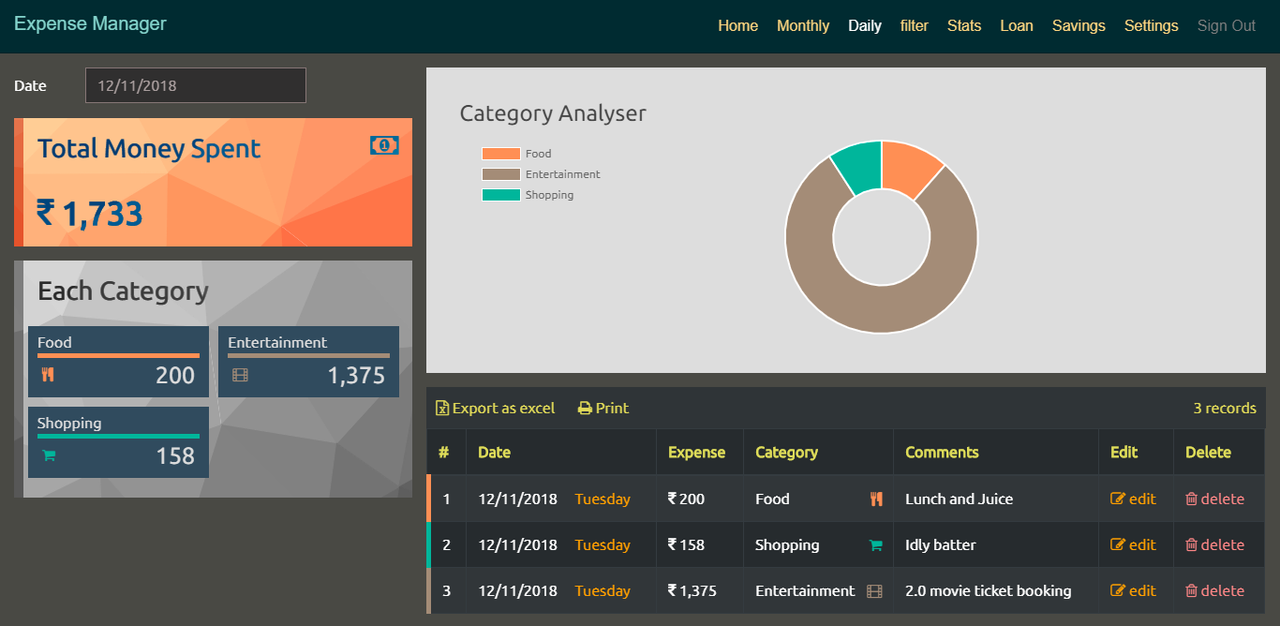
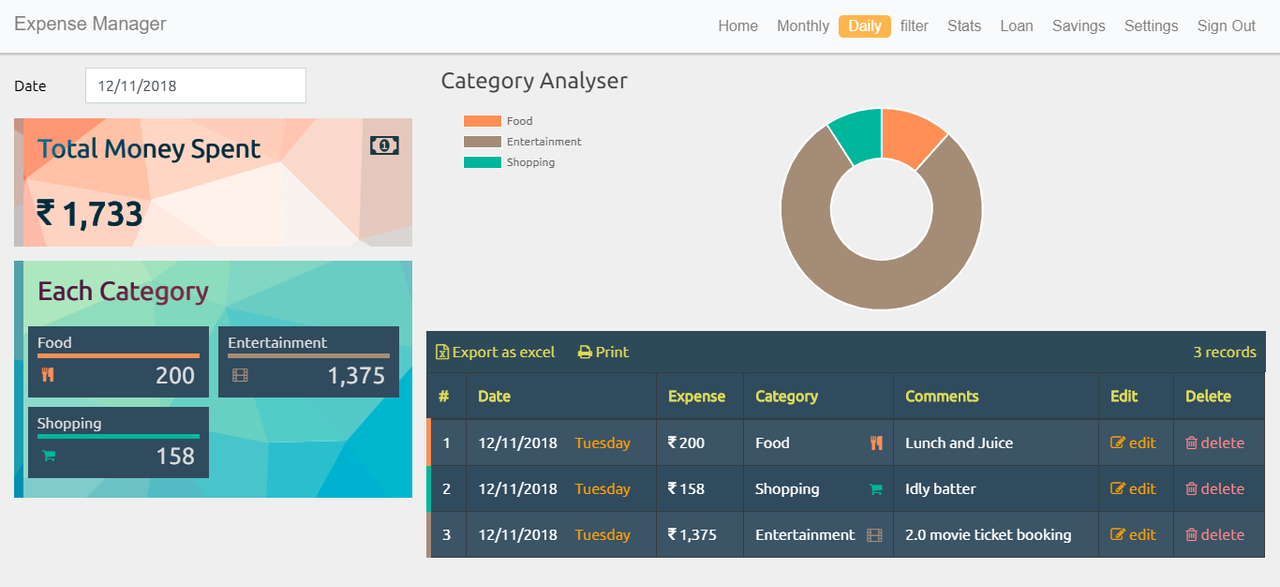
Daily View Day Mode
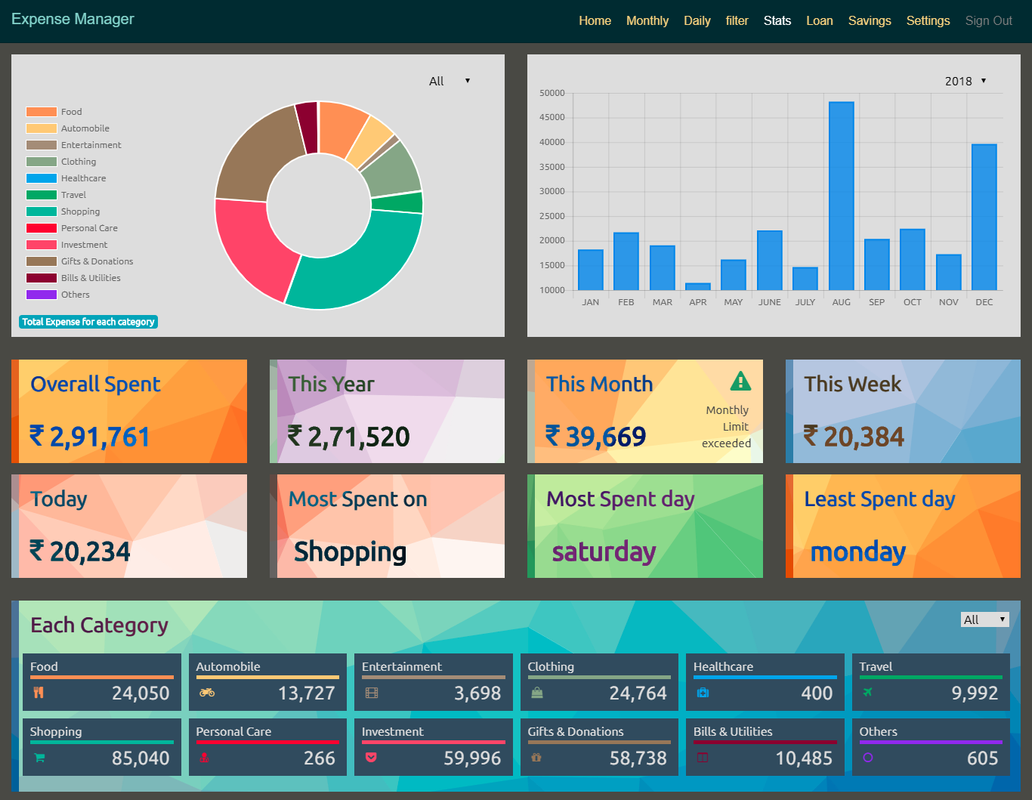
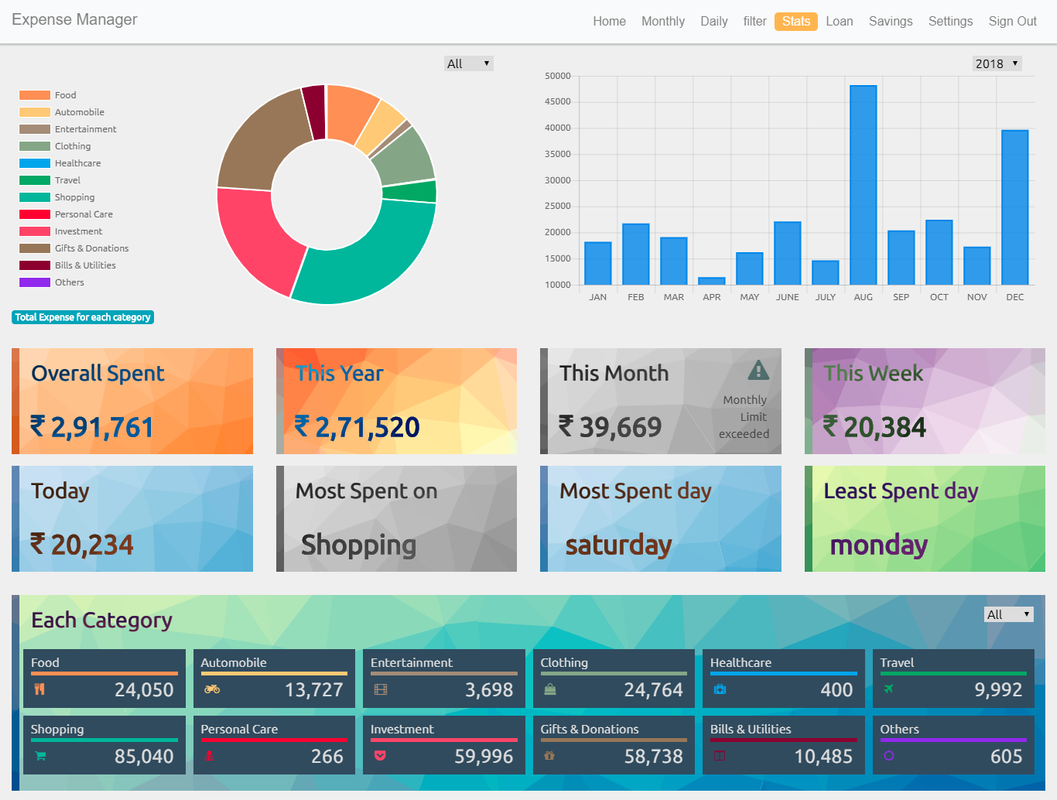
Statistics Day Mode
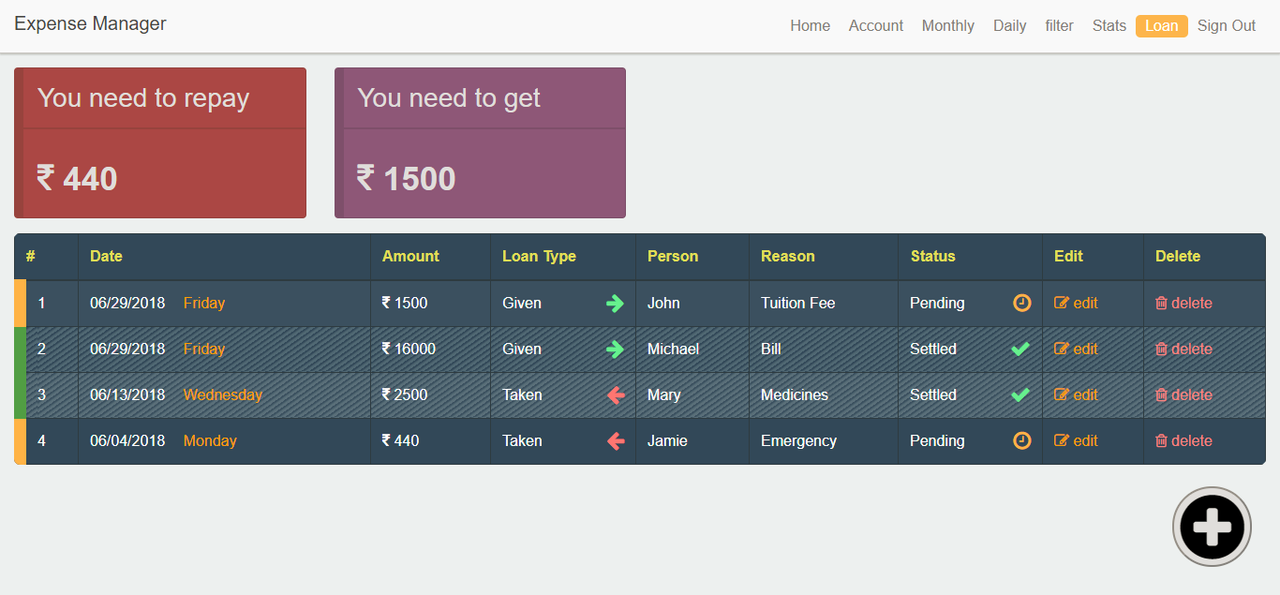
Loan Page Day Mode
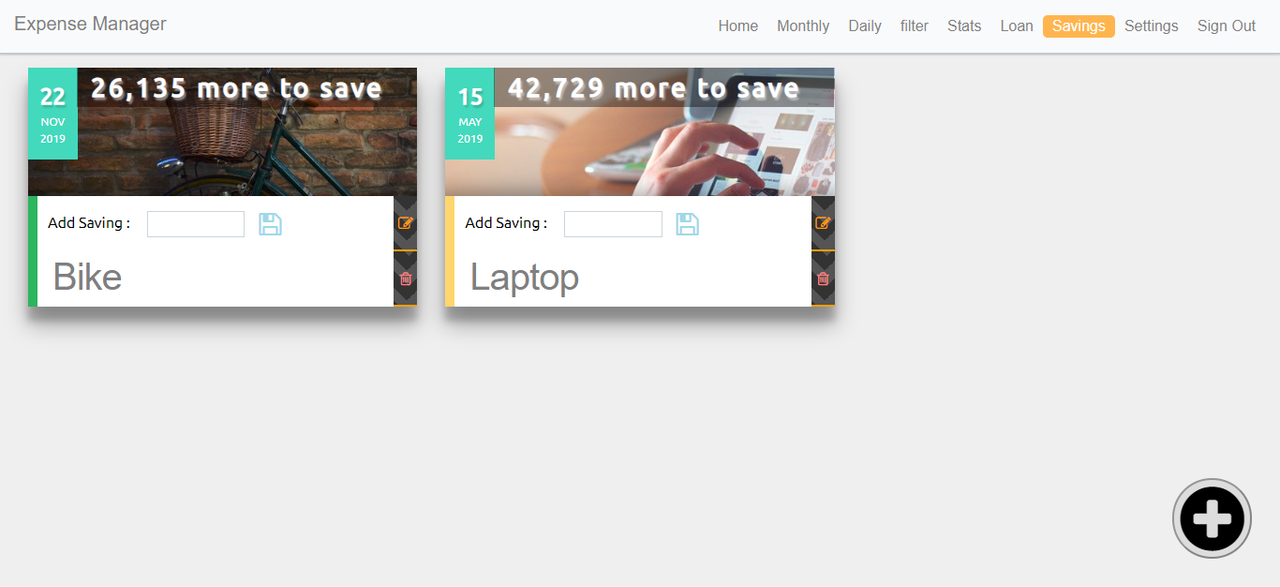
Saving Goals Day Mode
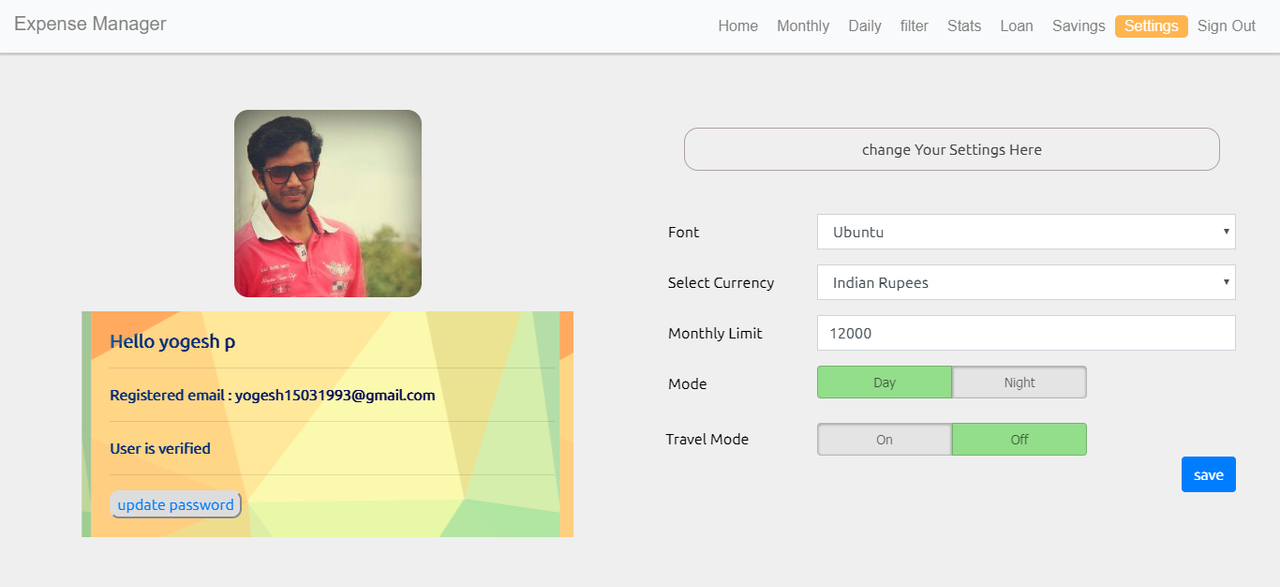
Settings Day Mode
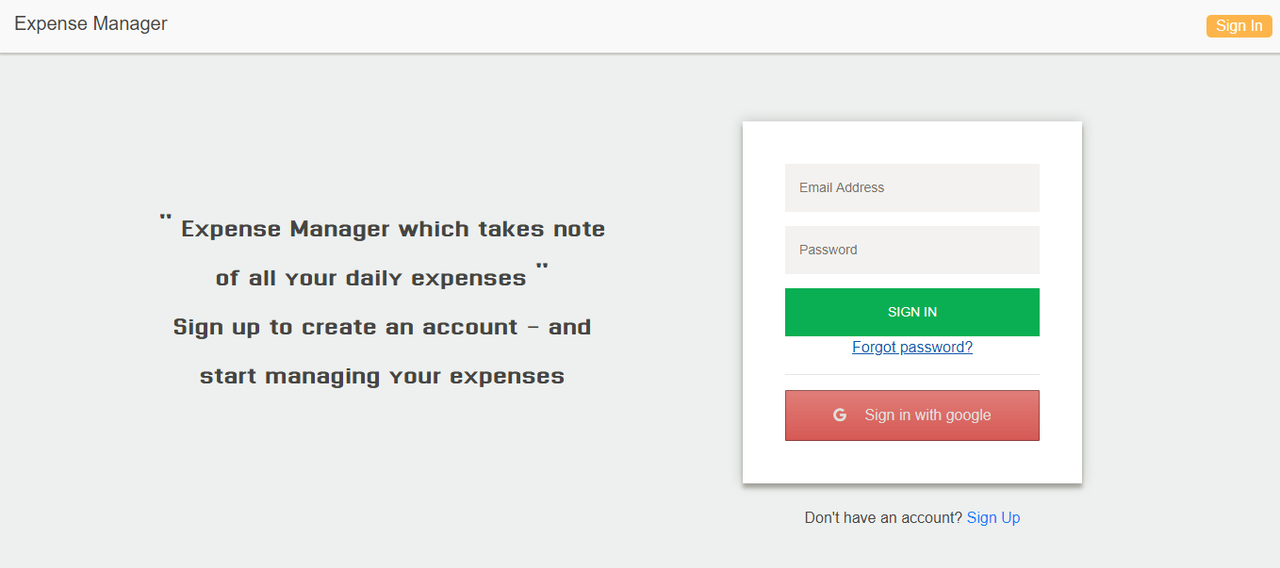
Login Screen
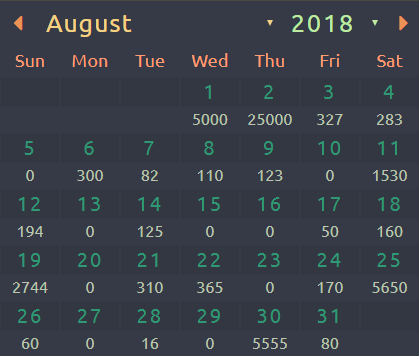
Calendar Component
SETUP
1. Setting Up Firebase
-
Create a firebase account
-
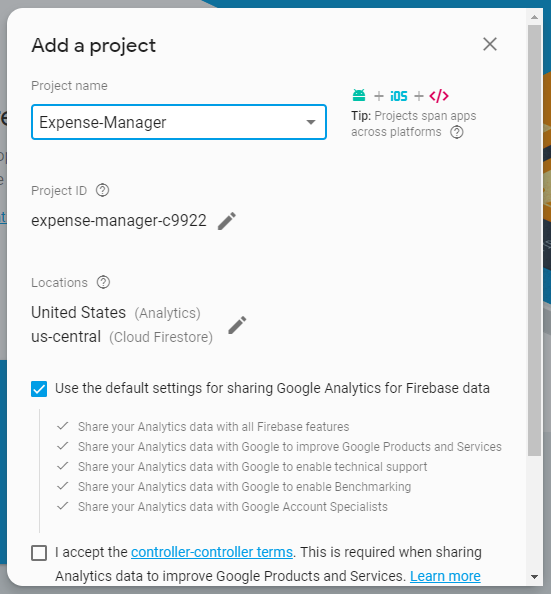
Create a new firebase project
-
Be Sure to Choose Realtime Database , and not firestore
-
change database rules to

-
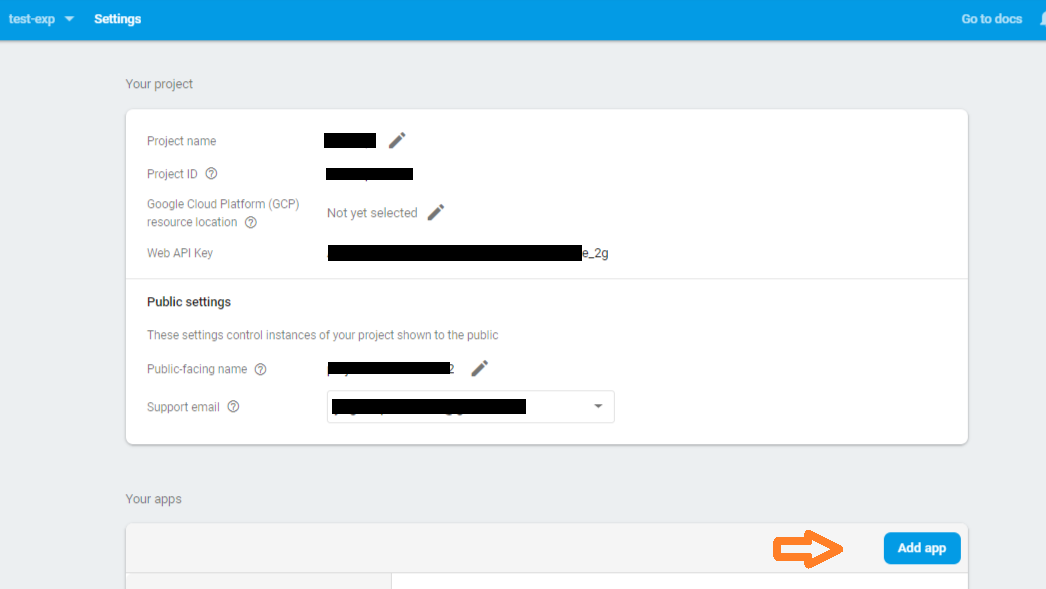
Now lets add the app in firebase
-
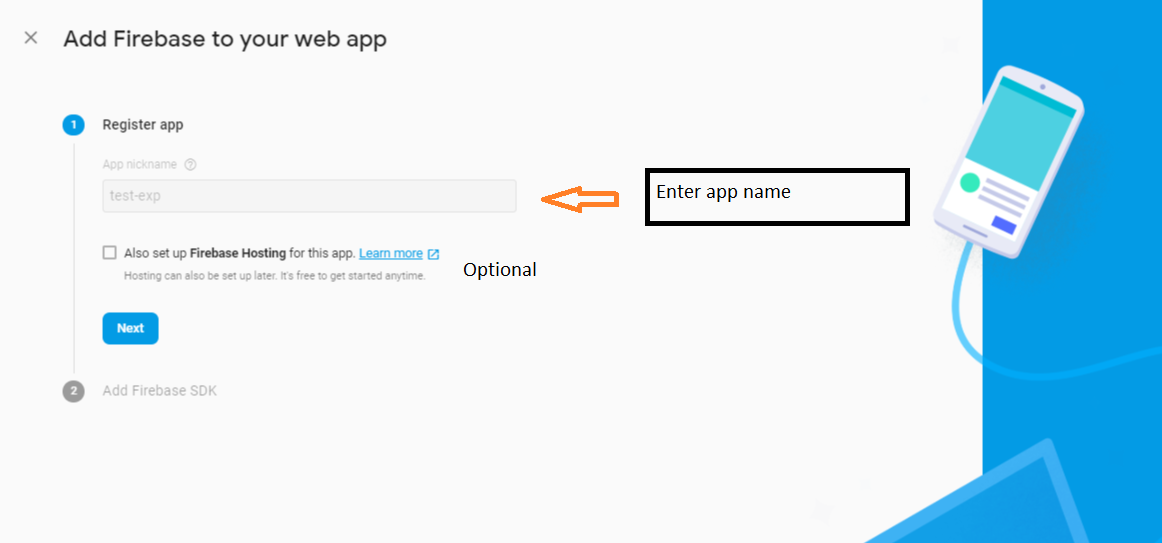
Give Your app a name & hosting is optional
-
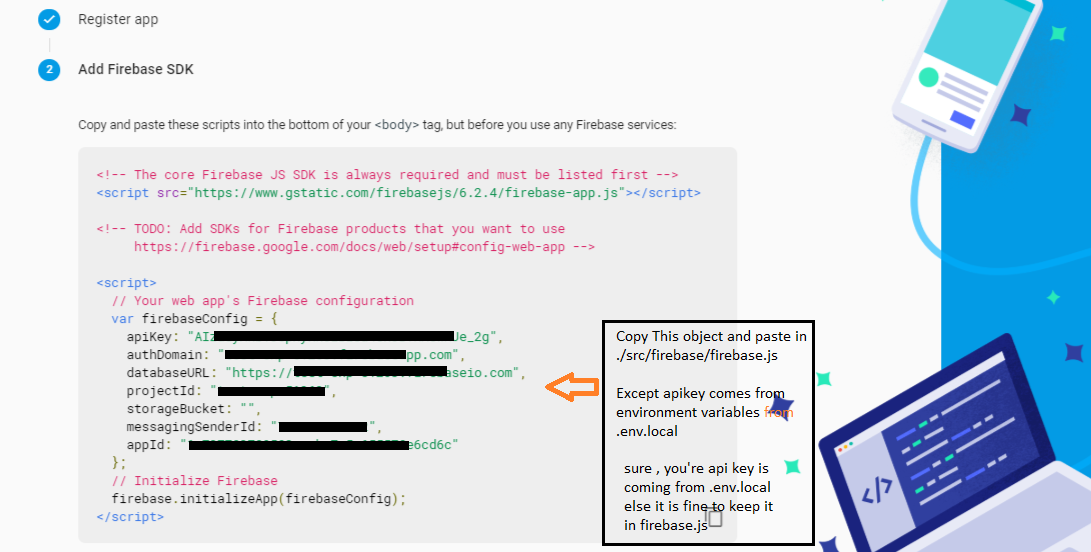
Now Lets add the config in ./src/firebase/firebase.js
-
OPTIONAL_STEP : If you're hosting this app somewhere make sure the api key comes from .env.local as environment variable, doing this does not expose yor api-key , and do not commit this file to github , add this in .gitignore
# api Keys*.envcreate a file named .env.local in root folder and add your firebase api key here
REACT_APP_FIREBASE_API_KEY = "your-api-key-here"
-
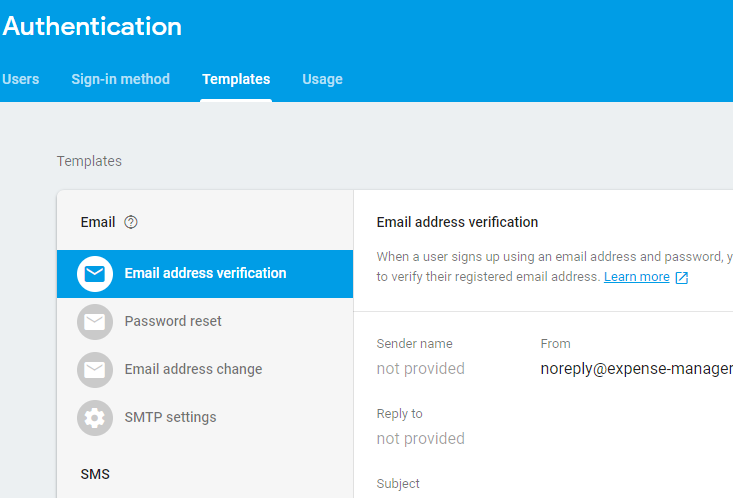
Enable Google Authentication and Email Authentication , Feel Free to add other authentication methods and setup accordingly

-
Setup Email Verification Template
-
Finally we need to set up the API-Key for currency converter , which is needed for travel mode.
-
Head over to currencyconverterapi.com
-
create your API-KEY
-
Add this in .env.local as a environment variable
REACT_APP_FREE_CURRENCY_CONVERTER_API_KEY = "your-api-key-here"
-
-
Setup Repo Locally
git clone https://github.com/YogeshPrasanna/expense-manager-react.git
npm install
This will install all the required packages and dependencies to run the app.
npm start
Runs the app in the development mode.
Open http://localhost:3000 to view it in the browser.
The page will reload if you make edits.
You will also see any lint errors in the console.
npm test
Launches the test runner in the interactive watch mode.
npm run build
Builds the app for production to the build folder.
It correctly bundles React in production mode and optimizes the build for the best performance.
The build is minified and the filenames include the hashes.
Your app is ready to be deployed!
npm run eject
Note: this is a one-way operation. Once you eject, you can’t go back!
If you aren’t satisfied with the build tool and configuration choices, you can eject at any time. This command will remove the single build dependency from your project.
Instead, it will copy all the configuration files and the transitive dependencies (Webpack, Babel, ESLint, etc) right into your project so you have full control over them. All of the commands except eject will still work, but they will point to the copied scripts so you can tweak them. At this point you’re on your own.
You don’t have to ever use eject. The curated feature set is suitable for small and middle deployments, and you shouldn’t feel obligated to use this feature. However we understand that this tool wouldn’t be useful if you couldn’t customize it when you are ready for it.
Supported Browsers
By default, the generated project uses the latest version of React.
You can refer to the React documentation for more information about supported browsers.
